This comprehensive guide provides a step-by-step tutorial for setting up your Amana smart thermostat. We'll walk you through the entire process, from essential pre-setup steps crucial for system safety and optimal performance, to configuring Wi-Fi connectivity and verifying equipment identification. This guide covers both scenarios: when the customer is present and when they are not, ensuring a smooth installation regardless of circumstances. Learn how to optimize communication using the recommended wiring and successfully run system tests to ensure everything functions correctly.Beyond the initial setup, we'll also demonstrate how to leverage the power of the Amana smart thermostat's mobile app for remote control and monitoring. This user-friendly app significantly simplifies system management, allowing for efficient troubleshooting and adjustments without needing to be physically present. Follow these instructions to seamlessly integrate your Amana smart thermostat into your home and experience the convenience of smart home technology.
Pros And Cons
- Can be programmed and tested via phone app
- System test takes 15 minutes
- Charge mode takes approximately 30 minutes
Read more: Nuwave PIC Titanium Induction Cooktop Review: A Mixed Bag of Features
Pre-Setup Preparations
Before beginning the Amana smart thermostat setup, ensure that you've completed essential preliminary steps. This includes thoroughly vacuuming the unit to remove any debris or contaminants. Next, release the refrigerant according to manufacturer's instructions. Finally, only after these steps are complete should you proceed to apply power to the thermostat.
Failing to follow this order can lead to malfunctions and potential damage to your system. Prioritize safety and accurate procedure to ensure optimal performance.
Navigating the Menu and Initial Setup
Once the pre-setup steps are finished and power is applied, you'll access the thermostat's main menu. Select the 'Begin Setup' option to commence the installation process.
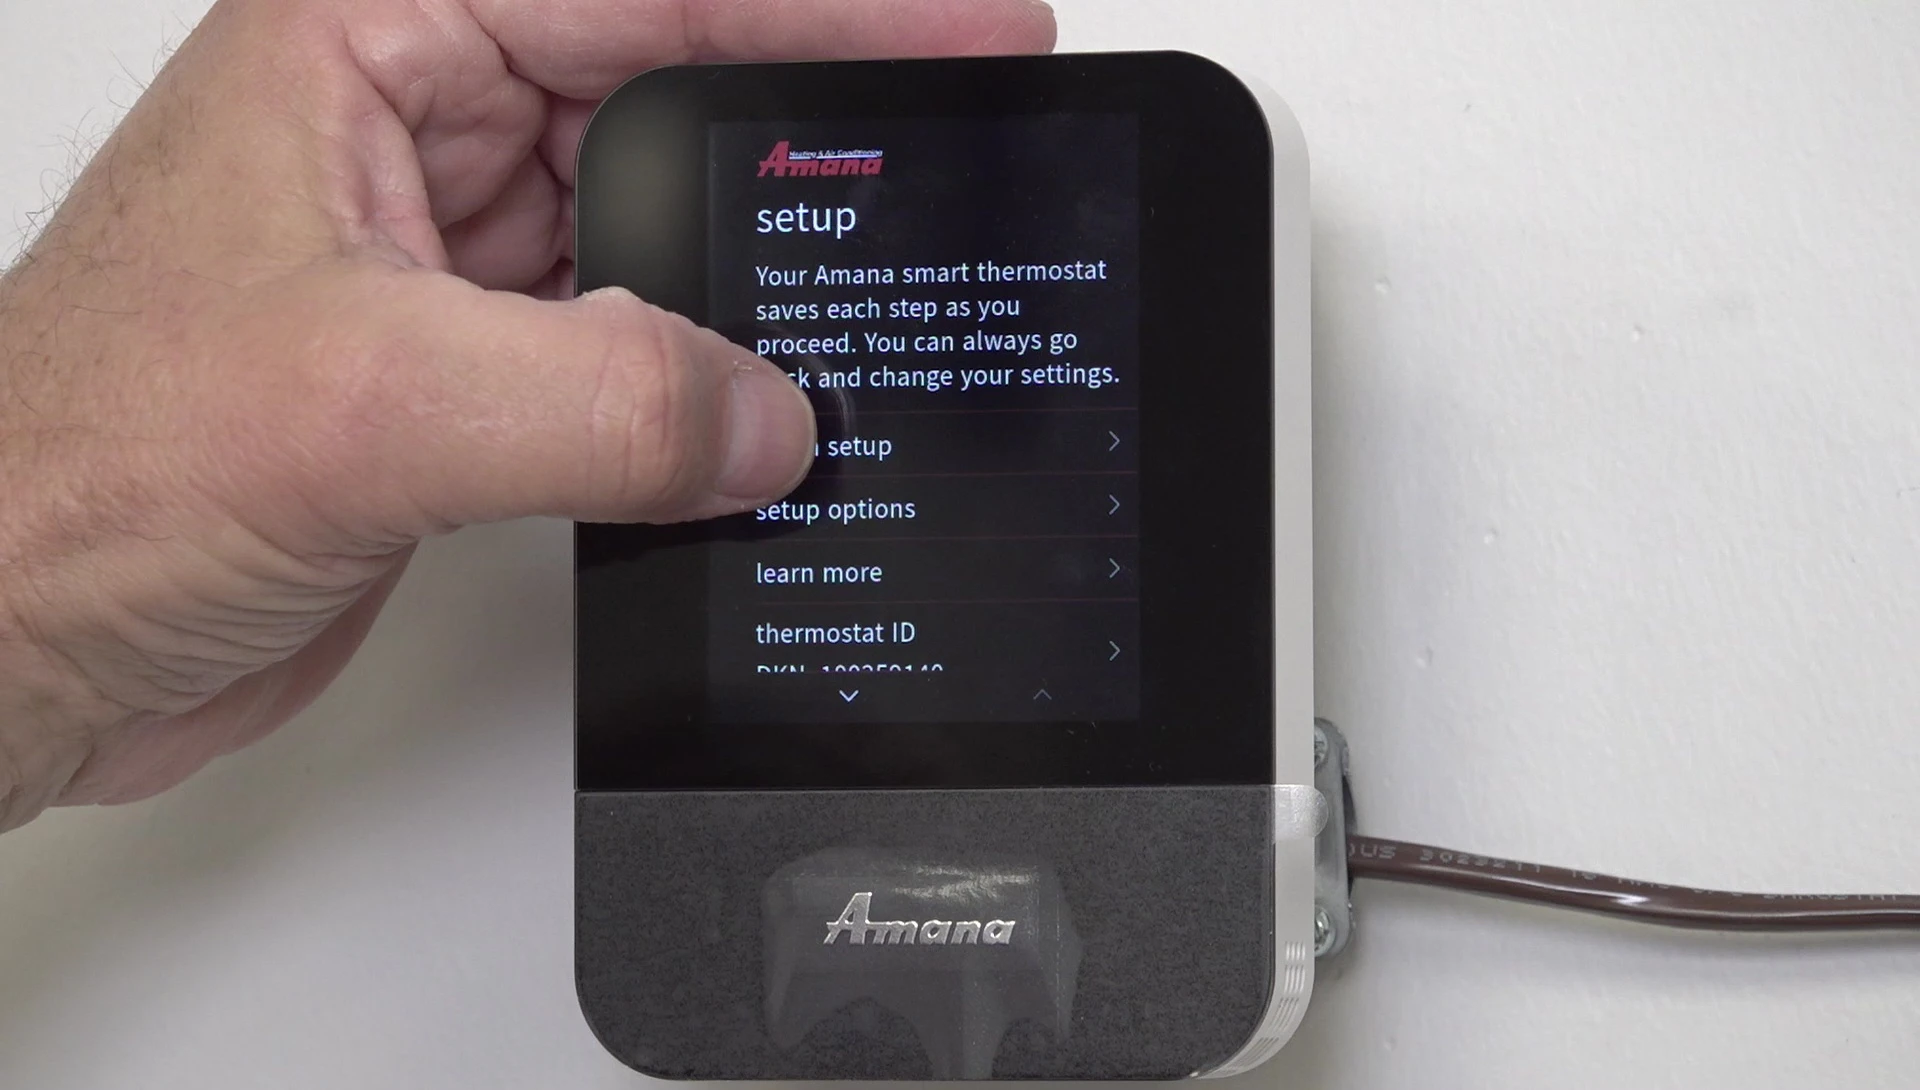
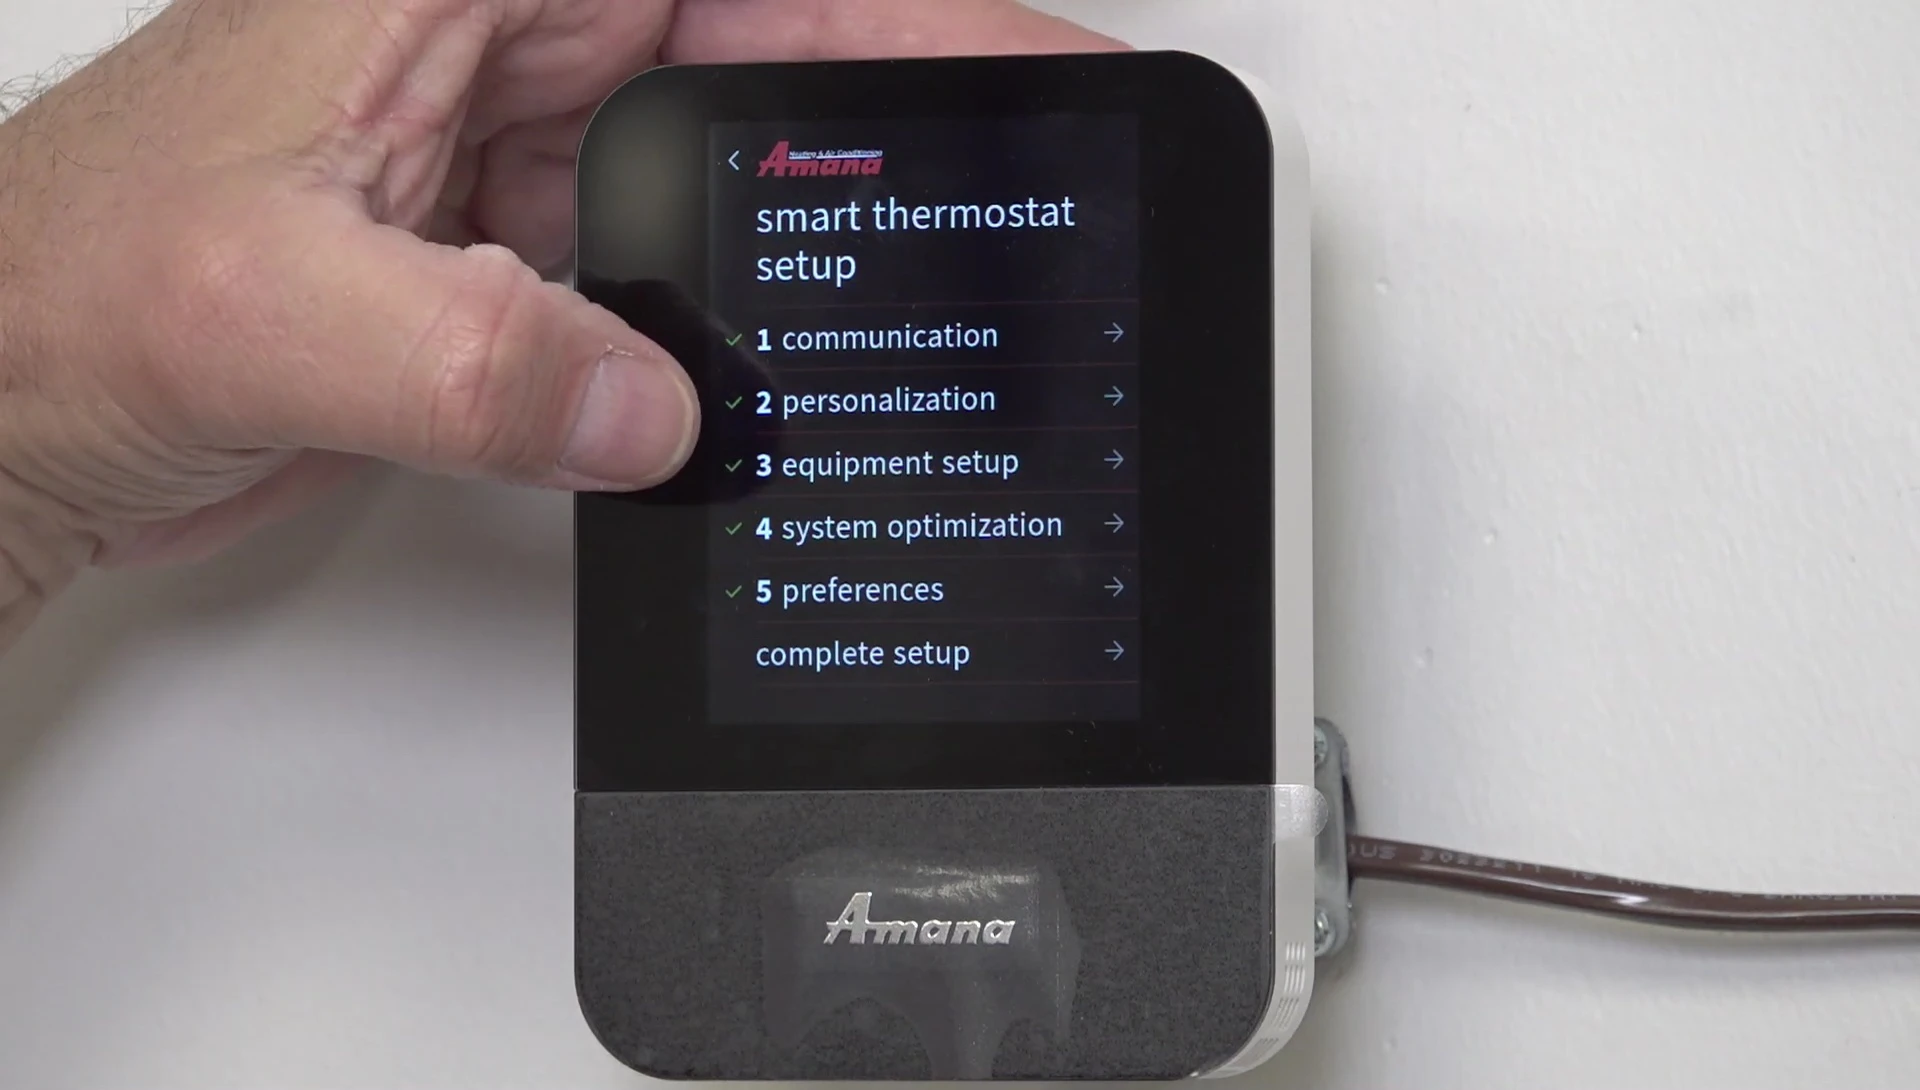
The menu presents several configuration options, including communication, personalization, equipment setup, system optimization, and preferences. The order and approach depend on whether the customer is present or not.
Wi-Fi Setup and Equipment Identification
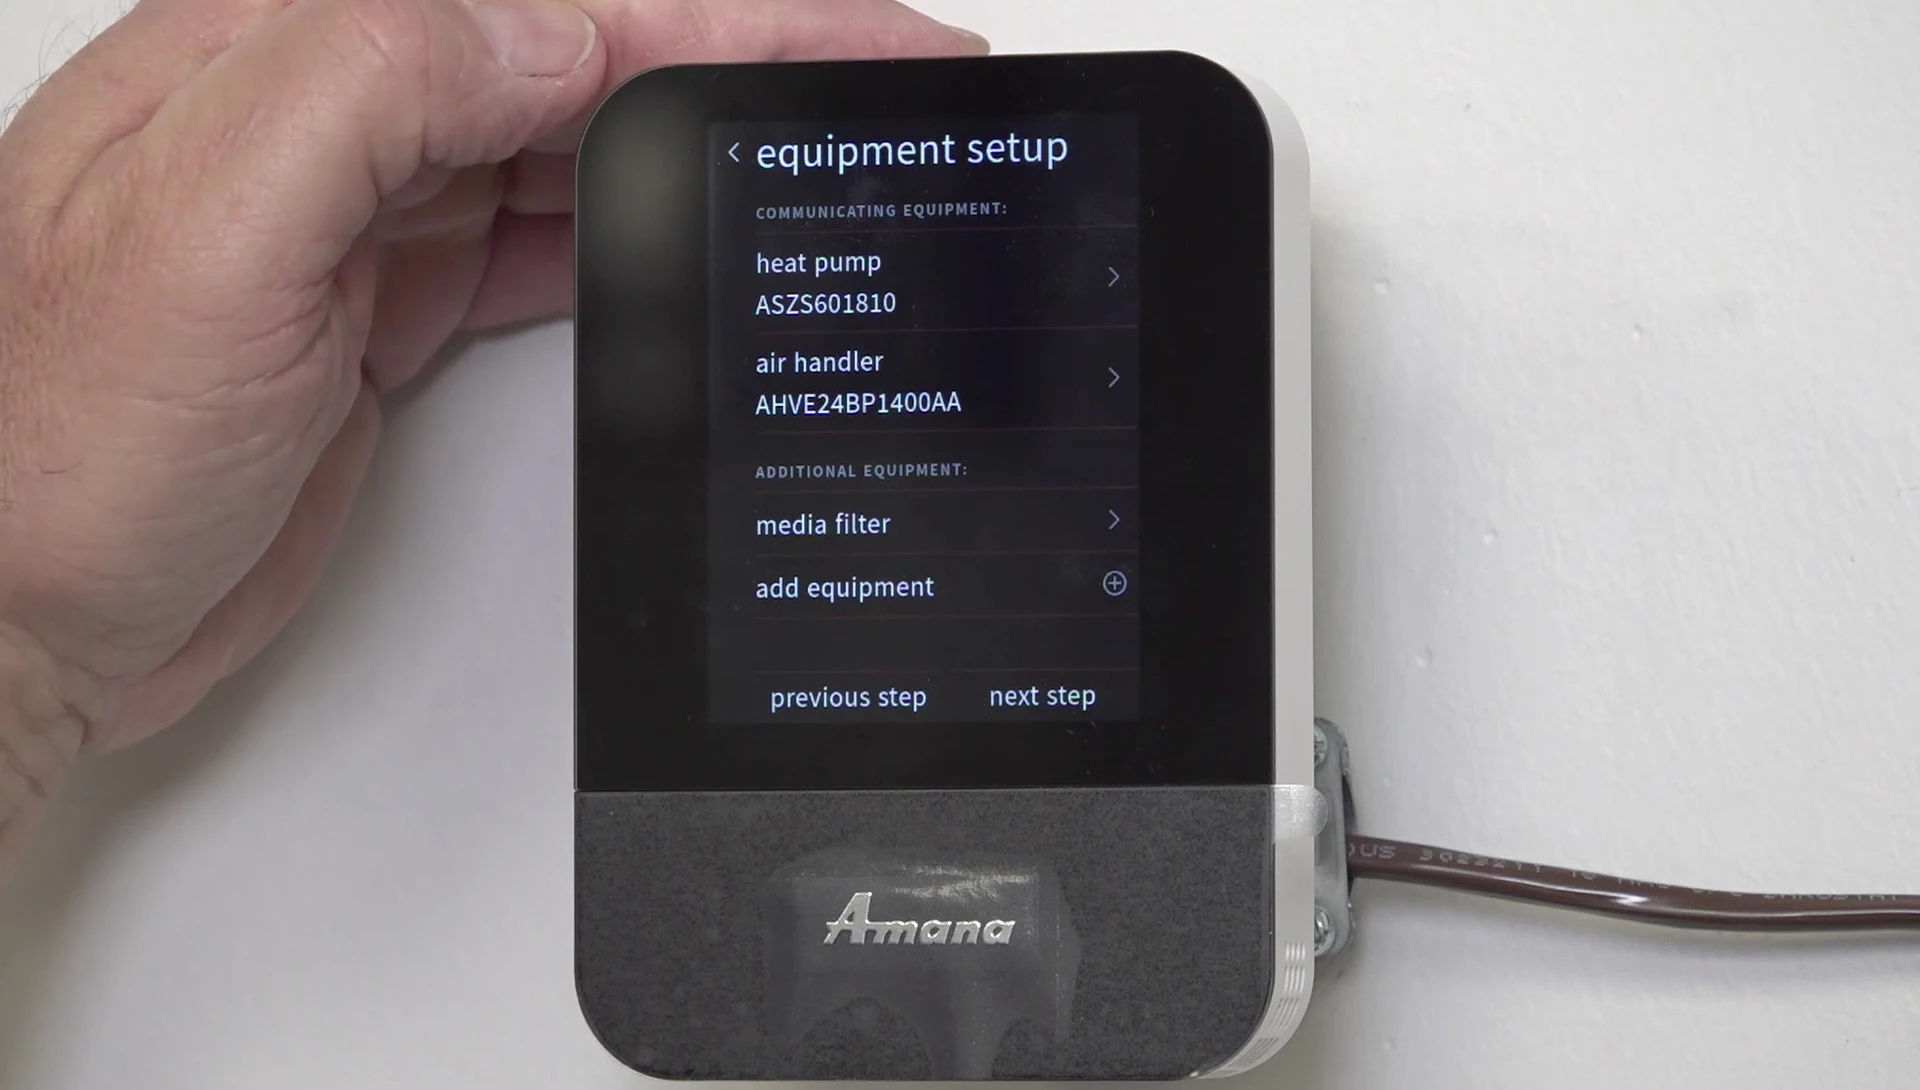
If the customer is available, prioritize setting up the Wi-Fi connection. This requires obtaining their Wi-Fi password. If the customer is unavailable, focus first on the 'Equipment Setup' section.
Within 'Equipment Setup,' verify that the system correctly identifies all components – heat pump, air handler, outdoor unit, furnace, and coil (including EEV coil). The accurate identification of your equipment is crucial for proper operation.
Wiring Considerations and Communication
For optimal communication, it's recommended to use 18-gauge stranded wire instead of 14-gauge or mini-split wire. The stranded wire's multiple conductors improve signal transmission compared to a single-strand wire.
This is important because voltage travels through the center of the wire, while communication signals travel along the outside. Stranded wire provides more surface area for better signal transmission.
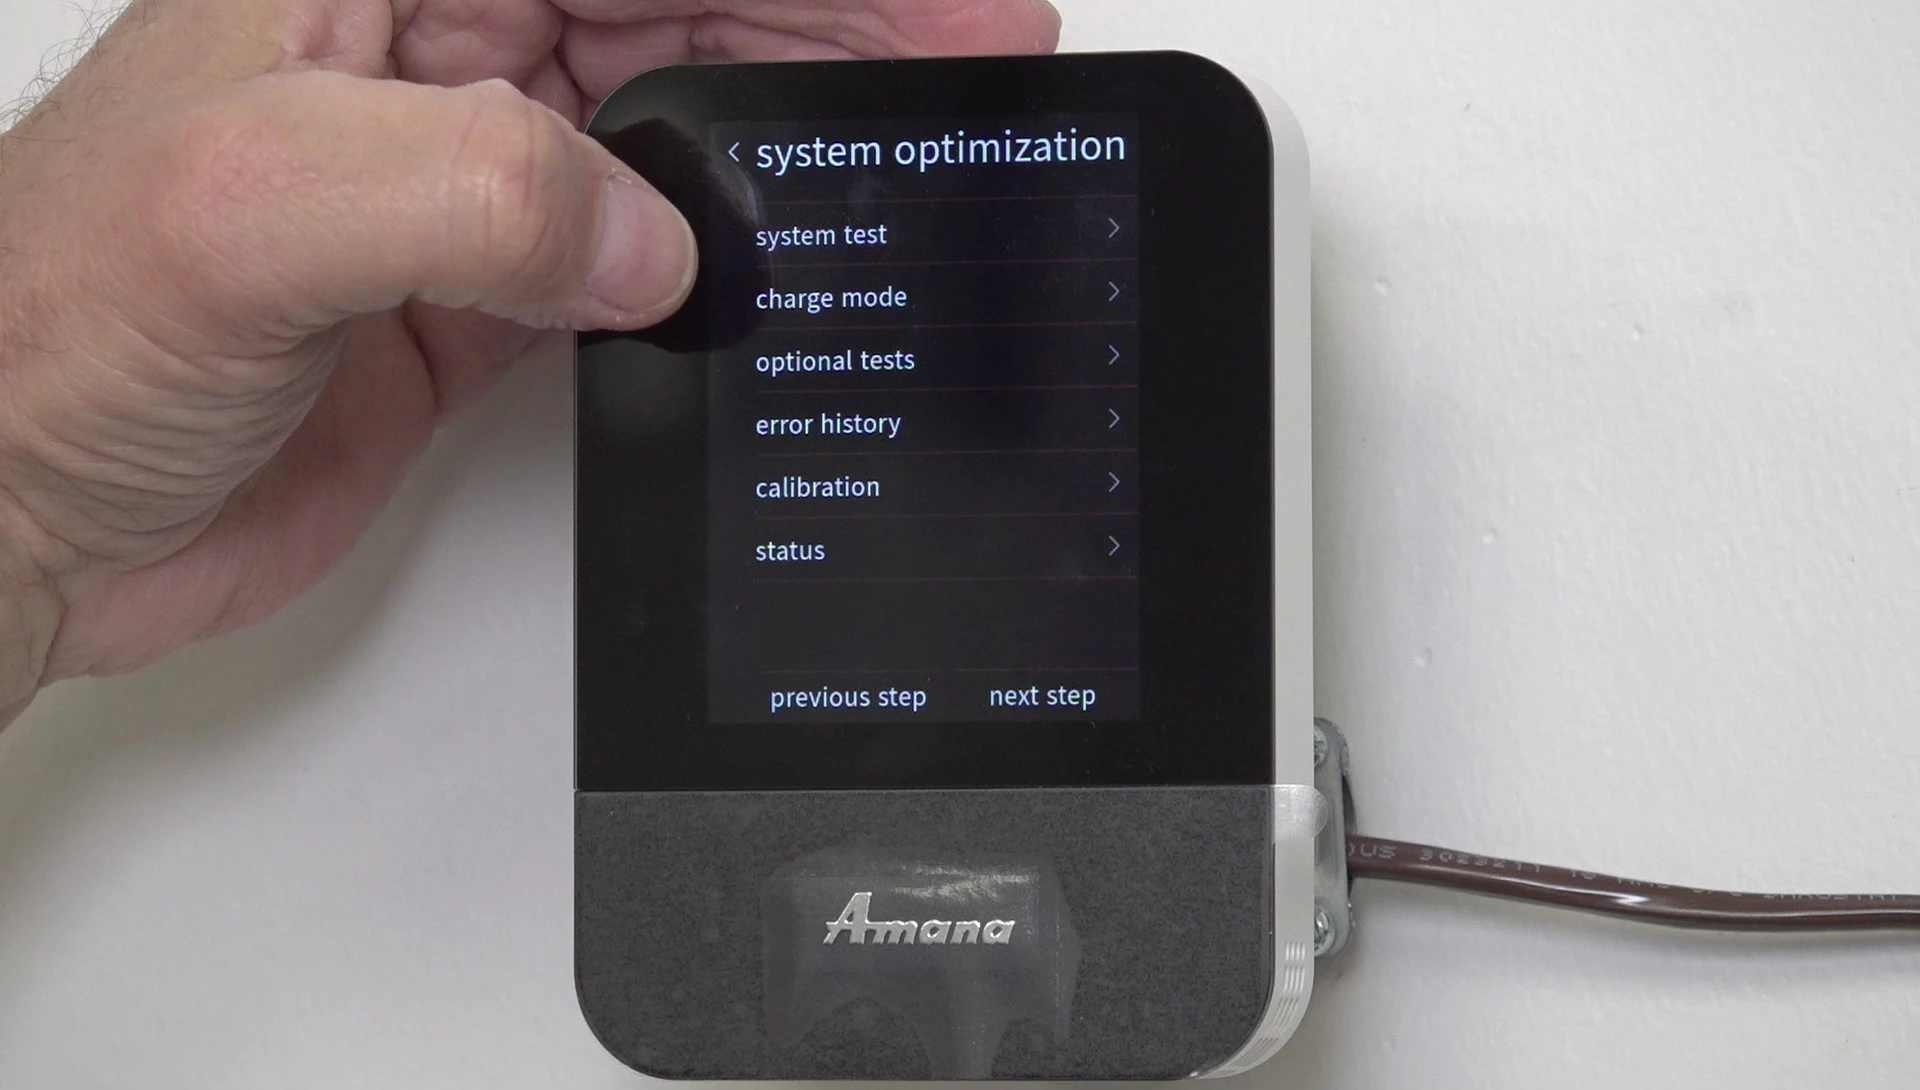
System Tests and Charge Mode
After confirming equipment identification, proceed to run a 'System Test.' This crucial step ensures the system's proper operation. The test typically takes 15 minutes.
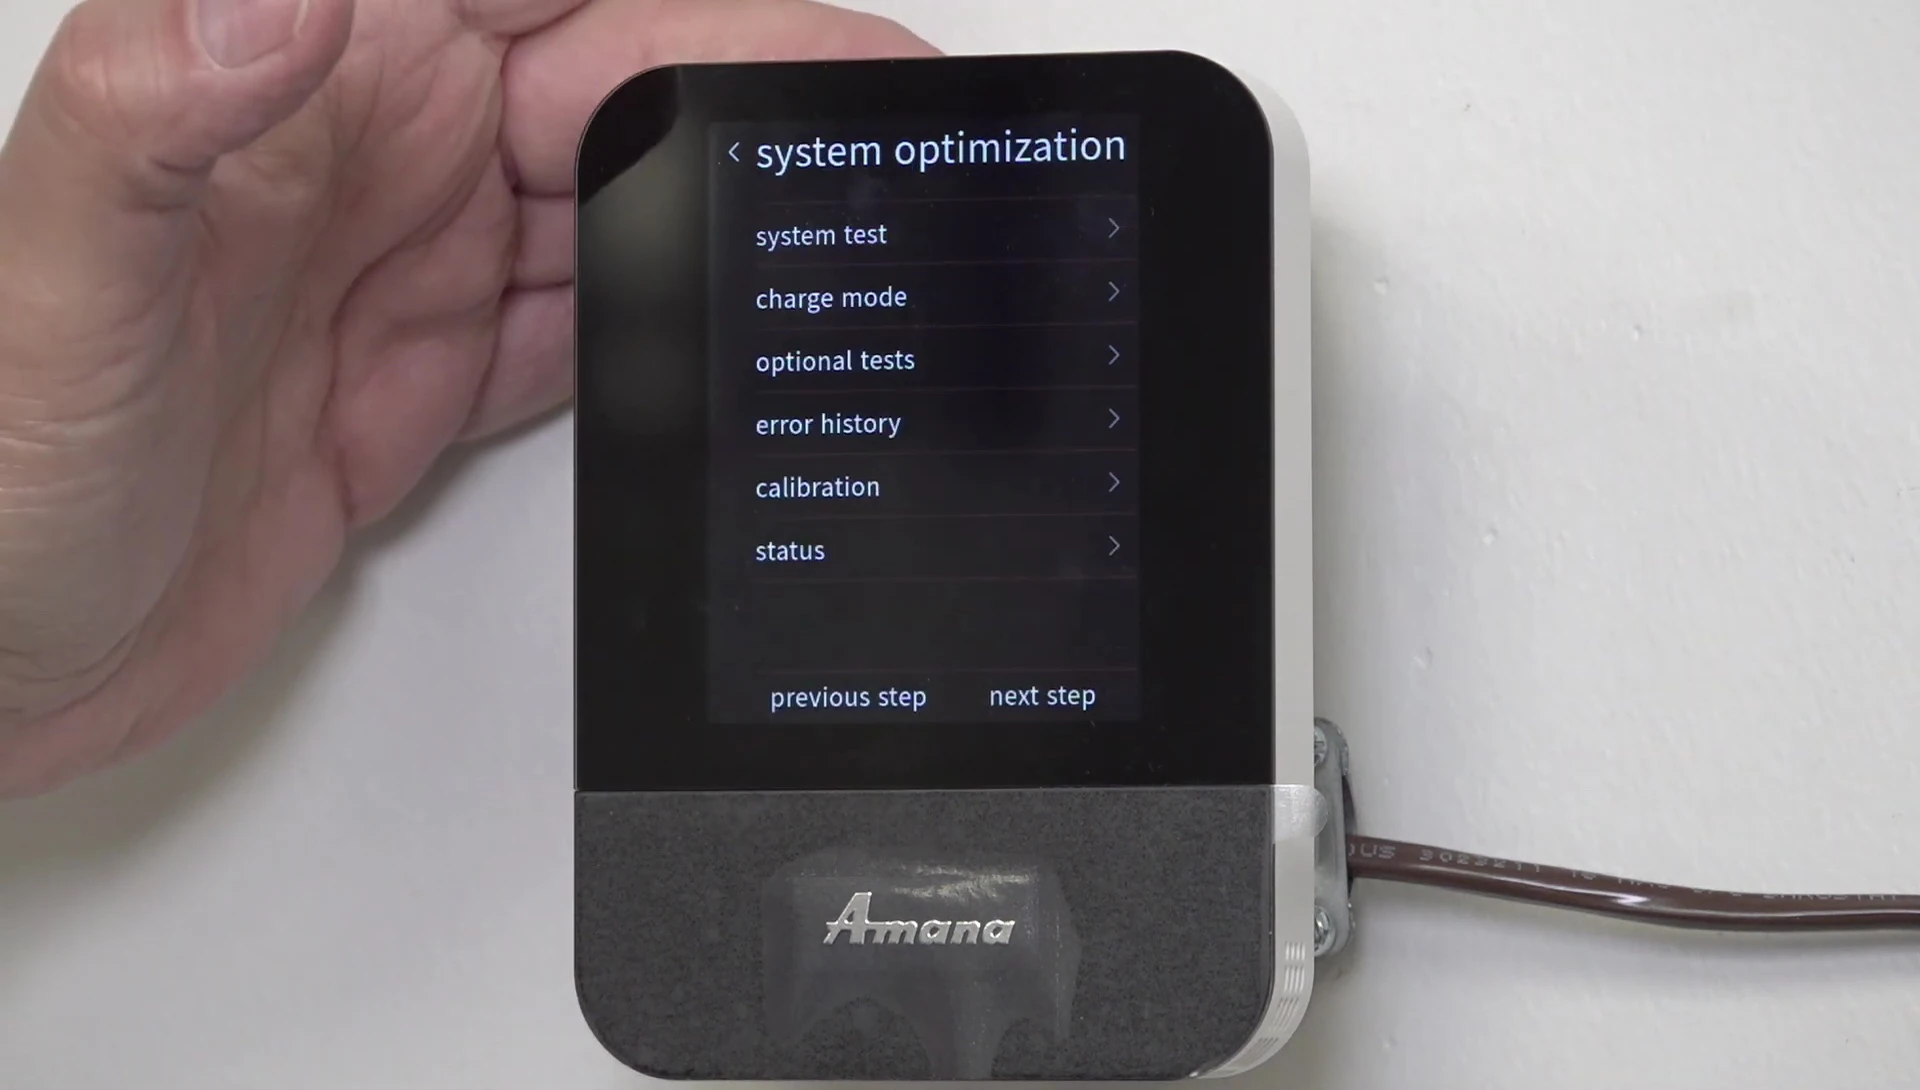
Following the system test, enter 'Charge Mode.' This will involve letting the system ramp up, which takes approximately 30 minutes. Monitor the outdoor unit and check the PSI (pressure) on the subcool to ensure the system is charging correctly.
Mobile App Integration and Conclusion
The Amana smart thermostat offers mobile app integration for remote control and testing. Using the app simplifies the setup and monitoring process significantly.
This convenient feature streamlines system management. It eliminates the need for manual on-site adjustments and troubleshooting, making it more efficient.