This DIY guide details a cost-effective method for upgrading outdated fluorescent lighting fixtures to energy-efficient LEDs. Instead of a costly complete replacement of 8-foot fluorescent tubes and their problematic two-pin connectors, this project demonstrates a clever workaround using readily available 4-foot LED fixtures. The approach minimizes expenses by repurposing existing mounting hardware and focusing on a straightforward installation process. This solution is ideal for those seeking a simple yet impactful upgrade to their lighting system, reducing energy consumption and maintenance needs without breaking the bank.The conversion process, described step-by-step, involves removing old ballasts and wiring, then securely mounting the new 4-foot LED fixtures onto the existing housing. While minor adjustments are needed to accommodate the size difference, the result is a significant improvement in lighting quality and efficiency. This guide provides a practical and affordable solution for homeowners and businesses looking to modernize their lighting while maximizing savings.
Pros And Cons
- Cheaper to buy
- Easier to ship
- Complete fixtures with new wiring and connectors
- Slightly longer than old fixtures, causing some to stick out
Read more: Nuwave PIC Titanium Induction Cooktop Review: A Mixed Bag of Features
Assessing the Old Fluorescent Fixtures
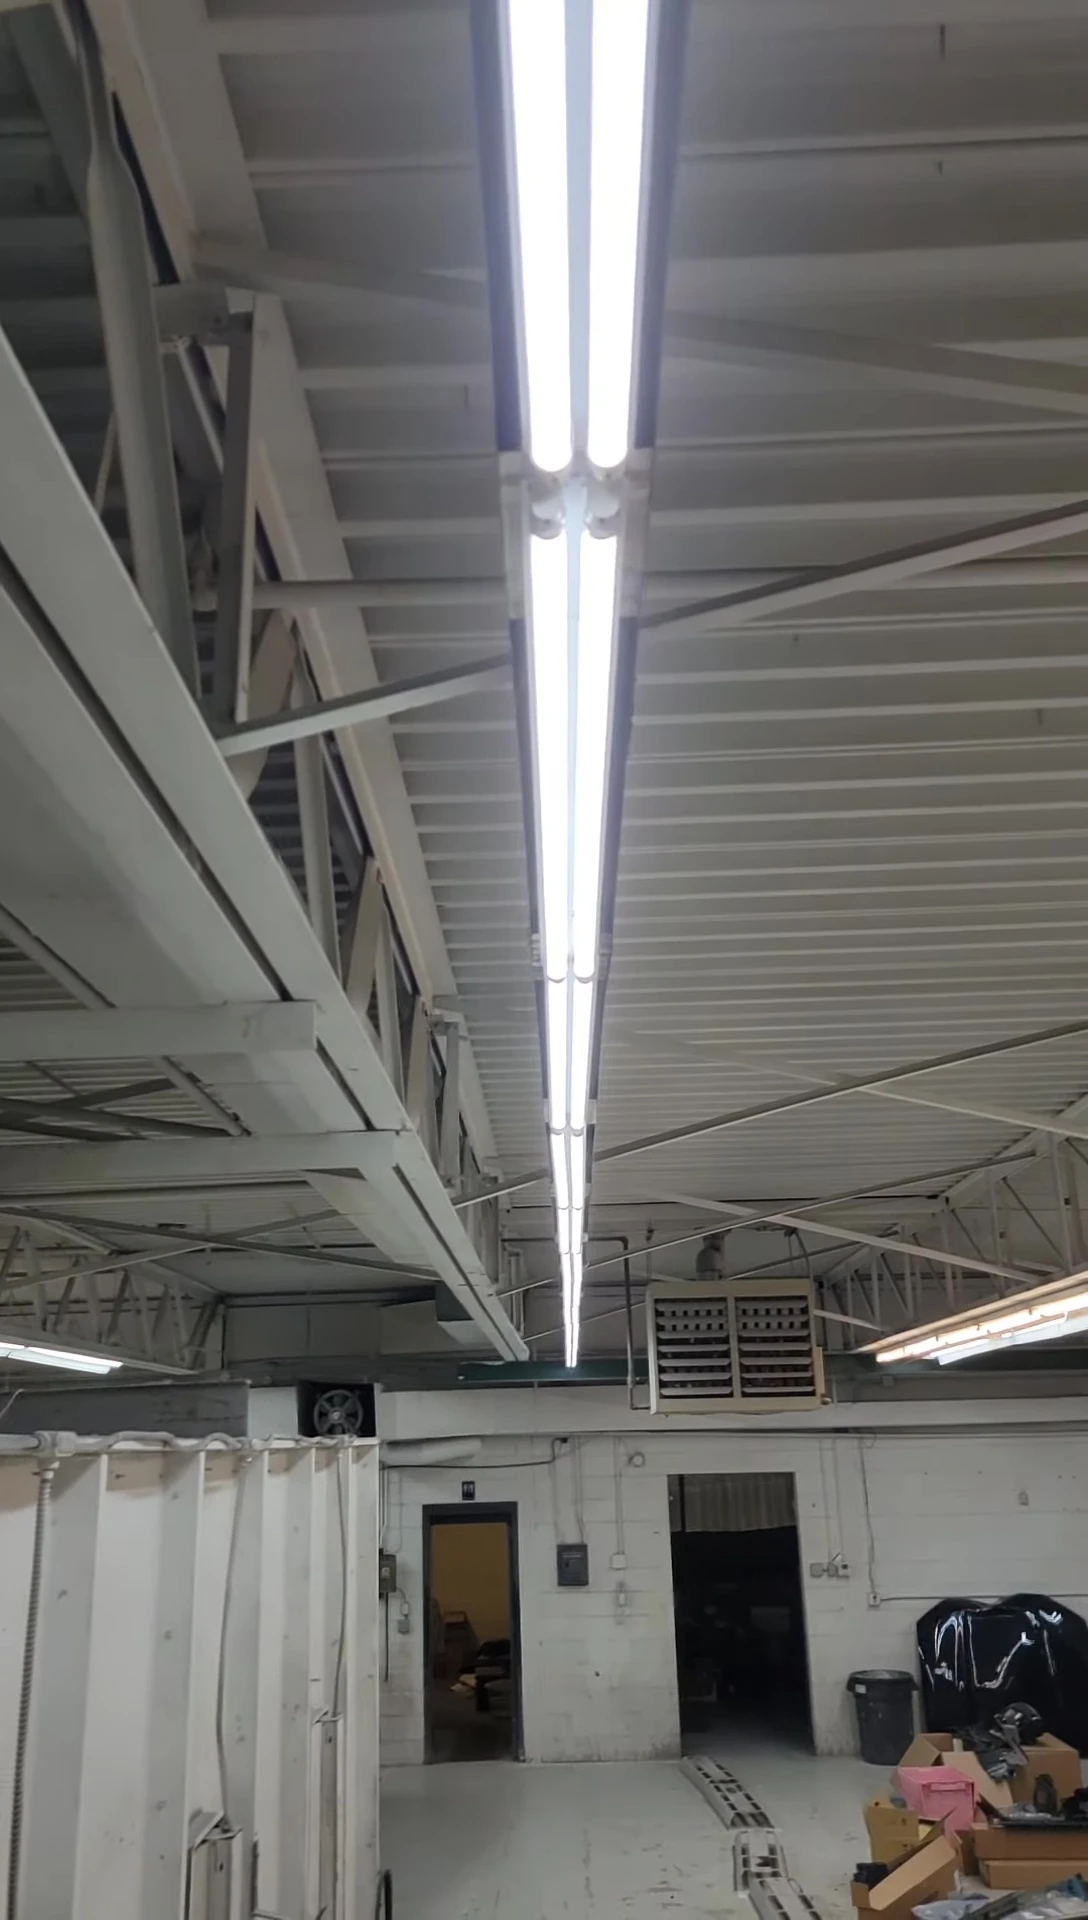
My outdated fluorescent lighting fixtures were a combination of 8-foot, two-pin F96 T12 tubes. The existing connectors were damaged and needed replacement. These older fixtures presented challenges due to their age and the two-pin design, making direct LED conversion difficult. The ballasts were also failing, adding to the inefficiency and maintenance needs.

Instead of a complete overhaul, I opted for a more cost-effective approach.

Choosing and Installing the LED Replacement Fixtures
I chose readily available, cheaper 4-foot LED fixtures. These fixtures offered a simpler solution compared to directly replacing the 8-foot tubes. The 4-foot tubes are easier to handle, cheaper to purchase, and generally easier to ship.

The plan was to securely mount these 4-foot LED fixtures onto the existing 8-foot fixture housings, utilizing the existing mounting hardware wherever possible. This strategy would provide a complete electrical and mechanical upgrade while keeping costs down.

Wiring and Mounting the New Fixtures
The first step involved removing the old ballasts, wiring, and connectors. While I left the ballasts in place for added weight to help stabilize the fixtures, it's crucial to ensure the old wiring is completely removed and replaced with new, safe connections.

I utilized a combination of the original mounting hardware and additional self-tapping screws to securely attach the 4-foot LED fixtures. There were some challenges due to the length difference between the old and new fixtures, requiring careful adjustment during installation.

Final Results and Conclusion
The project successfully replaced all the old fluorescent fixtures with new 4-foot LED units. The new lights are functioning correctly and provide a more efficient and reliable lighting solution. There was some minor adjustment needed due to the size differences in fixtures, resulting in slightly protruding new fixtures.

This DIY conversion was successful in upgrading the lighting system. This approach provides a cost-effective and relatively simple way to improve lighting efficiency and reduce energy costs. While minor adjustments were required, the overall outcome is a significant improvement over the outdated fluorescent system.