This article reviews a DIY homemade wind turbine project, detailing the construction process and performance evaluation. The project focuses on a cleverly designed nacelle, the central housing unit, incorporating repurposed materials like a bike rack for mounting and a bicycle rim for the turbine blades. The design incorporates a unique five-blade configuration, an idler wheel for smooth nacelle rotation, and a fin mechanism for wind tracking. Power generation is handled by a motor along the rim, charging a battery housed within the nacelle. The electronic system includes a voltage regulator sourced from AliExpress, highlighting the project's cost-effectiveness.While the prototype demonstrates functionality, the review points out areas for improvement. Issues such as weatherproofing the battery and optimizing the alternator placement are identified for future iterations. Despite these limitations, the project serves as a valuable demonstration of how to construct a functional wind turbine using readily available and repurposed materials, offering a budget-friendly option for hobbyists and DIY enthusiasts interested in renewable energy exploration.
Pros And Cons
- Almost instantaneous rotation
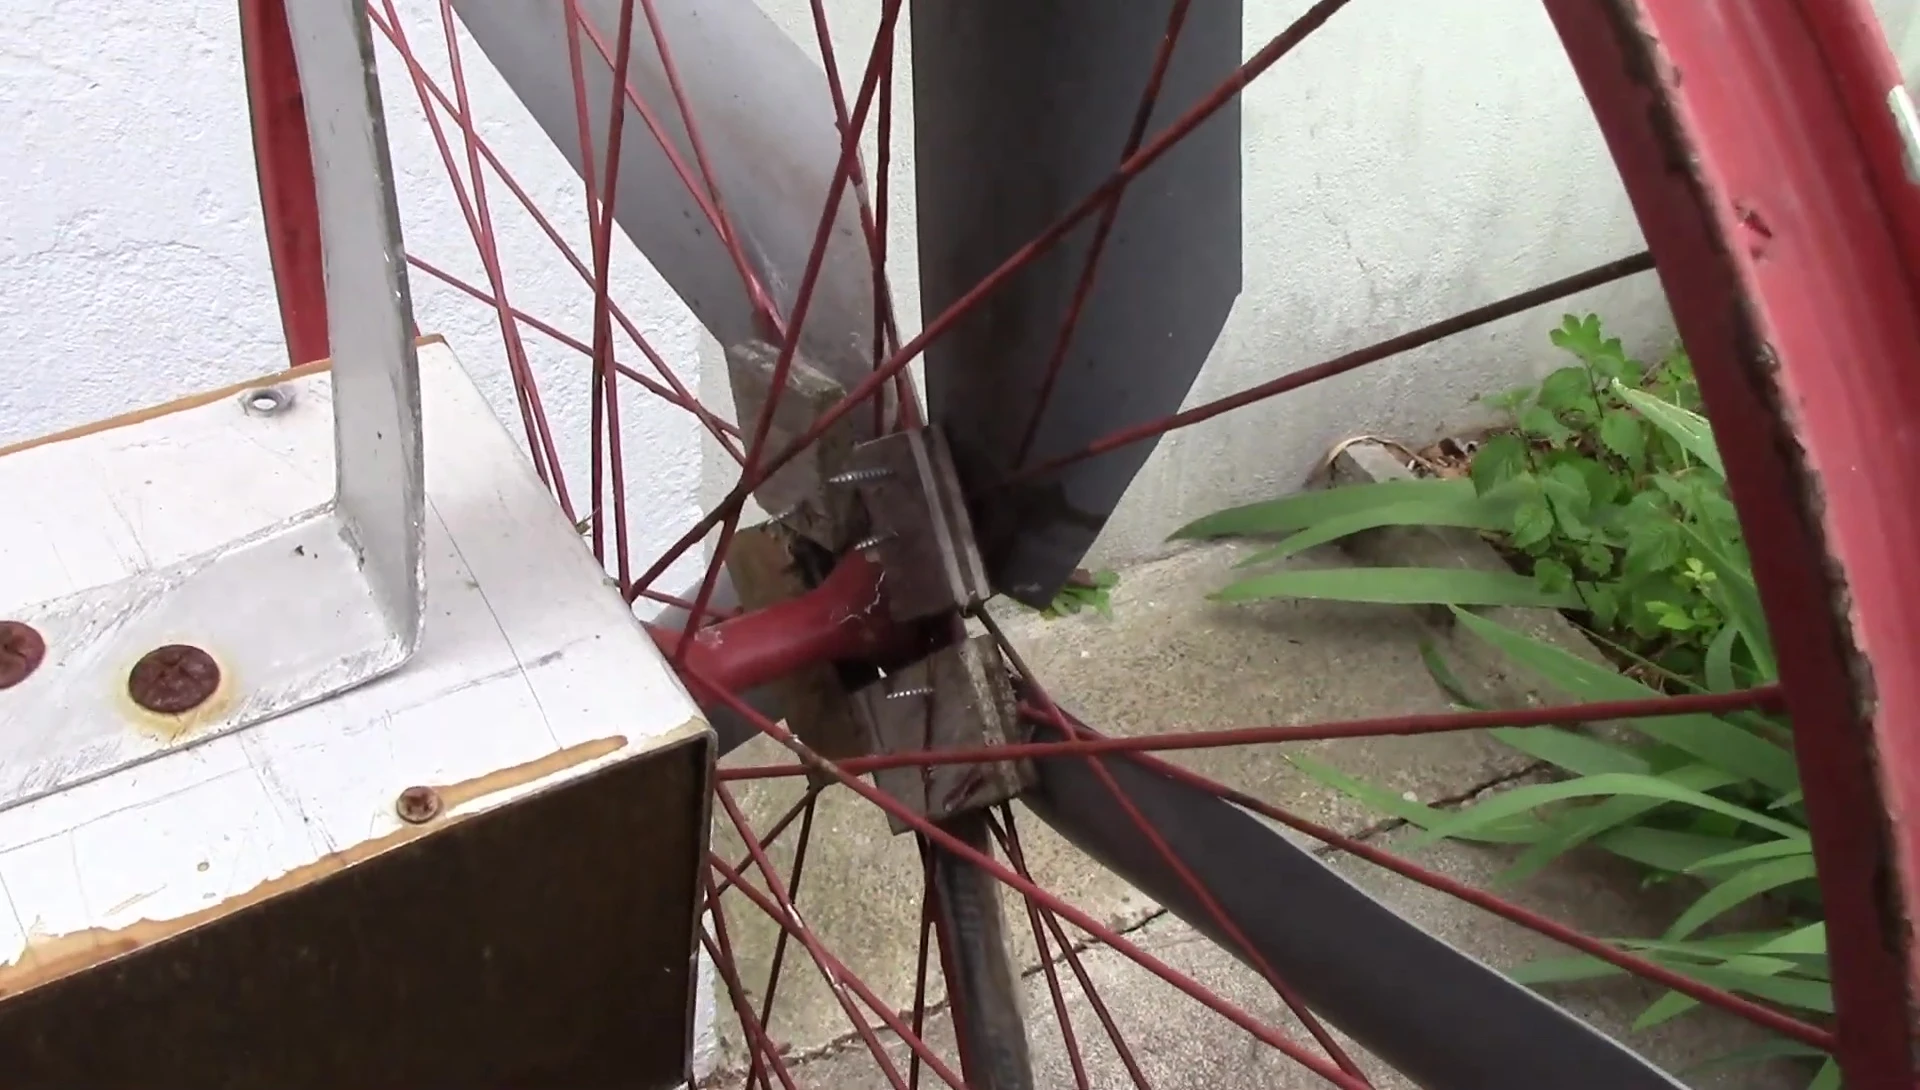
- Uses a bike rim for minimal friction rotation
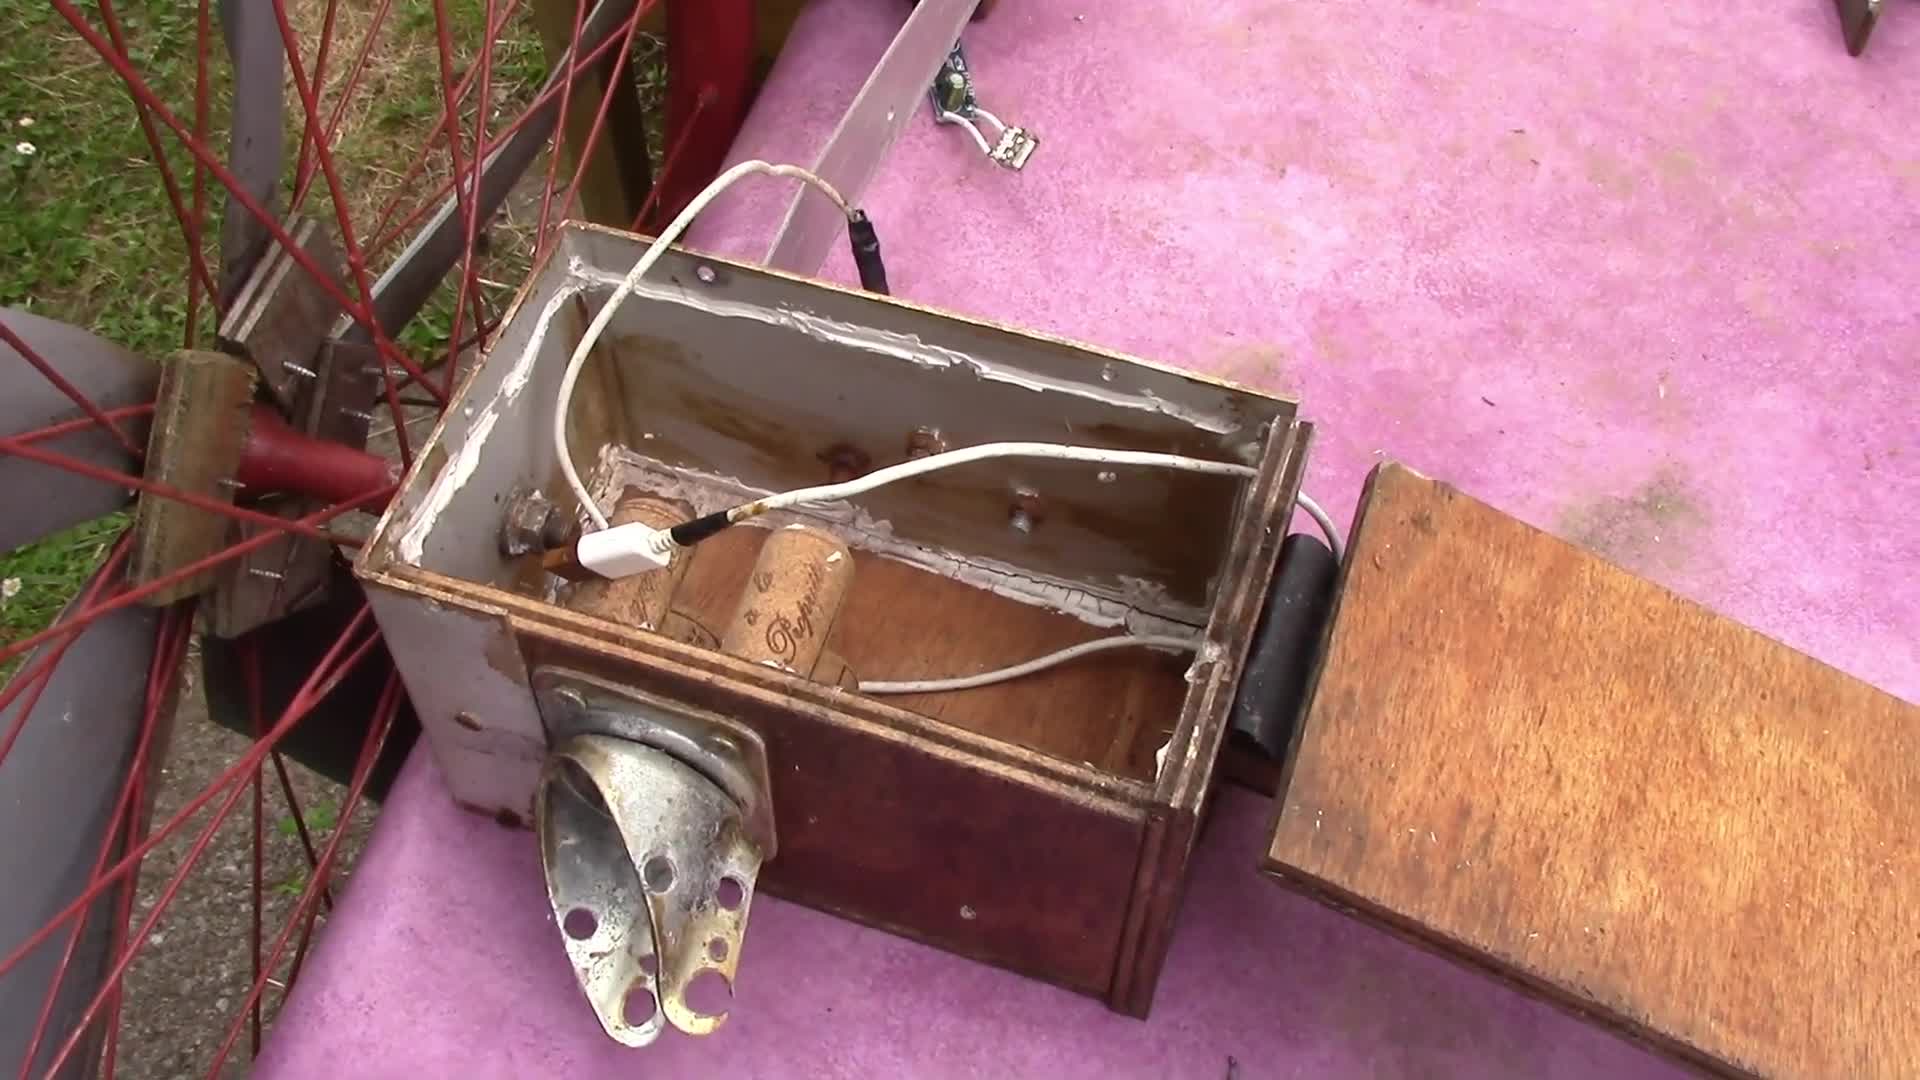
- Not very waterproof (rust present)
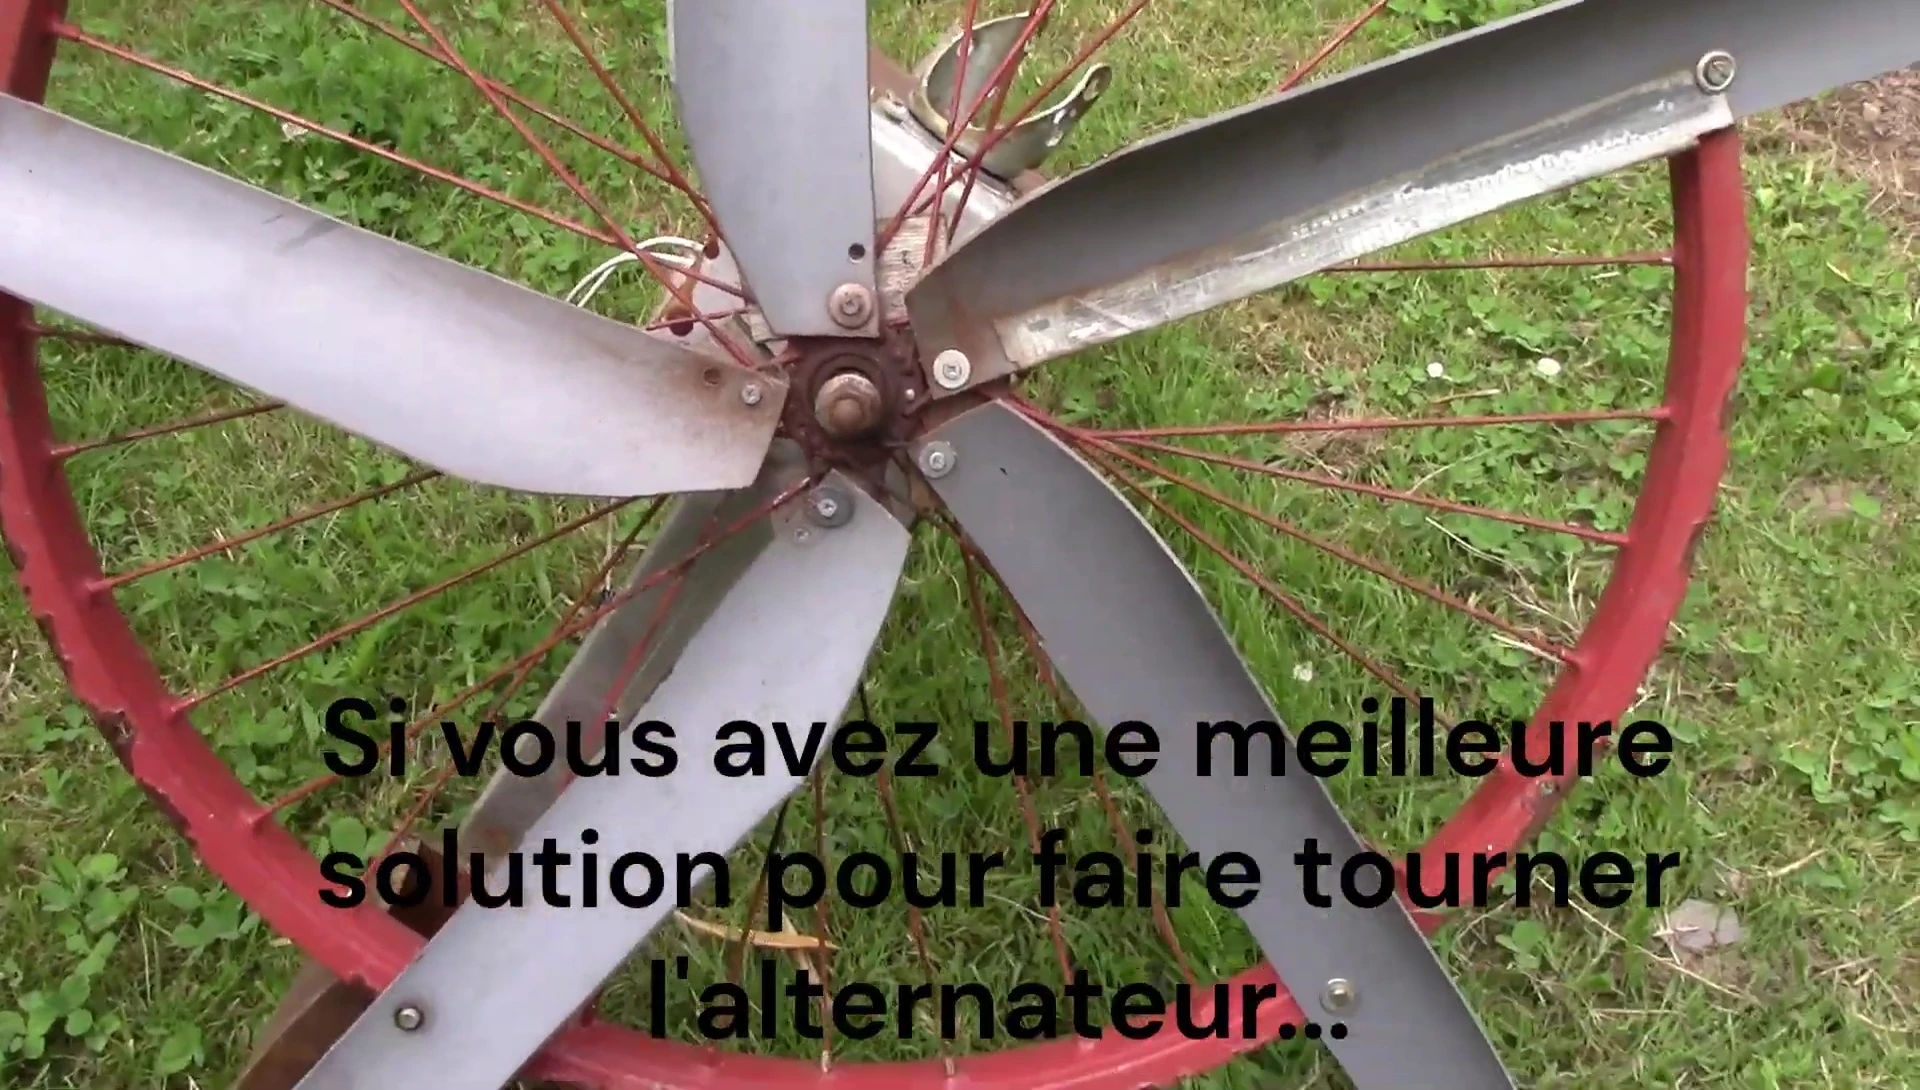
- The solution to fix the alternator in the small upper nacelle is not a good idea because there is a variation since it moves, it is not fixed enough.
Read more: InnerVenue's Forever Battery: Revolutionizing Renewable Energy Storage
Nacelle Assembly and Idler Wheel
The project centers around a homemade wind turbine nacelle, the housing unit for the turbine's internal components. A crucial element is the idler wheel, responsible for the smooth rotation of the nacelle itself. This ensures the turbine can efficiently track the wind's direction.
The bike rack, ingeniously repurposed, provides a sturdy mount for the nacelle on an aluminum support structure. This demonstrates resourcefulness and cost-effectiveness in construction.

Motor, Battery, and Charging System
Power generation is managed by a motor that runs along the rim of the wind turbine. While not permanently fixed in this prototype, the design incorporates provisions for secure mounting. The video demonstrates the simple wiring for recharging a battery housed within the nacelle.

The battery charging system, although functional, shows signs of vulnerability to the elements, highlighting the need for better weatherproofing in a final iteration. This is evident in the visible rust, suggesting further development is needed for long-term outdoor durability.

Pivot Mechanism and Blade Design
The nacelle incorporates a fin mechanism, enabling the wind turbine to pivot and orient itself towards prevailing winds. A small hinge and cork stoppers help to conceal the screws, resulting in a more refined aesthetic finish.

Five blades are utilized, deviating from the more conventional three. The builder tested both configurations, concluding that the difference in performance was negligible.

Electronics and Voltage Regulation
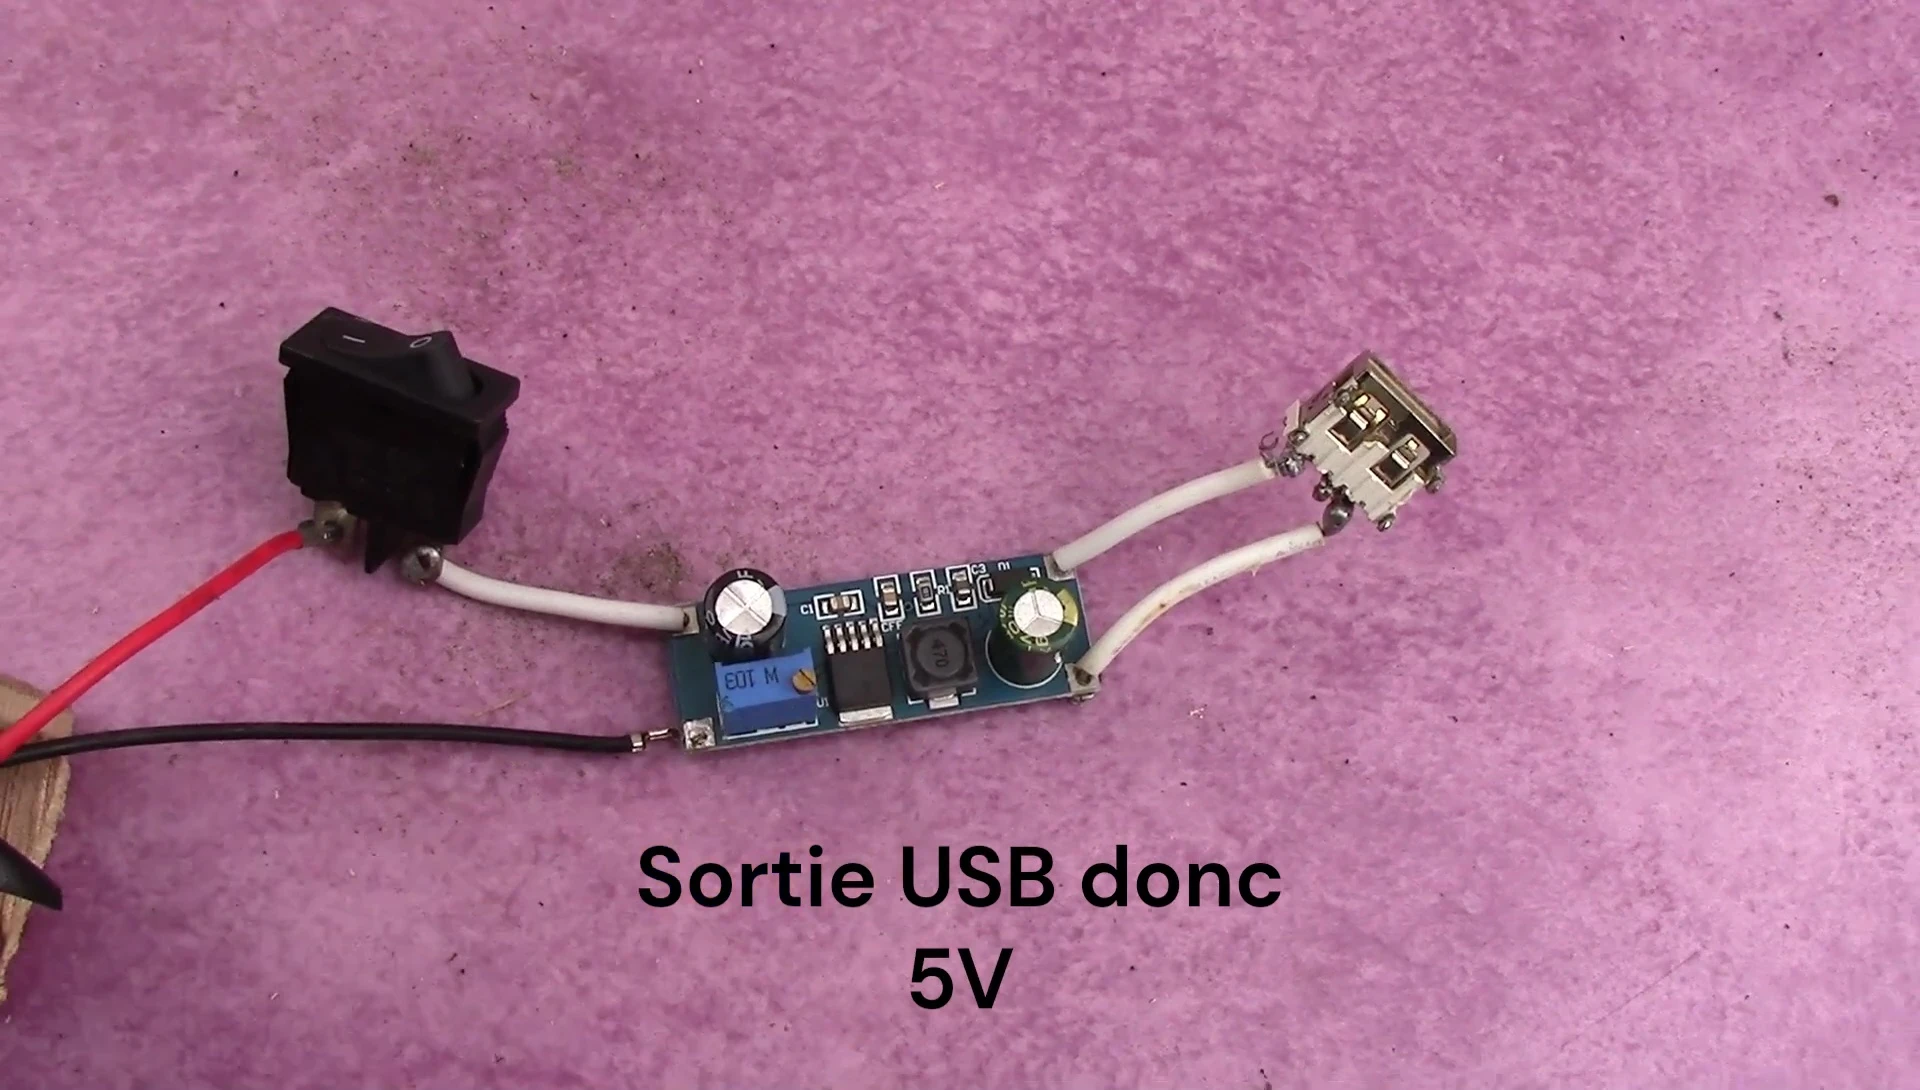
The electronic control system includes a small switch and electronic card, facilitating voltage transformation. This setup allows for input voltages between 3 and 80V, while outputting a regulated 5V.

The component responsible for the voltage regulation was sourced from AliExpress, a popular online marketplace for electronic components, indicating affordability and accessibility of parts. This helps keep the project cost-effective.
Blade Mounting and Rim Selection
The blades are securely mounted to the center of an old road bike rim using screws and small wooden plates. The rim is chosen for its low friction, facilitating smooth rotation. This repurposing demonstrates resourcefulness.
The use of a repurposed bike rim provides cost savings, showcasing the practical nature of this project. The low friction characteristic of the rim is essential for efficient energy conversion.

Alternator Placement and Conclusion
The video explores alternator placement, revealing that the initial positioning within the small upper nacelle proved less than ideal due to movement and instability. This highlights the importance of careful component placement for optimal performance and stability.

This DIY project provides a functional, though not perfectly refined, demonstration of wind turbine construction. Further refinements, specifically regarding weatherproofing and alternator placement, would significantly enhance its longevity and efficiency. The use of readily available and repurposed materials makes it a budget-friendly option for enthusiasts.