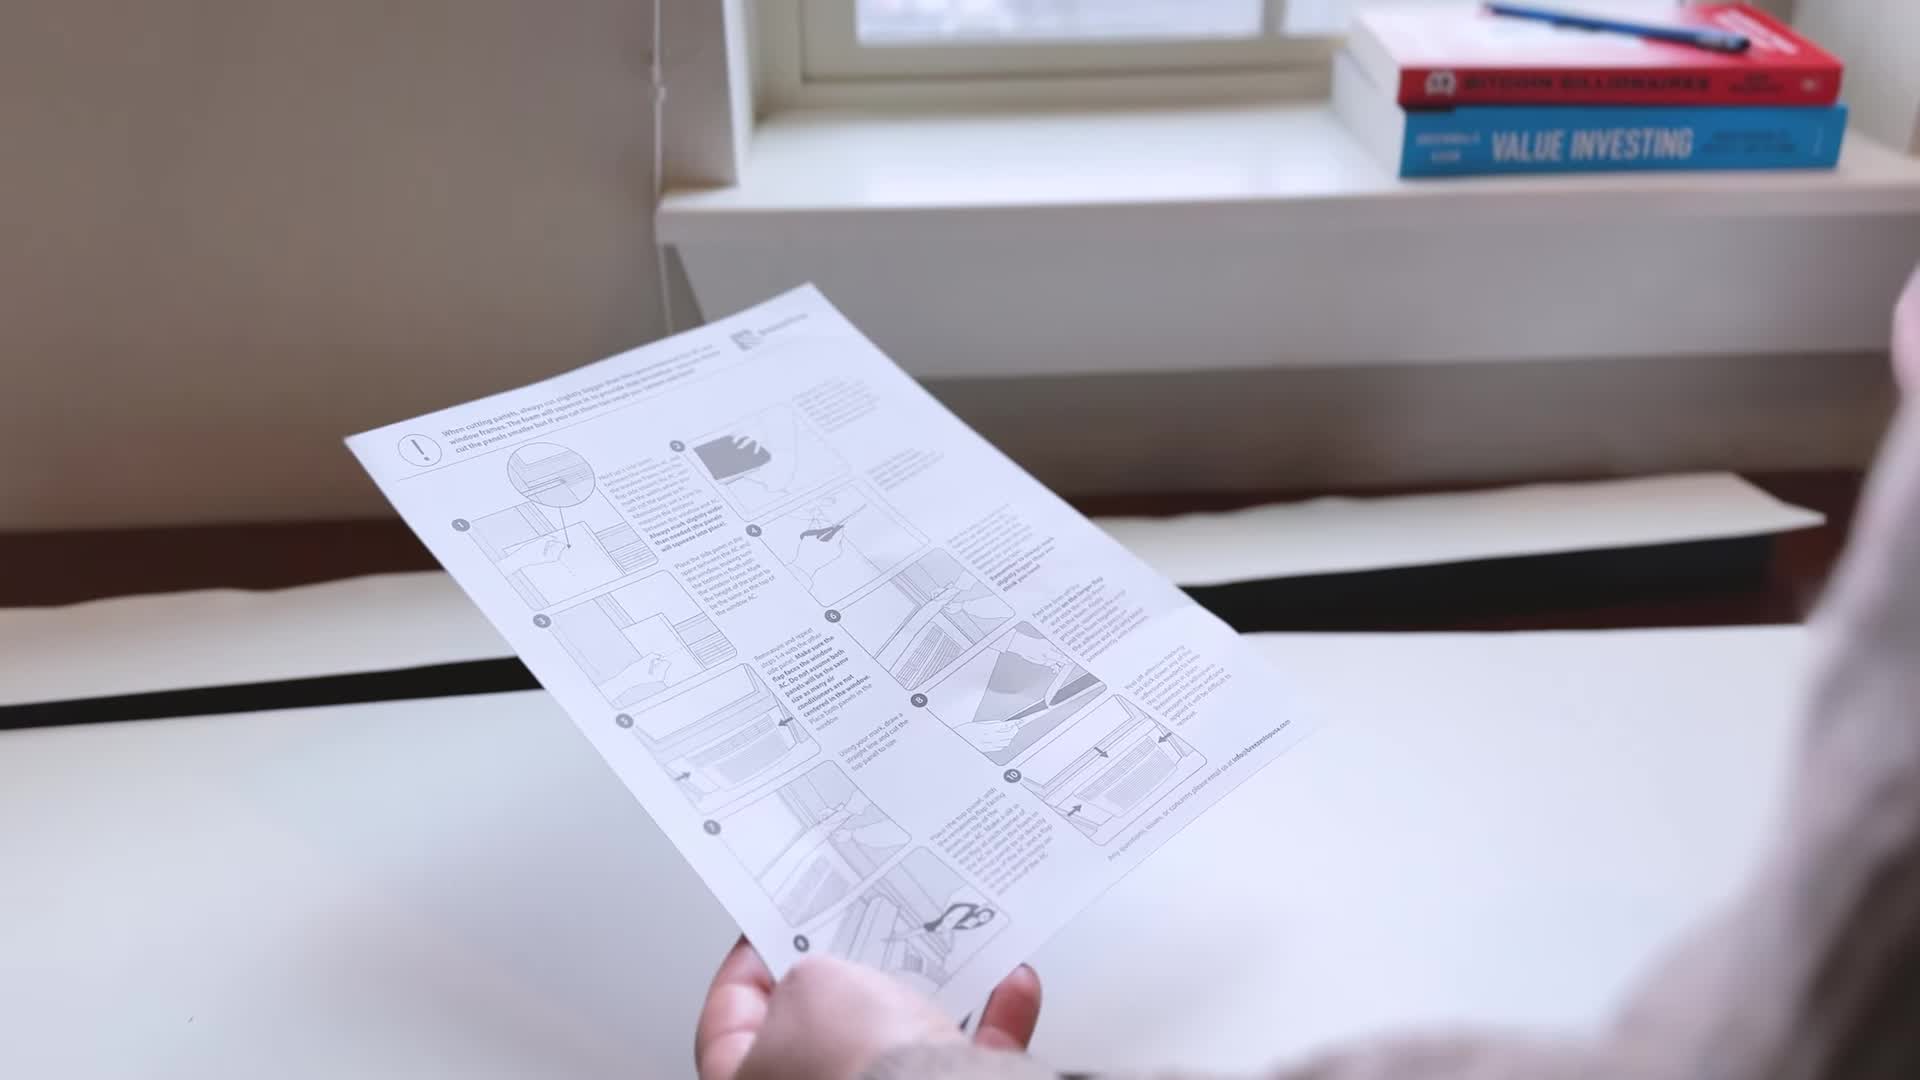
This guide provides a step-by-step tutorial on creating a custom insulation solution for your window air conditioning unit. By sealing the gaps between your AC unit and window frame, you can significantly reduce energy waste and lower your electricity bills year-round. This DIY project is surprisingly simple and requires only basic tools and readily available materials, making it a cost-effective solution for homeowners looking to improve their home's energy efficiency. Forget expensive professional installations – you can achieve noticeable energy savings with this easy-to-follow method.This project focuses on crafting custom insulation panels that perfectly fit the unique dimensions of your window and air conditioner. We'll guide you through precise measurements, clean cutting techniques, and secure adhesive application to ensure a snug and long-lasting seal. By minimizing air leakage around your window AC unit, you'll create a more efficient cooling system, leading to lower energy consumption and a more comfortable home environment. Let's get started on saving energy and money!
Read more: Nuwave PIC Titanium Induction Cooktop Review: A Mixed Bag of Features
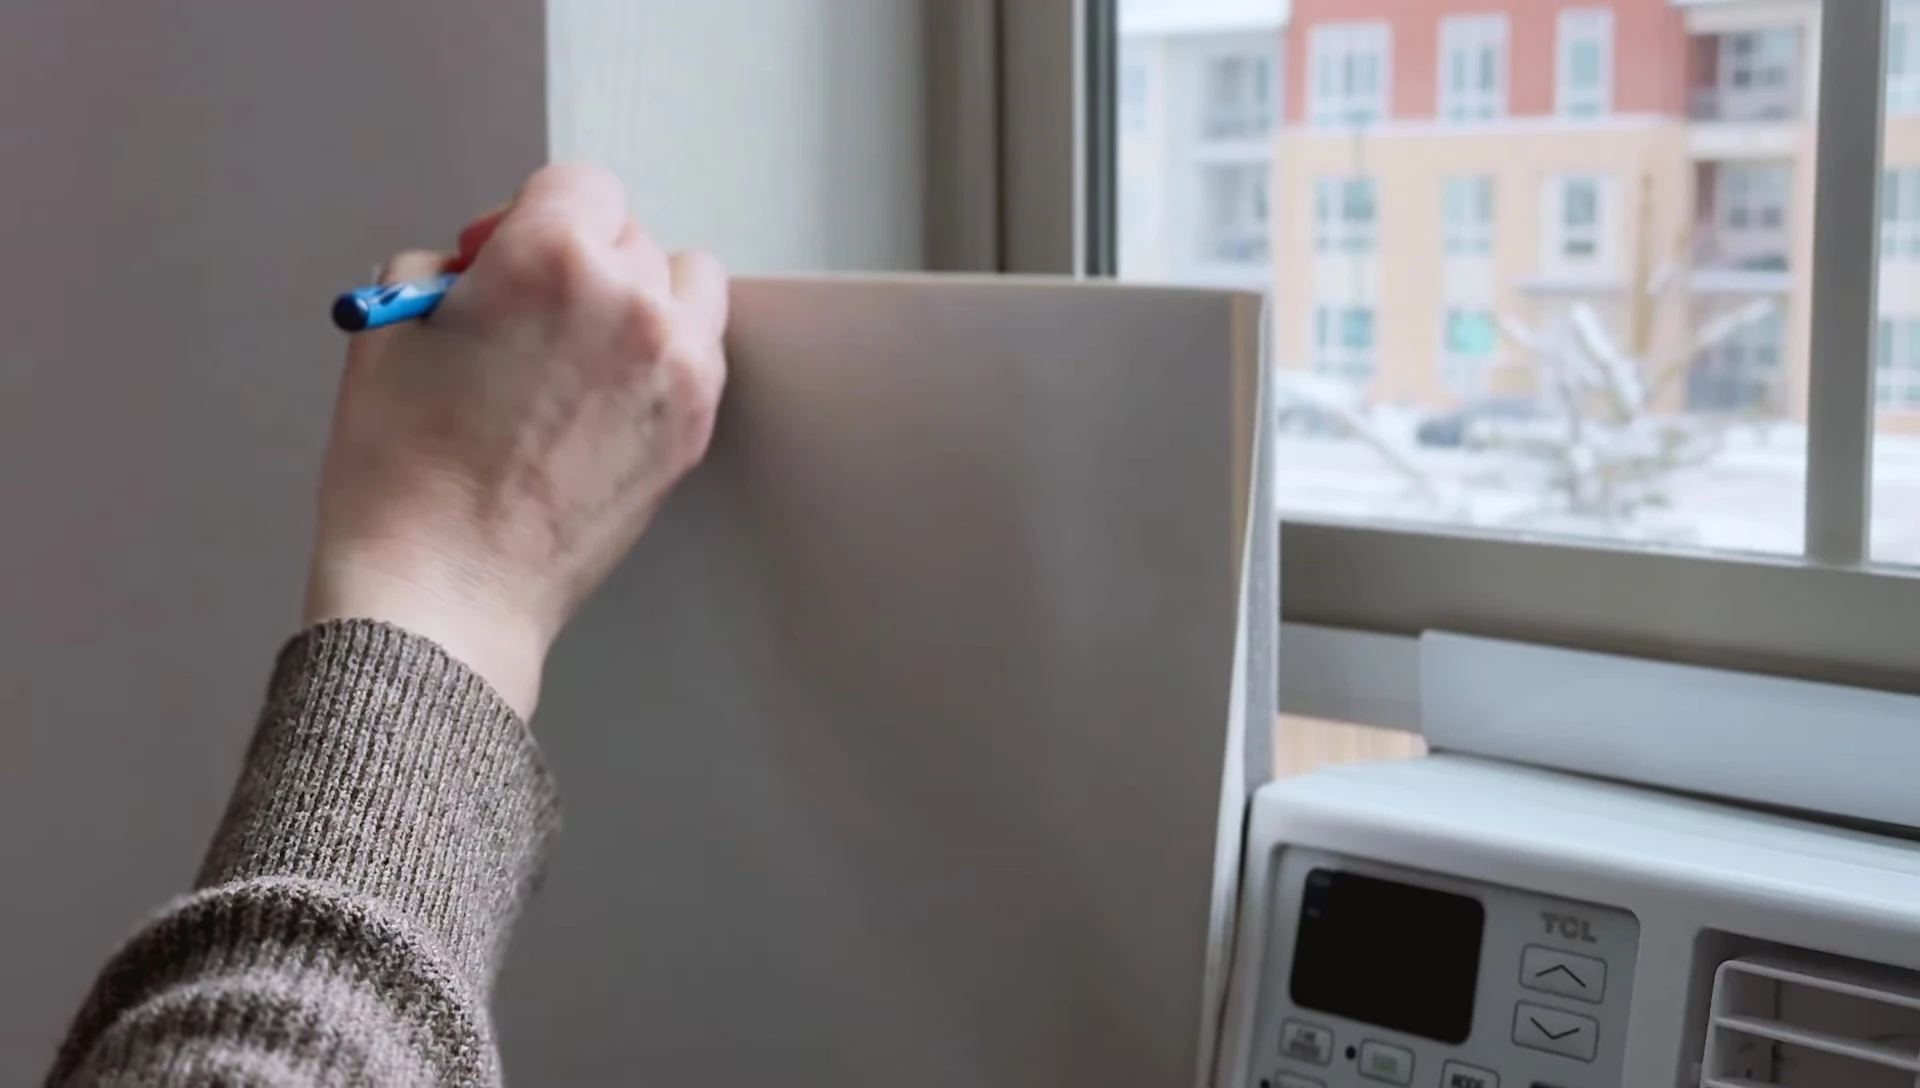
Preparing the Side Panels
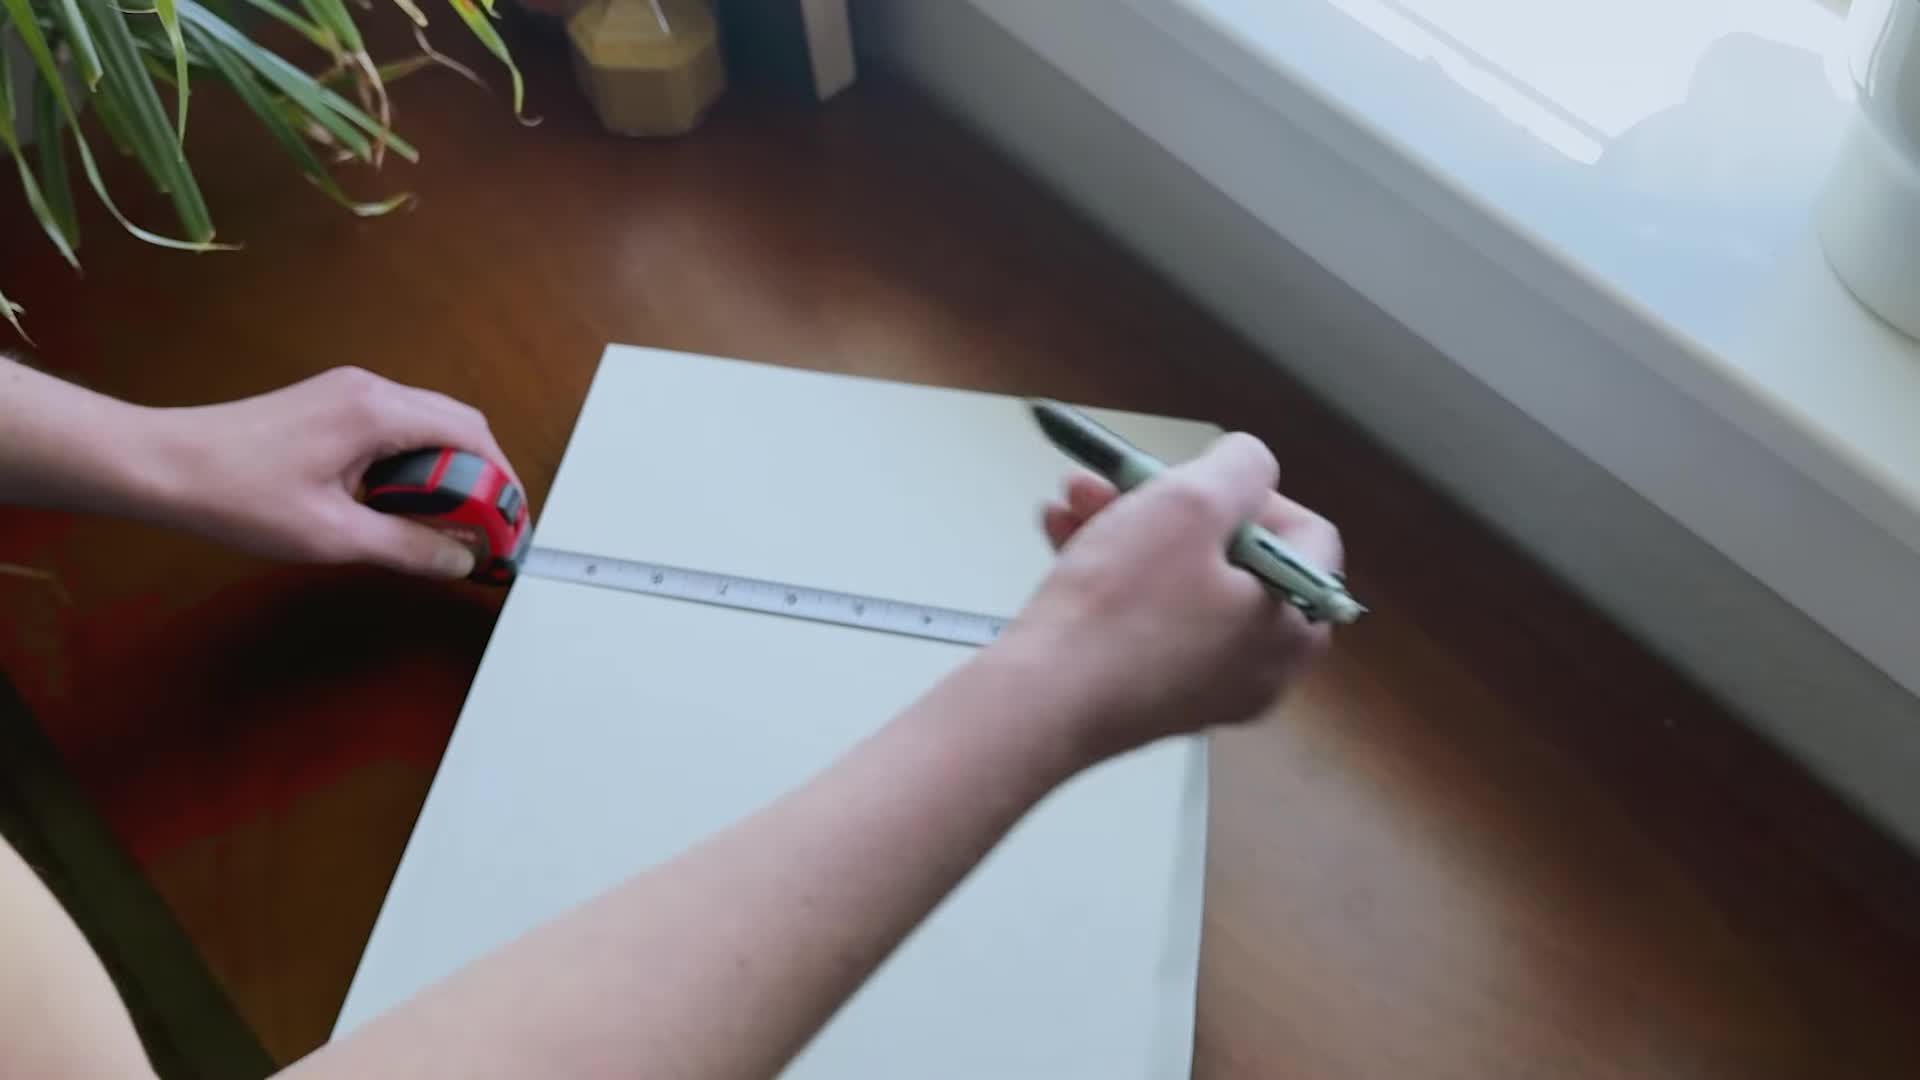
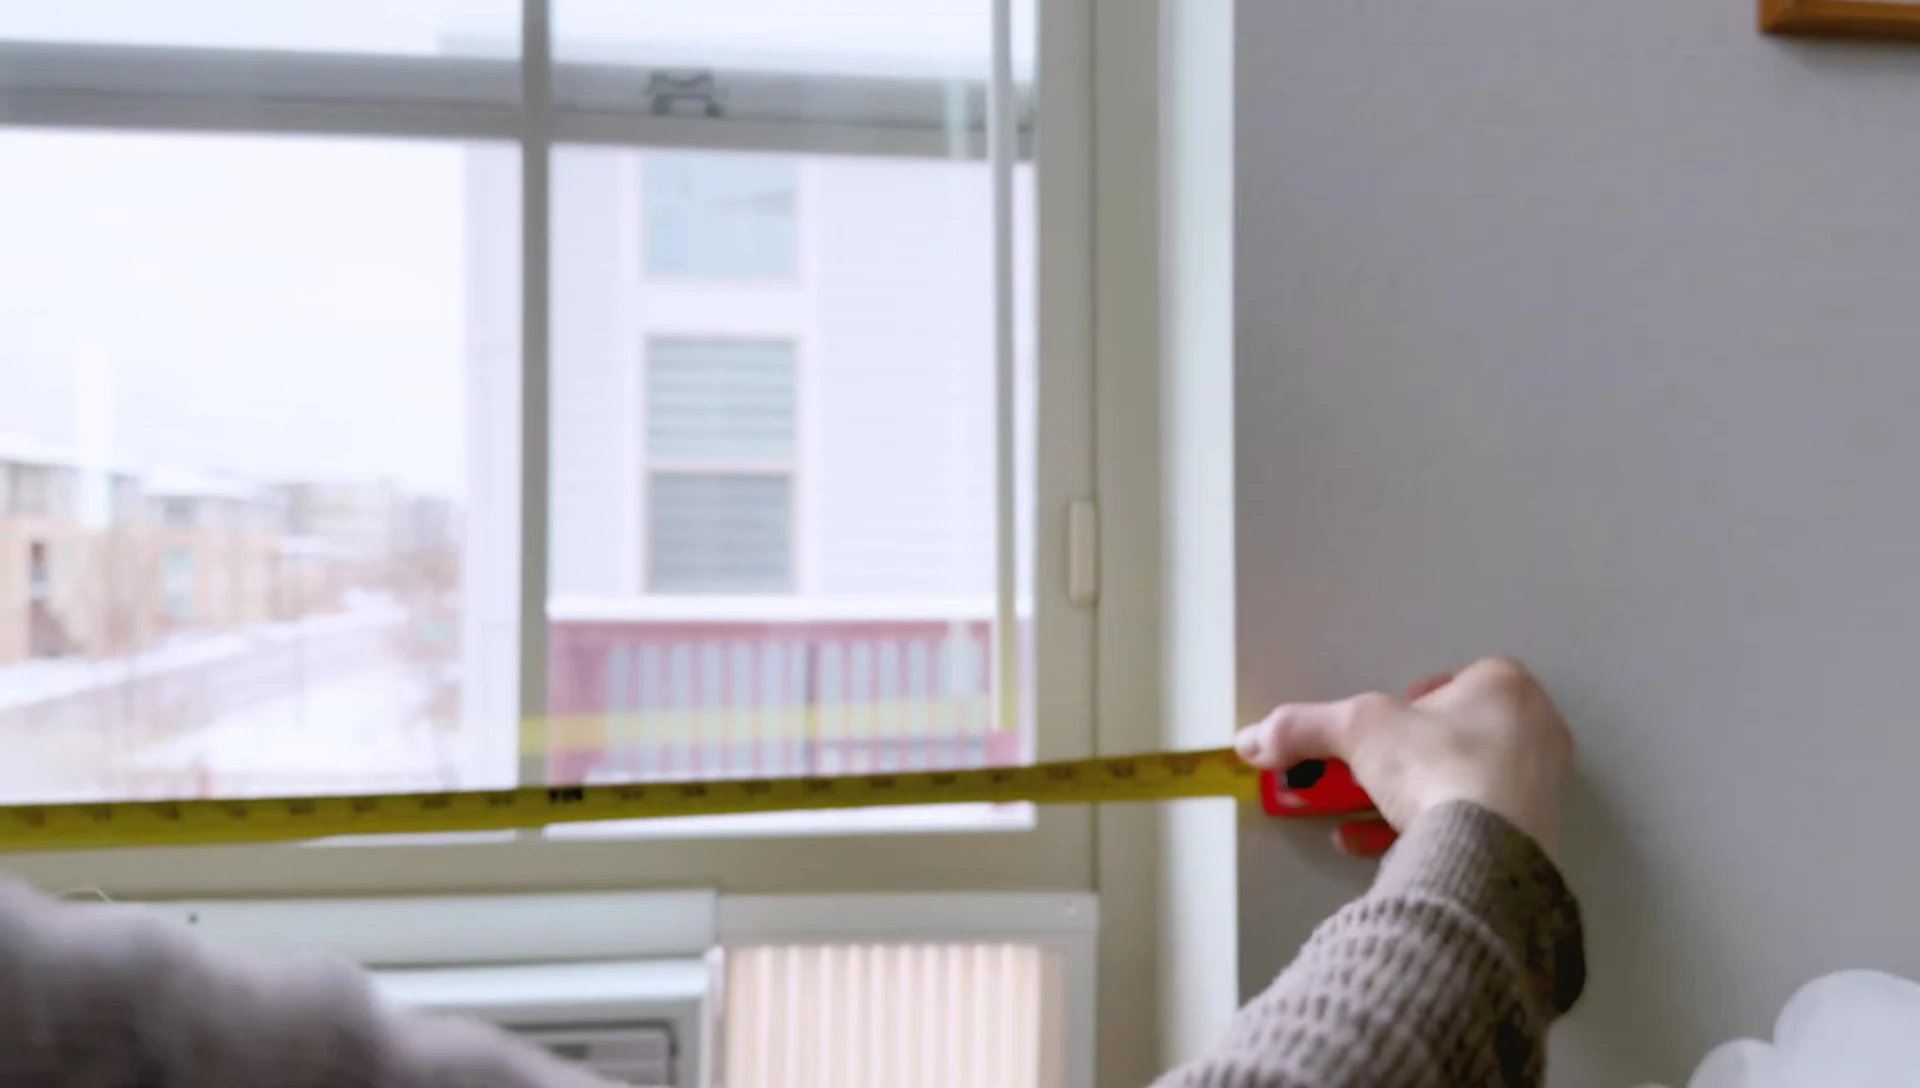
Begin by measuring the space between your window air conditioning unit and the window frame. Carefully transfer this measurement to the side panel, starting from the flap edge. Remember to exclude the flap itself from your measurement.
Lay the panel flat and draw a straight line at your marked width. Use a utility knife (recommended for cleaner cuts) or scissors to cut along the line. This will create the perfect width for your insulation panel.
Customizing Panel Height
Position the cut panel into the gap between the AC unit and the window, ensuring the bottom rests securely on the window frame. Mark the panel's top edge to align precisely with the top of the air conditioner.
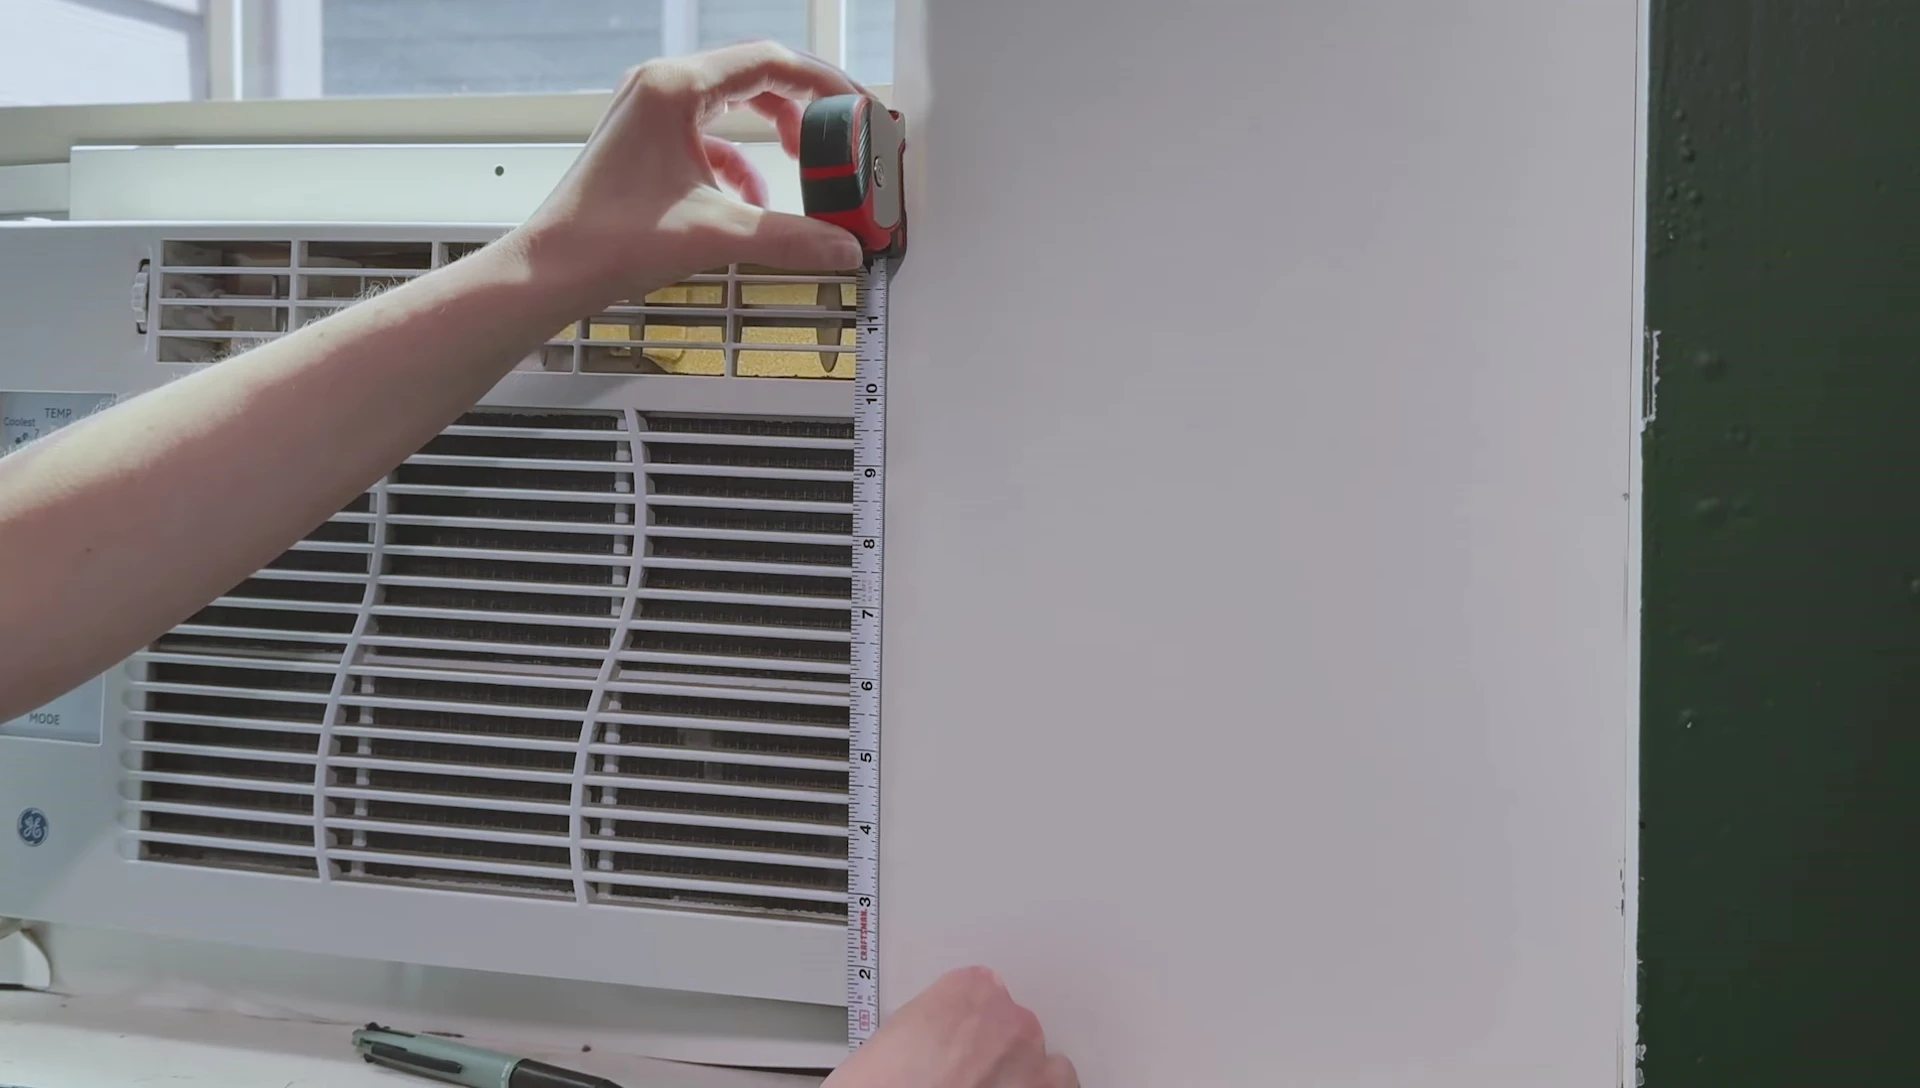
Draw a straight line at your marked height and carefully cut along it. This step ensures the panel perfectly matches the height of your AC unit, creating a snug fit.
Preparing the Top Panel
Repeat the measuring and cutting process for the second side panel. Remember, AC units aren't always perfectly centered, so each side panel may have slightly different dimensions.
Measure the full window width or hold the top panel above the AC unit to determine the required width. Add a little extra width for a snug, secure fit.
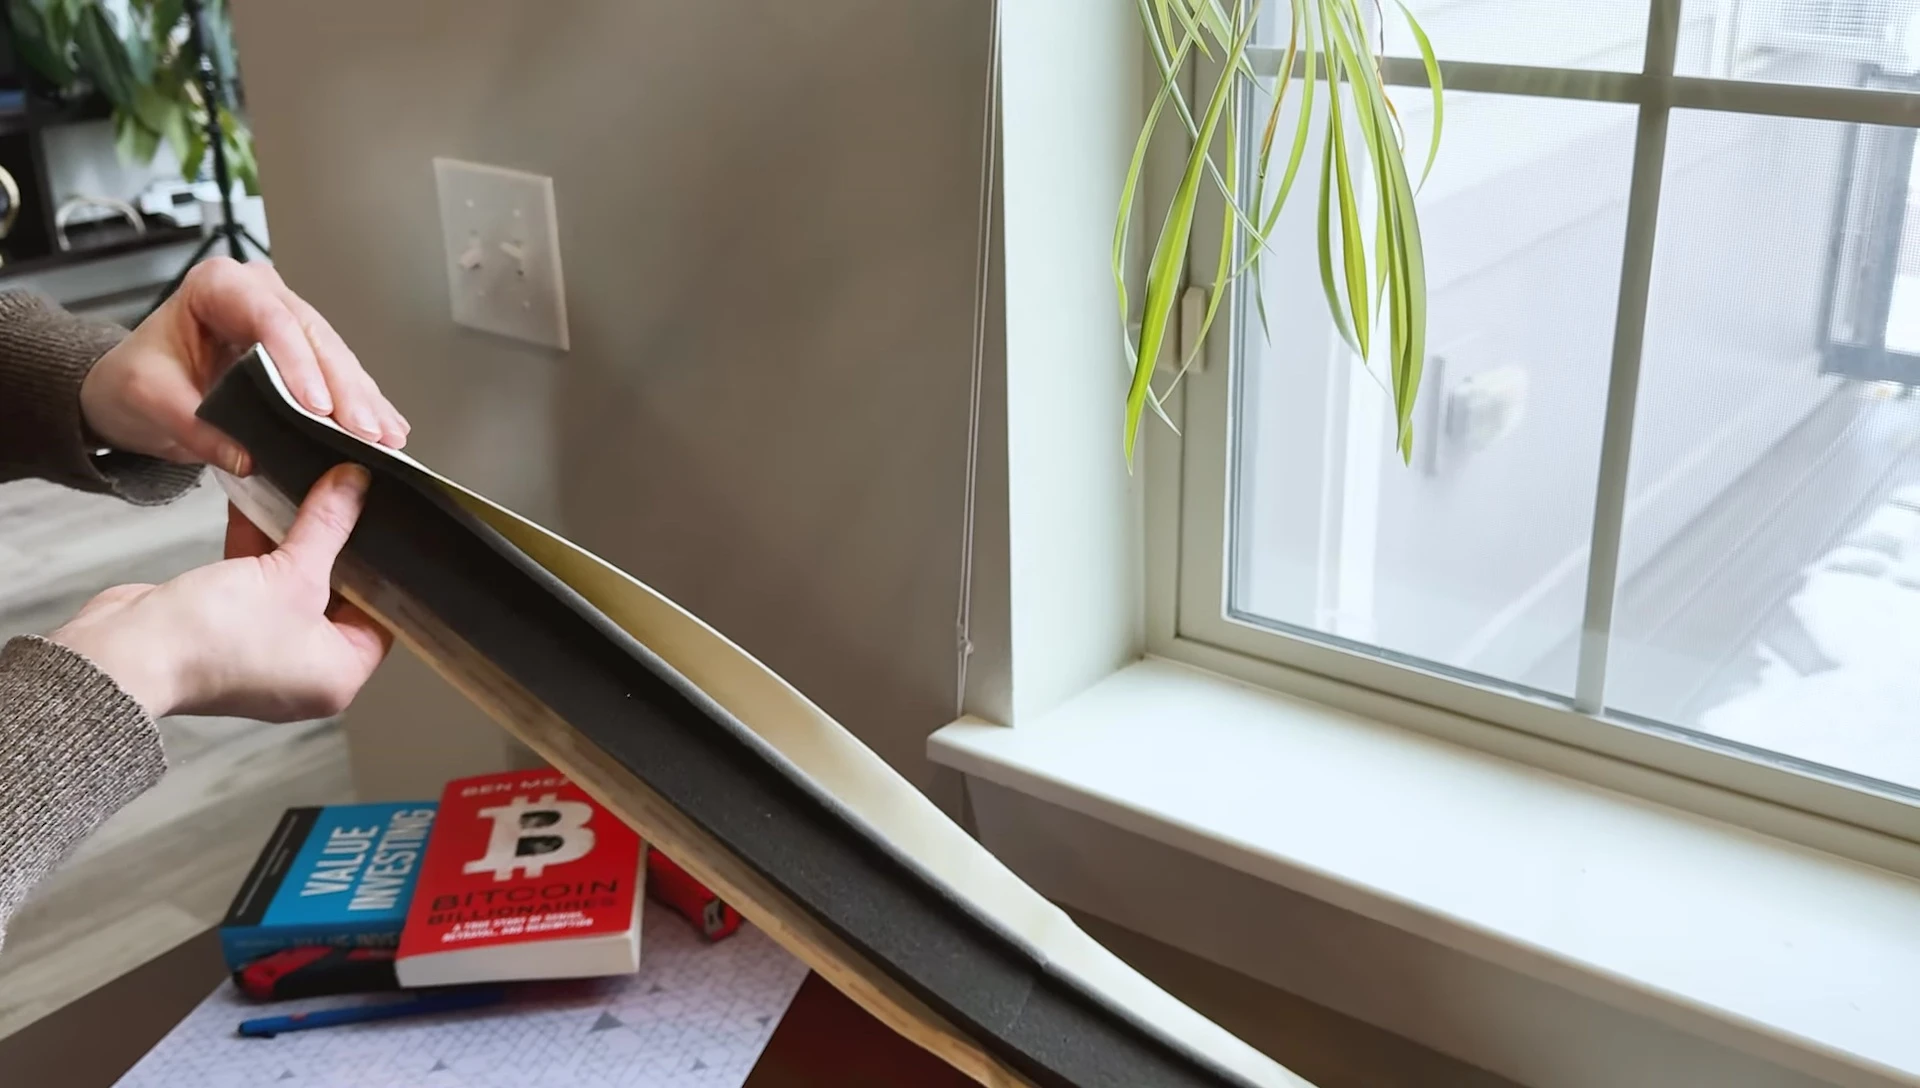
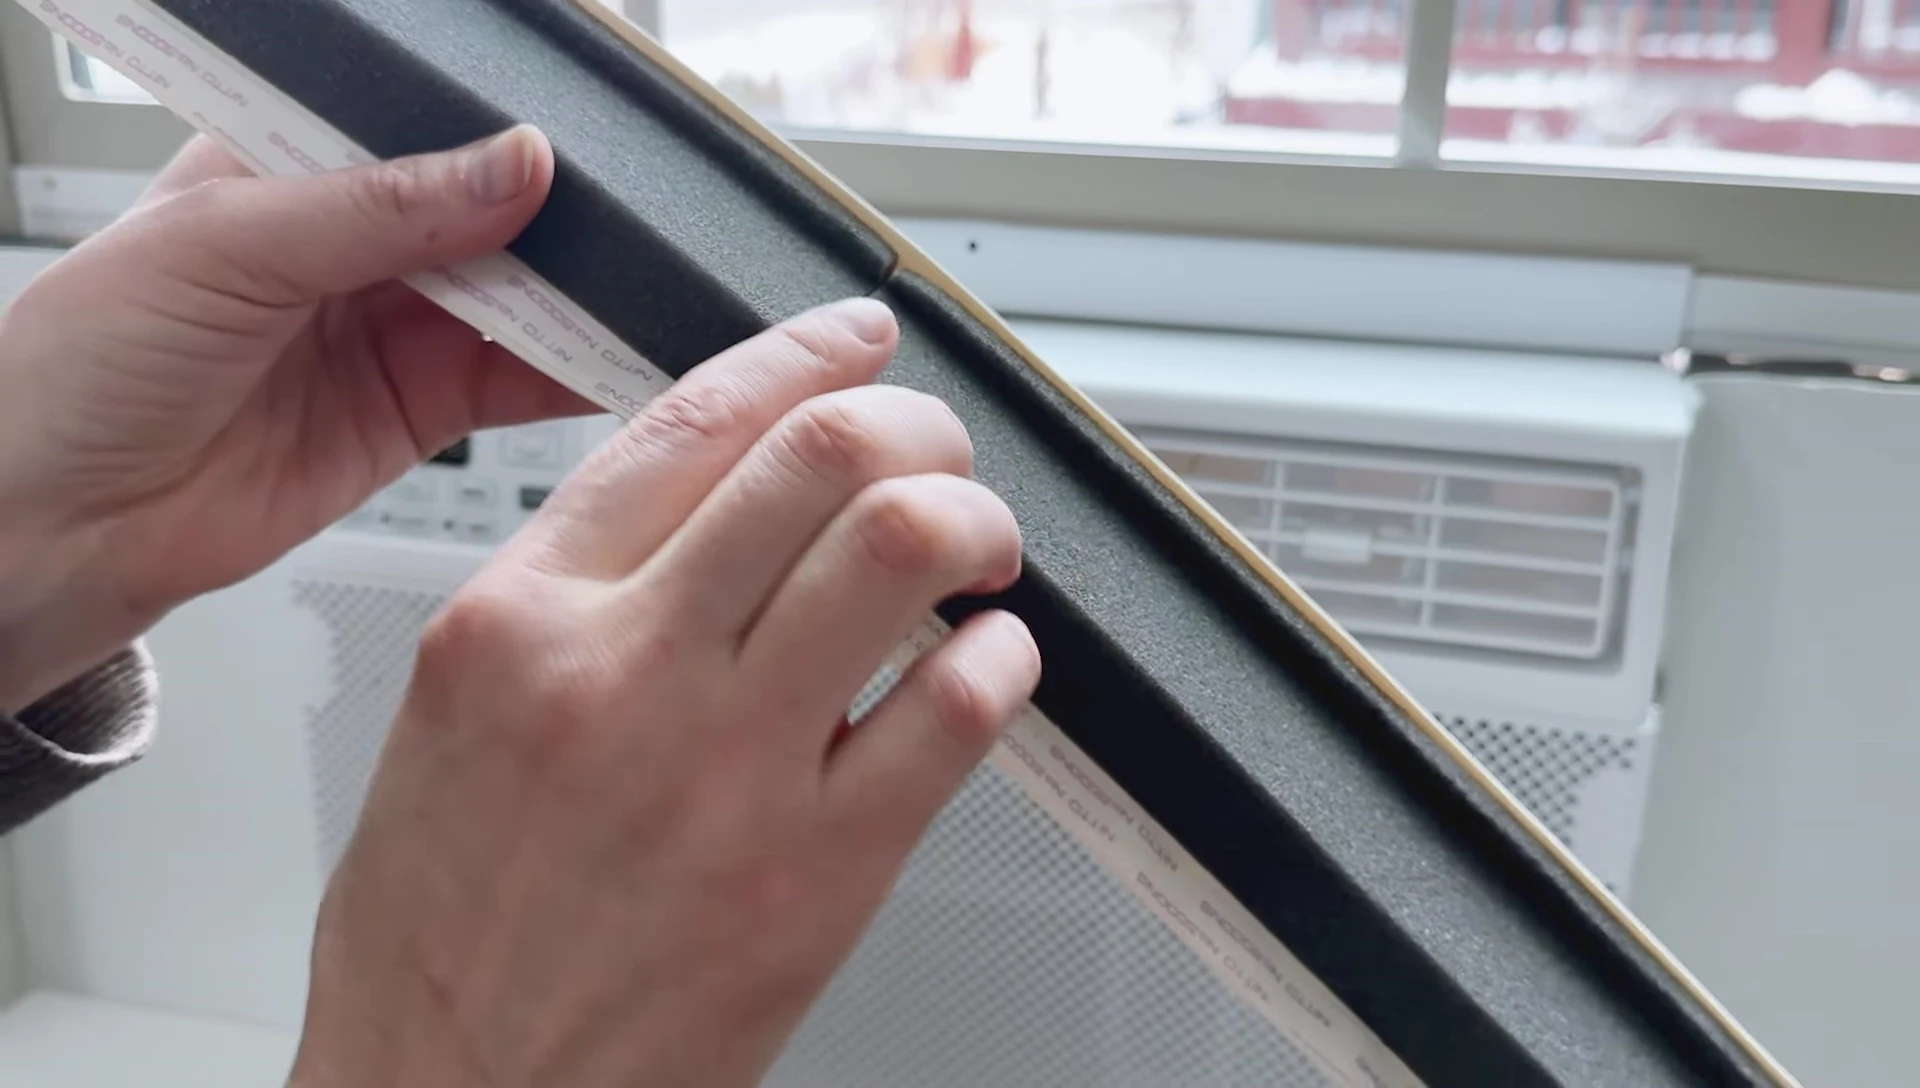
Applying the Adhesive Strip
Peel the liner from the adhesive strip (likely 3M). Fold the vinyl at a 90-degree angle and press it firmly onto the foam insulation.
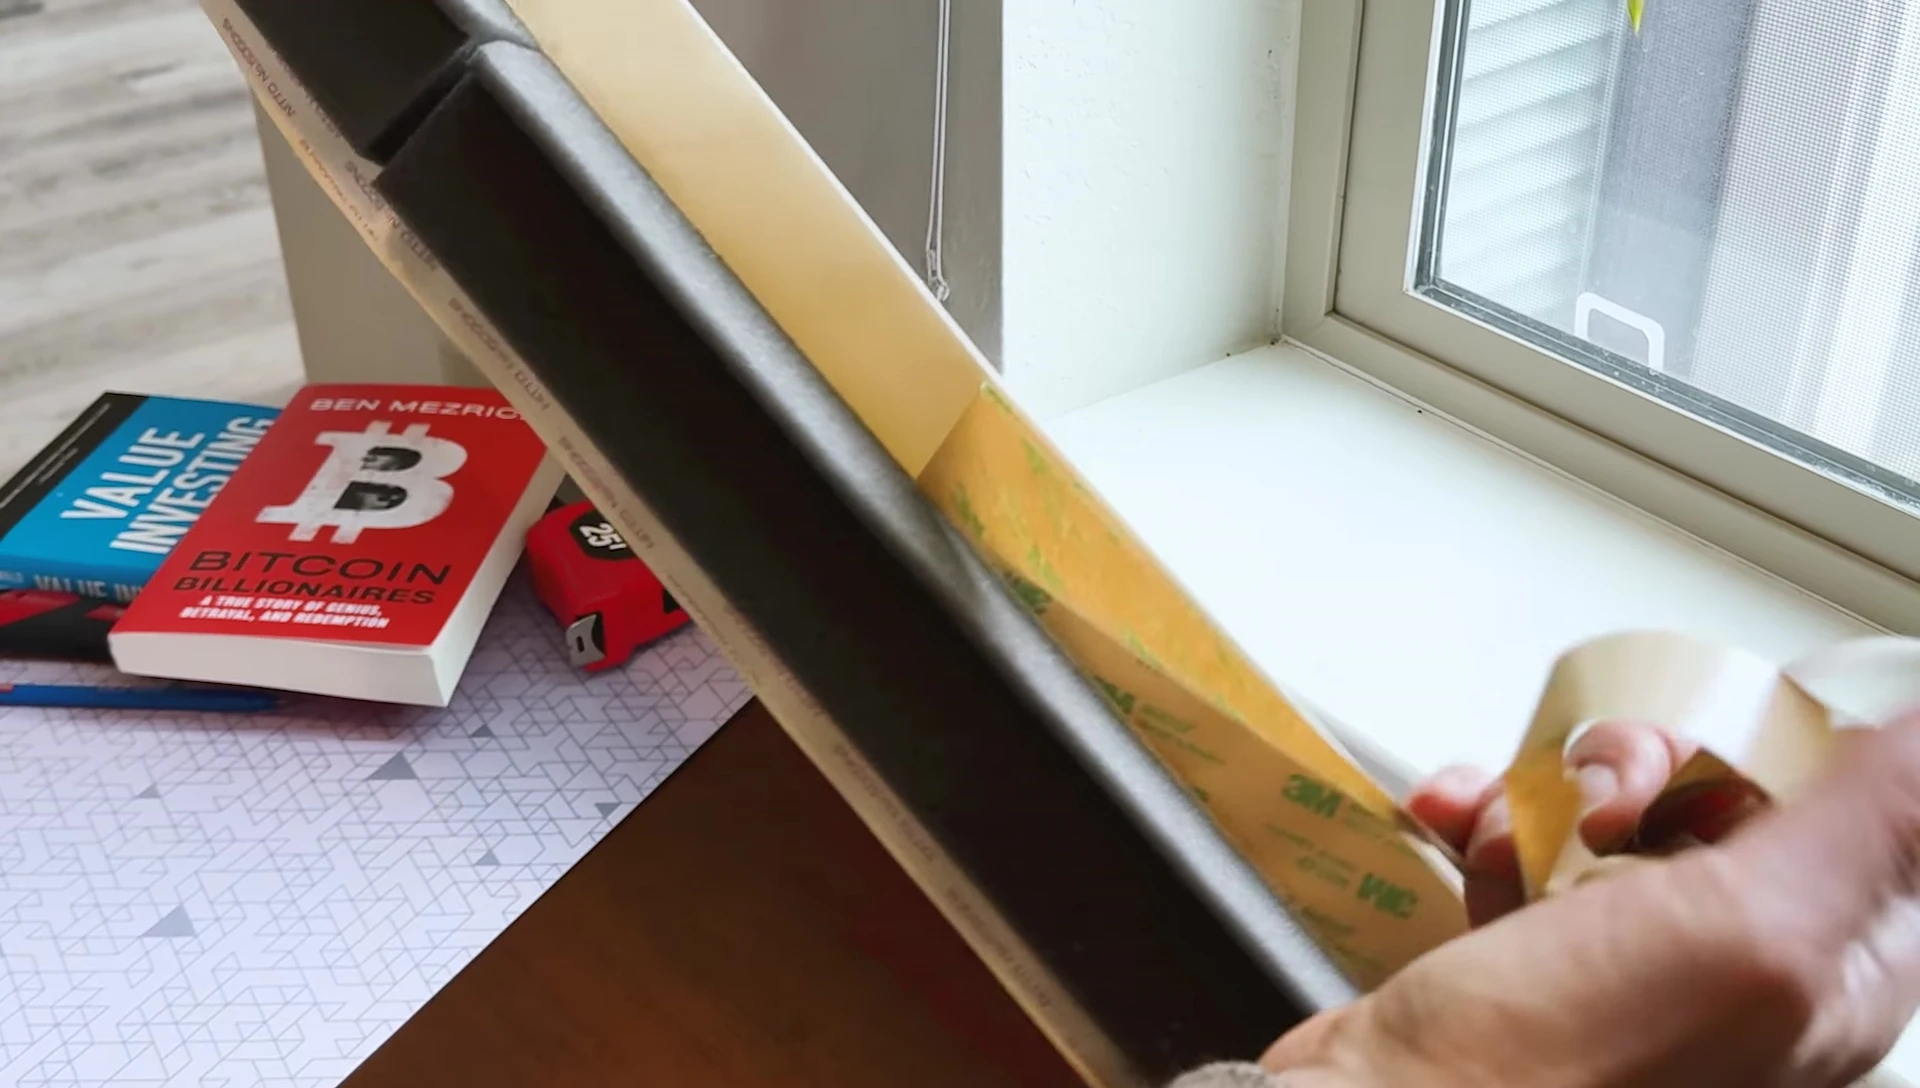
Apply even pressure to ensure strong adhesion. This step secures the vinyl to the foam for a durable and long-lasting insulation solution.
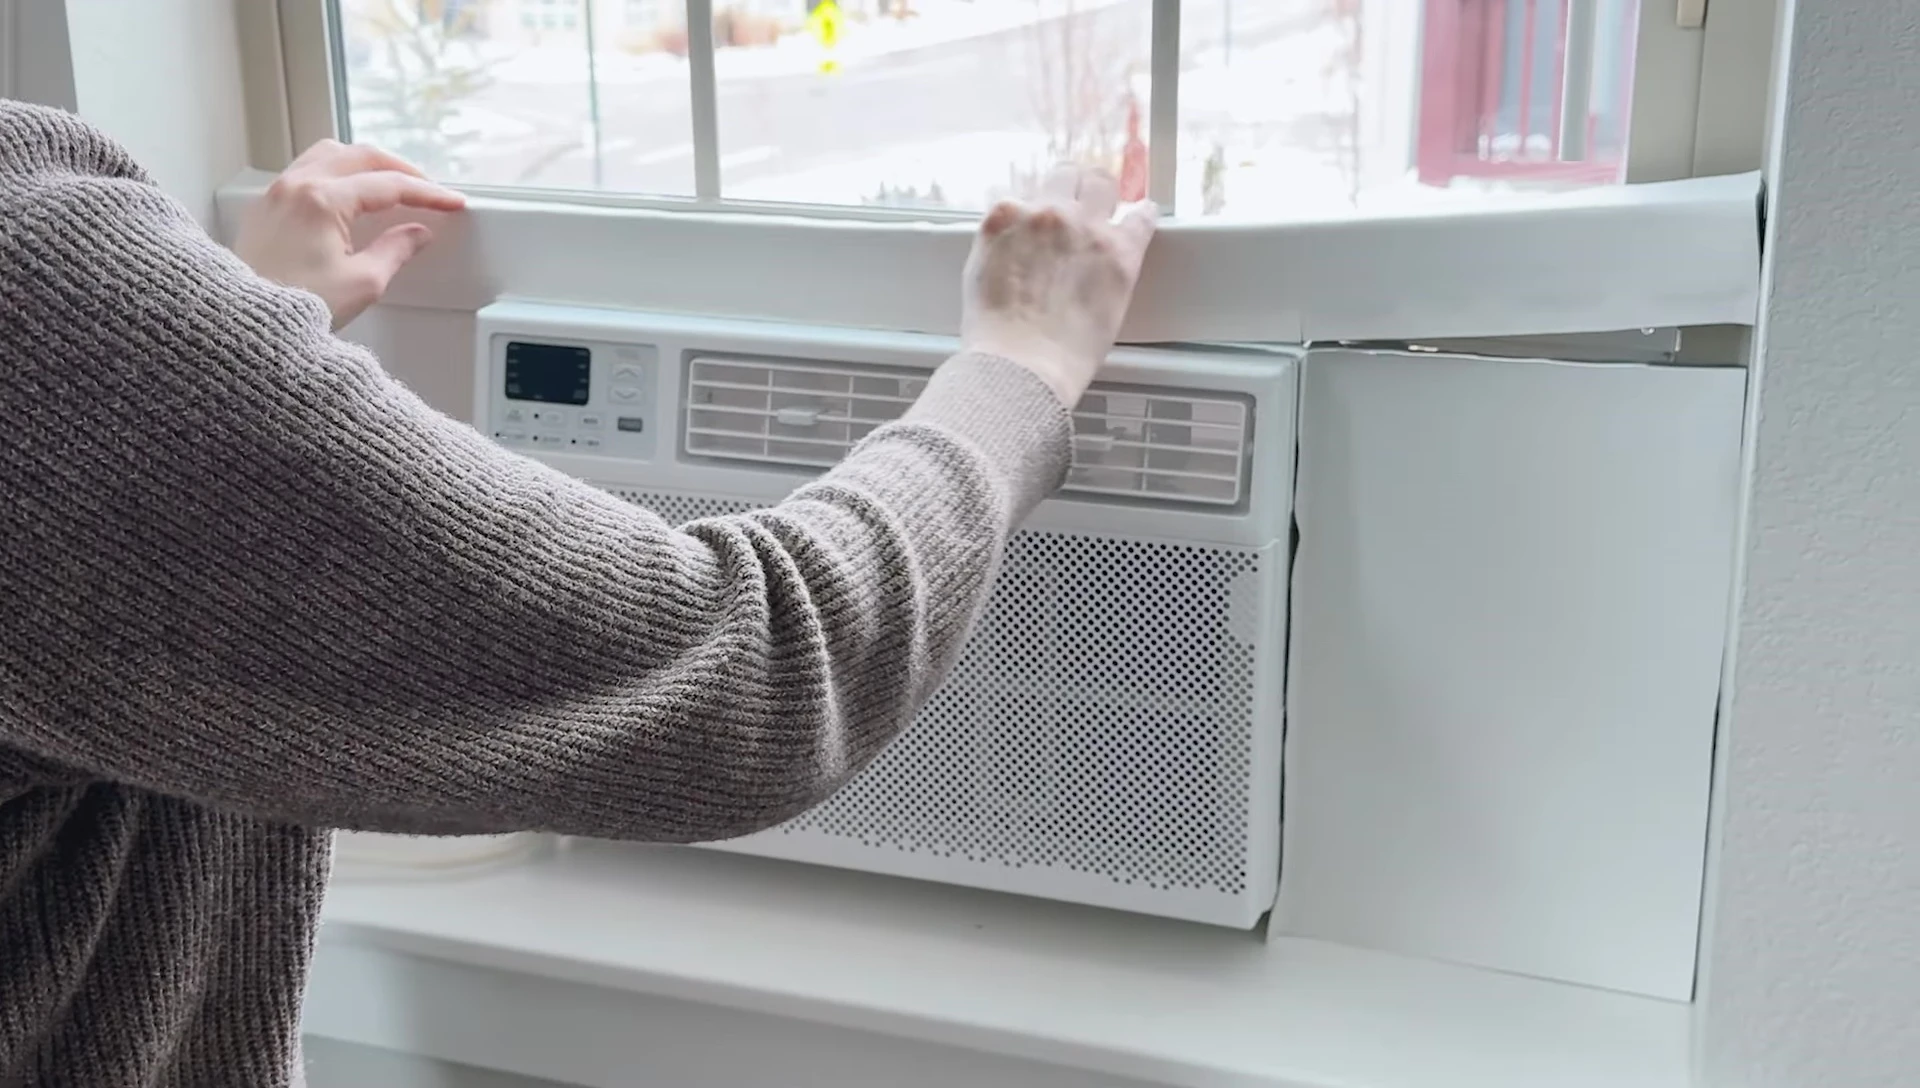
Final Assembly and Finishing
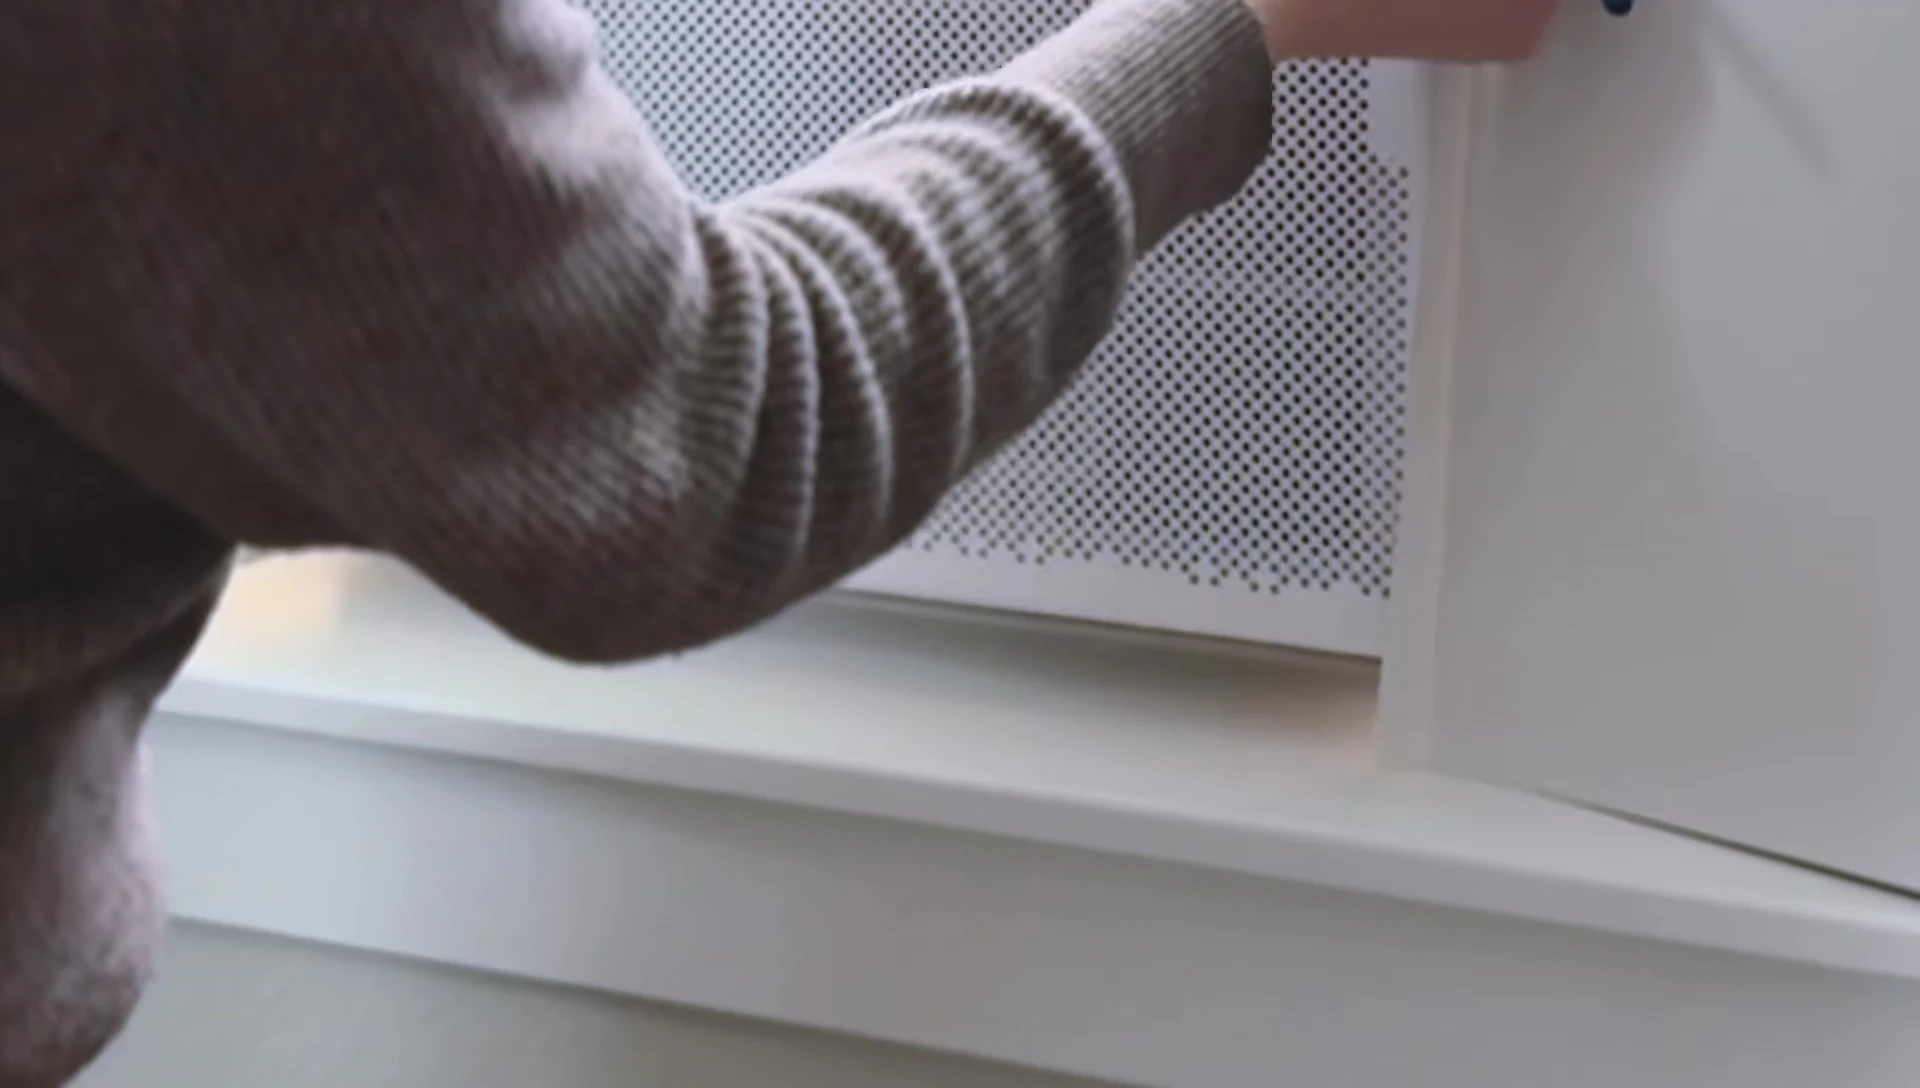
Position the top panel onto the AC unit with the flap facing down. Cut small slits in the vinyl corners to allow the foam to lay flat and the flaps to hang neatly.
Peel off the adhesive backing on the flaps to secure them in place. This will help hold everything down smoothly, creating a clean and efficient insulation setup.
Conclusion
This DIY window AC insulation project is a simple yet effective way to improve energy efficiency and reduce your energy bills. By carefully following these steps, you can create a custom insulation solution for your specific window AC unit.
The project requires basic tools and materials, making it accessible to most homeowners. The resulting insulation significantly minimizes air leakage, ultimately contributing to greater energy savings throughout the year.