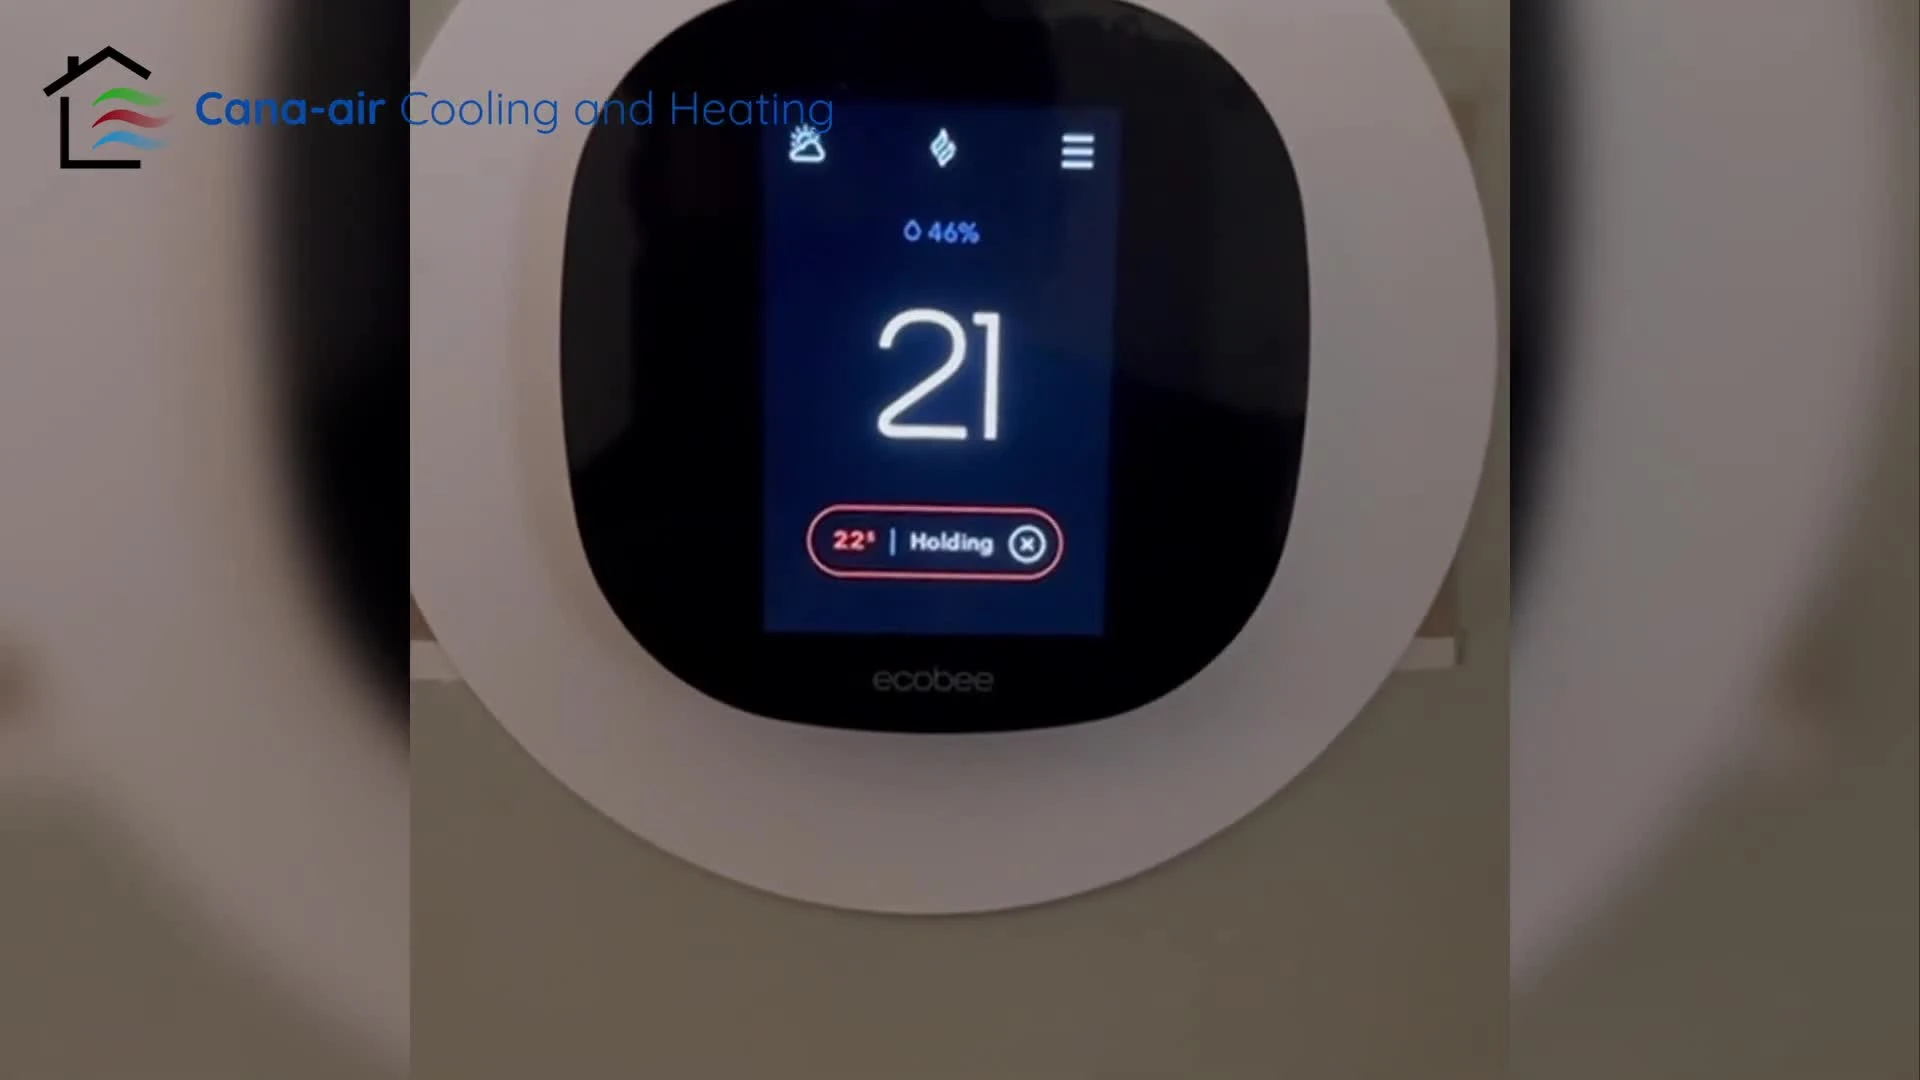
This guide provides a step-by-step tutorial on setting up your Ecobee thermostat with a heat pump. Optimizing your heat pump's performance requires careful configuration, and this guide will walk you through the essential settings to ensure efficient and comfortable heating and cooling. We'll cover accessing the system settings, configuring crucial parameters like outdoor temperature thresholds and auxiliary heat settings, and highlight the importance of understanding your heat pump's capabilities before making adjustments. This tutorial is designed to empower you to manage your Ecobee and heat pump effectively.Properly configuring your Ecobee with your heat pump is key to maximizing energy efficiency and comfort. This guide avoids technical jargon and focuses on clear instructions, making the process manageable even for those unfamiliar with thermostat settings. Whether you're a DIY enthusiast or simply want to better understand your system, this step-by-step approach will help you achieve optimal performance from your Ecobee and heat pump, leading to lower energy bills and a more comfortable home.
Read more: Nuwave PIC Titanium Induction Cooktop Review: A Mixed Bag of Features
Accessing the Ecobee Settings
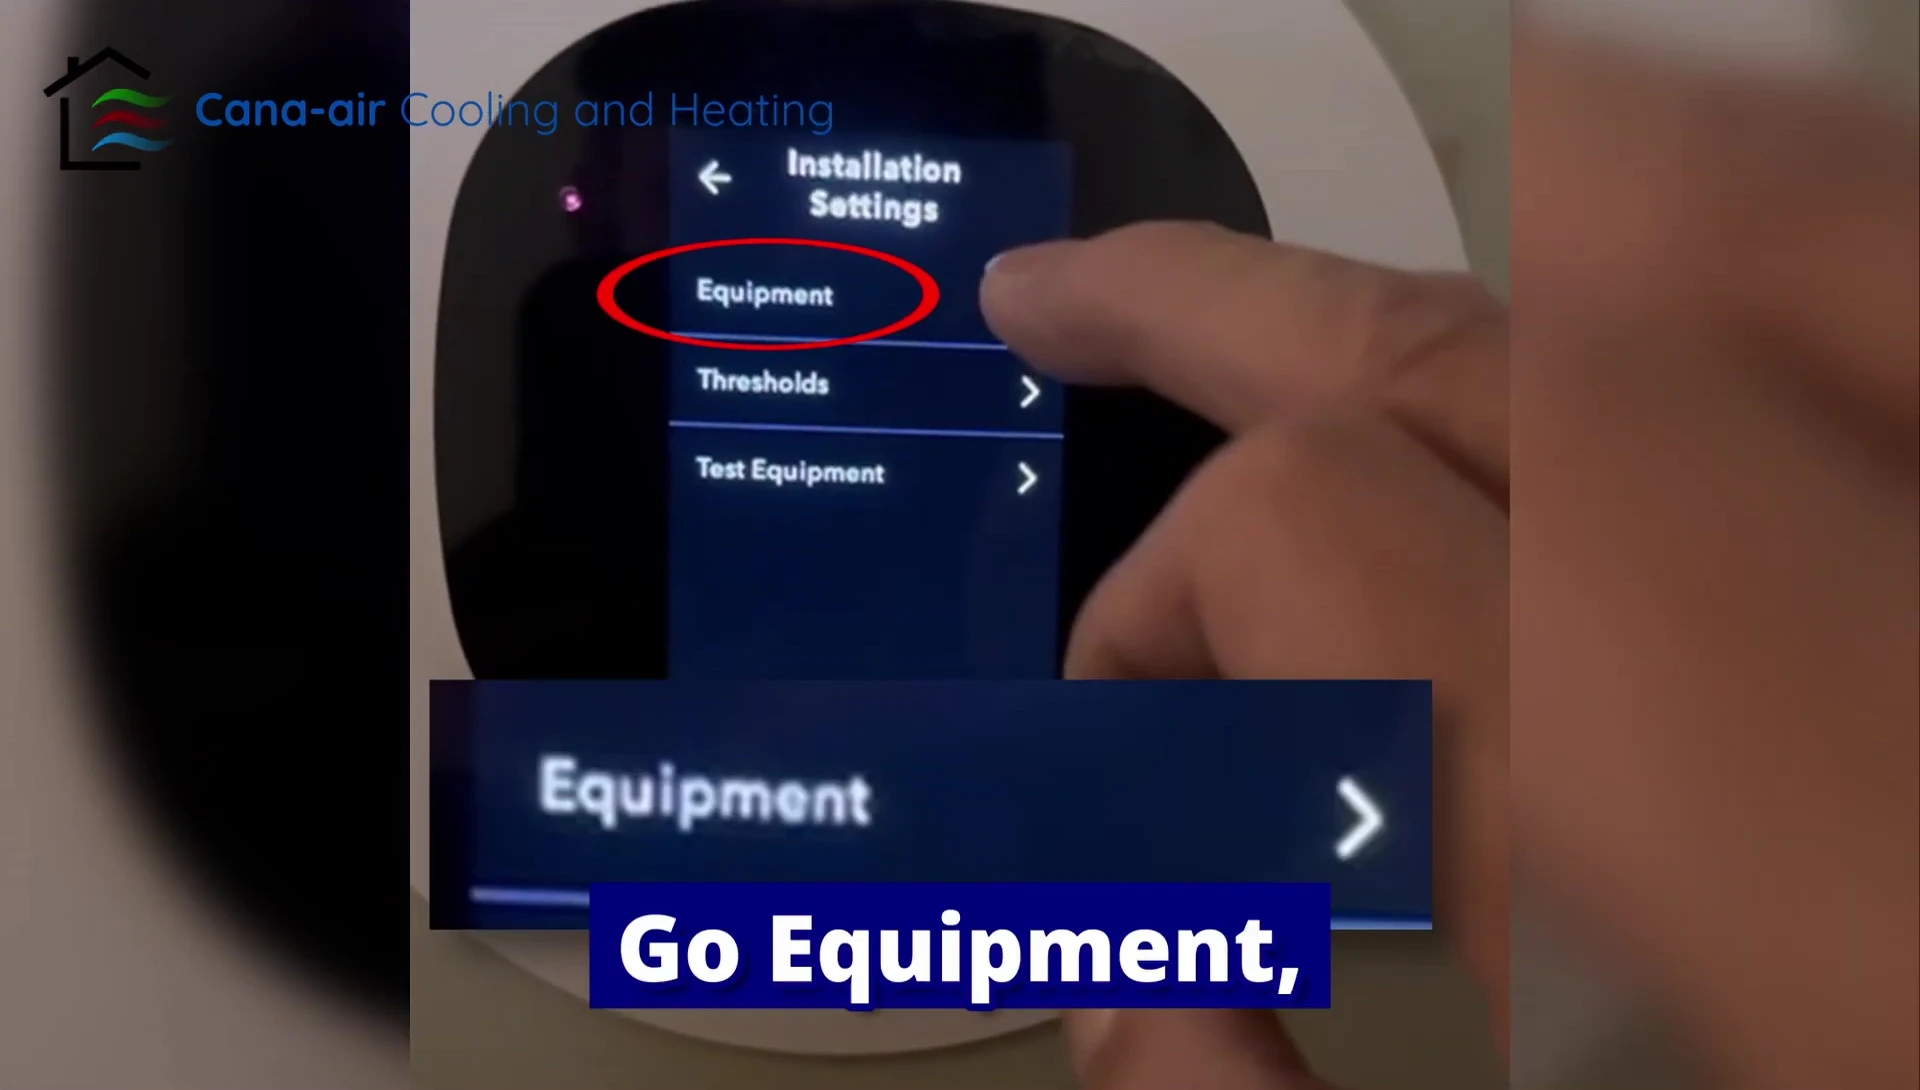
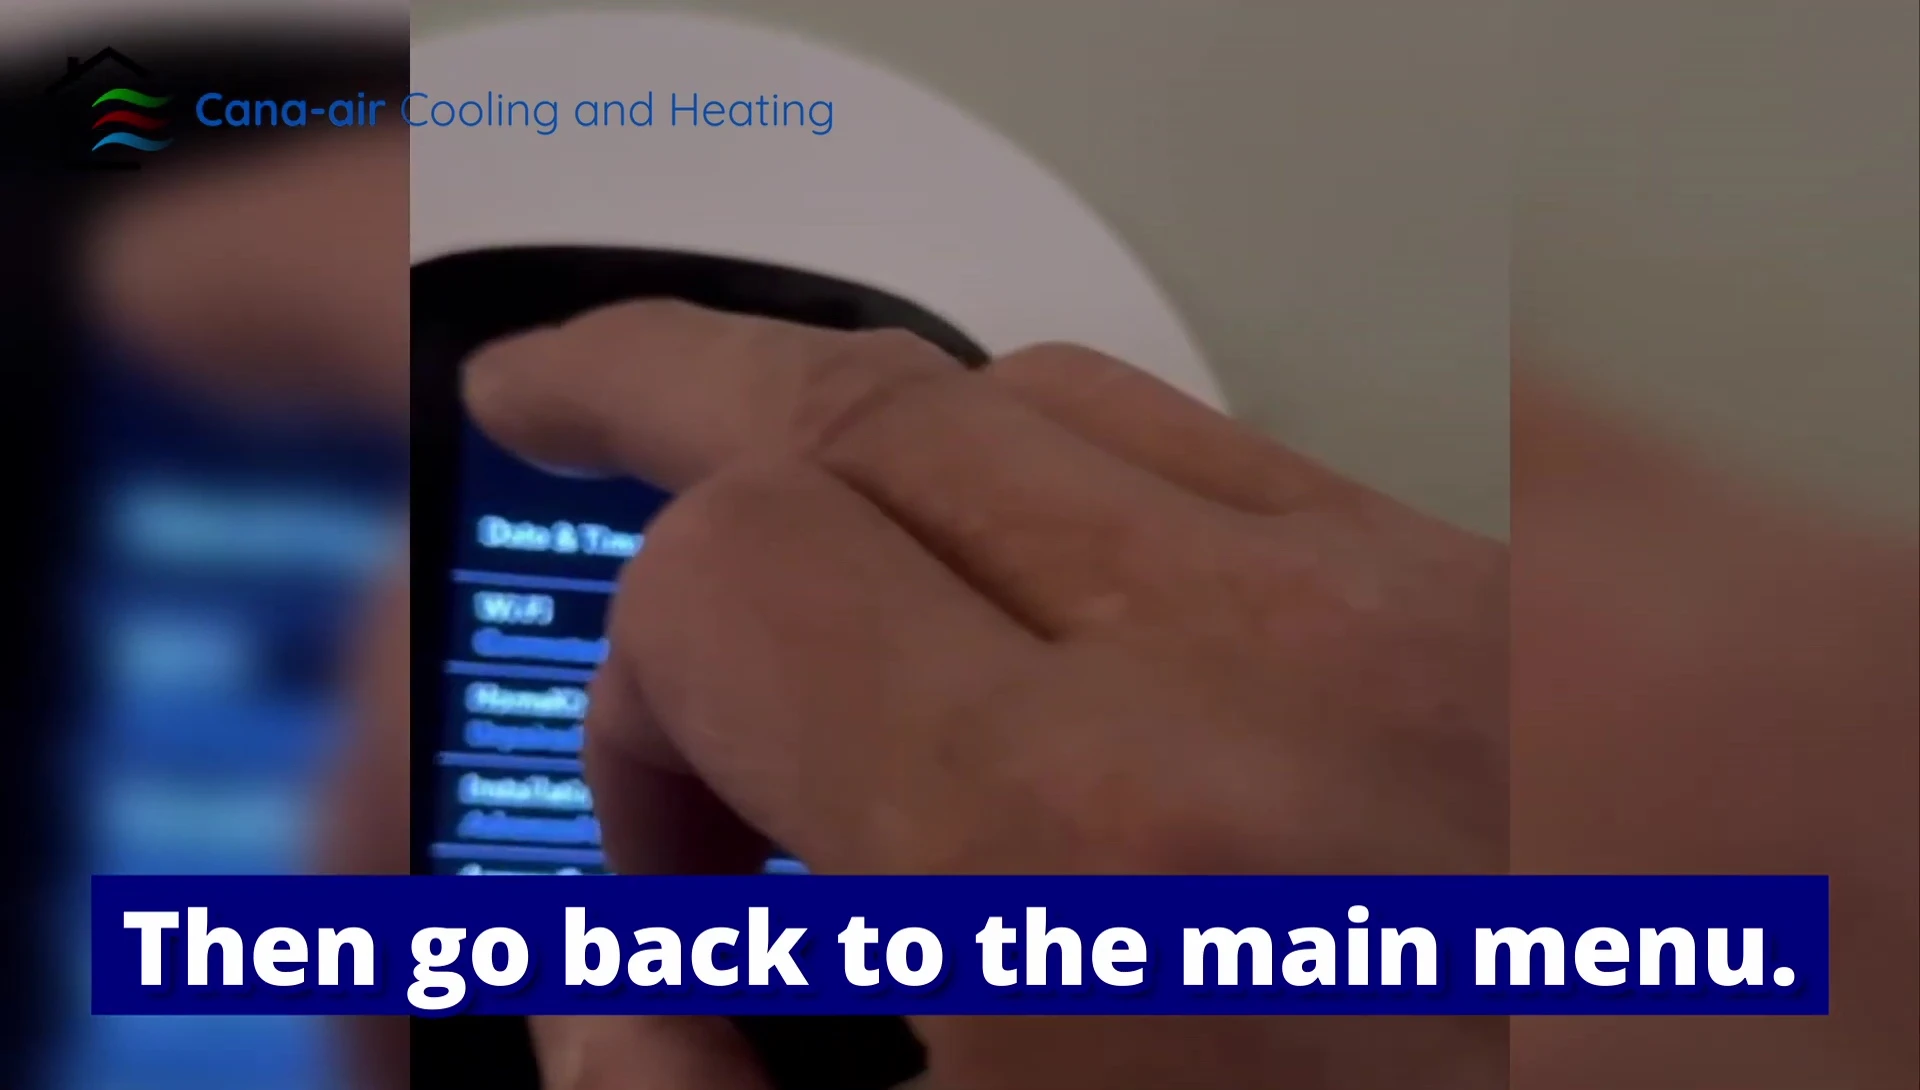
To begin configuring your Ecobee heat pump, you'll first need to access the system settings. This usually involves navigating through the Ecobee's on-screen menu. Look for options like 'Equipment', 'Settings', or similar terminology depending on your Ecobee model. The process may involve several steps, so be patient and follow the on-screen prompts.
Once you've located the settings menu, you'll need to find the section dedicated to equipment configuration. This is where you'll define your specific heat pump model and parameters. The exact steps might vary slightly depending on your Ecobee software version, so consult the user manual for specific instructions if needed.
After locating the equipment settings, you'll be able to start adjusting the various parameters. Pay close attention to each setting, ensuring you understand the function before making any changes. Incorrect settings can impact your system's performance or even cause malfunction.
Configuring Outdoor Temperature Settings
One of the crucial aspects of heat pump setup is configuring the outdoor temperature setting. This tells the system when to switch between heating and cooling modes based on the external temperature. The ideal setting is often dependent on your climate and the specific capabilities of your heat pump.
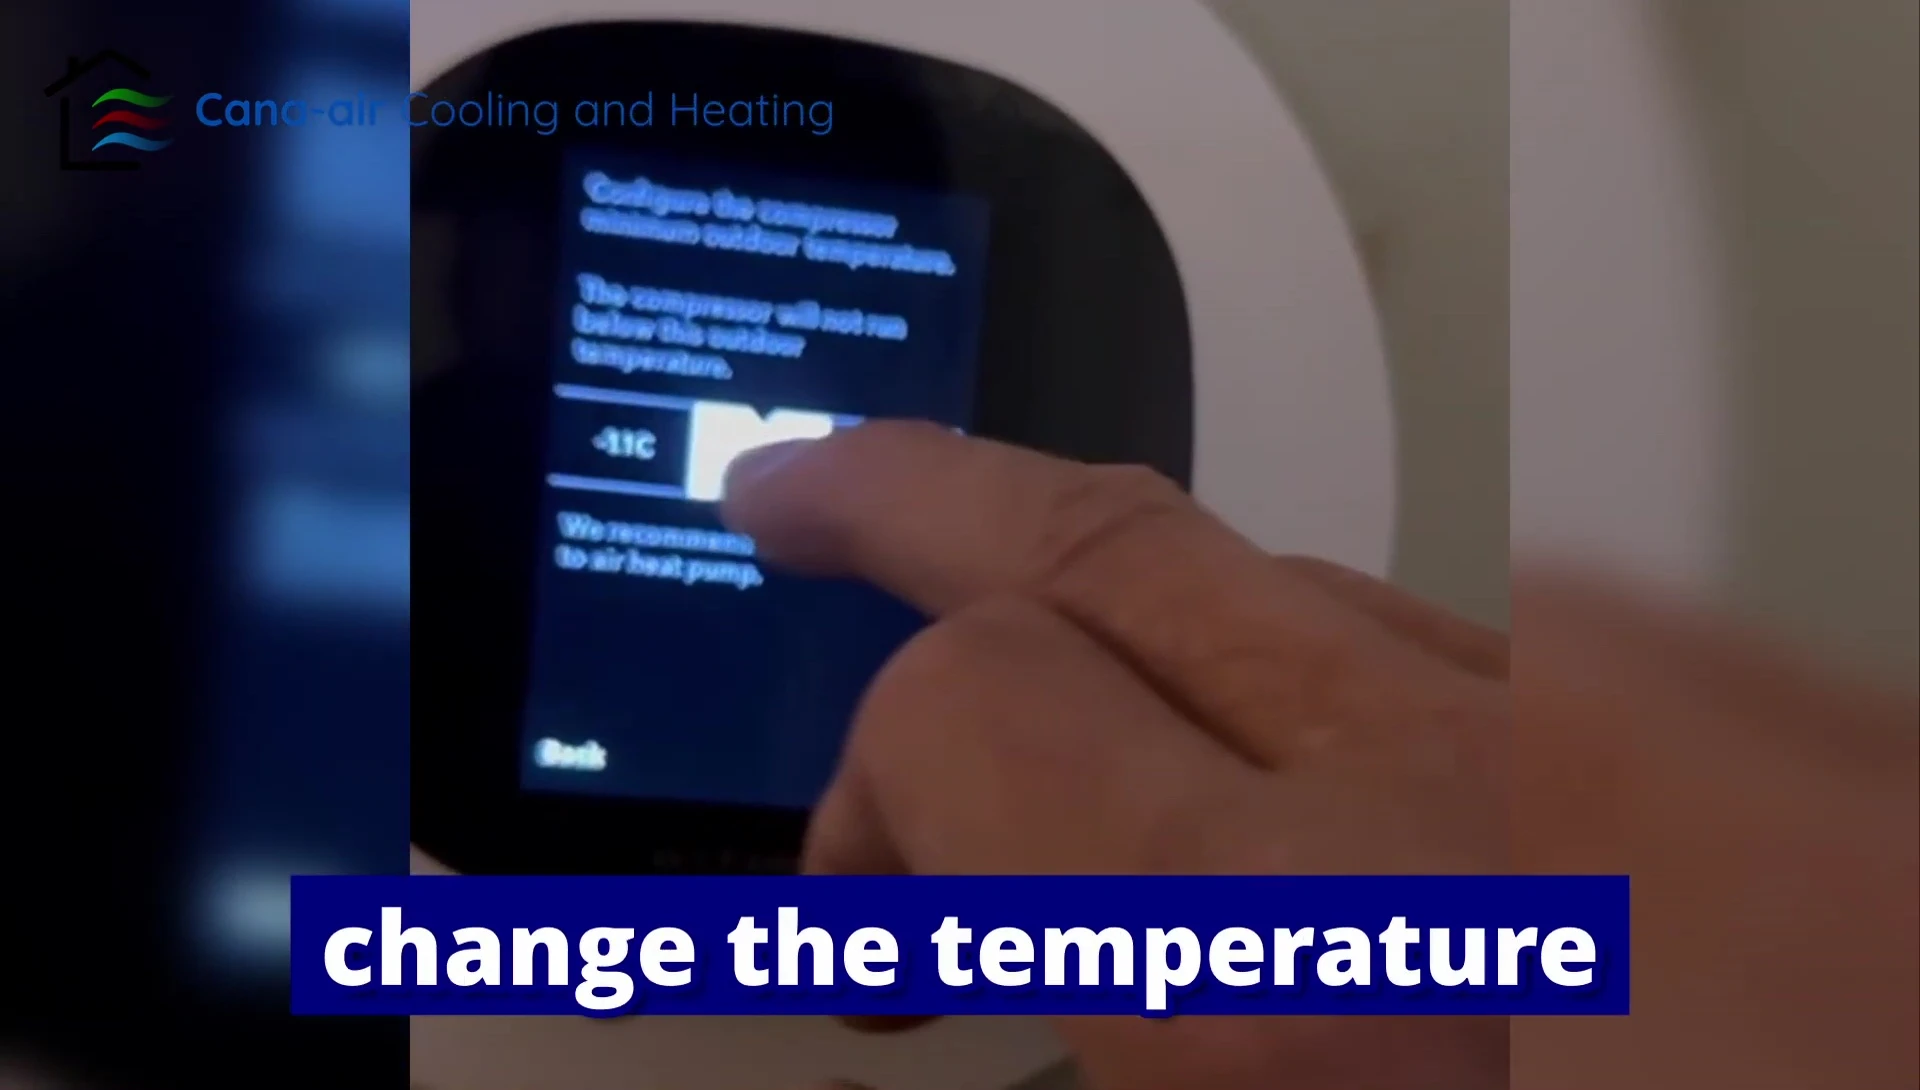
The Ecobee allows for precise control over this threshold. You can set the temperature at which the heat pump will switch over to heating mode or utilize auxiliary heating sources. This fine-tuning is essential for optimization of energy usage and comfort.
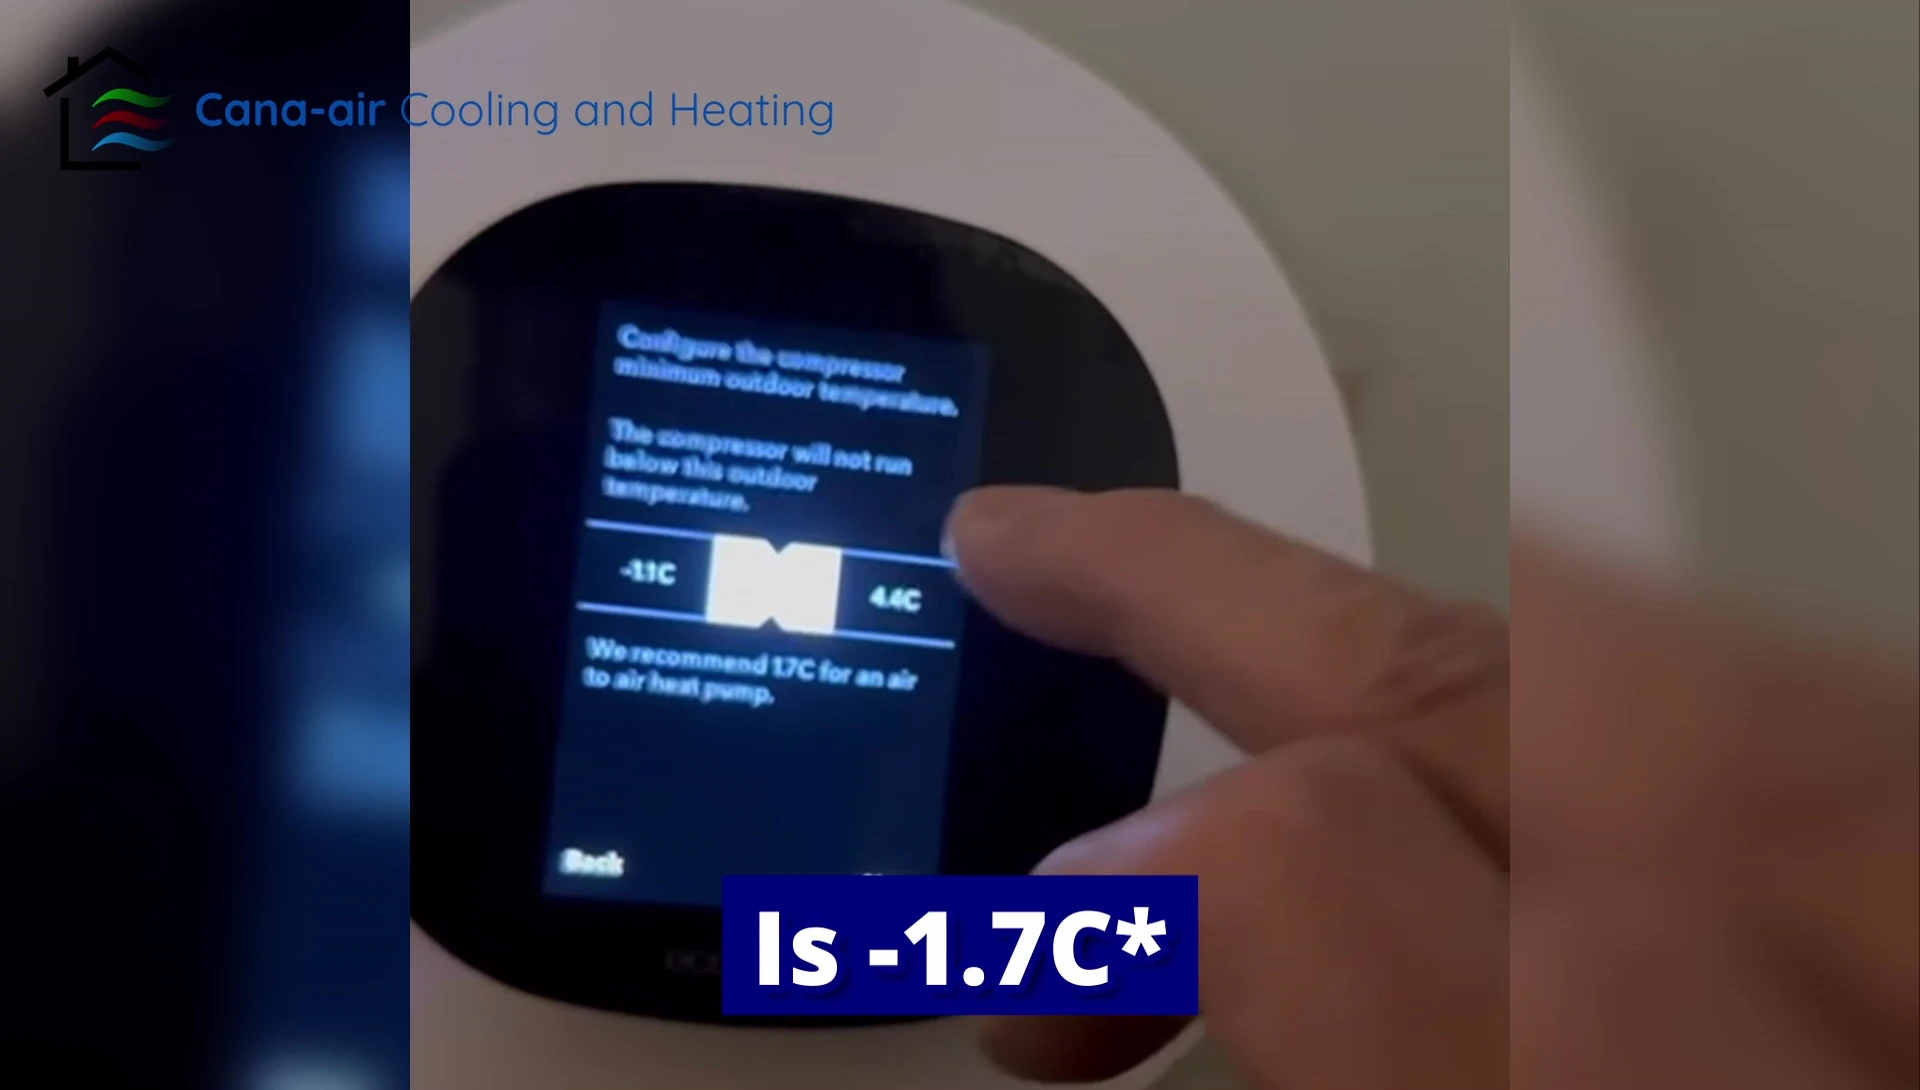
It's important to select a setting that is appropriate for your area and your heat pump. The video suggests a setting of -3.9 degrees Celsius as a starting point in Toronto, but this should be adjusted to your specific needs and climate.
Heat Pump and Accessory Heat Settings
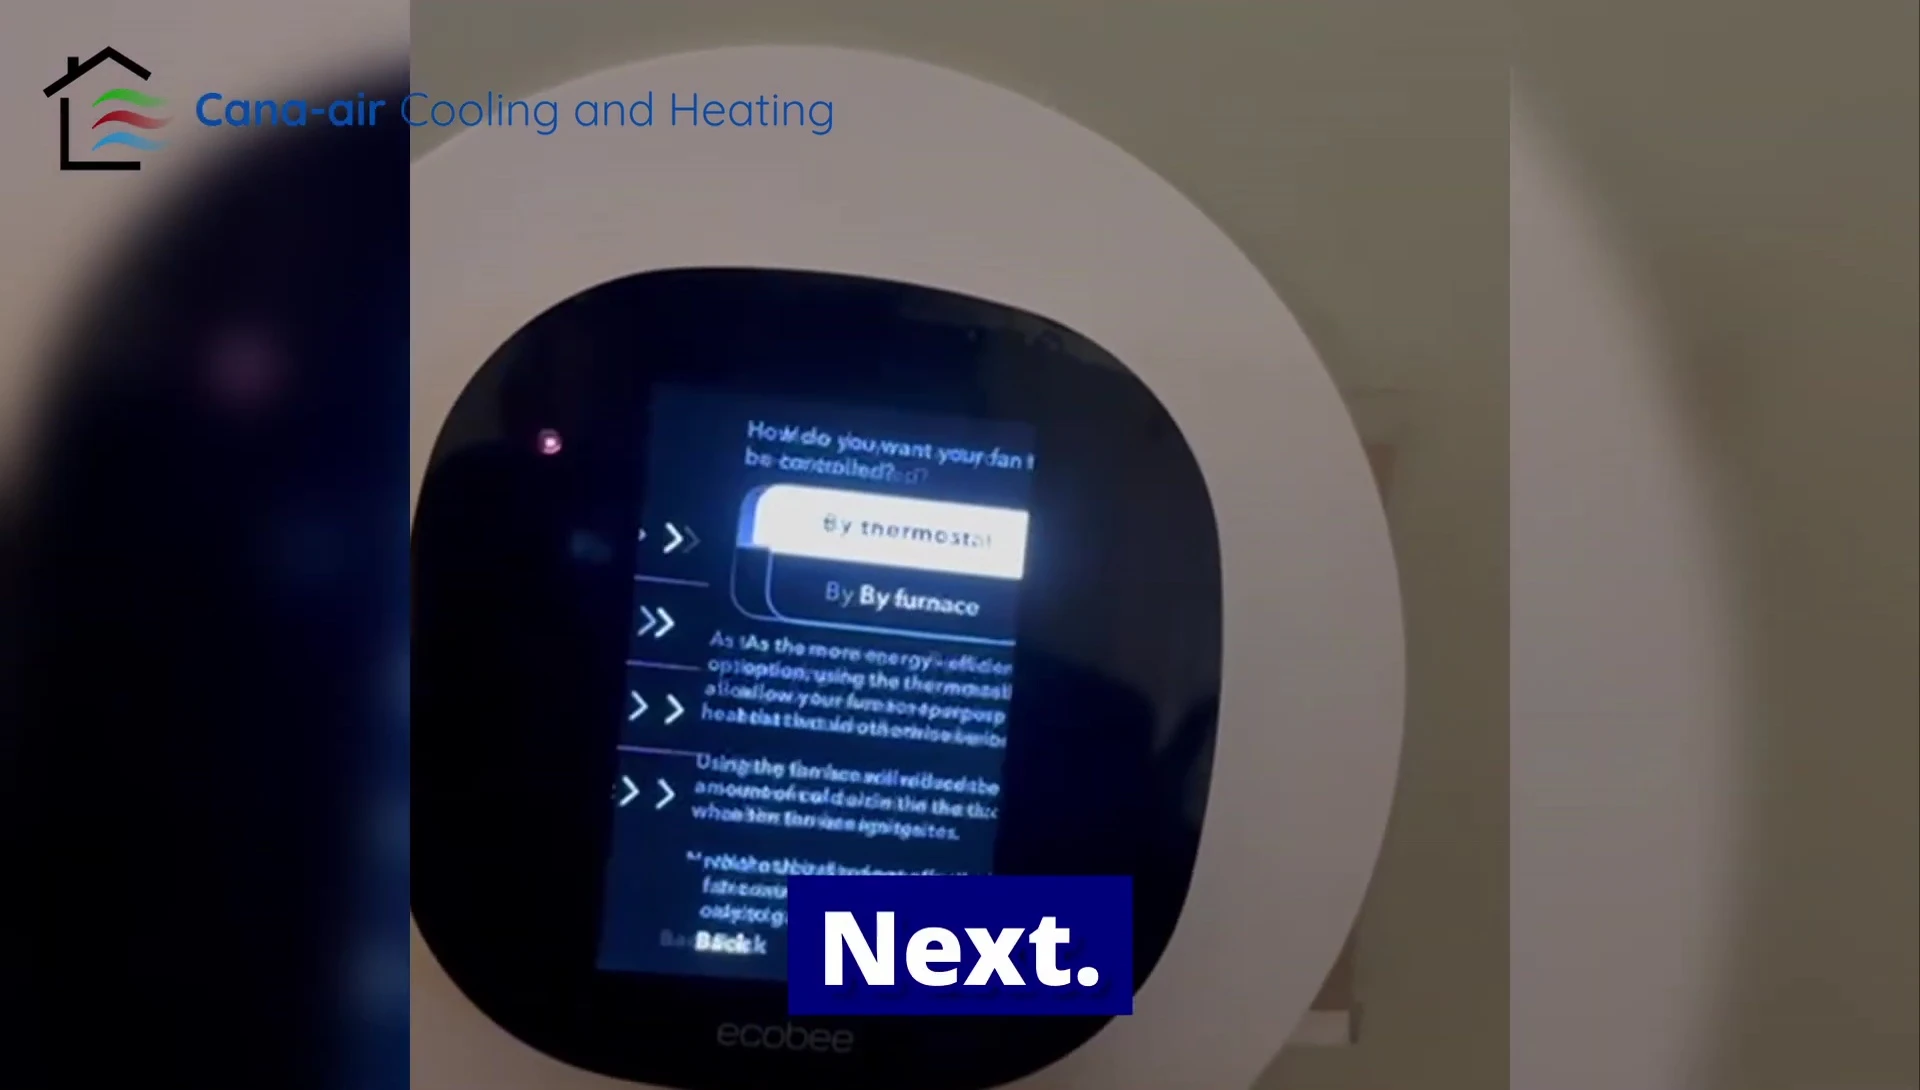
The Ecobee allows you to control the behavior of your heat pump and any supplementary heating systems (such as electric resistance heaters). This is especially important for maximizing efficiency during colder weather.

The 'Enable/Disable' option allows you to control when the auxiliary heat kicks in. For optimal energy use, it's often preferable to disable the auxiliary heat unless absolutely necessary for extreme cold. This will allow your heat pump to handle the majority of the heating demands.

Ensure that you understand the implications of adjusting these settings. Improper configuration could lead to reduced efficiency or discomfort, so it's worthwhile to understand how your system functions before making changes.
Finalizing the Setup and Verification
After making all necessary adjustments, review your settings carefully before saving. Double-checking prevents unexpected issues down the line. It's always wise to have a backup plan or a point of reference if something goes wrong.
Once you are satisfied, save the changes and allow the system to adjust. Observe the system's operation over the next few days to ensure it behaves as expected. Monitor temperature levels and energy consumption to verify the efficiency of your settings.
If you encounter issues, refer to your Ecobee manual or seek assistance from customer support. Remember, this is a complex system; it's better to proceed methodically and seek professional help when needed.