This guide provides a step-by-step walkthrough for installing an Ecobee Lite smart thermostat on a dual-fuel heat pump system. Installing a smart thermostat can improve energy efficiency and provide greater control over your home's climate. This tutorial will walk you through the process safely and efficiently, from disconnecting your old thermostat to configuring the new Ecobee Lite and testing its functionality. We'll cover crucial safety precautions, wire identification, and system configuration for optimal performance. Even if you're unfamiliar with home wiring, this guide offers clear instructions and helpful tips to ensure a successful installation.Whether you're a seasoned DIY enthusiast or a first-timer, this guide offers clear, concise instructions, backed by visual aids (where applicable) to facilitate understanding. We will highlight important considerations specific to dual-fuel heat pump systems, ensuring your Ecobee Lite integrates seamlessly with your existing setup. This comprehensive guide aims to equip you with the knowledge and confidence to successfully upgrade your thermostat and enjoy the benefits of smart home technology.
Read more: Nuwave PIC Titanium Induction Cooktop Review: A Mixed Bag of Features
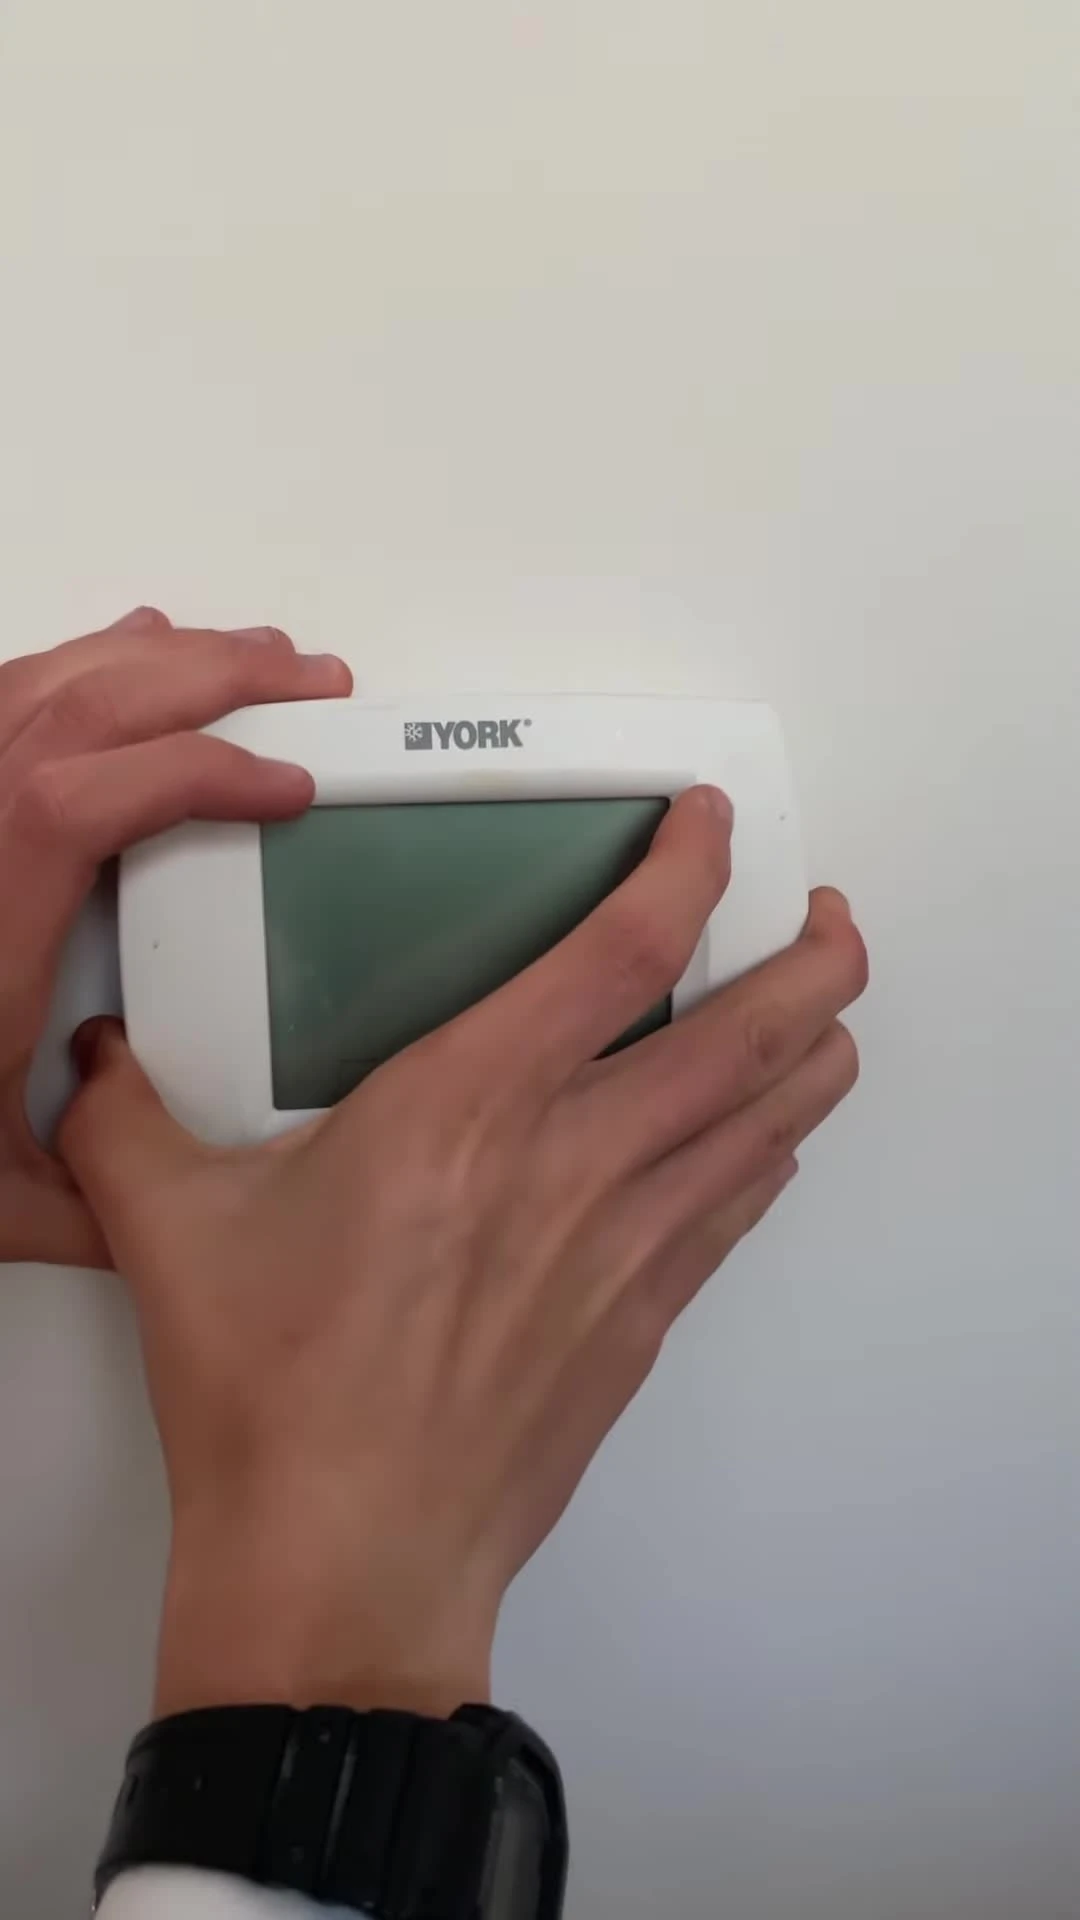
Powering Down and Removing the Old Thermostat
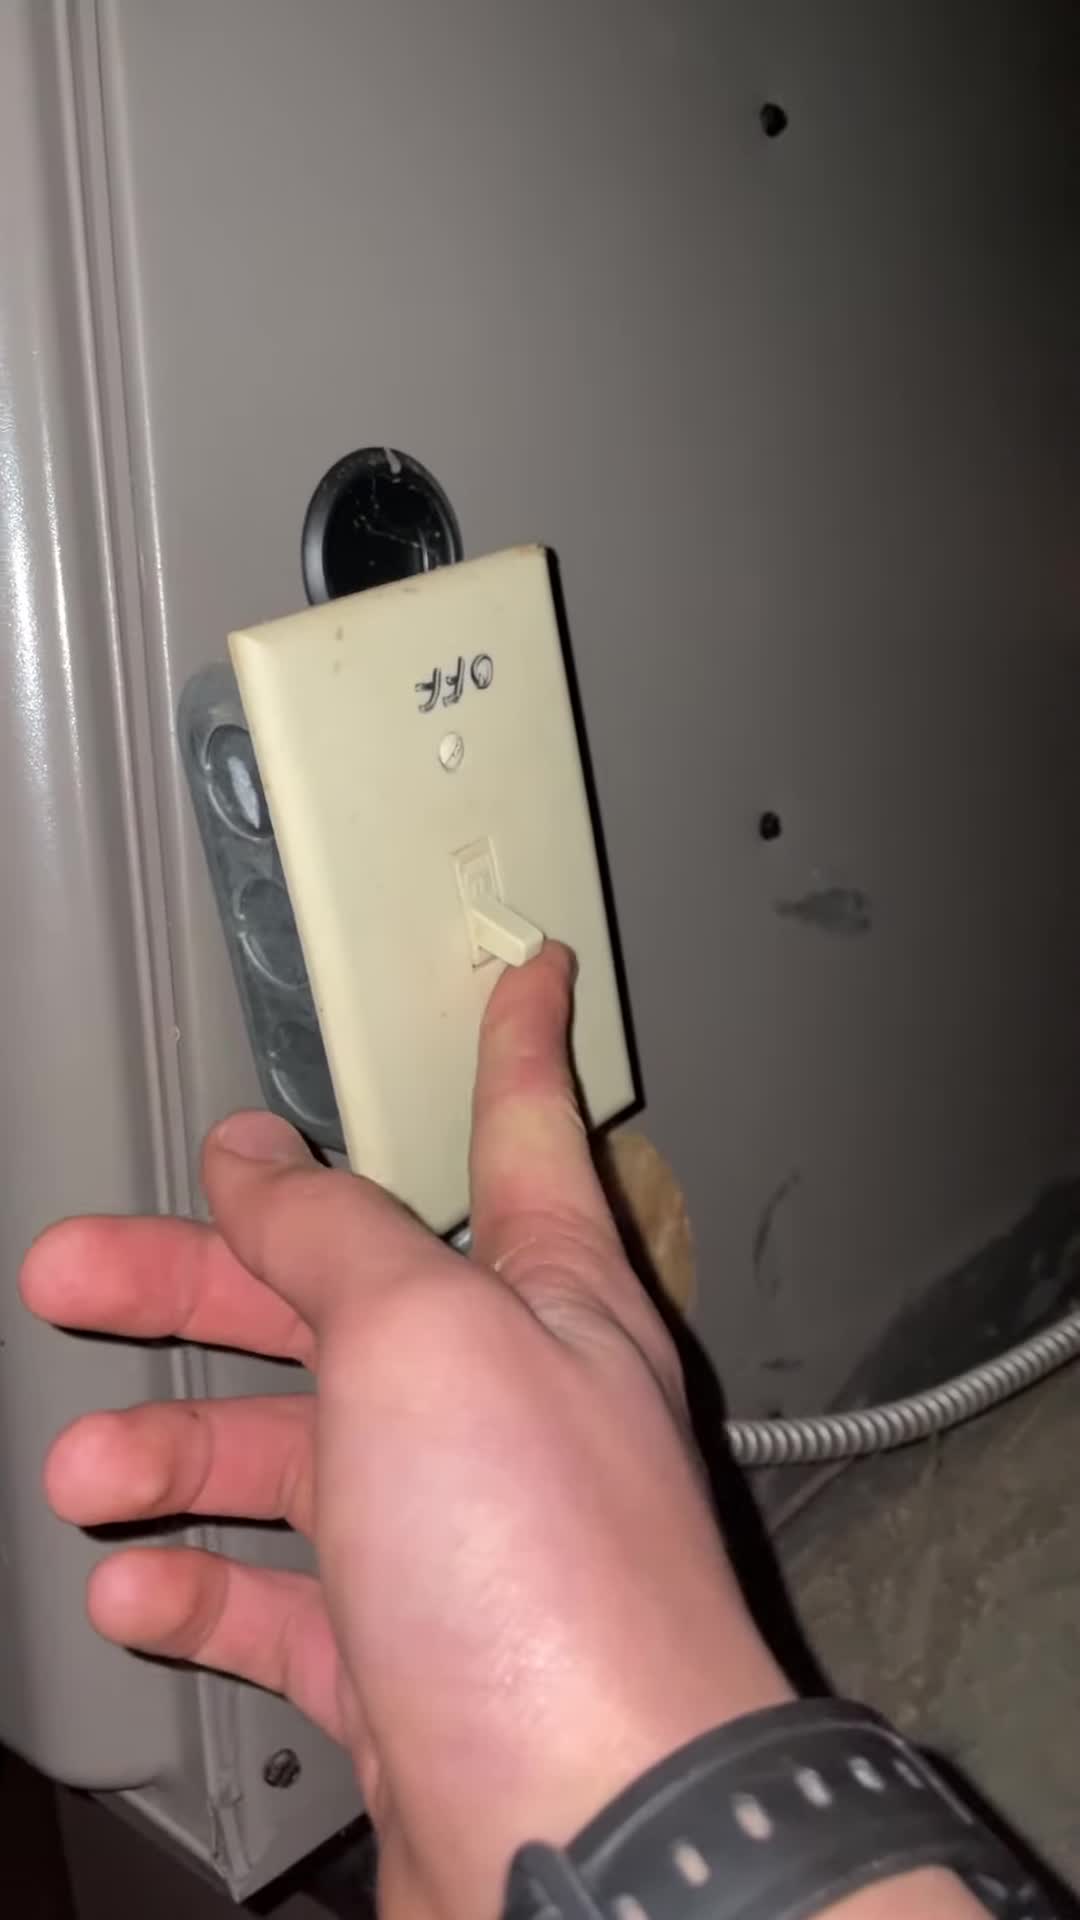
Before beginning any installation, safety is paramount. Always start by turning off the power to your furnace. This prevents accidental shocks and ensures a safe working environment.
Next, carefully remove the old thermostat from the wall. Take a picture of the wire connections before disconnecting them to ensure easy reconnection later. This step is crucial for avoiding confusion during the installation process.
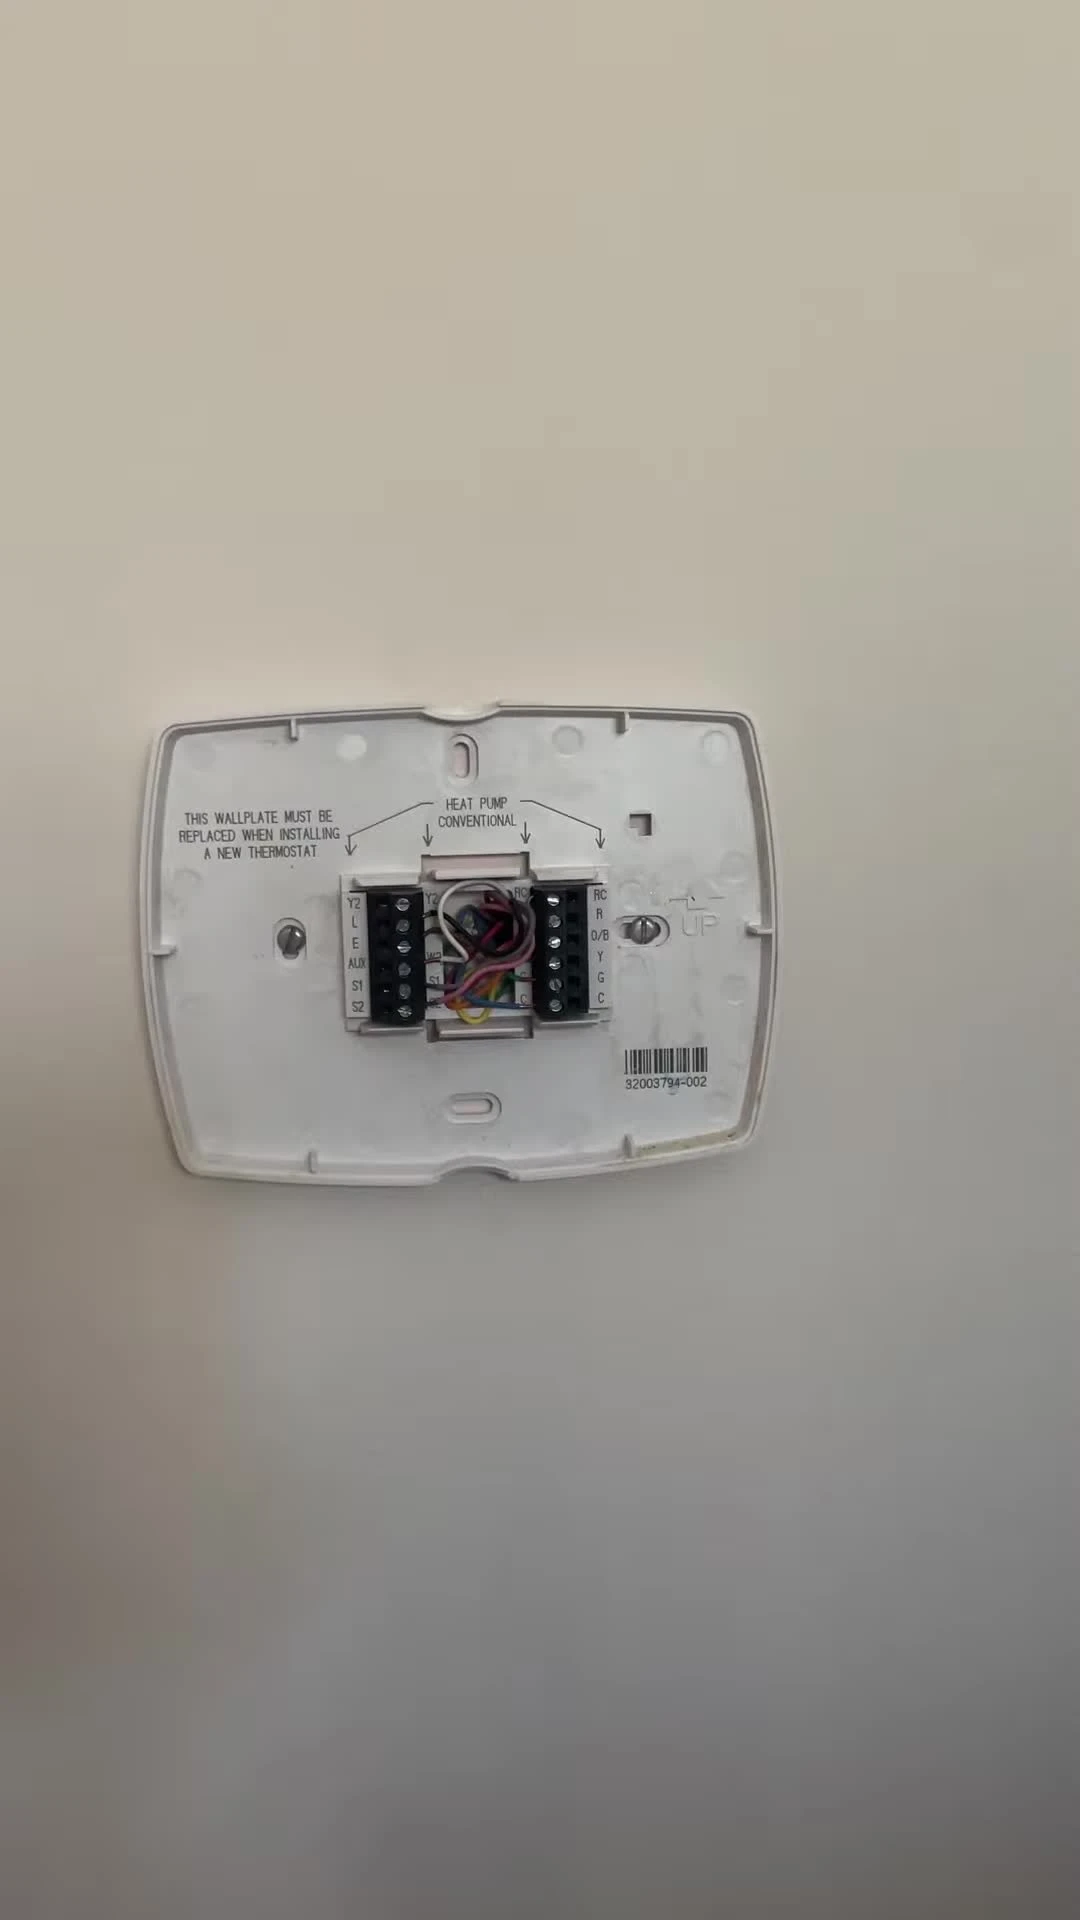
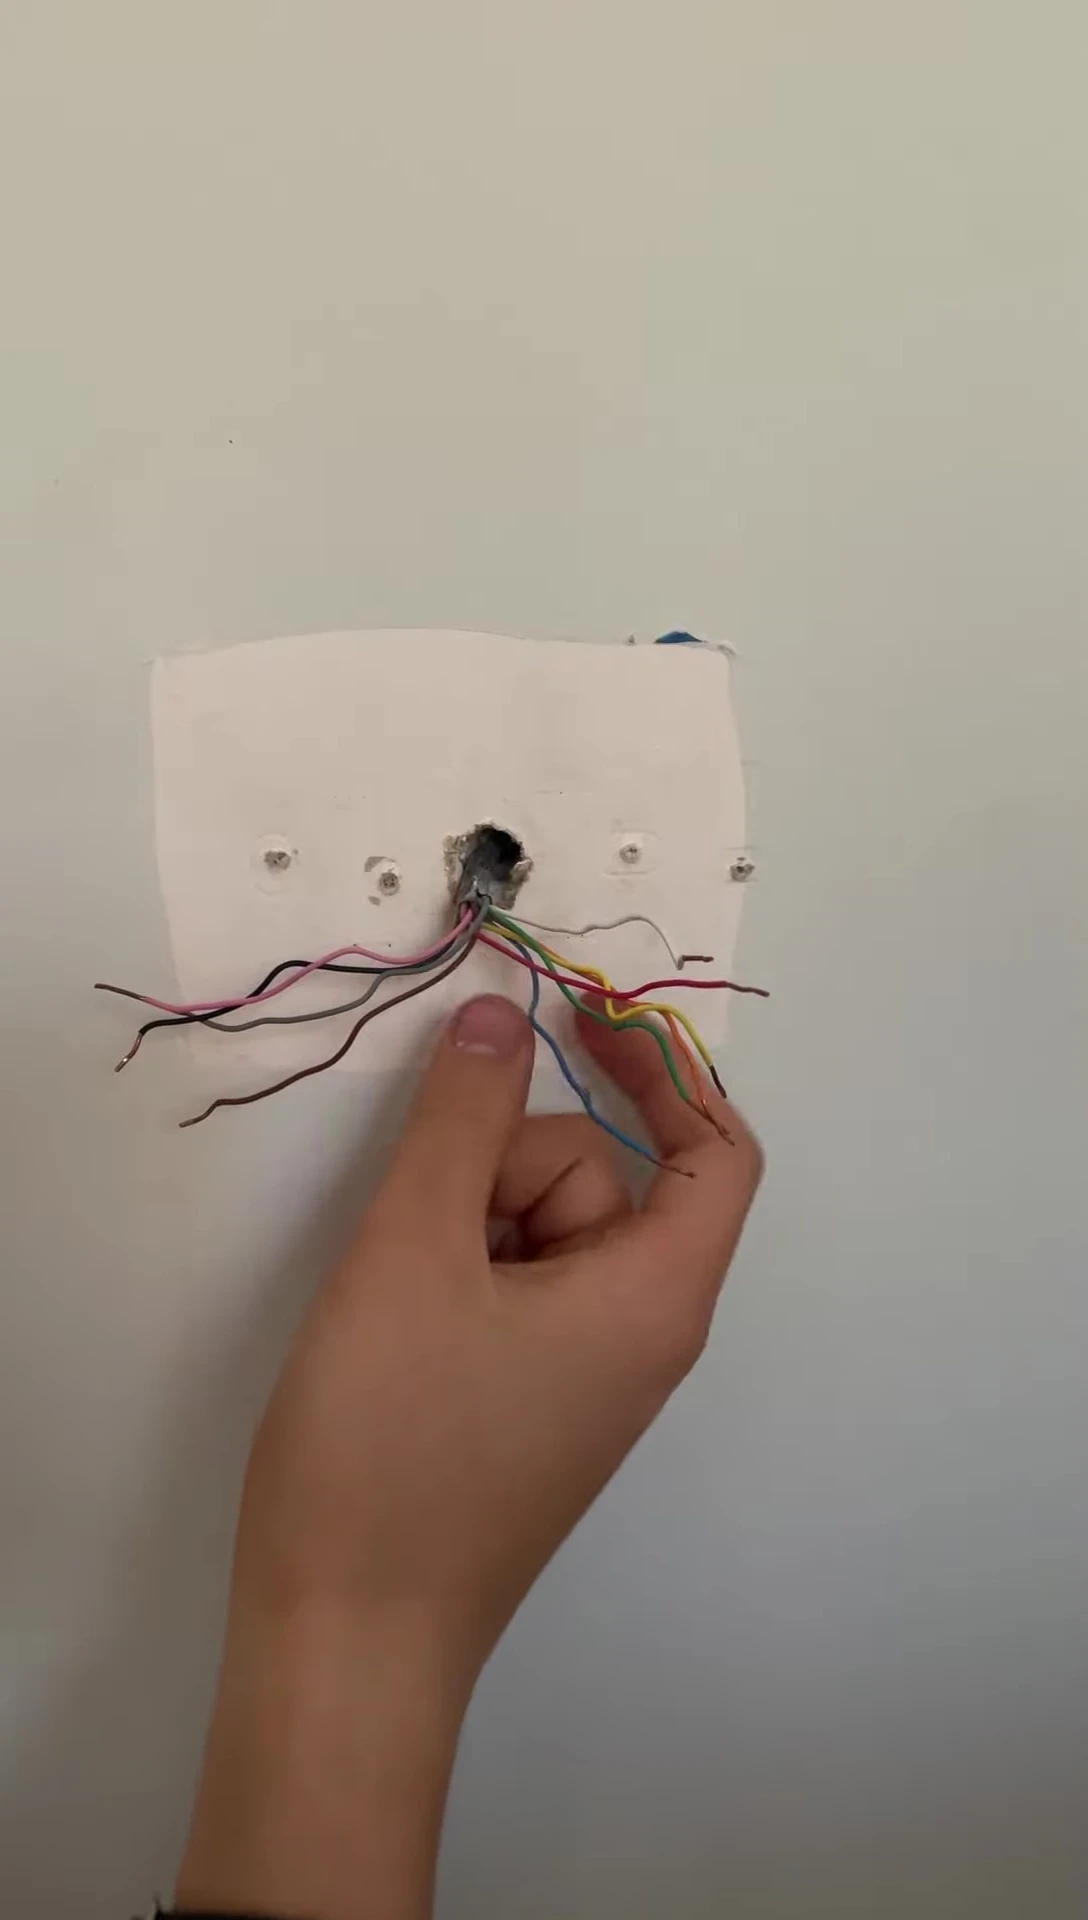
Disconnect all the wires from the old thermostat, carefully noting their positions. A clear photograph will serve as your guide during the reconnection stage of the new Ecobee Lite smart thermostat.
Preparing for Ecobee Lite Installation
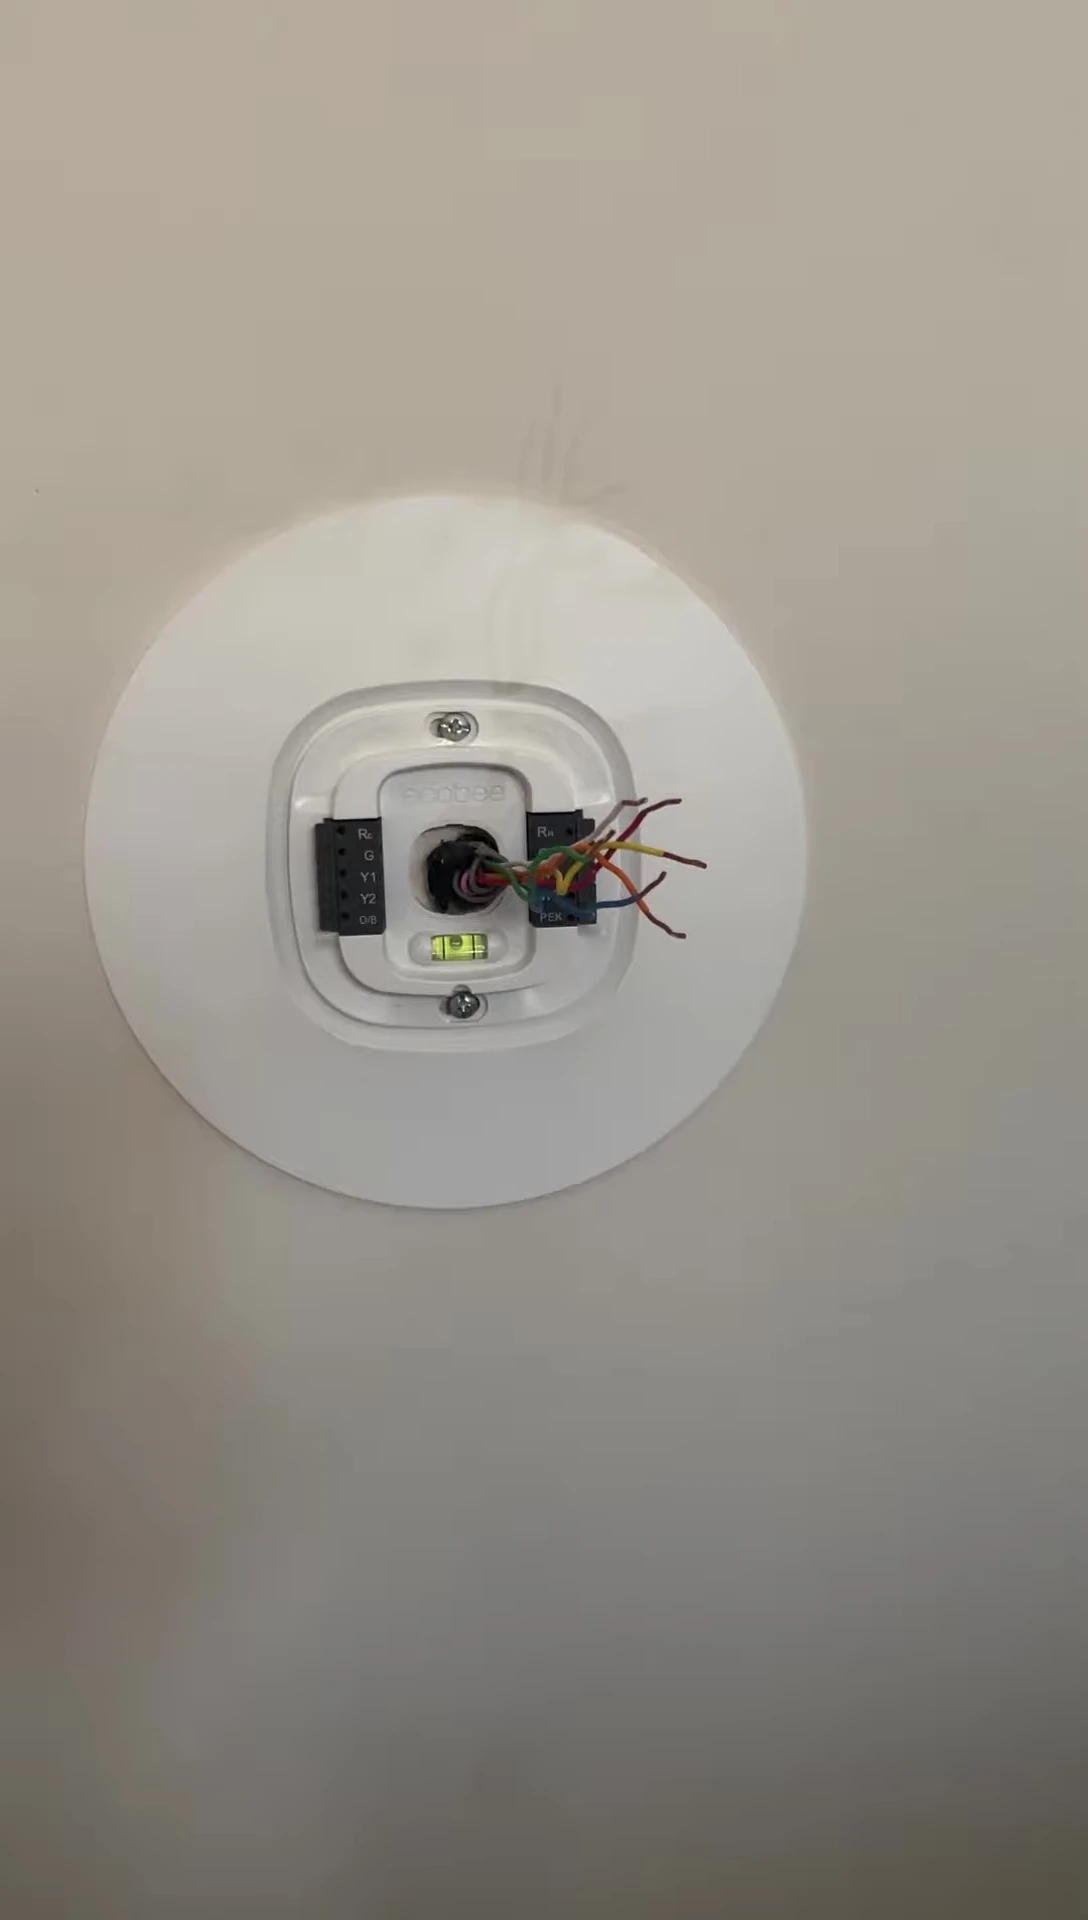
The Ecobee Lite uses local weather data, so the outdoor temperature sensor wires (S1 and S2) are not needed. Securely wrap and tape the unused wires to prevent them from interfering with the new thermostat.

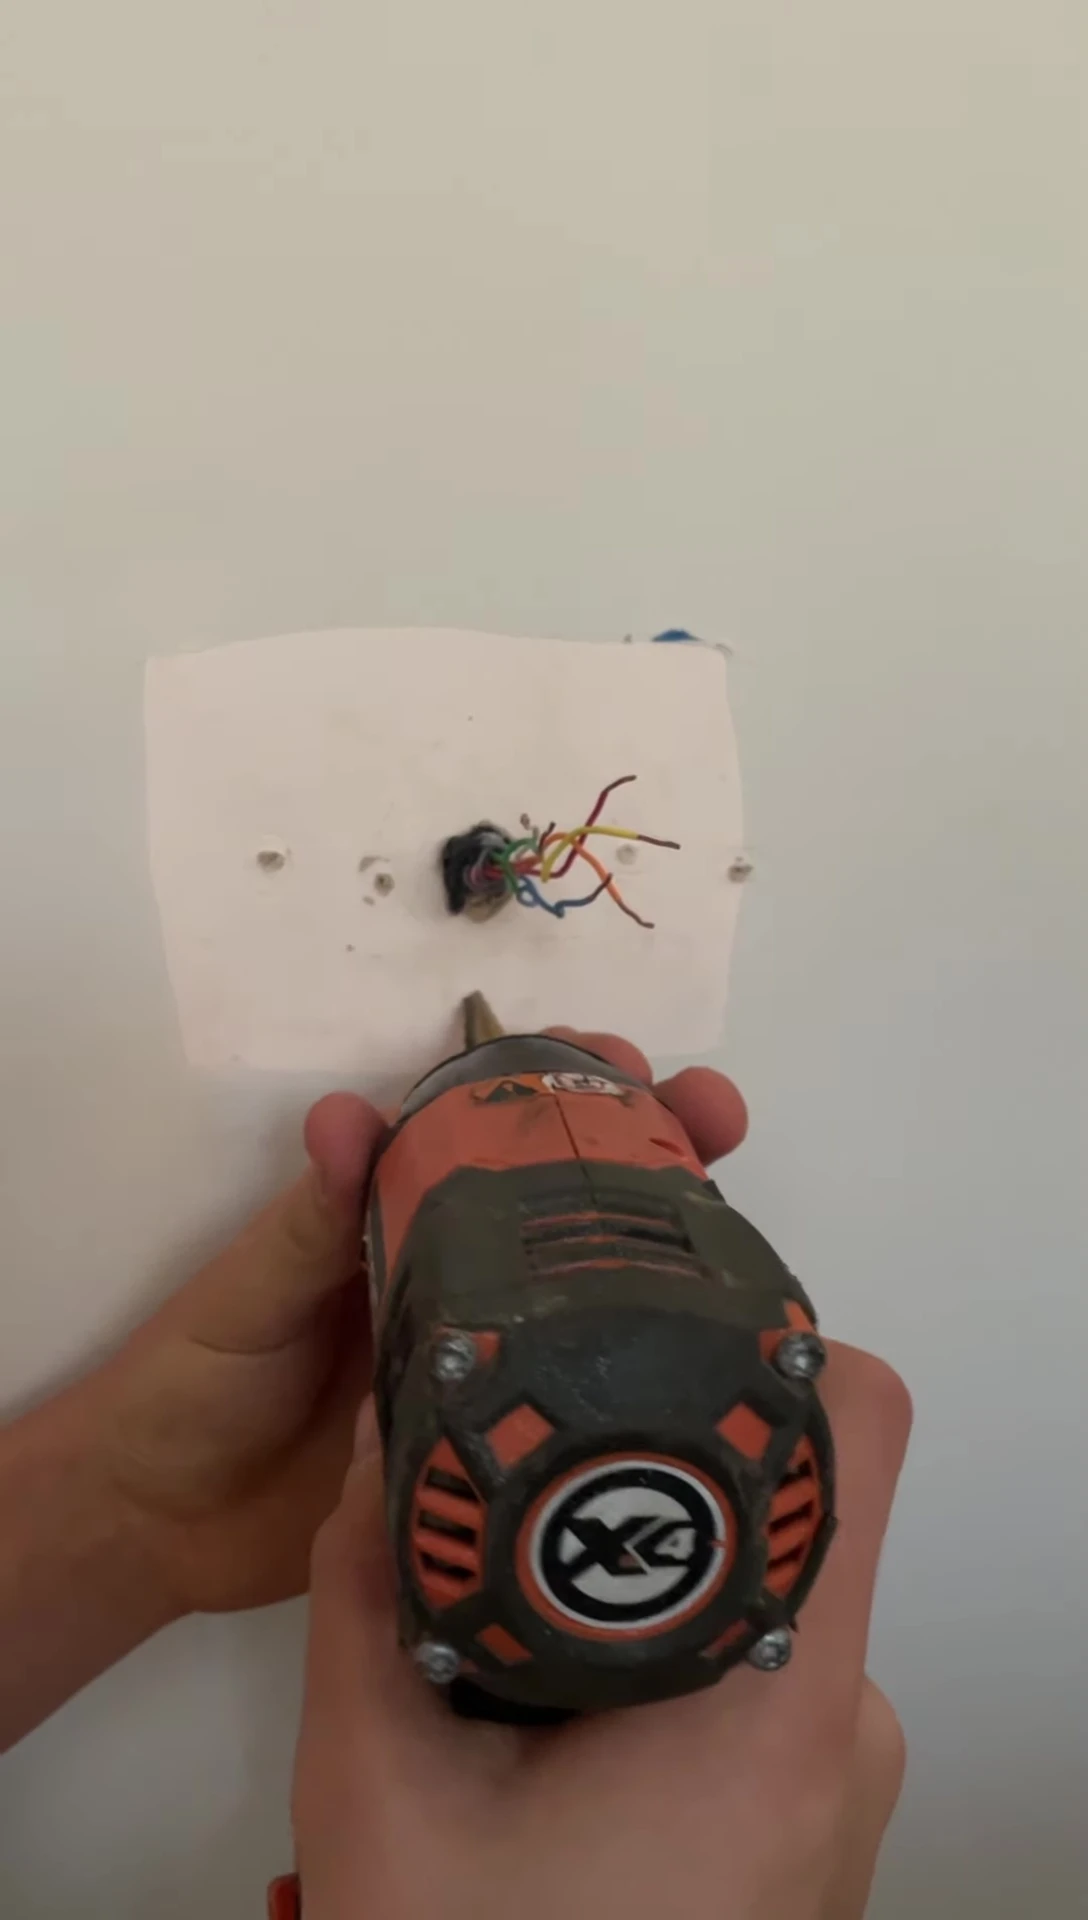
Remove the wall plate of the old thermostat. Assess the wall for existing holes. If the holes from the old thermostat match the Ecobee Lite’s mounting plate, you can proceed to mount the new thermostat. If not, you might need to drill new ones.
If necessary, use a step bit and drill new holes for the Ecobee Lite. If you encounter studs, you might not need wall anchors for secure mounting.
Connecting the Ecobee Lite and Configuration
Connect the wires to the Ecobee Lite's terminals, following the diagram and the picture taken earlier. Ensure accurate wire placement to ensure proper functionality of the system.
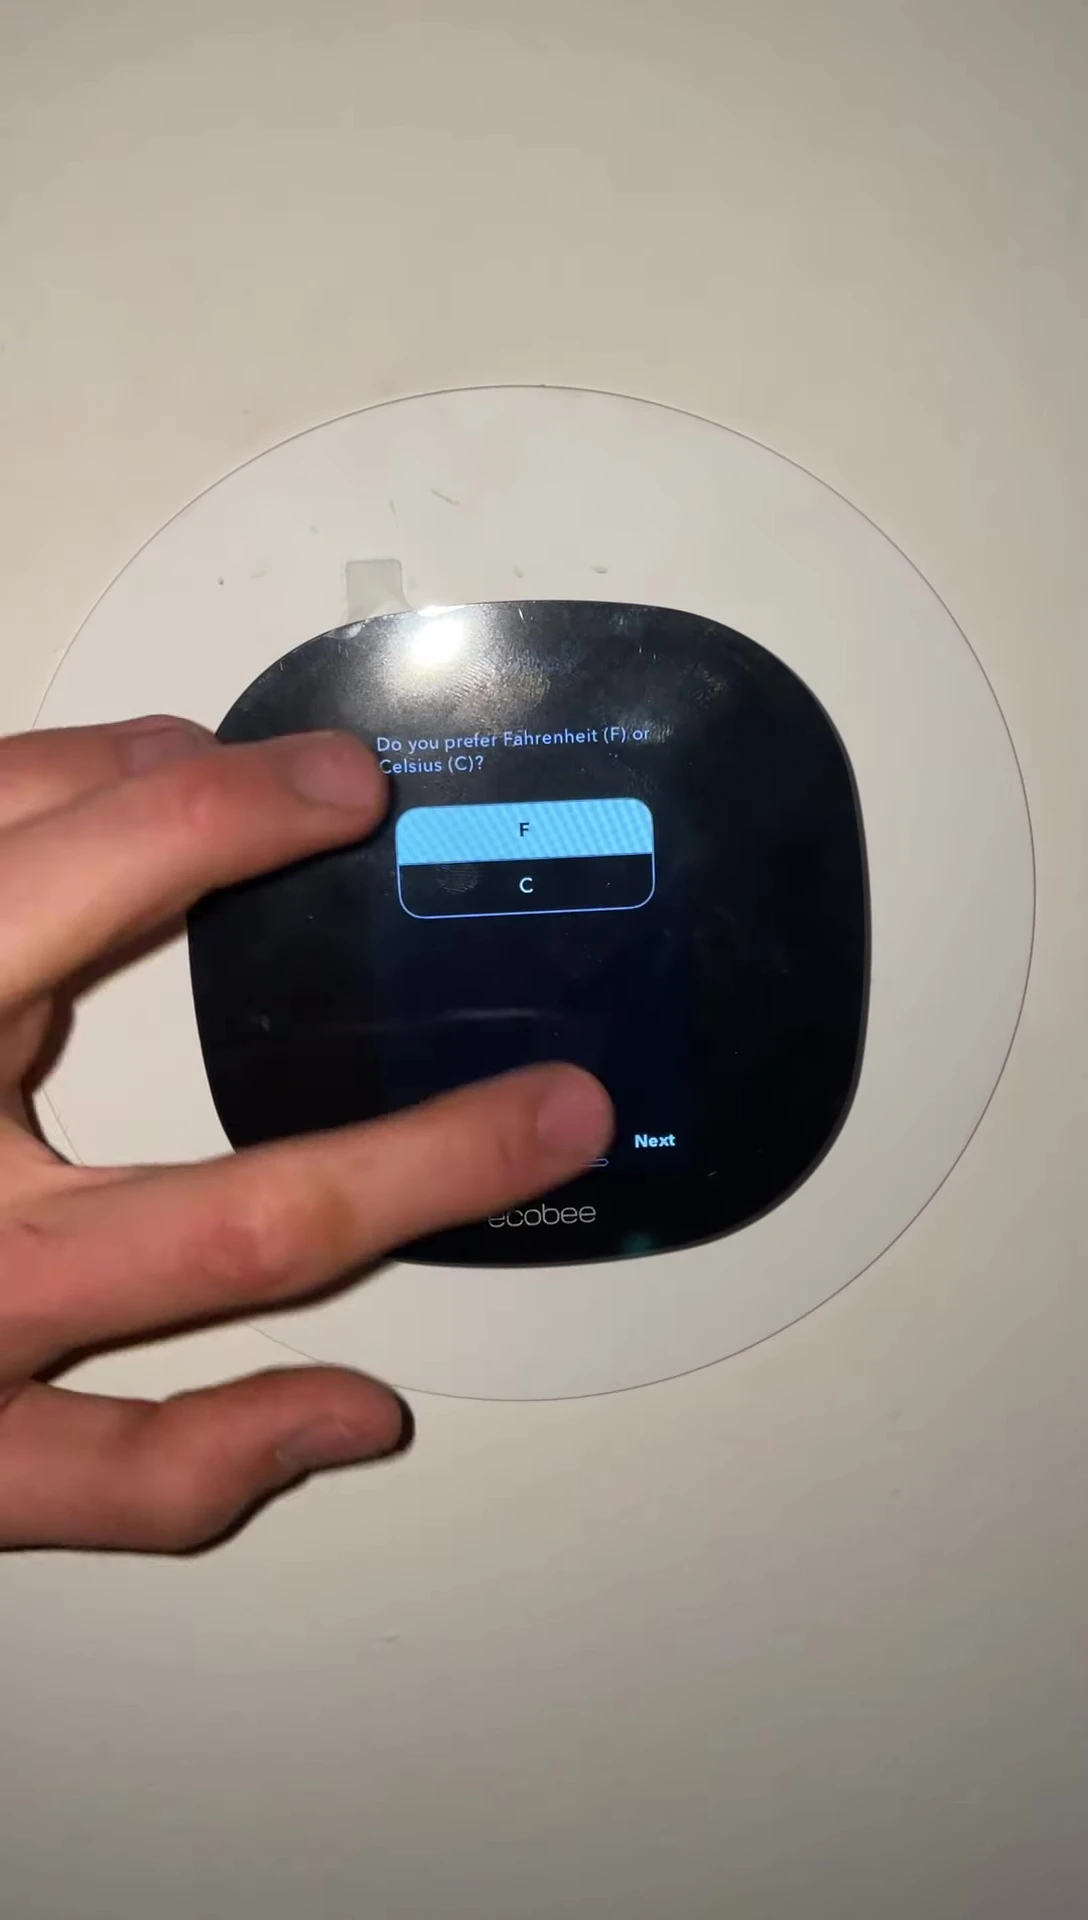
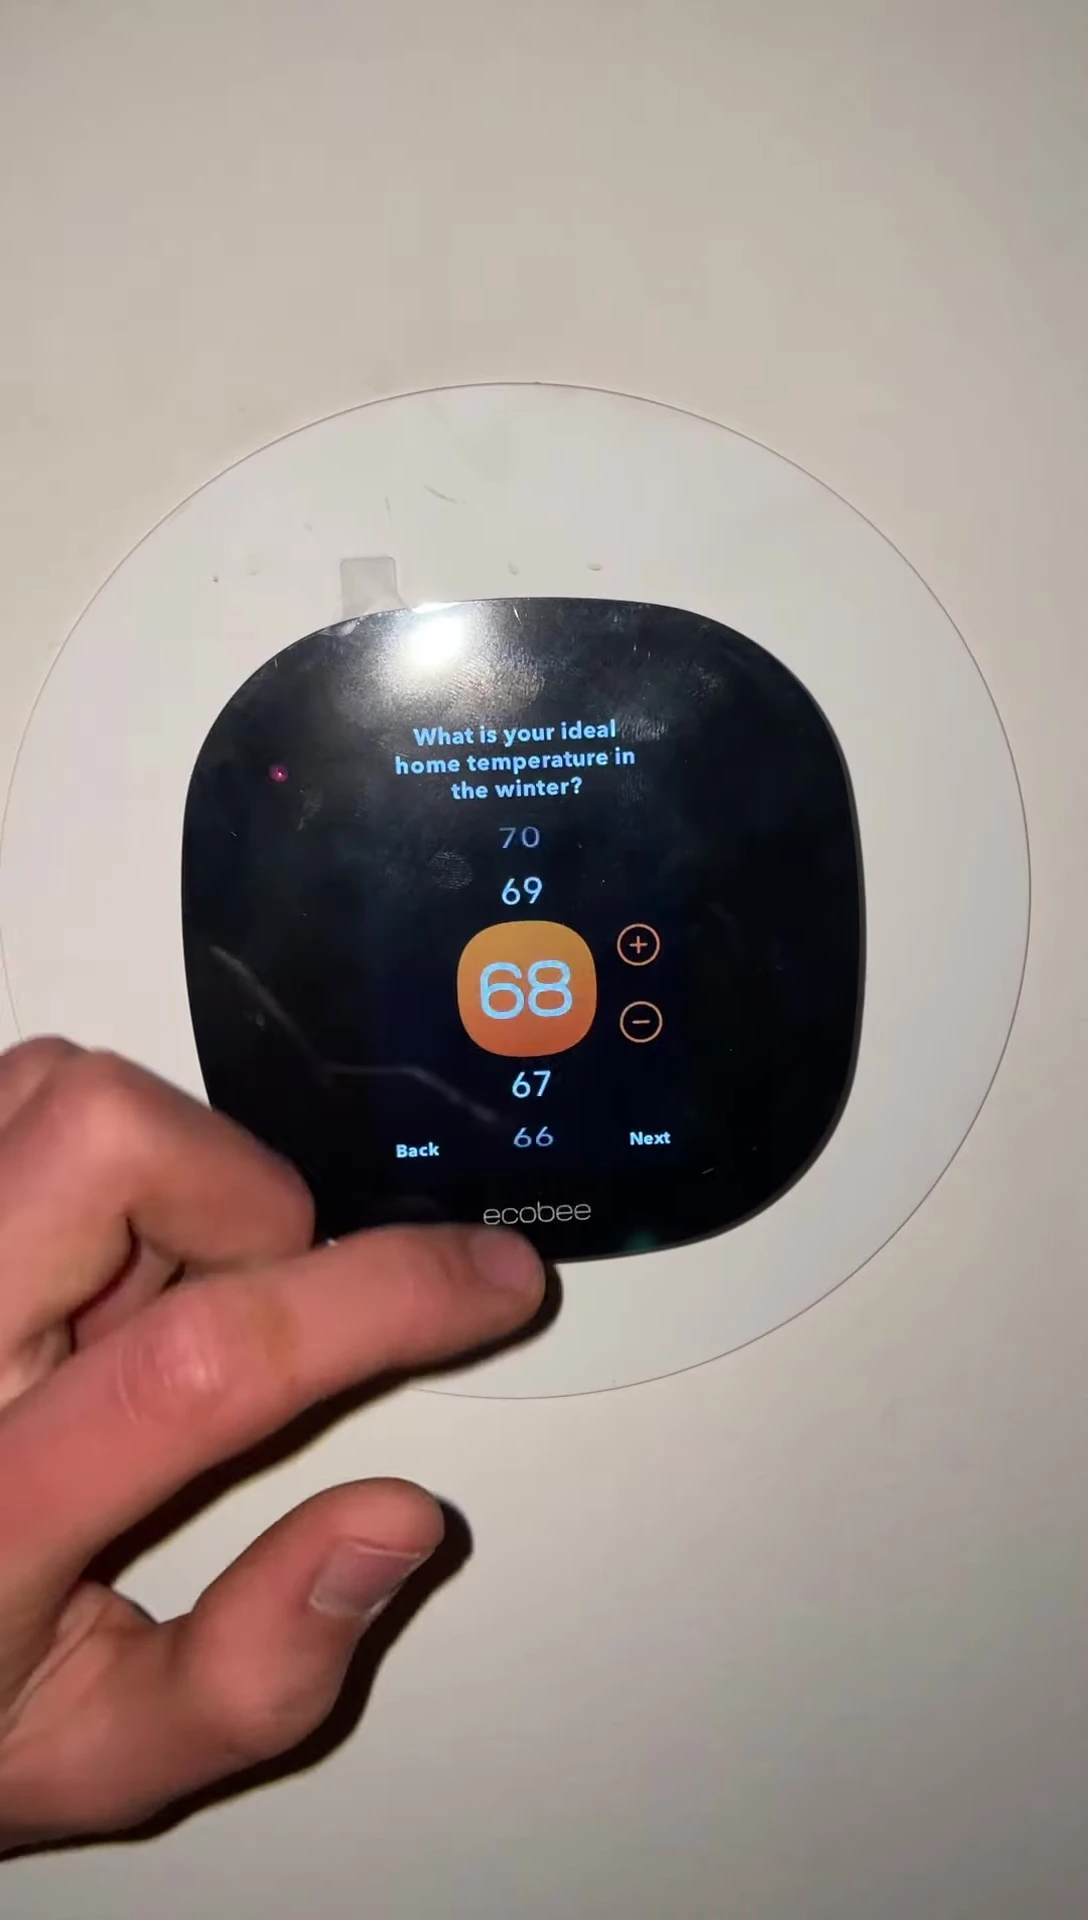
After connecting the wires, power on the Ecobee Lite and follow the on-screen prompts to configure the device. Proper configuration is vital for optimal performance.
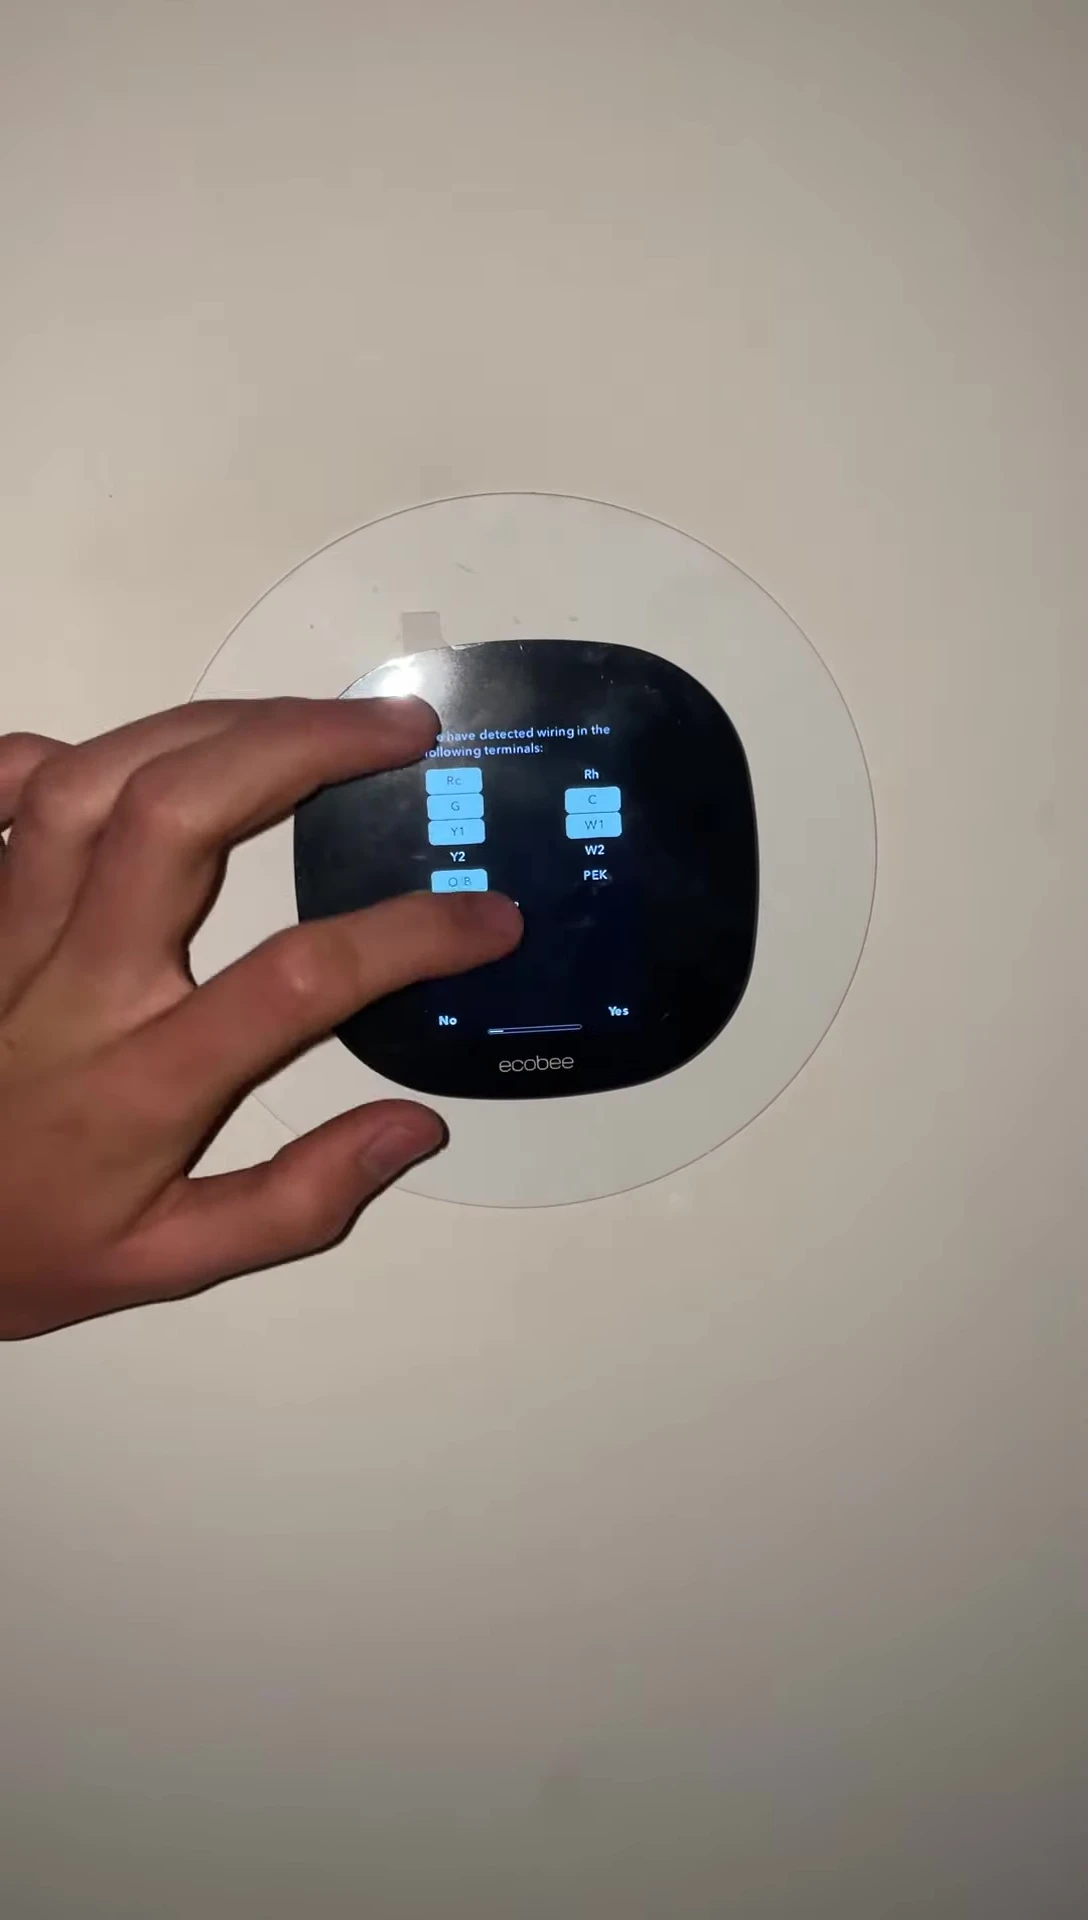
The configuration process involves selecting the correct settings for your system, including the type of heating and cooling systems, and any relevant additional features (such as a reversing valve).
Final Steps and Testing
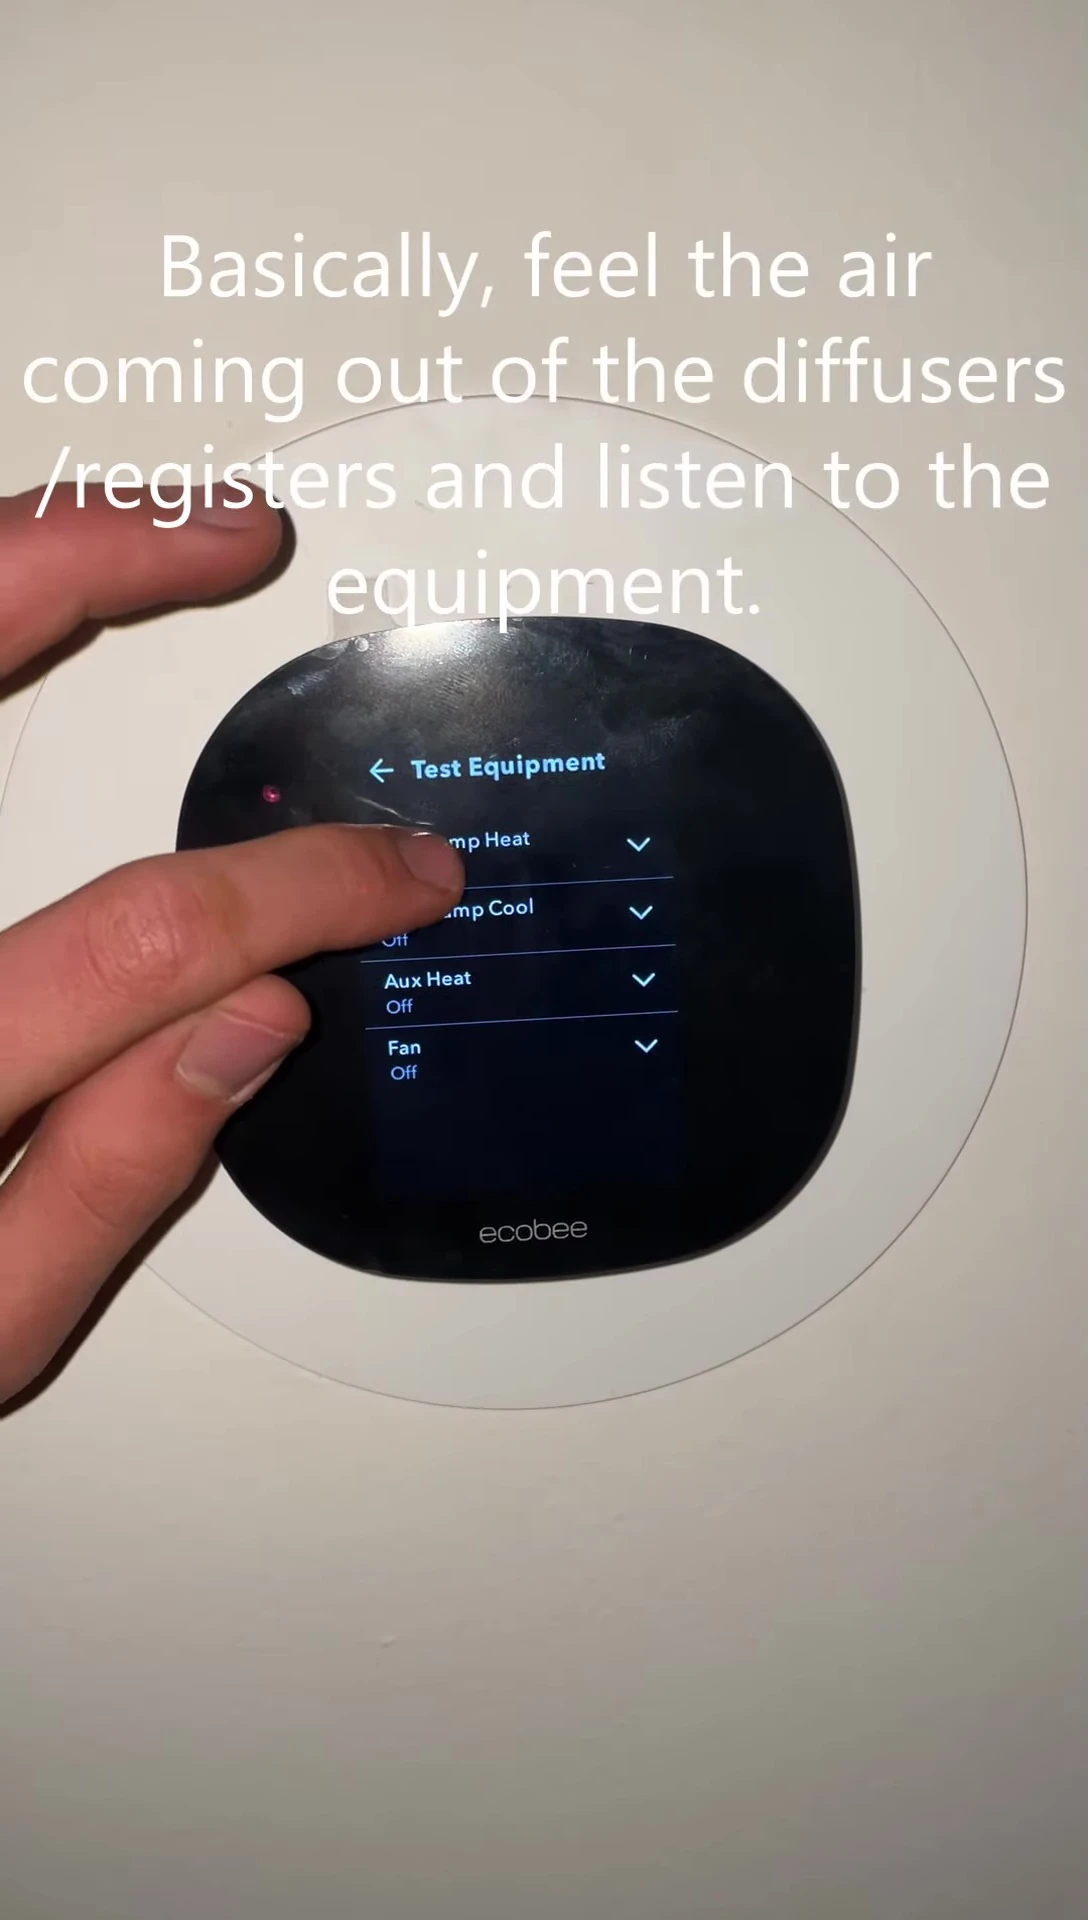
Once the Ecobee Lite is configured, set any additional preferences and test the entire system to ensure everything is functioning correctly. This involves checking both heating and cooling operations.
Verify the system’s responsiveness to temperature changes and other settings within the Ecobee Lite app. Ensure that the heat pump and auxiliary heat are not running simultaneously unless specifically required.
The Ecobee Lite is now installed and ready for use. The installation process was completed successfully, resulting in a functional smart thermostat managing the dual fuel heat pump system.
