Beat the heat with this ingenious DIY project: transform a discarded fluorescent lamp into a surprisingly effective air conditioner! This guide details the construction of a -35°C cooler, a testament to resourceful innovation and eco-conscious engineering. Forget expensive store-bought units; this project leverages readily available materials and components, requiring only basic hand tools and a willingness to embrace a hands-on challenge. While the process is labor-intensive, requiring approximately two weeks of dedicated work, the reward is a functional cooling system built from scratch.This detailed walkthrough covers every step, from safely preparing the fluorescent lamp and sourcing affordable components from jlcmc.com, to assembling the condenser, evaporator, and high-pressure compressor. Learn to create airtight connections, vacuum the system for optimal performance, and experimentally determine the ideal refrigerant amount. This isn't just a project; it's a journey into the world of refrigeration engineering, a demonstration of ingenuity and a powerful solution for staying cool during those sweltering summer months.
Pros And Cons
- Crucial for removing air and excess moisture from the system
- Ensures reliable and efficient setup
- Sturdy
- Reliable
- Surprisingly affordable
- Excellent product quality
- Cheap (as low as $80)
- Sturdy
- Reliable
- Surprisingly affordable
- Excellent product quality
- Huge range of mechanical components
- Fast delivery (6 days for international shipping)
- Offers bonuses and discount coupons (e.g., $60 for new users)
Read more: Nuwave PIC Titanium Induction Cooktop Review: A Mixed Bag of Features
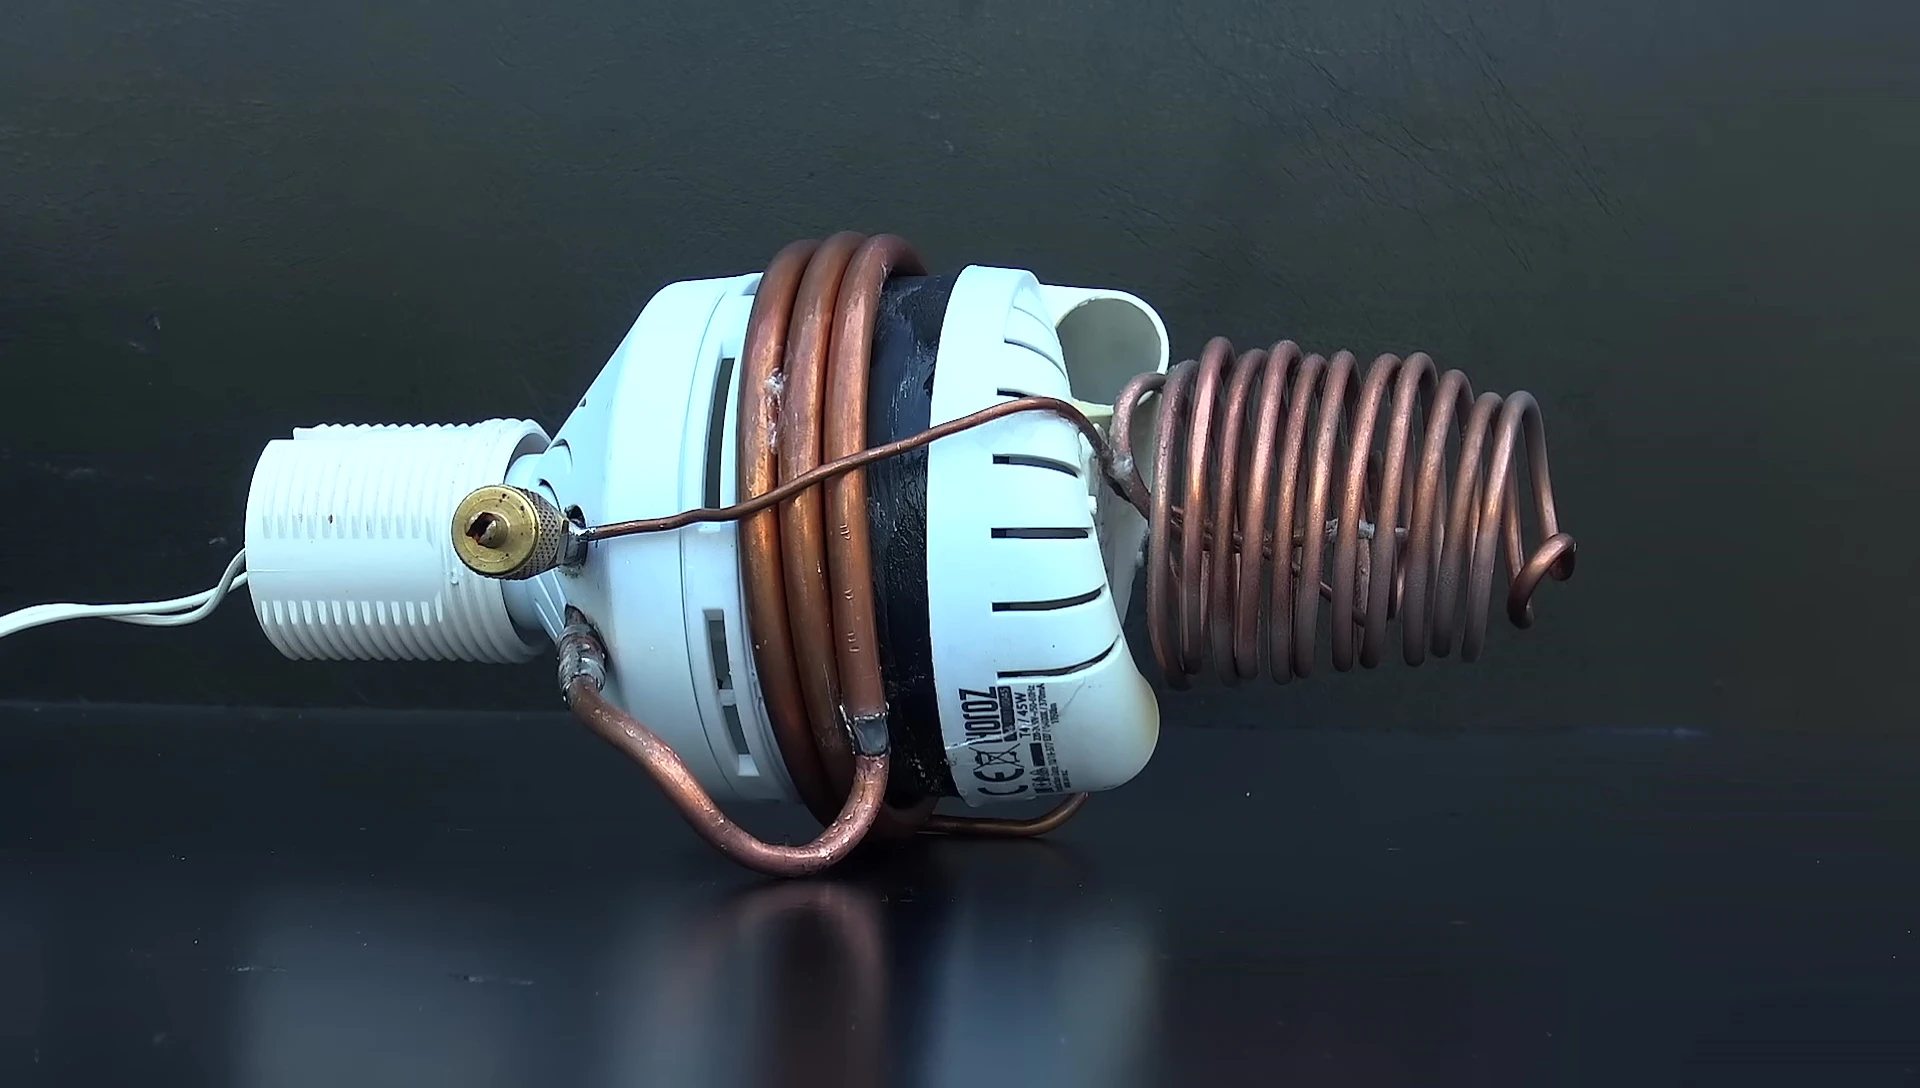
Repurposing a Fluorescent Lamp
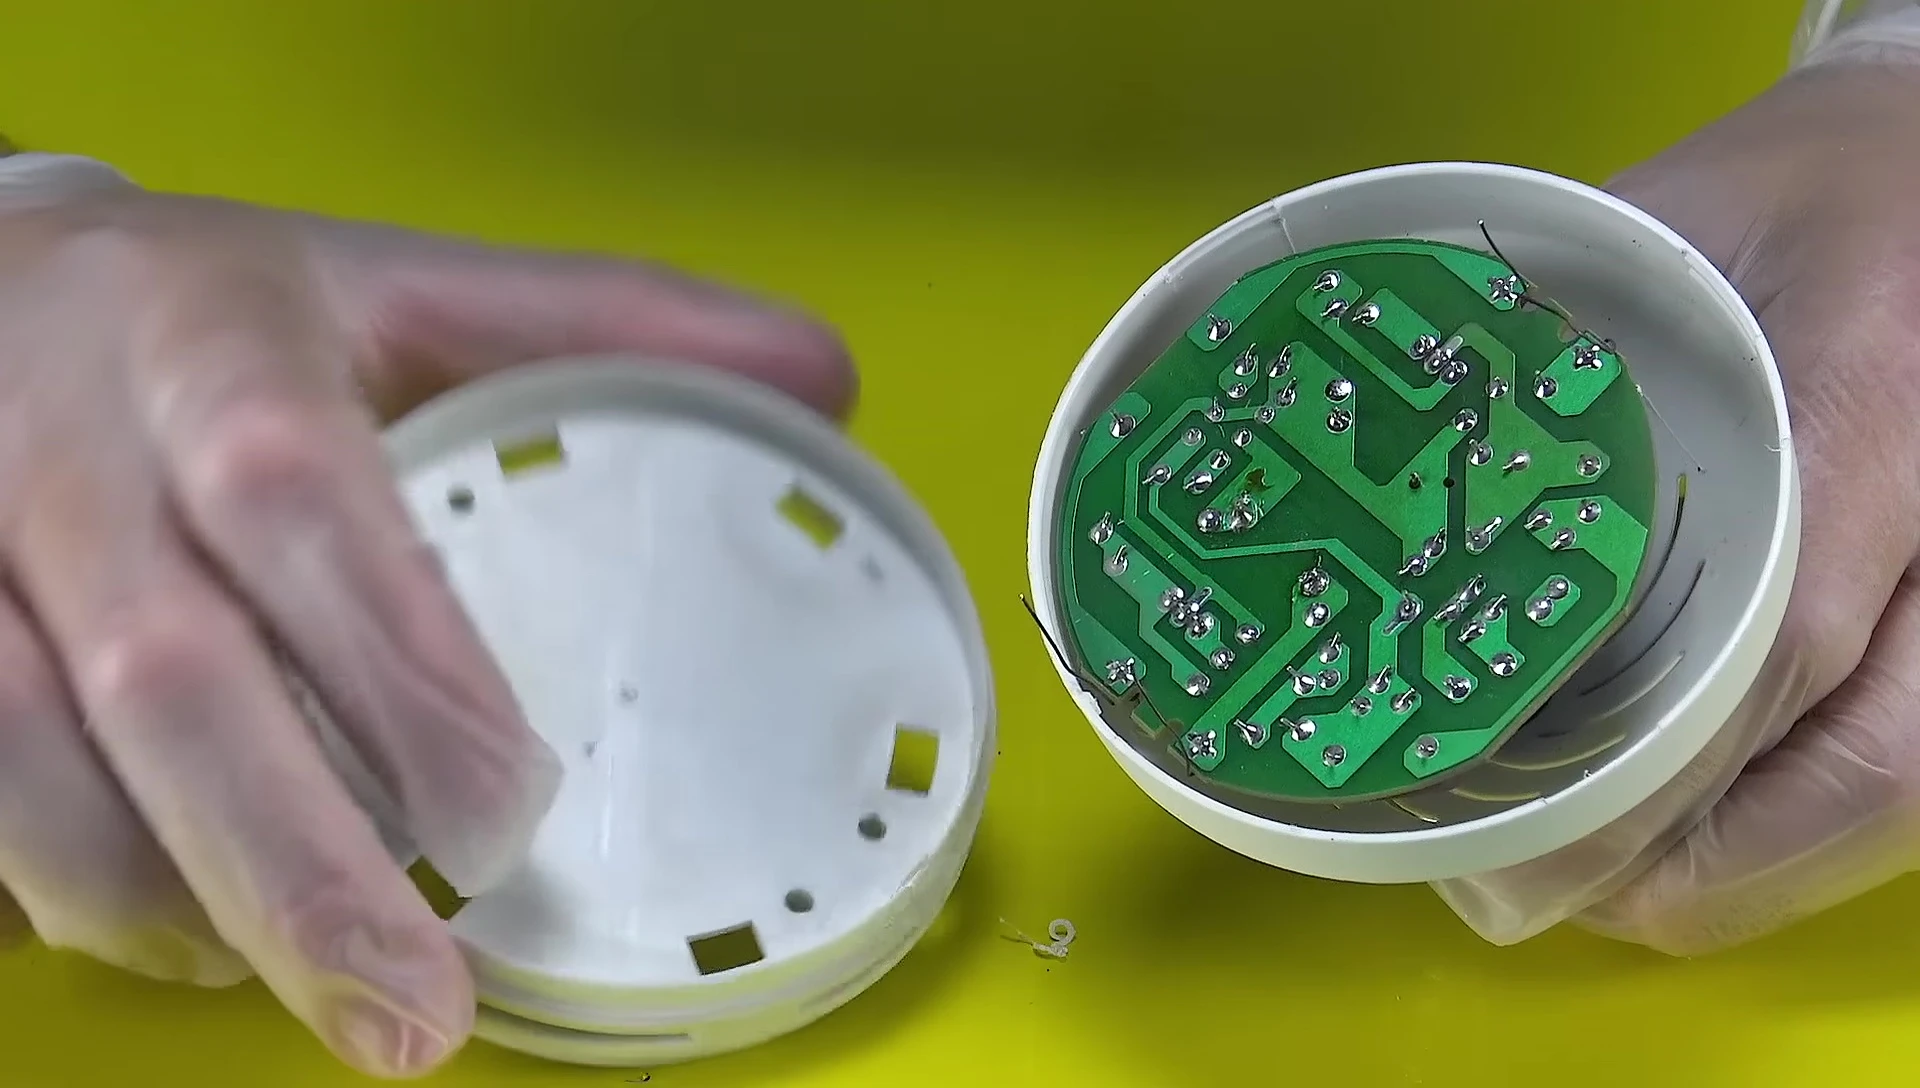
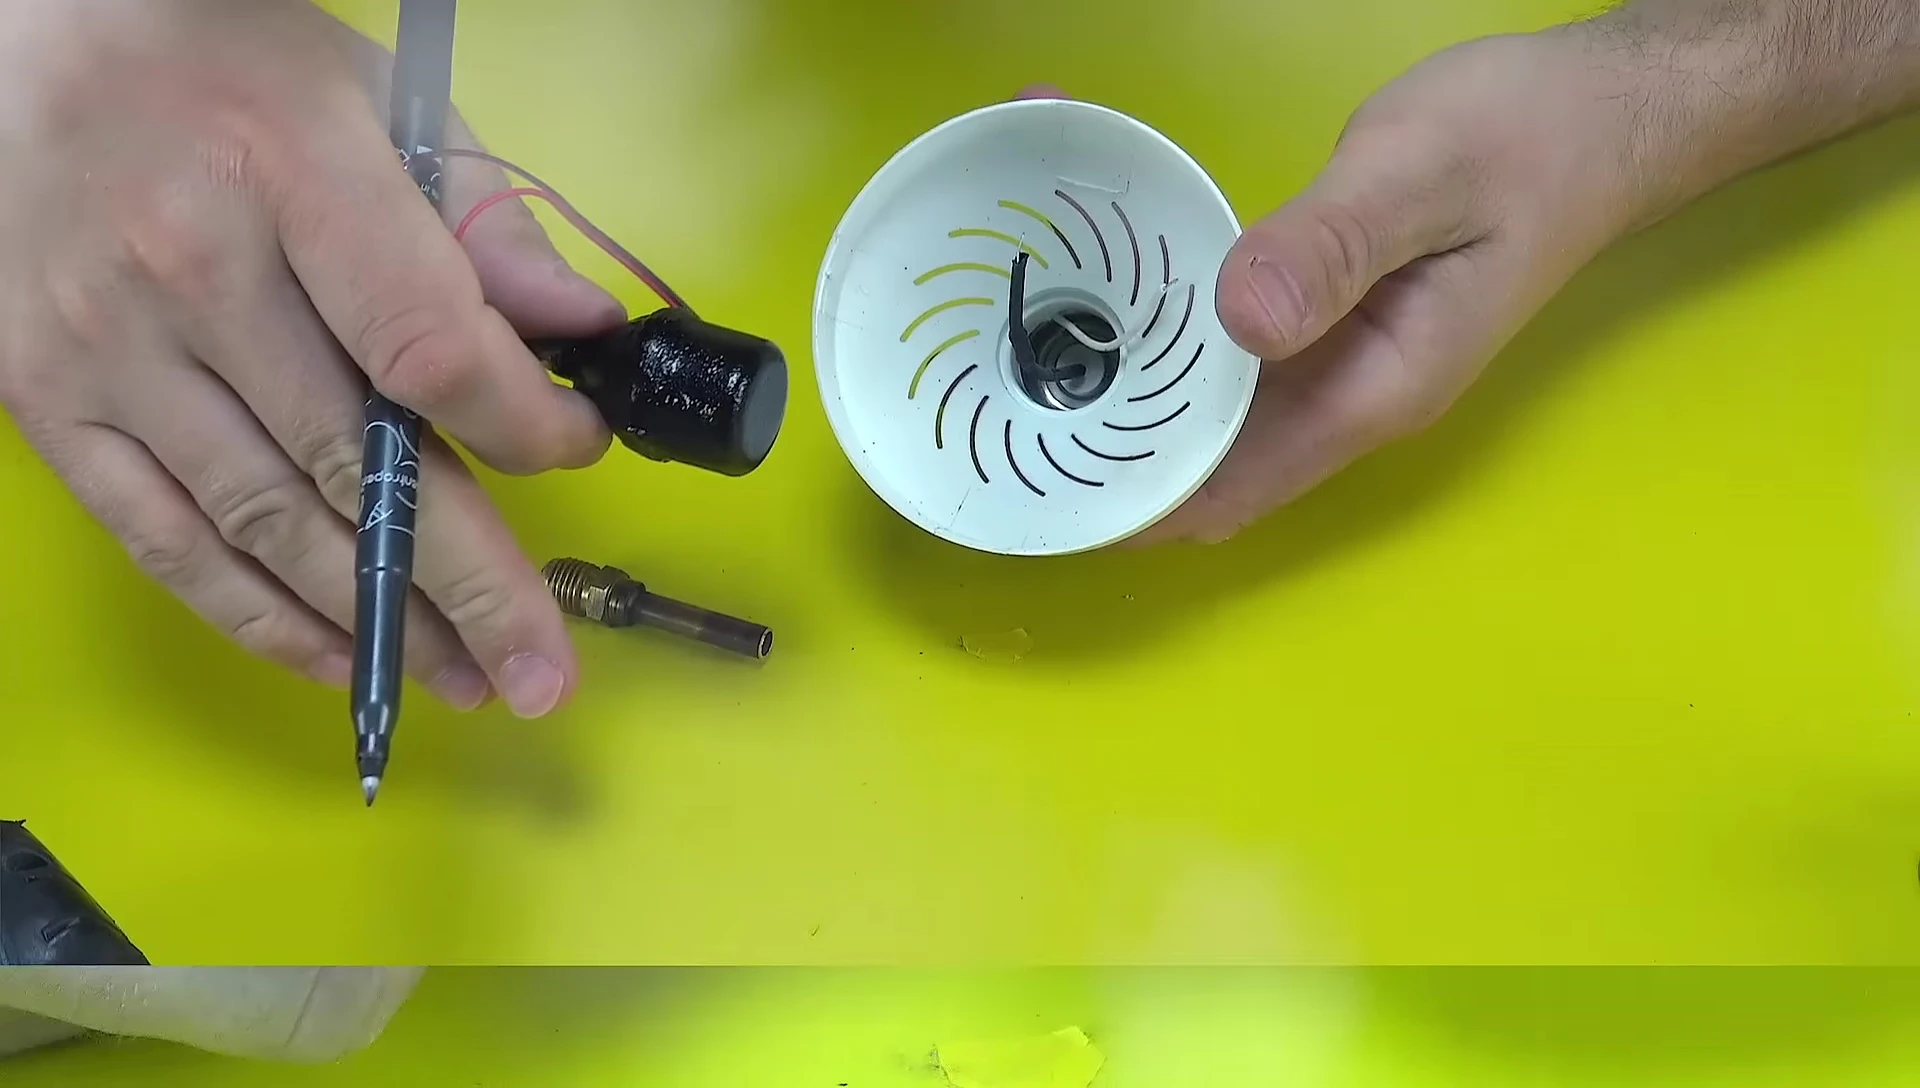
This project transforms a broken fluorescent lamp into a functional air conditioner. Fluorescent lamps contain phosphor, a substance that glows under UV light produced by mercury vapor. This unique property is key to the design.

The lamp's internal gas is removed, but safe handling practices are crucial. Always wear gloves, safety goggles, and a respirator for protection.
This project highlights creative reuse and resourcefulness, offering an eco-friendly approach to cooling in hot weather.
Essential Components and Sourcing
A vacuum generator is essential for removing air and moisture from the system for optimal performance and reliability. It's a crucial first step before filling the system.
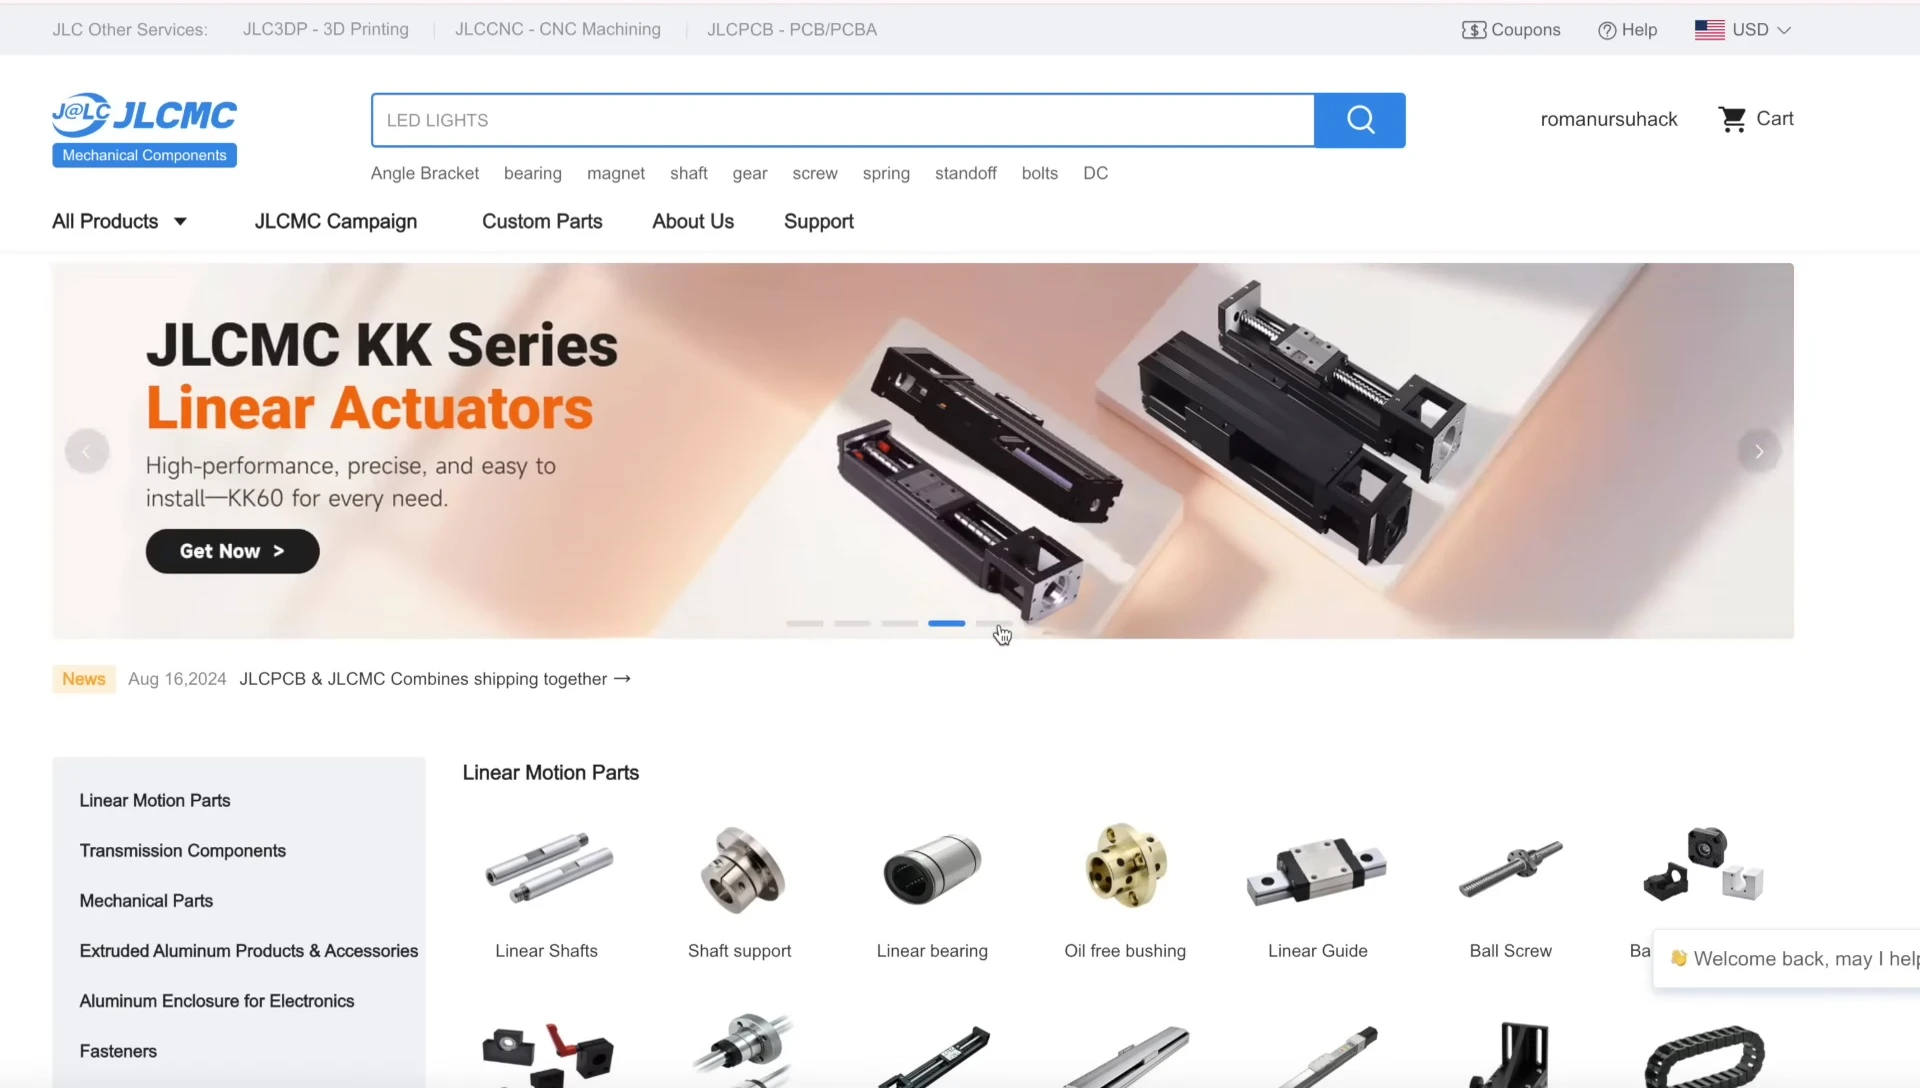
The website jlcmc.com is recommended as a source for various mechanical components, ranging from basic fittings to precision parts. This site offers a wide variety of affordable components.
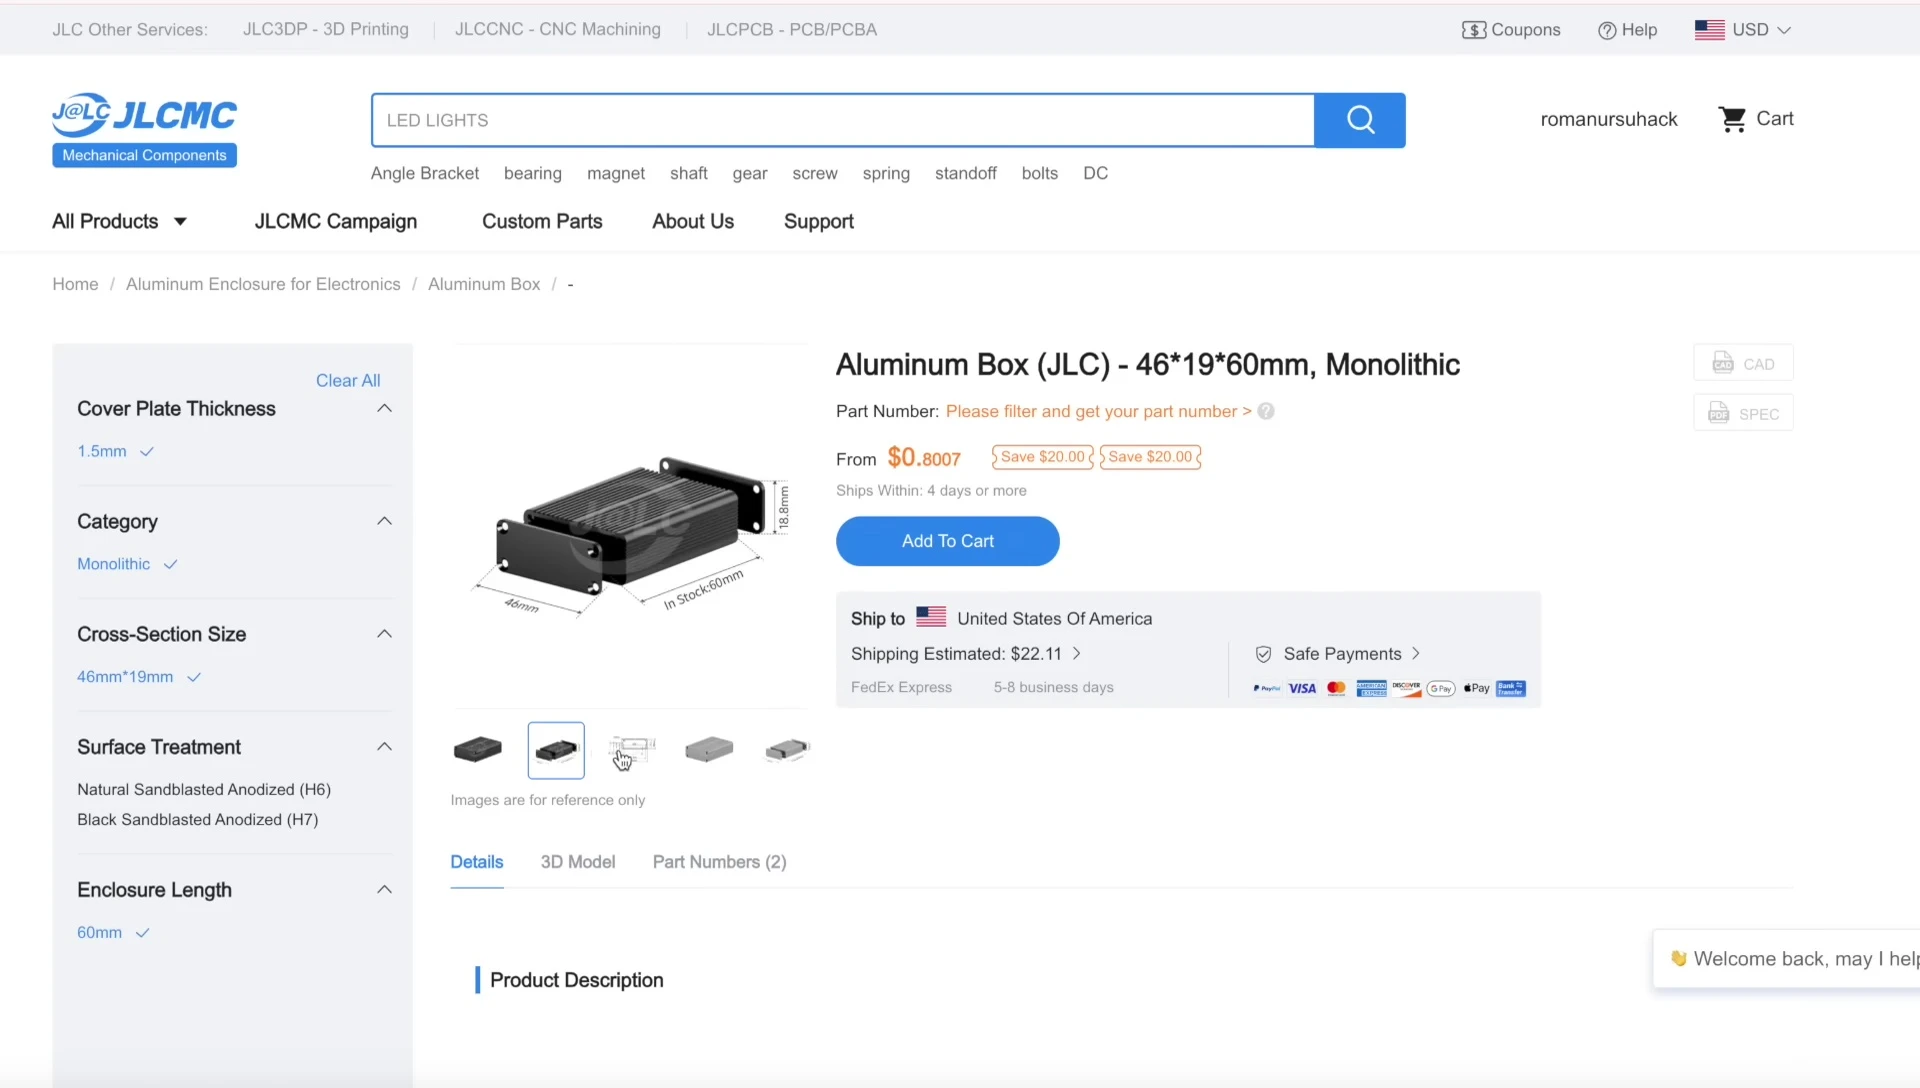
Aluminum enclosures, clamps, and brackets are highlighted as high-quality and affordable items available on the site, showcasing the site's advantages.
Condenser, Evaporator, and Capillary Tube
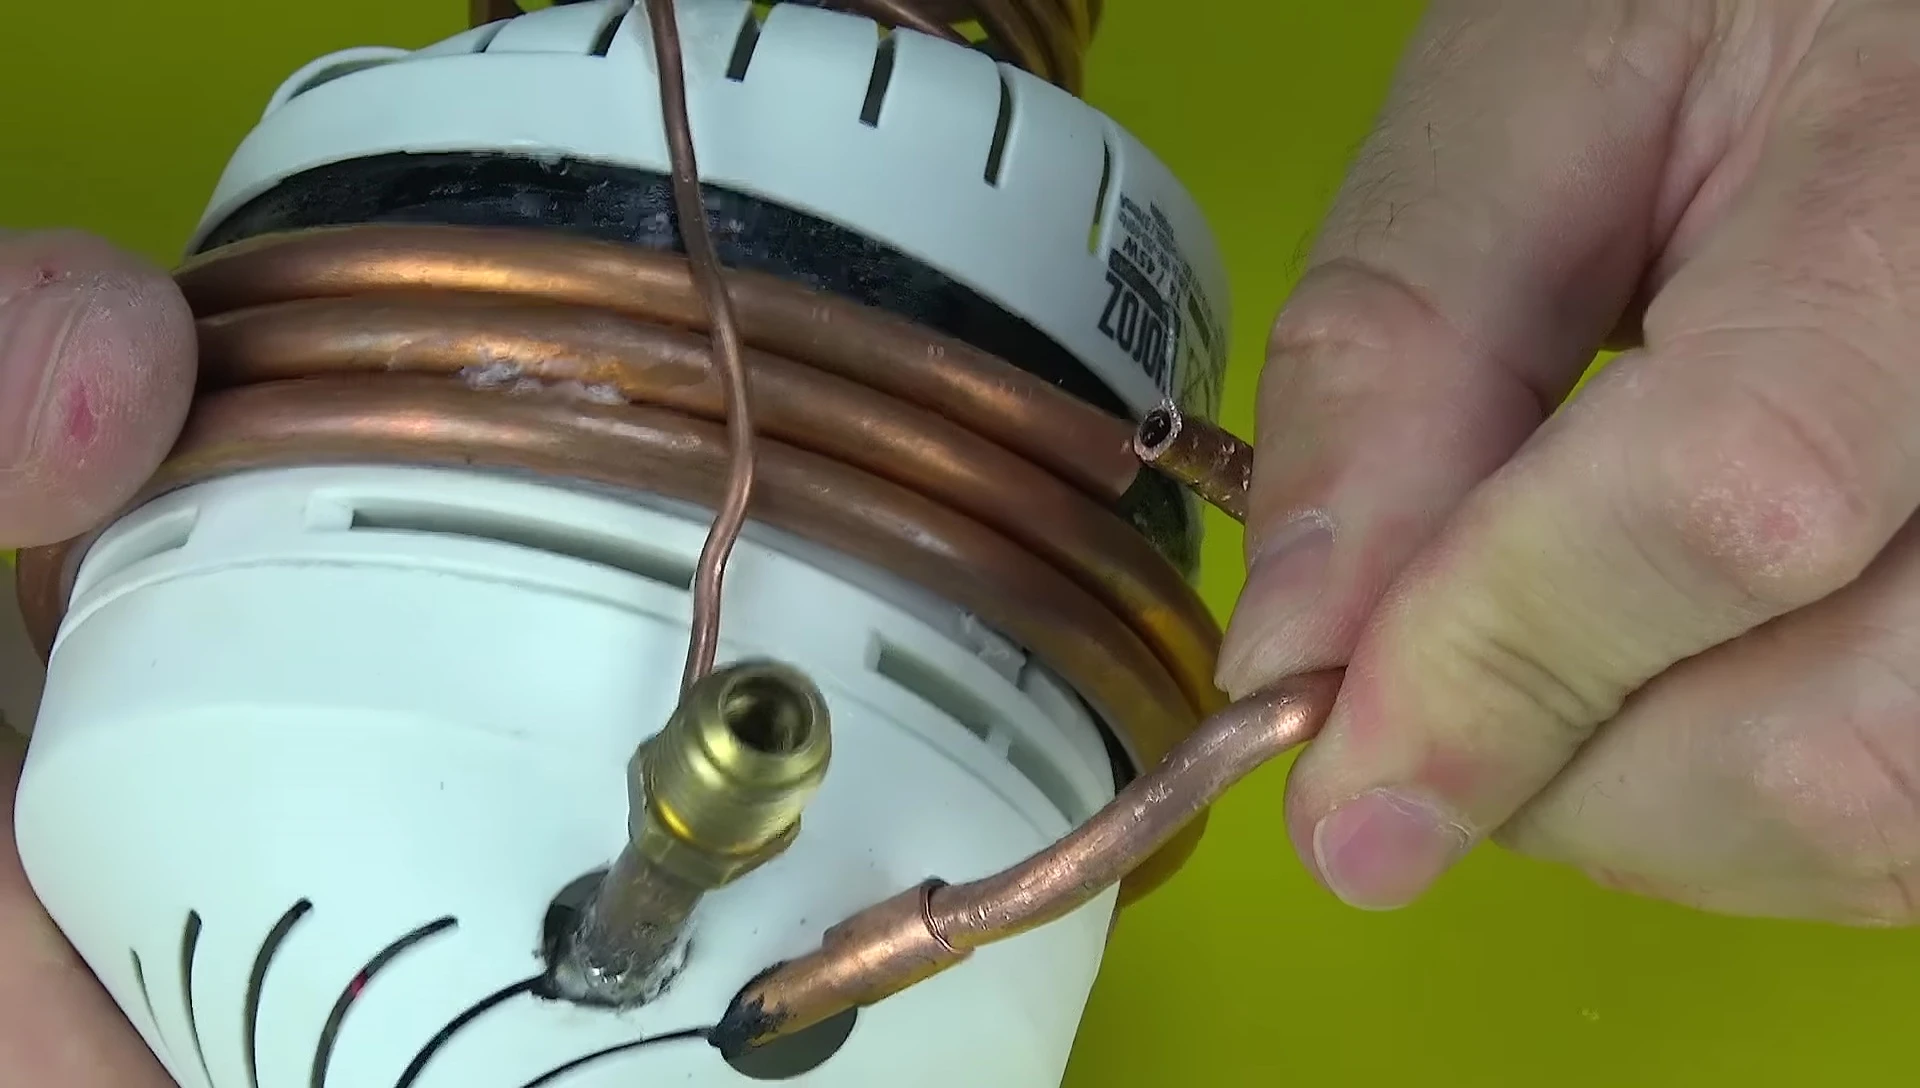
The condenser, made of 4.8mm diameter copper tubing, releases heat from the compressed refrigerant gas. It's found at stores specializing in HVAC repairs.
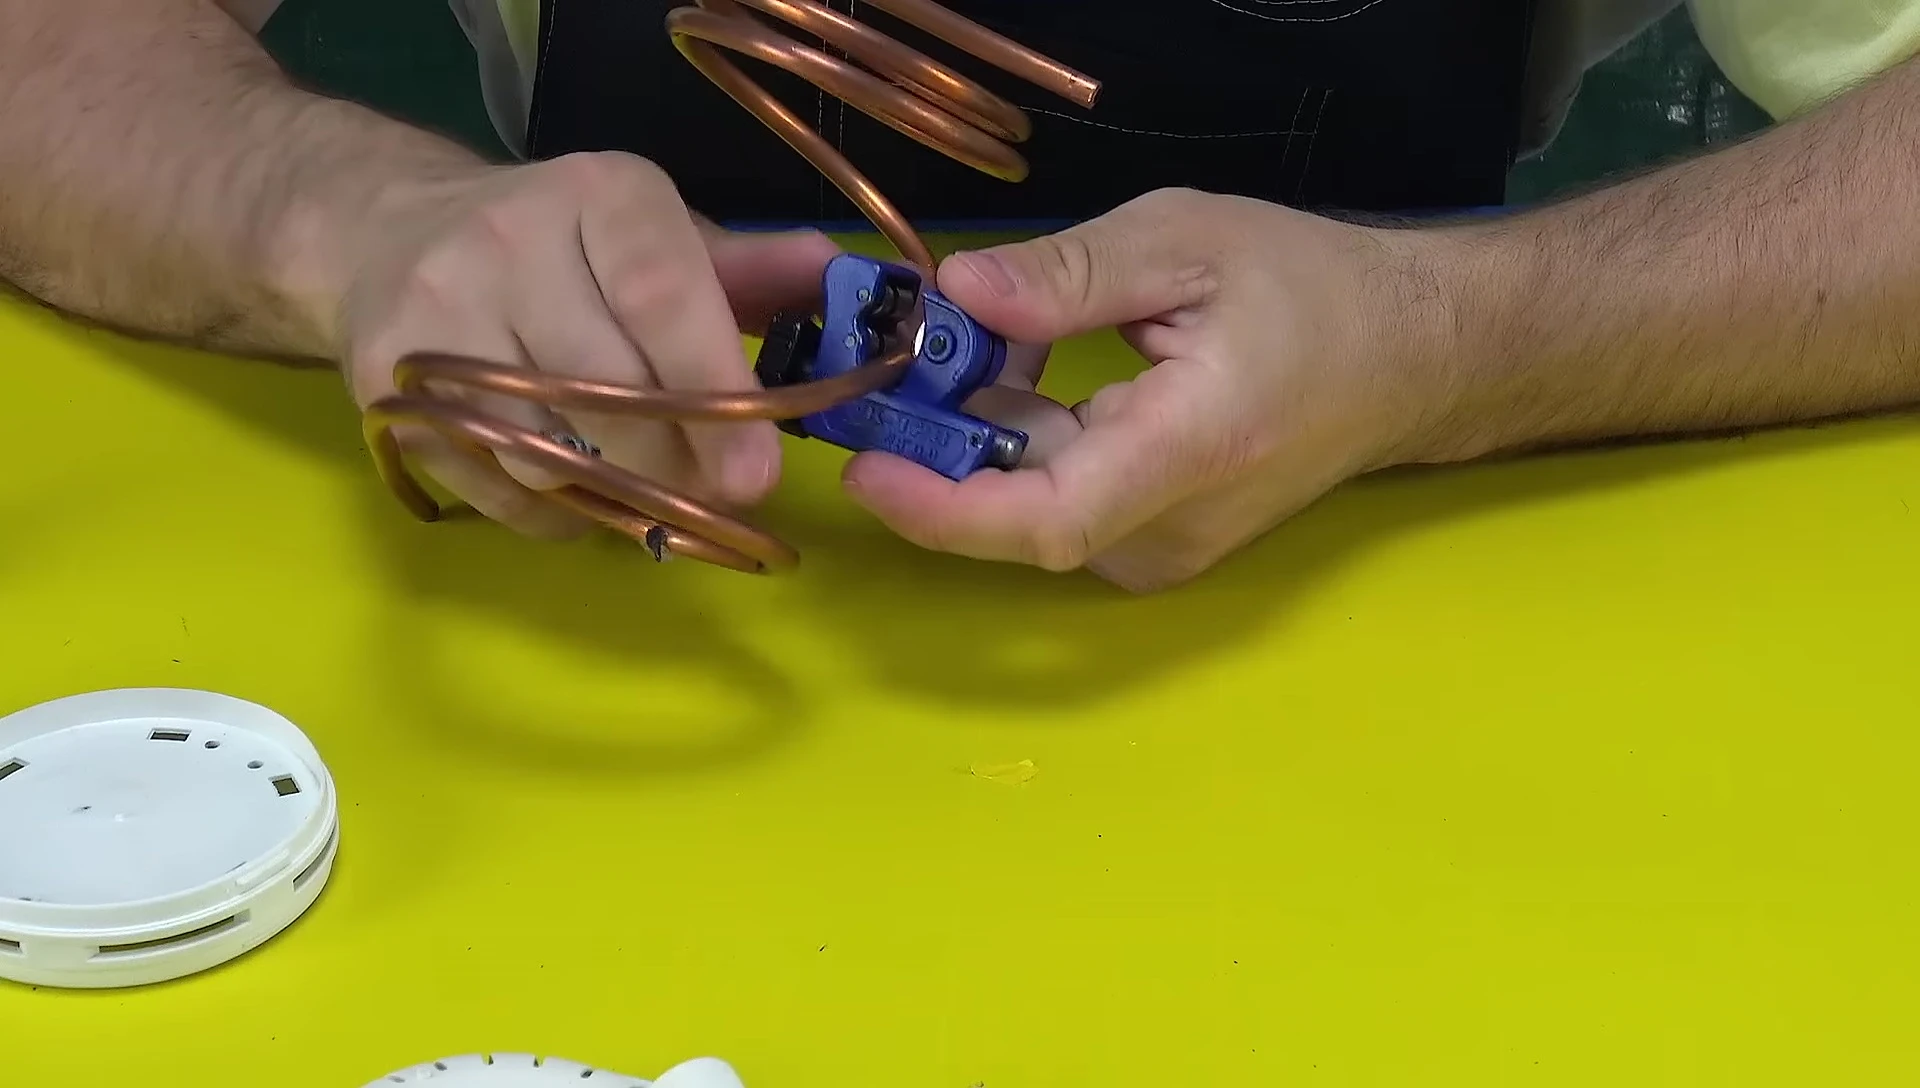
The evaporator, using thinner copper tubing, absorbs heat from the room's air. The difference in tubing diameter is crucial for effective heat exchange and pressure regulation.
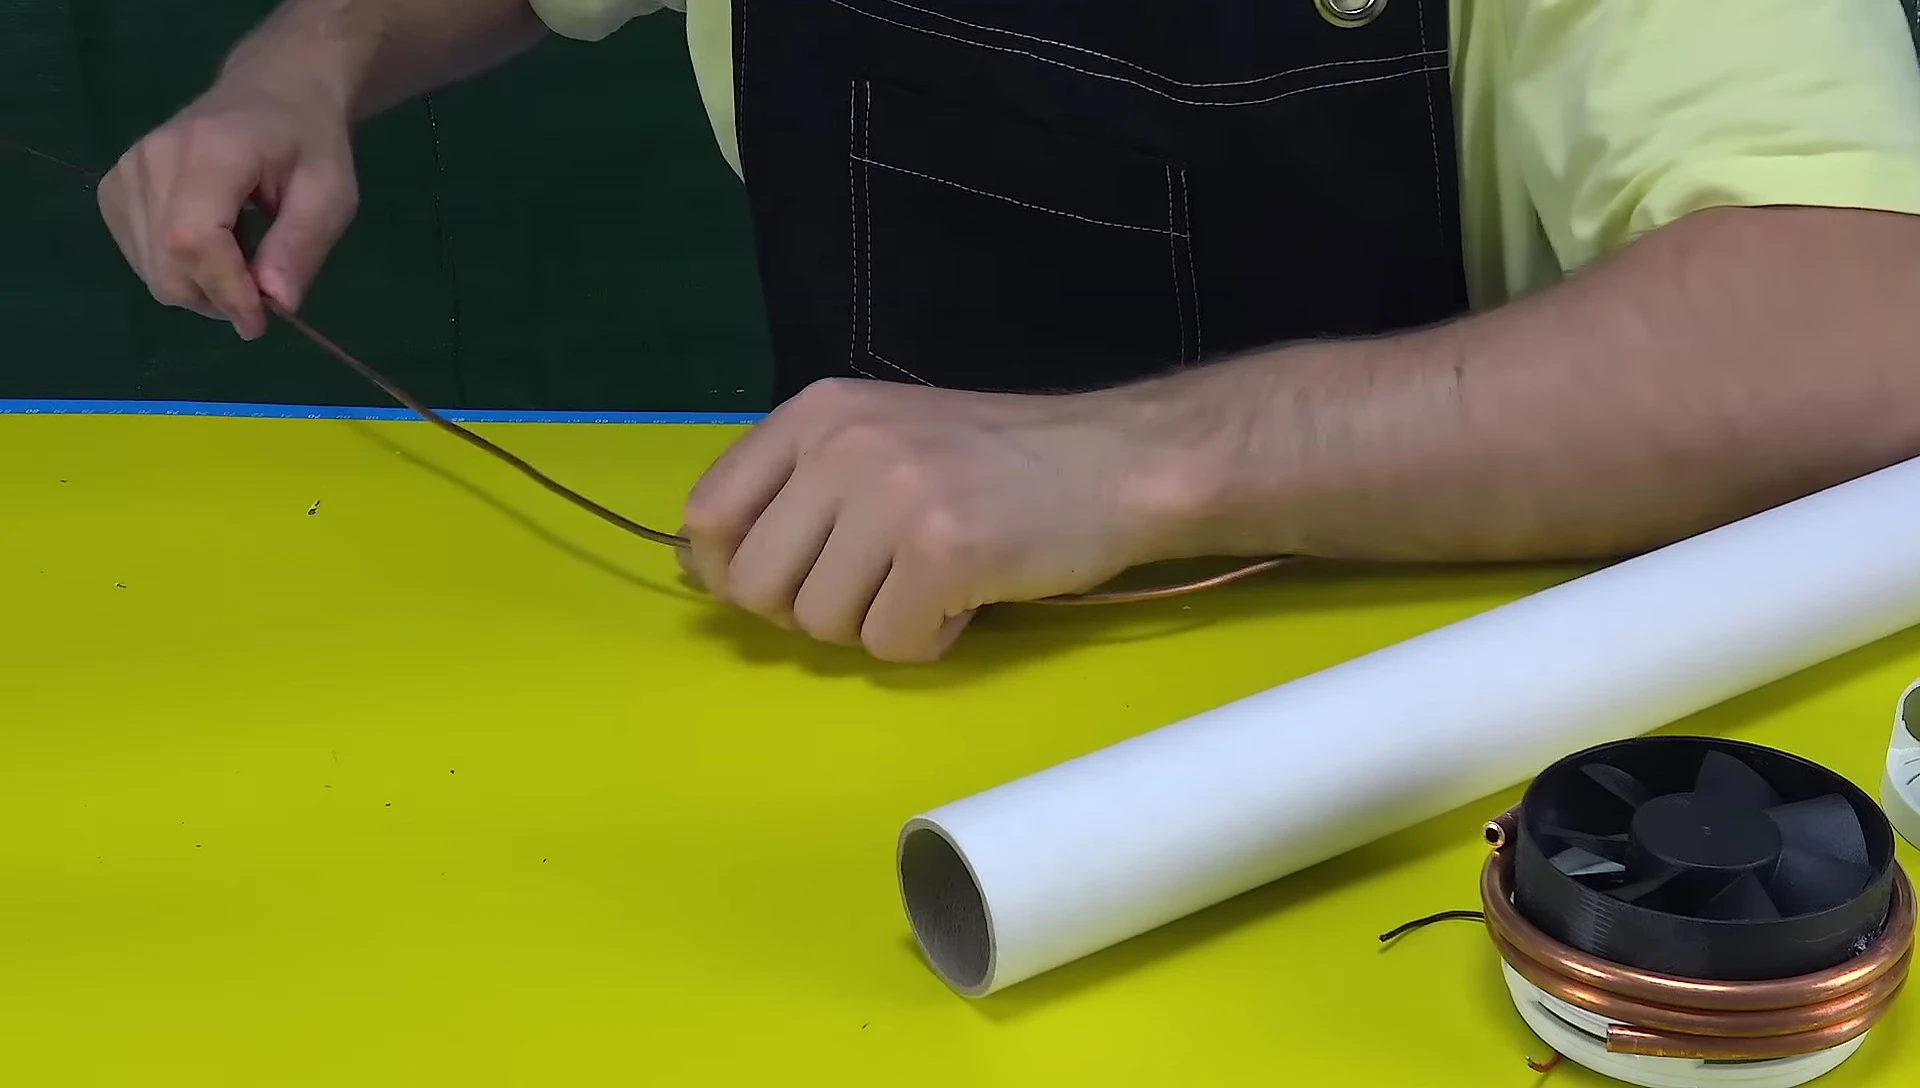
The capillary tube connects the condenser and evaporator, regulating refrigerant pressure and facilitating the transition from liquid to cold mist.

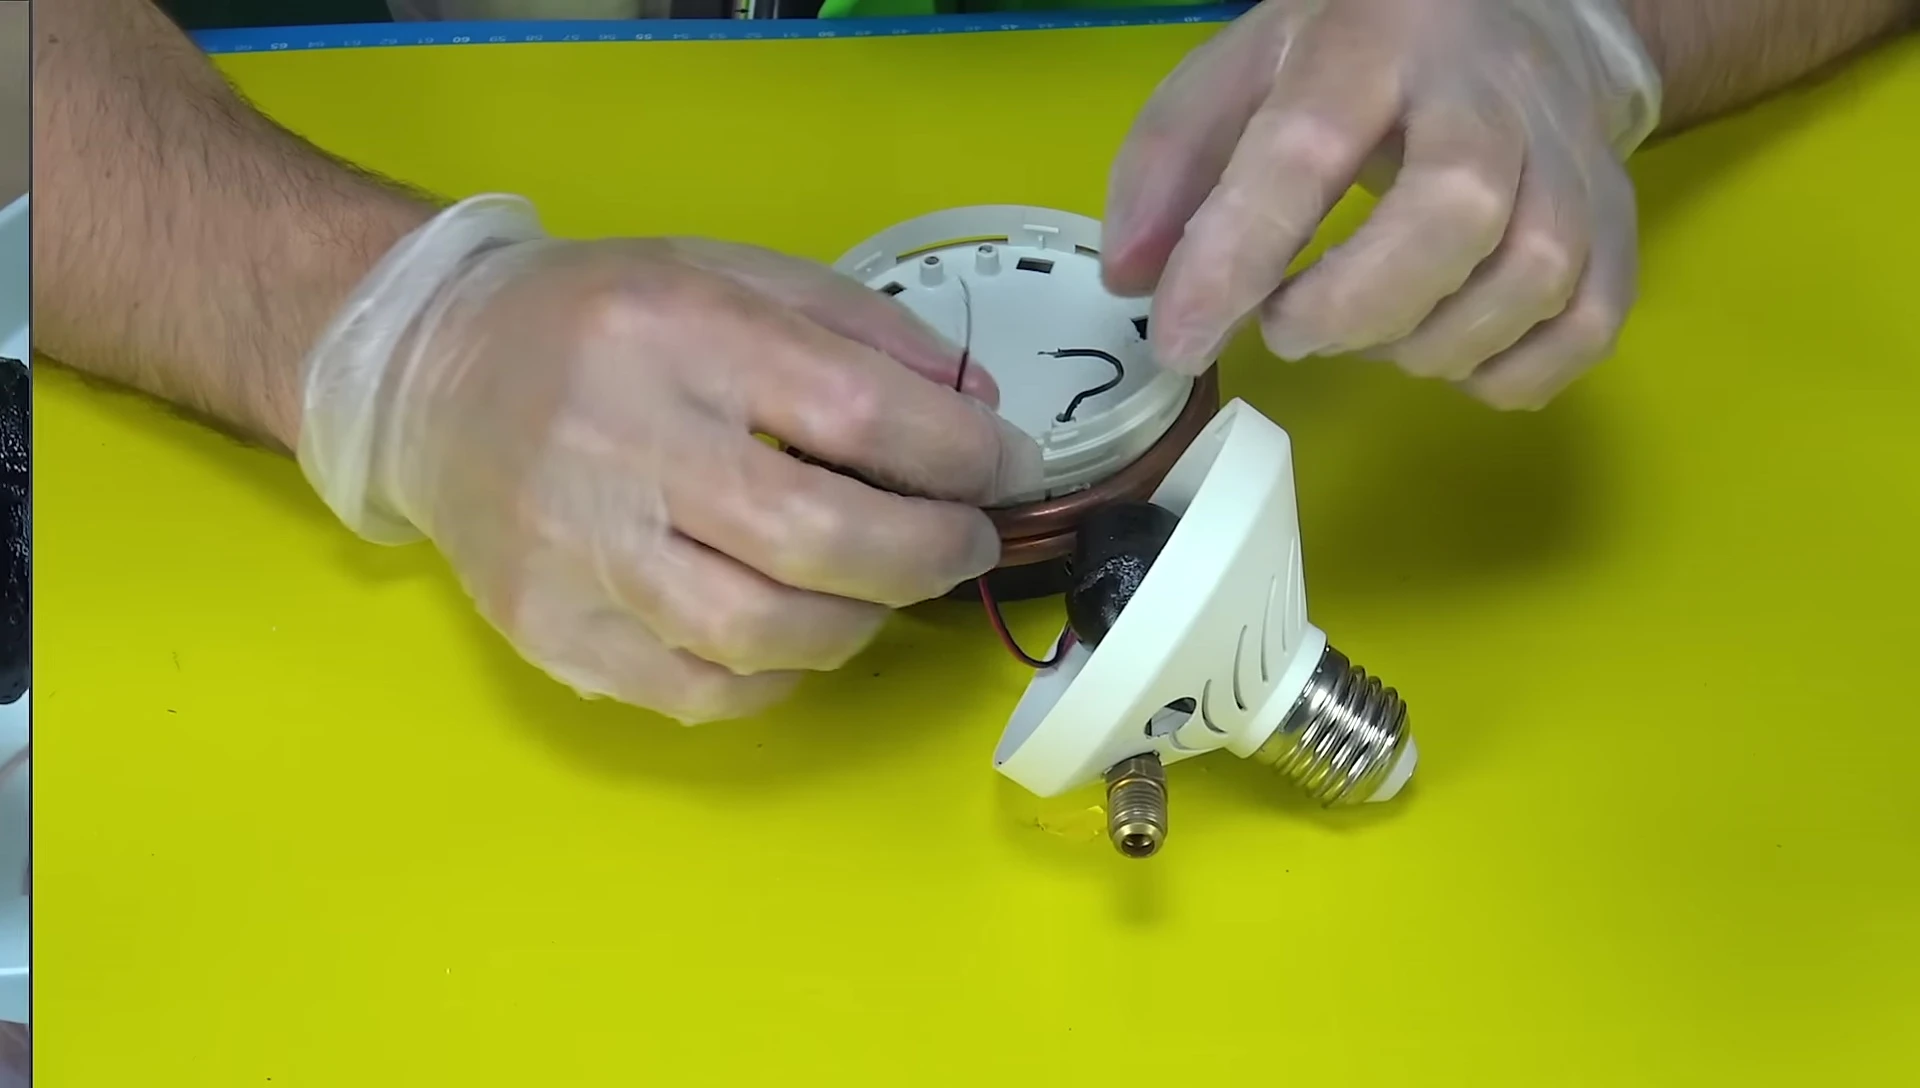
Compressor, Fan, and System Assembly
A 10-15 volt high-pressure compressor (0.8-1.3 bar) is necessary for the system. This component is vital for circulating the refrigerant.
The compressor and fan are connected in parallel for a simple on/off system. No complex electronics or microchips are required.
While a thermostat could add more control, the system works effectively without one, highlighting the simplicity and reliability of the design.
Airtightness, Vacuuming, and Refrigerant
Airtight connections are crucial for efficiency. Specialized flux and solder (500°C melting point) are used to create durable bonds.
Vacuuming the system removes air and moisture, improving refrigerant performance. This preparation is vital before adding refrigerant.

The amount of refrigerant needed is determined experimentally, adjusting until optimal performance is achieved. This iterative approach focuses on practical results.
Conclusion
This DIY air conditioner, while labor-intensive (nearly two weeks of work), demonstrates the potential for resourceful innovation.
The project's success highlights patience, creativity, and a passion for building. The final product is a testament to the power of DIY ingenuity.
The project provides a functional and effective cooling solution, but requires a significant time investment and technical skill.