This comprehensive guide details the construction of a powerful, DIY wind turbine, perfect for both on-grid and off-grid power generation. Using readily available materials and salvaged components, this project provides a practical and cost-effective solution for harnessing renewable energy. The design, meticulously detailed using 3D modeling software, focuses on durability and efficiency, utilizing a robust base, long high-capacity main pipes, and a cleverly designed tail mechanism for optimal wind capture. The step-by-step instructions clearly explain each stage of the build, from blade fabrication and dynamo integration to the critical aspects of voltage regulation and power conversion.This project showcases the potential of accessible, sustainable energy technology. Through detailed explanations and illustrative images, you'll learn how to build a functional wind turbine capable of generating sufficient power to charge batteries and even power small appliances. While emphasizing precision and careful assembly, the guide remains accessible to DIY enthusiasts with basic tools and skills. Explore the possibilities of harnessing the power of the wind and join us in creating a more sustainable future.
Pros And Cons
- Efficient
- Powerful
- Can be used on-grid and off-grid
- Modular design (can be disassembled and assembled)
- High output (up to 12-13 volts AC at maximum RPM, and up to 250V AC after rectification and boosting)
- Heavy (approx. 10kg)
- Requires a separate charge controller for off-grid use
- Output voltage fluctuates due to wind variations
- Braking system and tail mechanism require further development
- Noise during operation
Read more: InnerVenue's Forever Battery: Revolutionizing Renewable Energy Storage
Design and Exploded View
The design, created using Creo Parametric software, showcases a wind turbine with key components: a dynamo, a sturdy base, and long, high-capacity main pipes. The design prioritizes durability and efficiency for both on-grid and off-grid electricity generation.
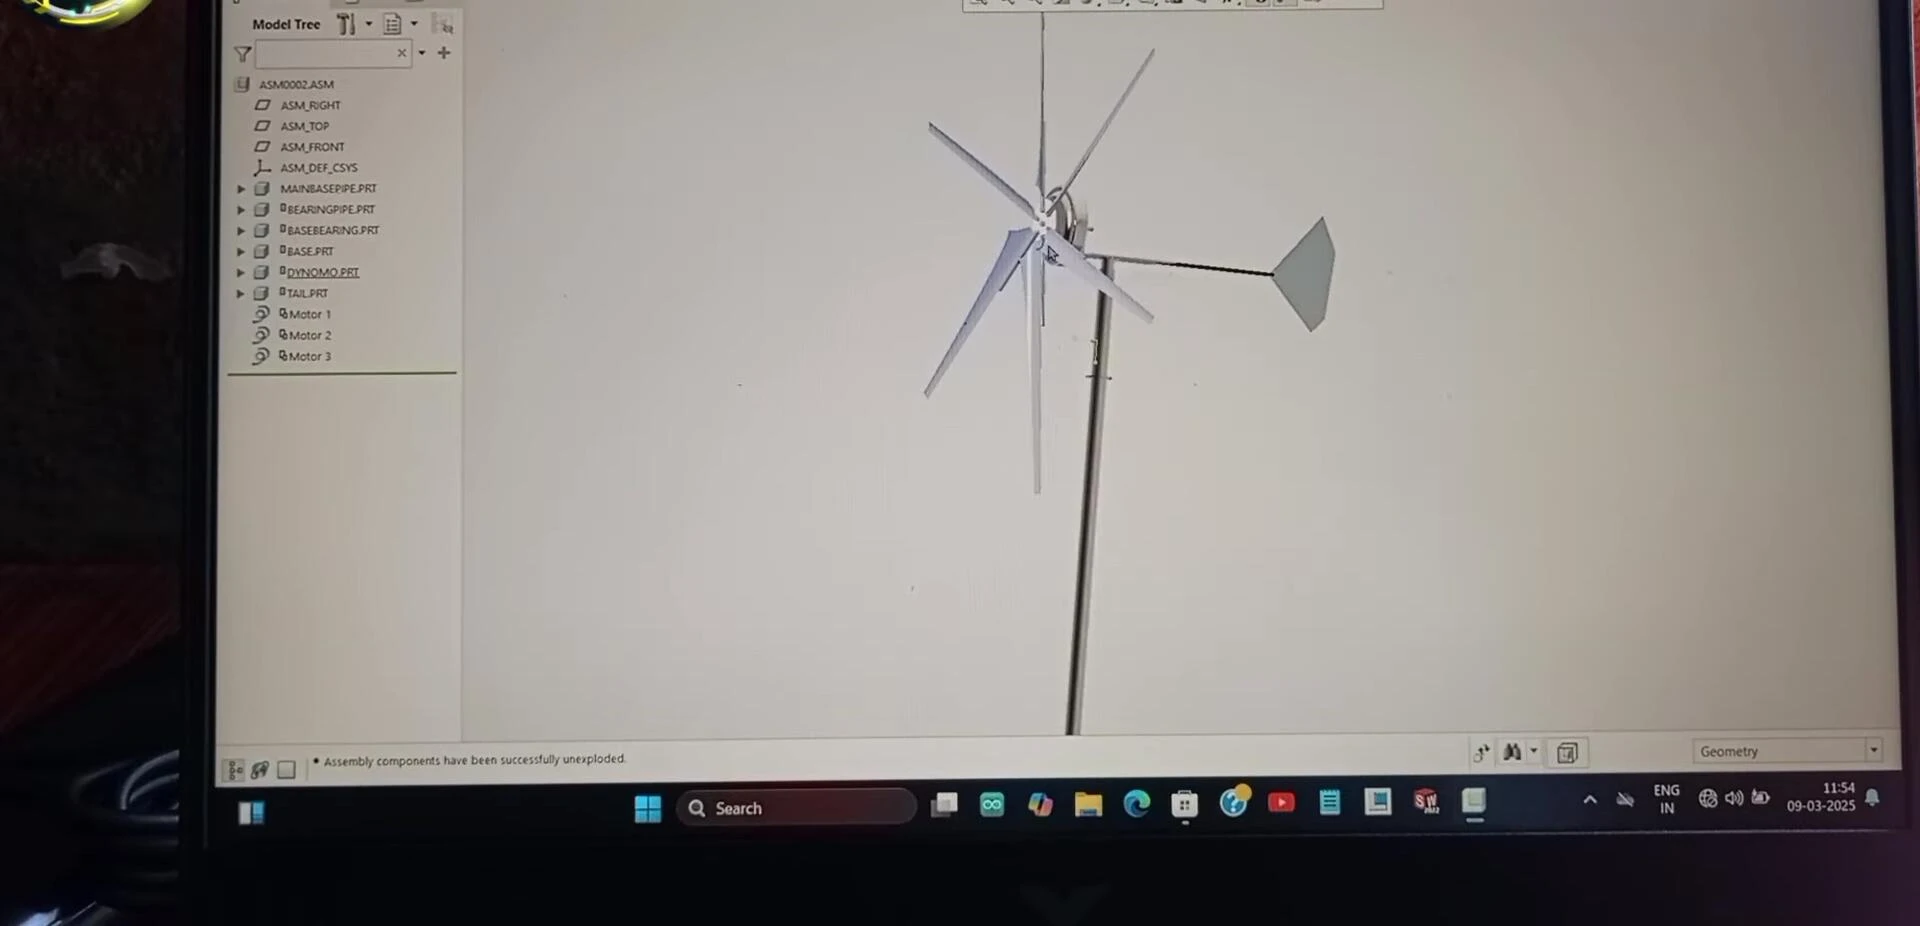
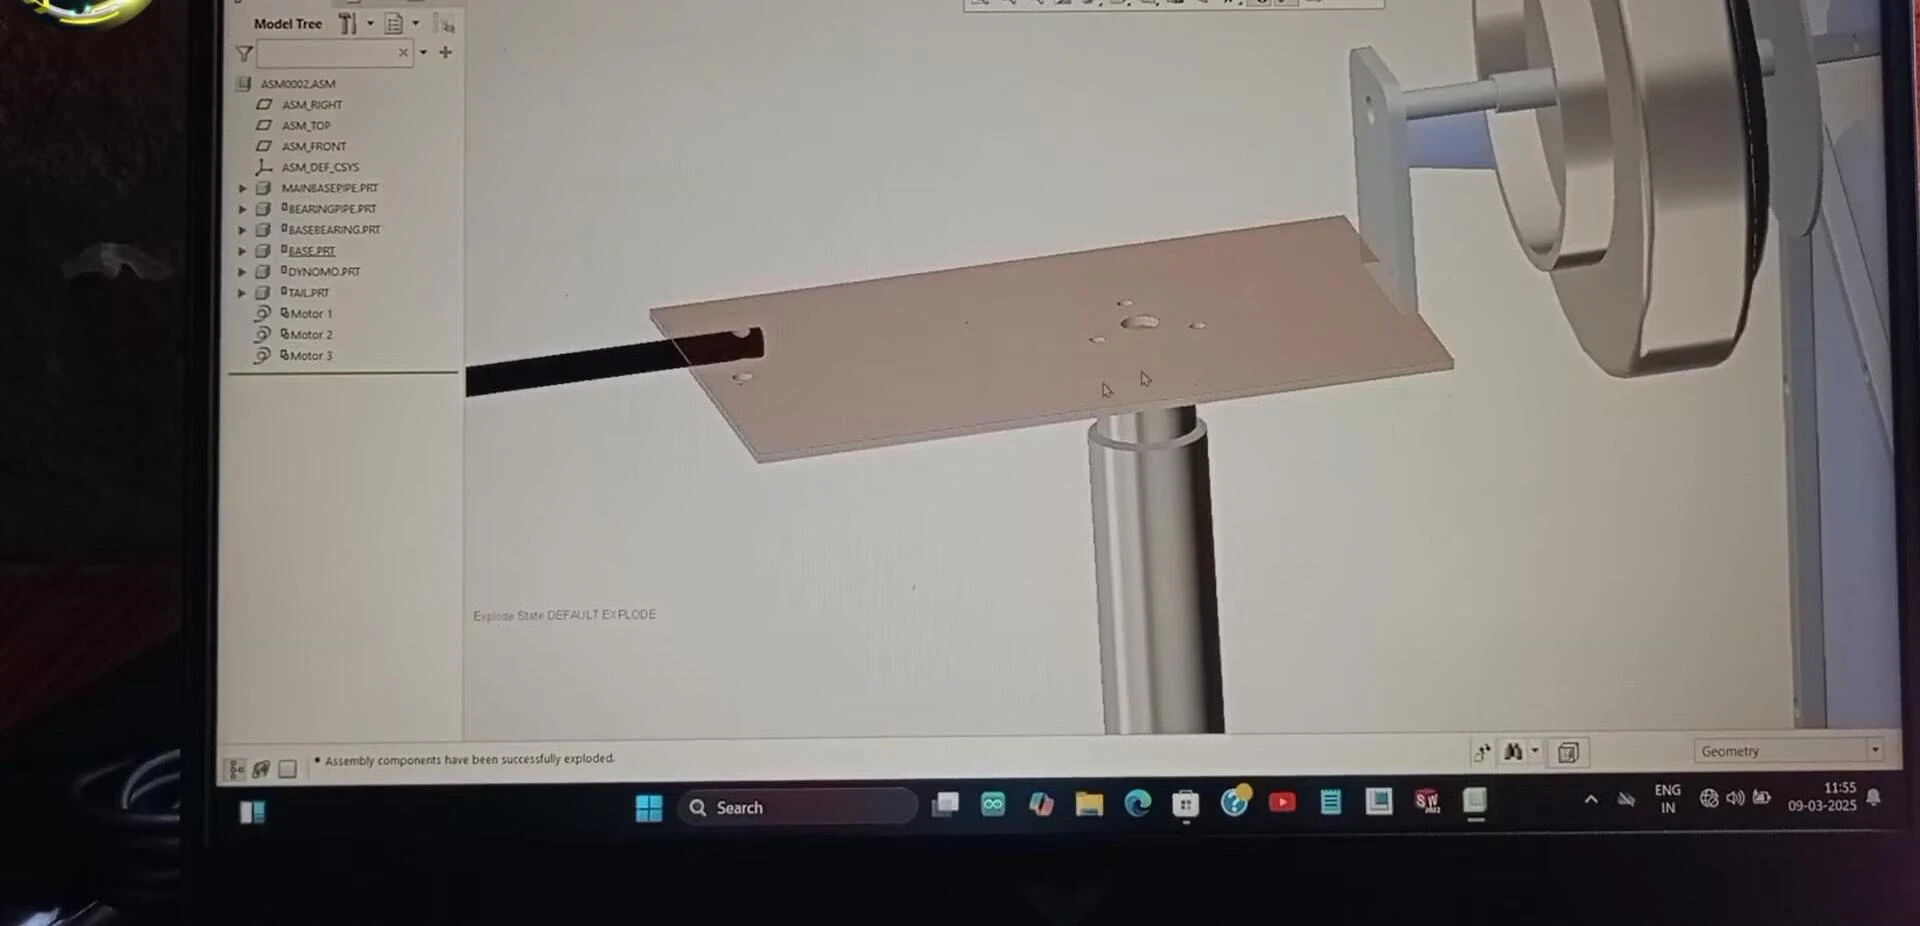
The exploded view reveals the intricate assembly. The turbine's long main pipe, crucial for torque generation, is exceptionally thick to support the system's weight (approximately 10 kg). Bearings ensure smooth rotation along a single axis, adapting to wind direction.

A tail mechanism is incorporated to control the turbine's orientation based on wind direction, improving efficiency. The turbine is welded onto a robust base plate, completing the design's structural integrity.
Constructing the Turbine Blades
Eight-inch casing pipes, readily available at hardware stores, are used to create six identical turbine blades. Each blade is cut to a length of 80 centimeters, optimizing torque generation for the selected dynamo.

The dynamo requires substantial torque, leading to the longer blade design. Careful measurements and precision cutting are emphasized to ensure uniform blade shapes and angles for optimal performance.

Dynamo and Blade Assembly
A BLDC motor, salvaged from scrap, serves as the dynamo. Alternatively, a hoverboard motor can be used. Small pipes (1cm diameter) are strategically employed to secure the blades to the dynamo.
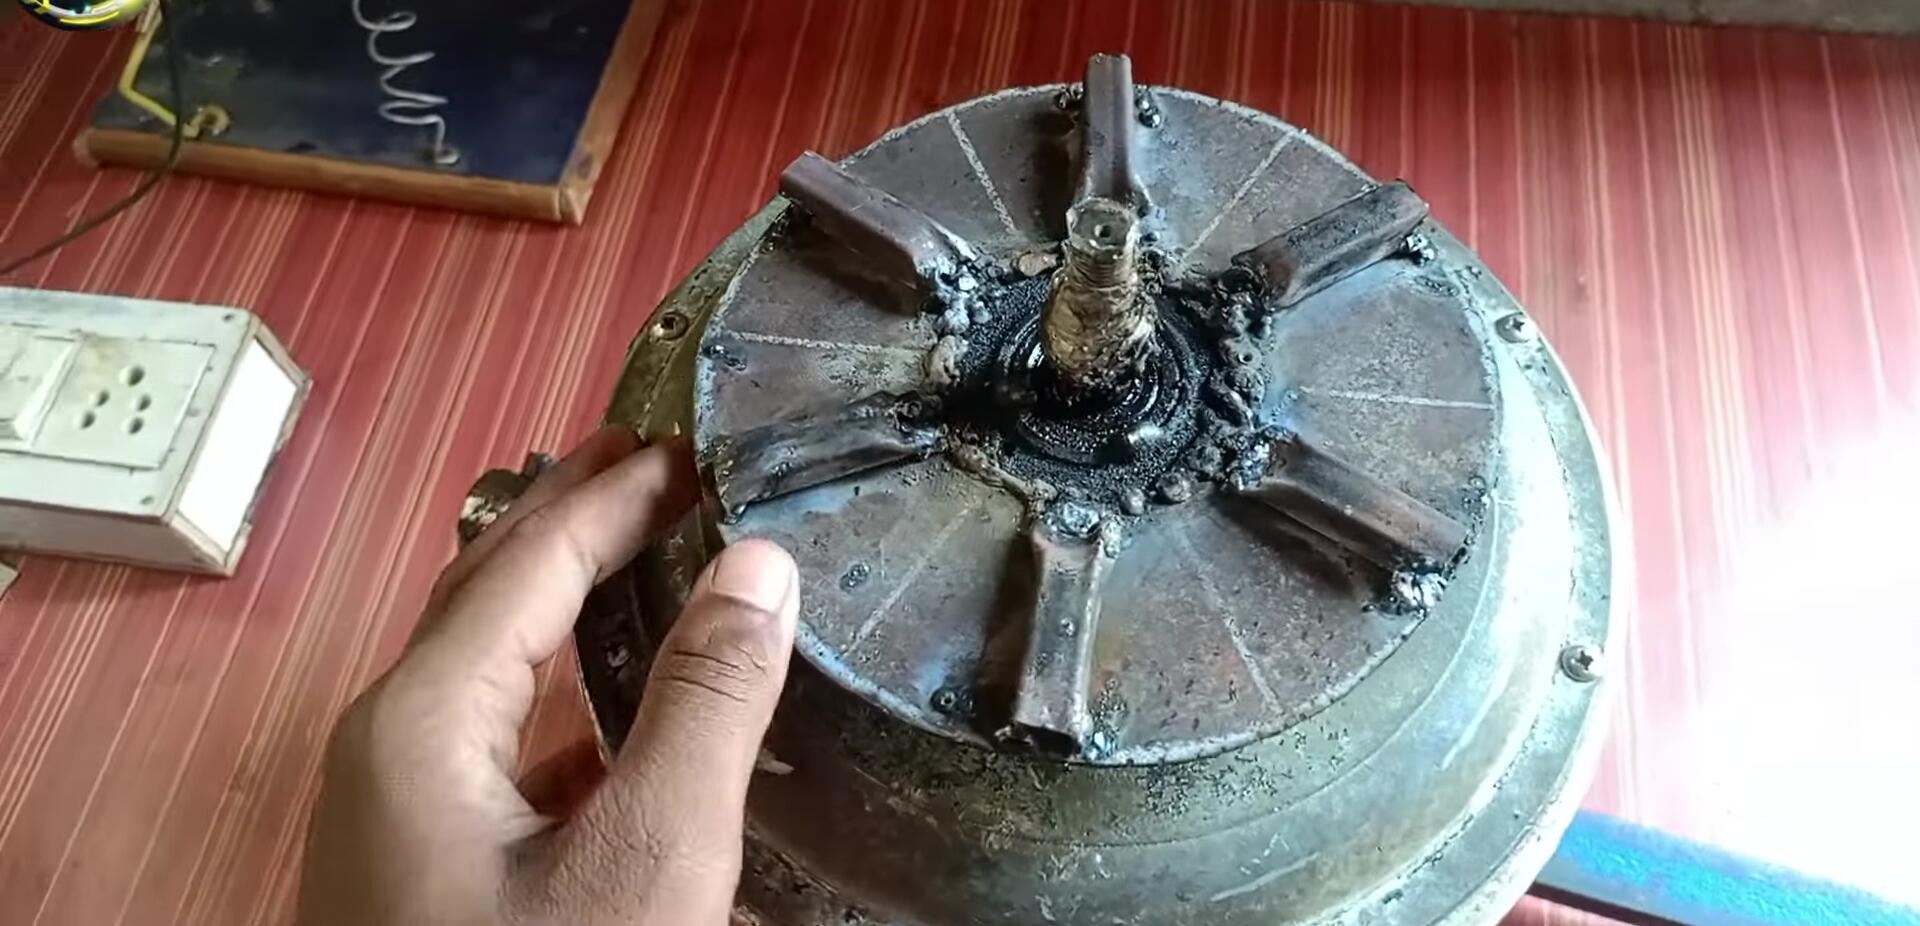
The attachment points utilize small square pipes (1cm x 1cm) with specific lengths for precise placement. Welding and angle adjustment are crucial for optimal wind capture and power generation. Sheet metal pieces fill gaps to fine-tune the blade angle.
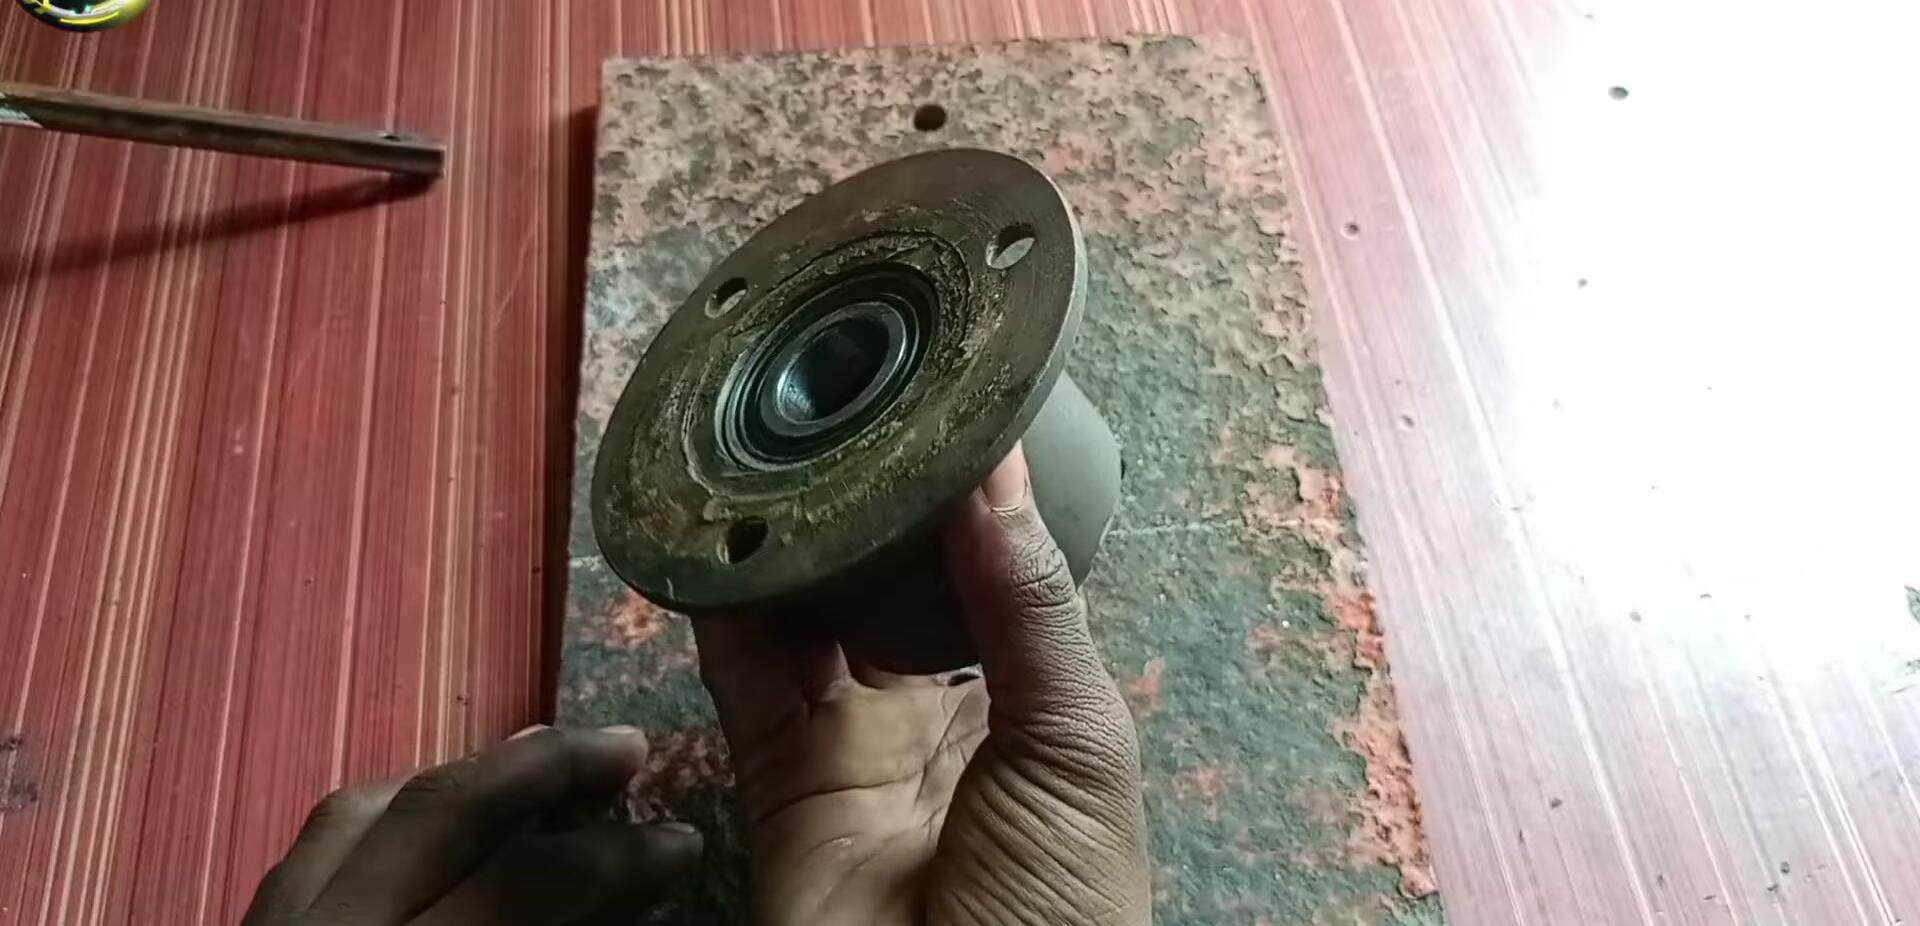
Base and Bearing Assembly
A thick (7-8mm) rectangular sheet metal forms the turbine's base, providing a stable foundation. Lighter alternatives are viable depending on the turbine's overall weight.

A separate component containing two bearings allows for easy assembly and disassembly. This component ensures smooth rotation and houses the turbine's internal wiring, keeping it protected and concealed.
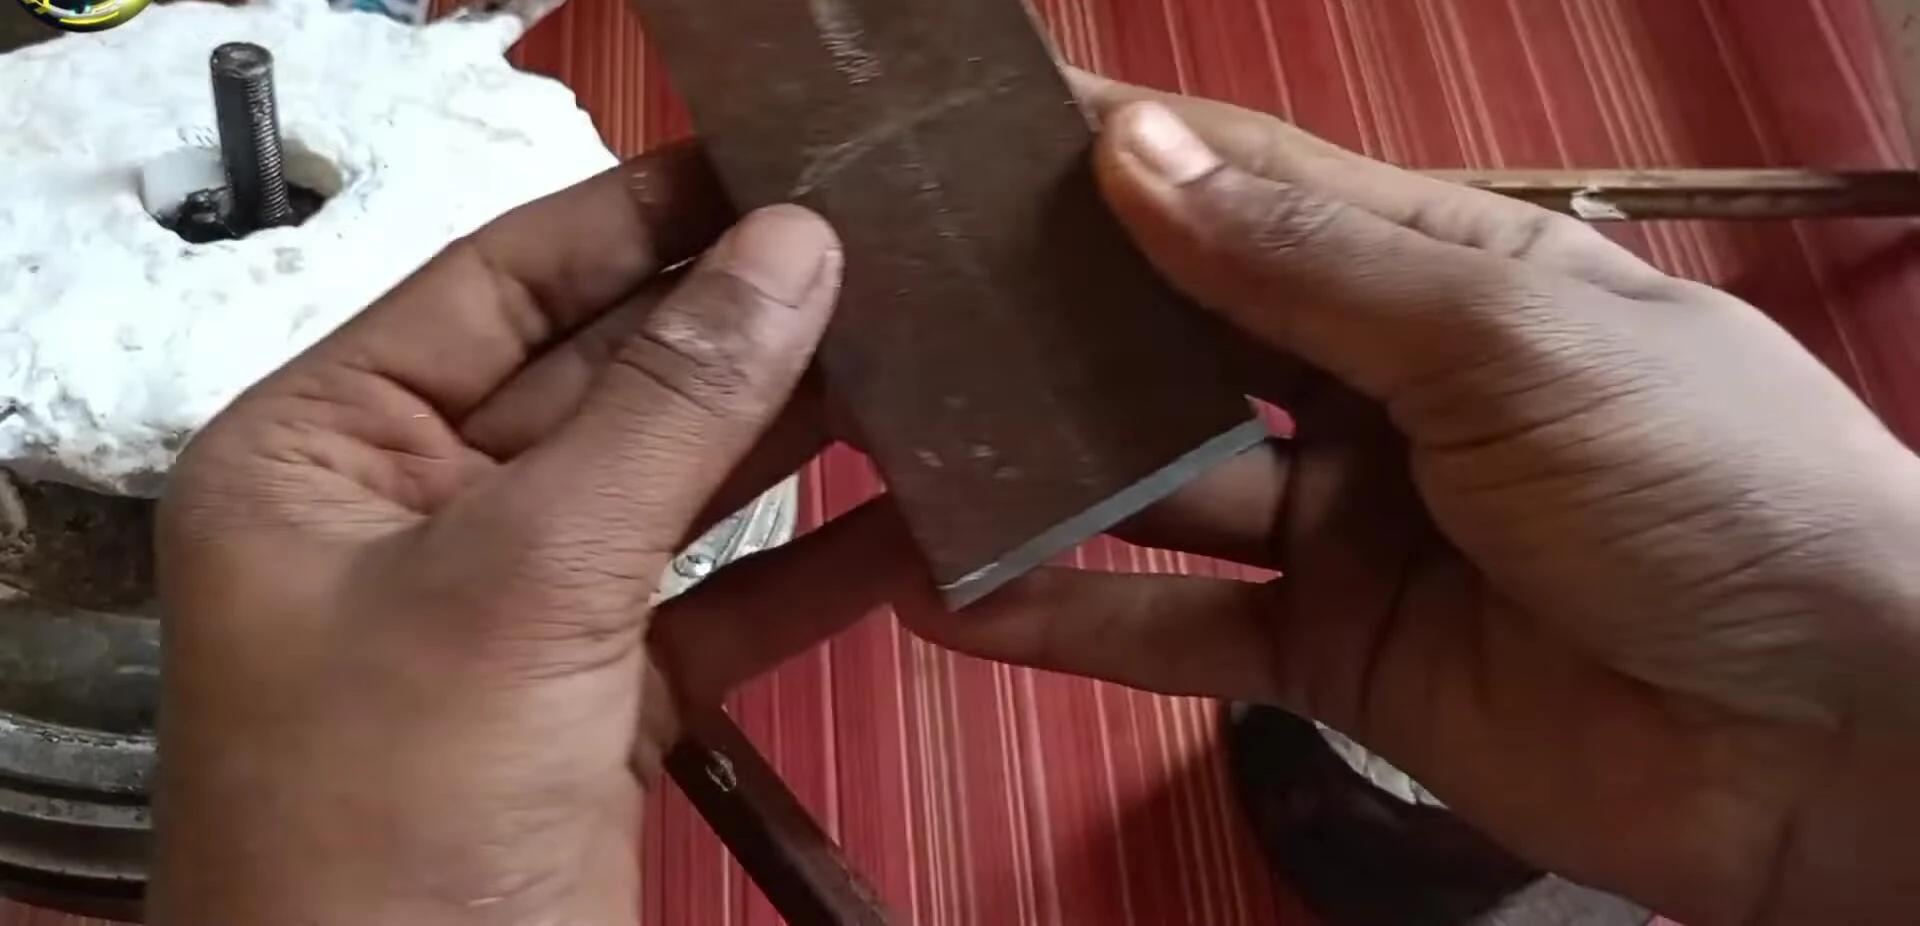
Dynamo Mounting and Final Assembly
A 7mm metallic piece securely mounts the dynamo to the base plate. This piece is designed to withstand the turbine's weight, ensuring stability and preventing damage.
The assembly process carefully integrates all components. The tail assembly, initially omitted for clarity, is added in a separate step. Wiring connections to the dynamo are carefully made and secured.

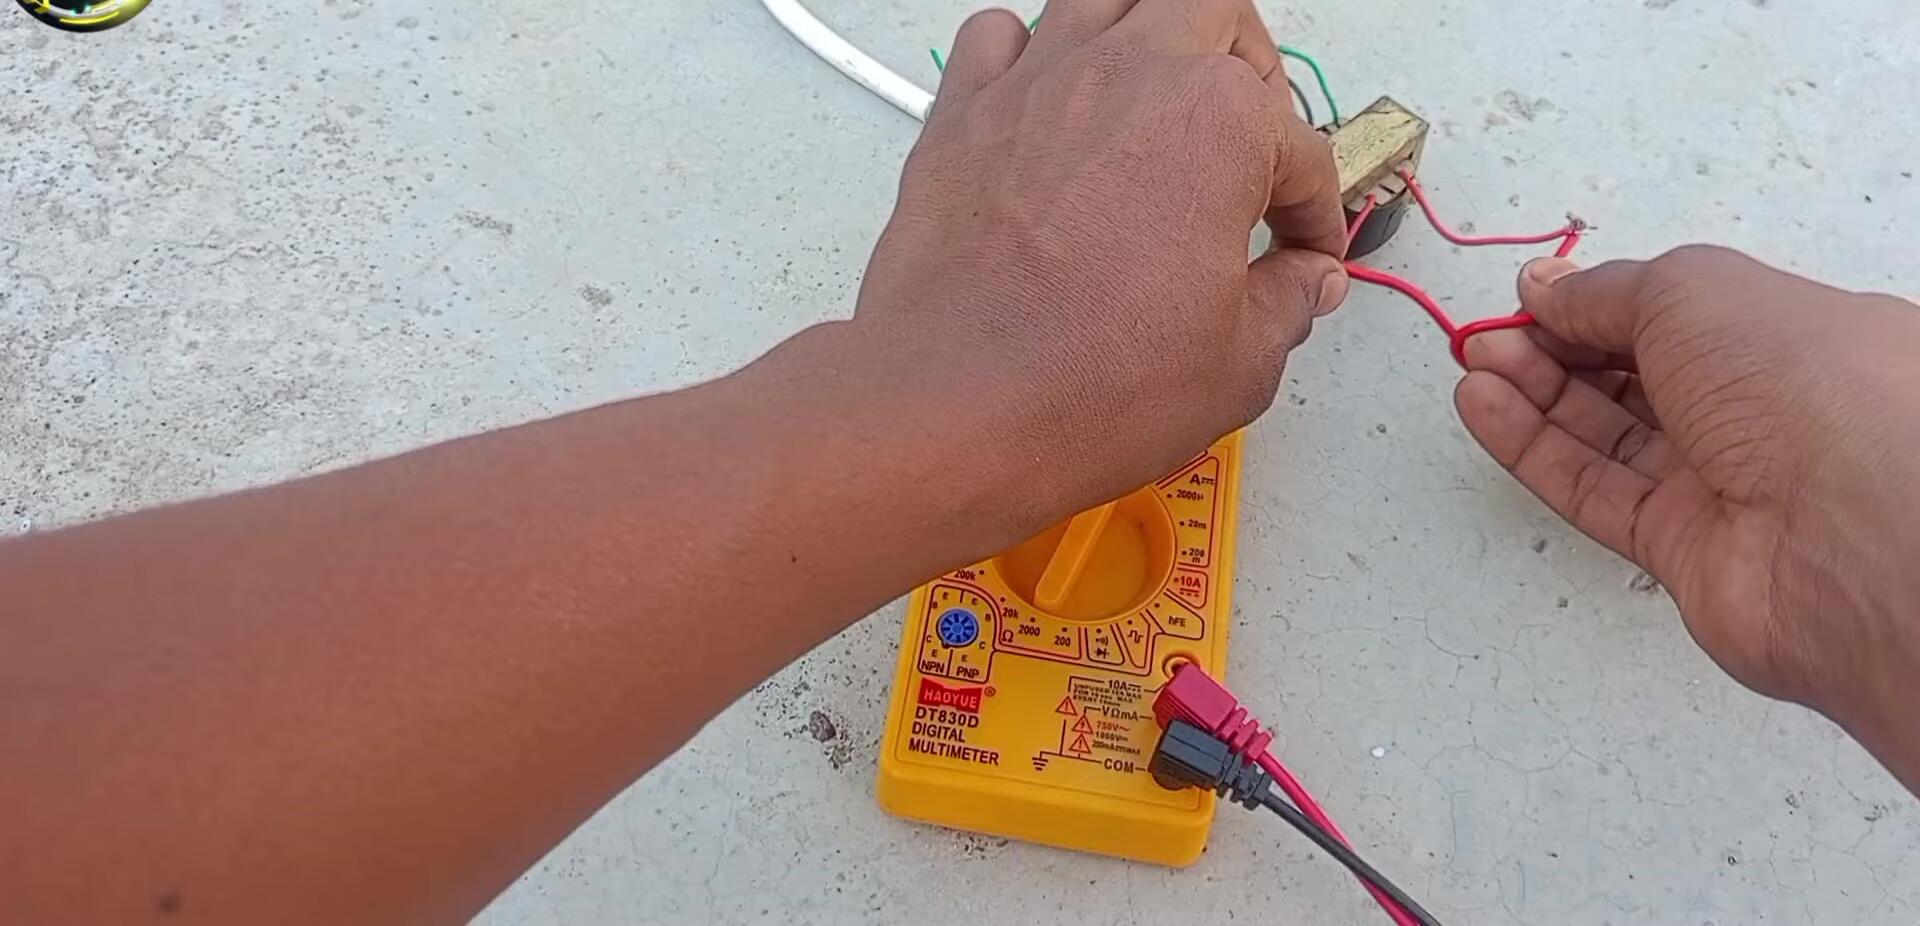
Testing and Results
Initial tests yield promising results, generating 3-7 volts at low RPM. Higher RPM, achieved during stronger winds, produces voltages up to 12-13 volts (AC) from two phases.

A three-phase rectifier converts the AC output to DC, boosting voltage to usable levels for charging batteries. The turbine's performance is demonstrated by successfully powering a small light bulb.
On-Grid and Off-Grid Applications
Off-grid applications involve charging batteries using a charge controller to regulate voltage. An inverter converts DC battery power back to AC for household appliances.

On-grid applications use a step-up transformer to increase the turbine's output voltage to 220V, allowing direct connection to the power grid. This setup provides a supplementary power source.
Conclusion
This DIY wind turbine project demonstrates a viable approach to sustainable energy generation for both off-grid and on-grid applications. While initial testing showed promising results, further refinements, including improved tail design, could enhance performance and reliability.
The project highlights the importance of careful design, precision construction, and appropriate voltage regulation for efficient energy conversion. While a relatively simple design, it delivers impressive results, highlighting the potential of DIY sustainable power solutions.
Further improvements, like a more sophisticated tail mechanism and enhanced blade design could lead to greater efficiency and consistent power generation. The project proves to be a successful example of accessible, DIY sustainable energy technology.