Upgrading your home's thermostat can significantly improve energy efficiency and comfort, and the Honeywell Home T5 Smart Thermostat makes this upgrade surprisingly easy. This review details a step-by-step DIY installation process, guiding you through each stage from removing your old thermostat to connecting the new one and leveraging the smart features via the accompanying app. We'll cover preparing the wall for a secure mounting, carefully managing the wiring, and troubleshooting potential compatibility issues.This guide is perfect for homeowners looking to take on a simple home improvement project. We'll explain how to safely disconnect your existing thermostat, correctly connect the Honeywell T5, and utilize the user-friendly app to customize settings and monitor energy usage. We'll also discuss the importance of checking for potential rebates and incentives that can dramatically reduce the overall cost, making smart home technology more accessible than ever before.
Pros And Cons
- Smaller mounting plate than the thermostat itself, allowing for easier wall painting.
- Includes a built-in jumper for two-stage heating systems.
- Uses a simple locking mechanism for wires.
- Solid mounting with three screws.
- Clear instructions.
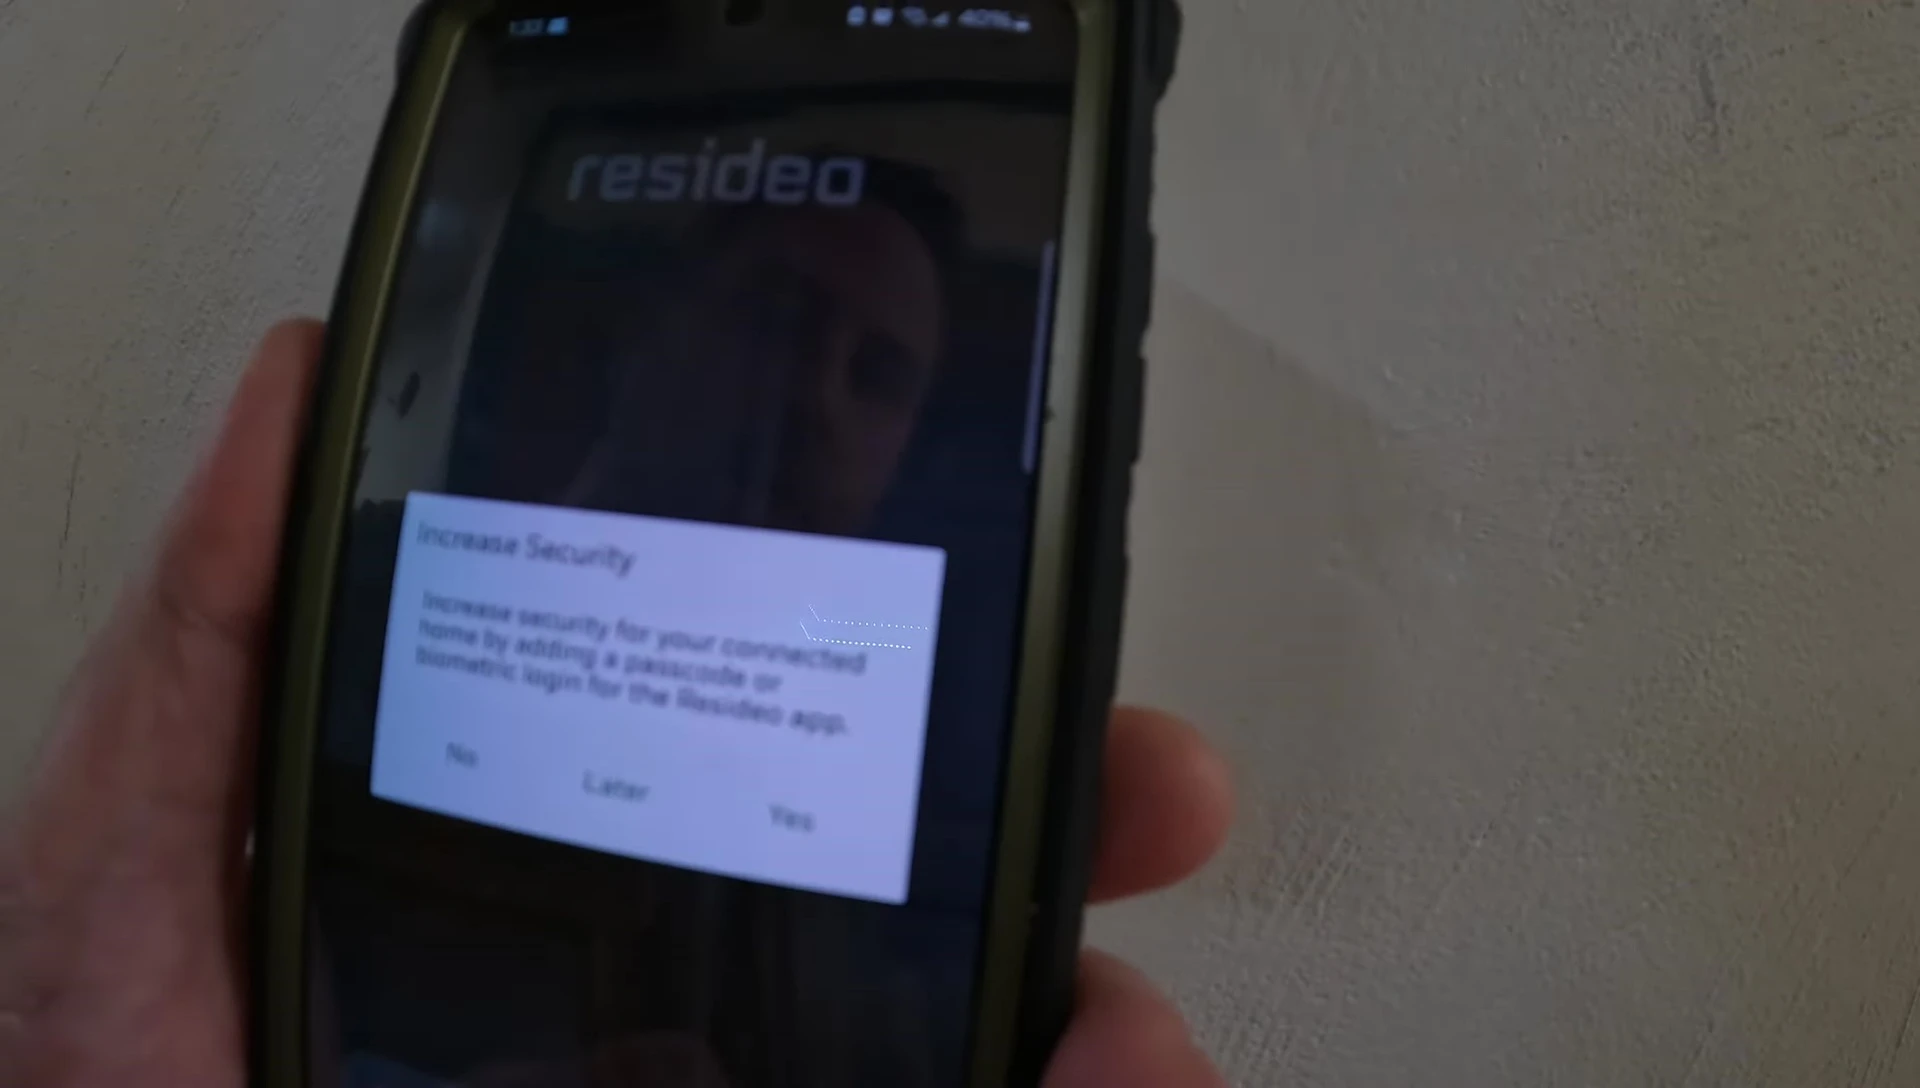
- Compatible with the Residio app for remote control and scheduling.
- Offers features like scheduling, screen lock, brightness adjustment, recovery mode, and temperature scale selection.
- Provides equipment status and configuration details in the app.
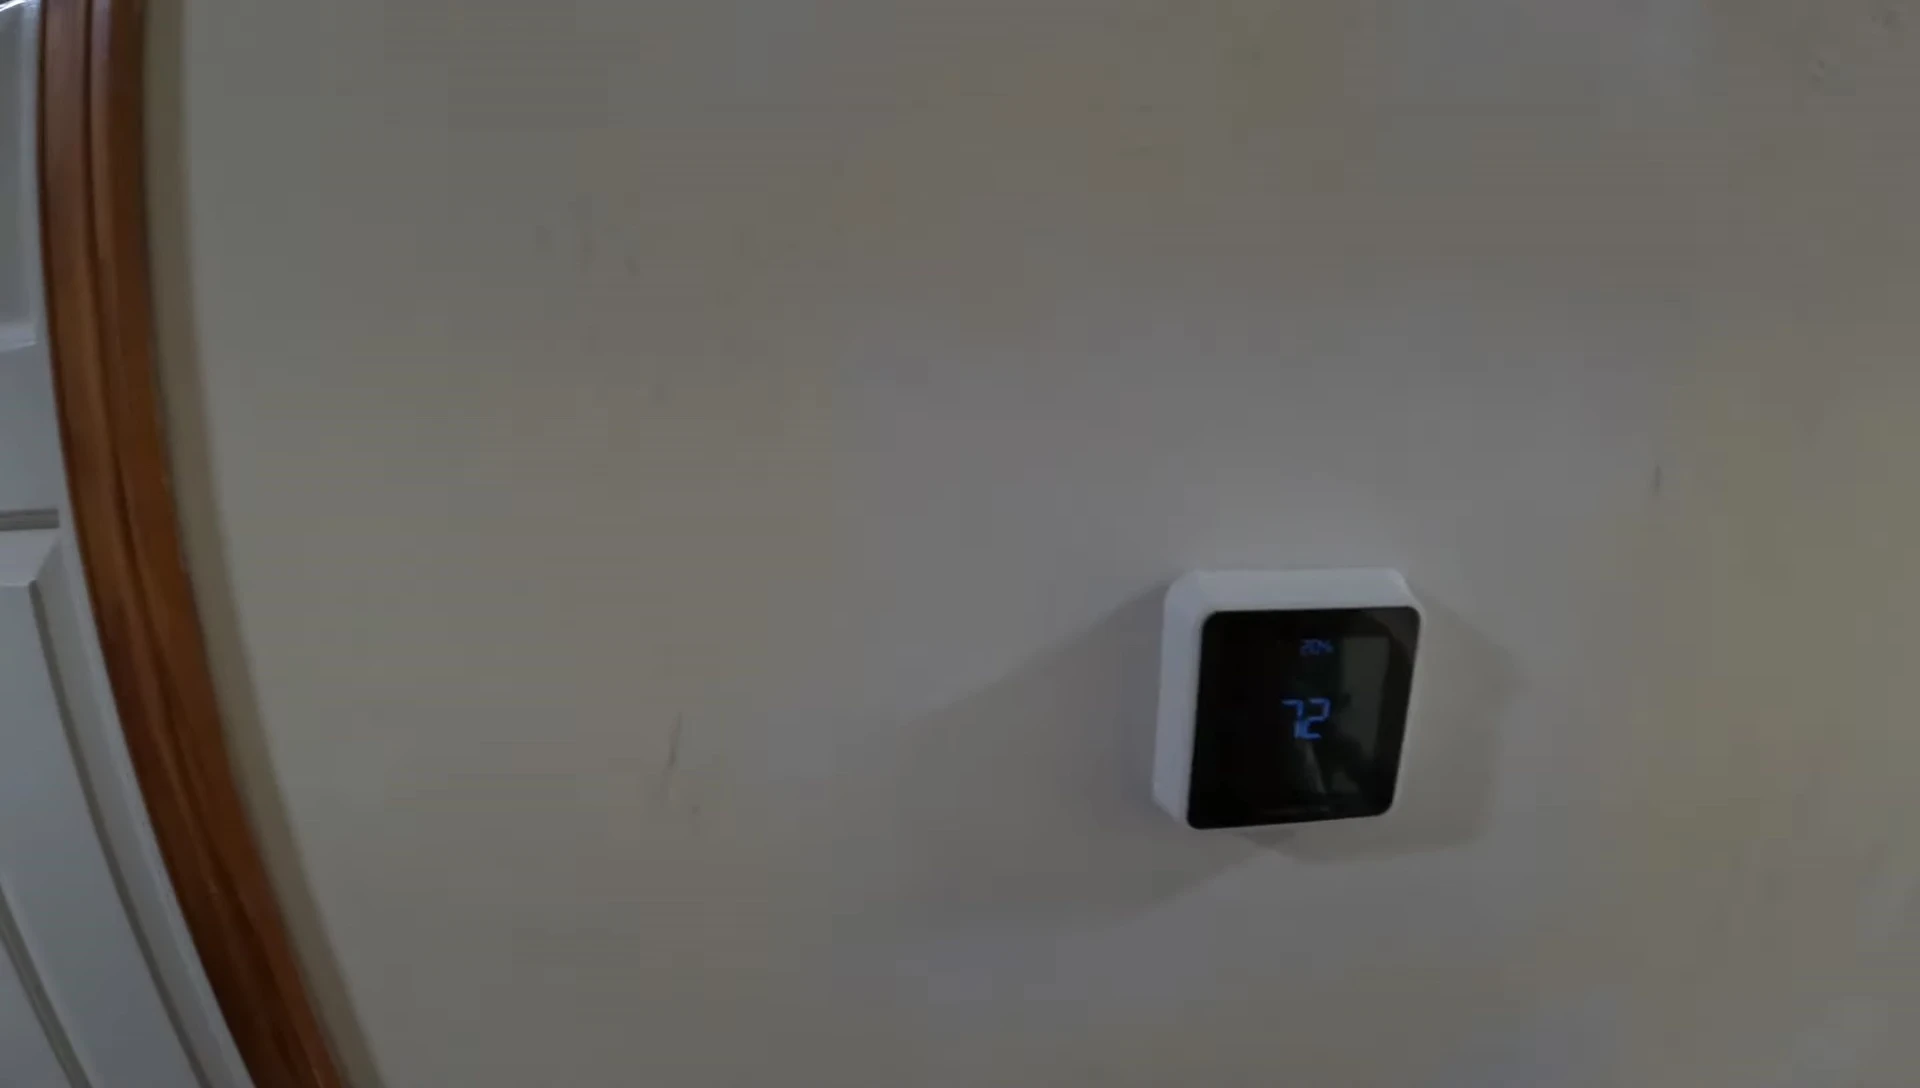
- Clean and aesthetically pleasing design.
- The screen may appear more blue in videos than in person (white/gray).
Read more: Nuwave PIC Titanium Induction Cooktop Review: A Mixed Bag of Features
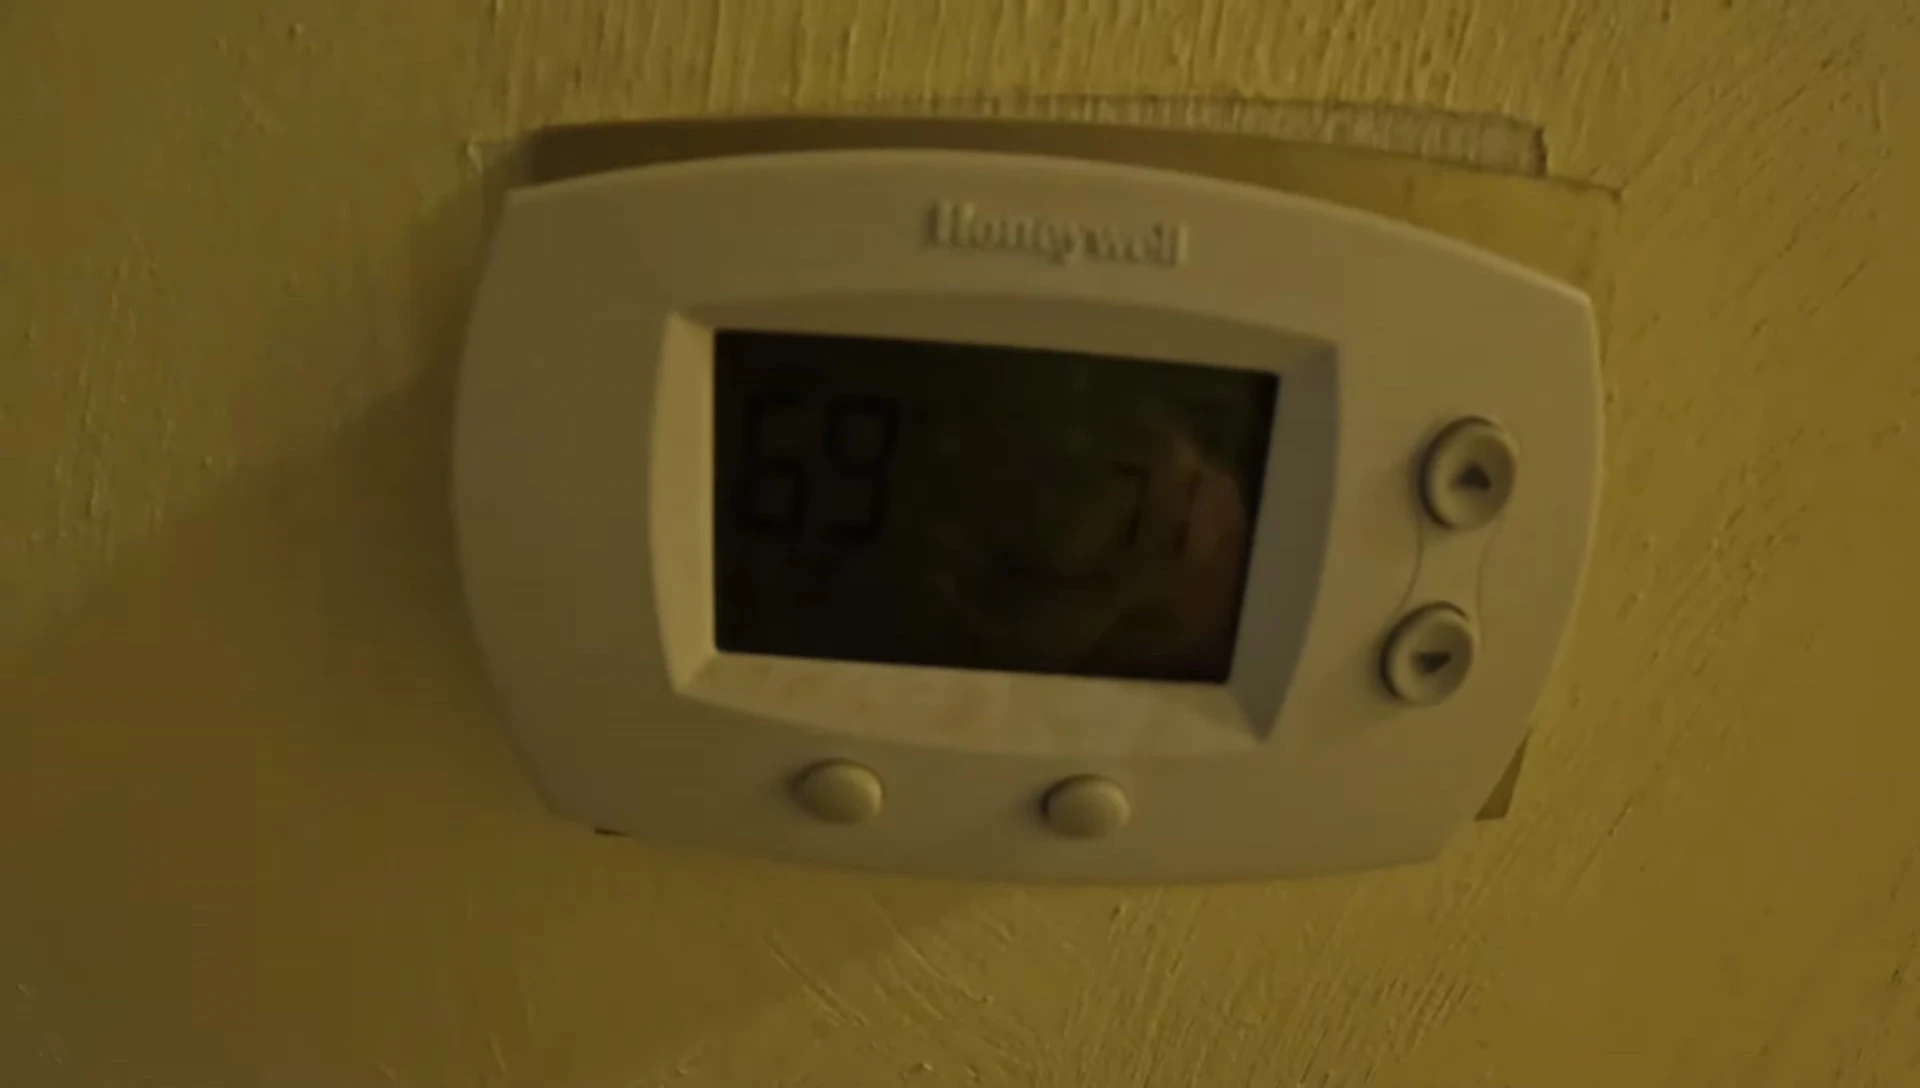
Removing the Old Thermostat
The first step in upgrading your thermostat is removing the old one. This often involves pressing in on the unit and carefully removing it from its mounting plate. Sometimes, you'll encounter stripped screws, requiring additional finesse. Remember to always turn off the power to your HVAC system at the breaker before working with any wiring.
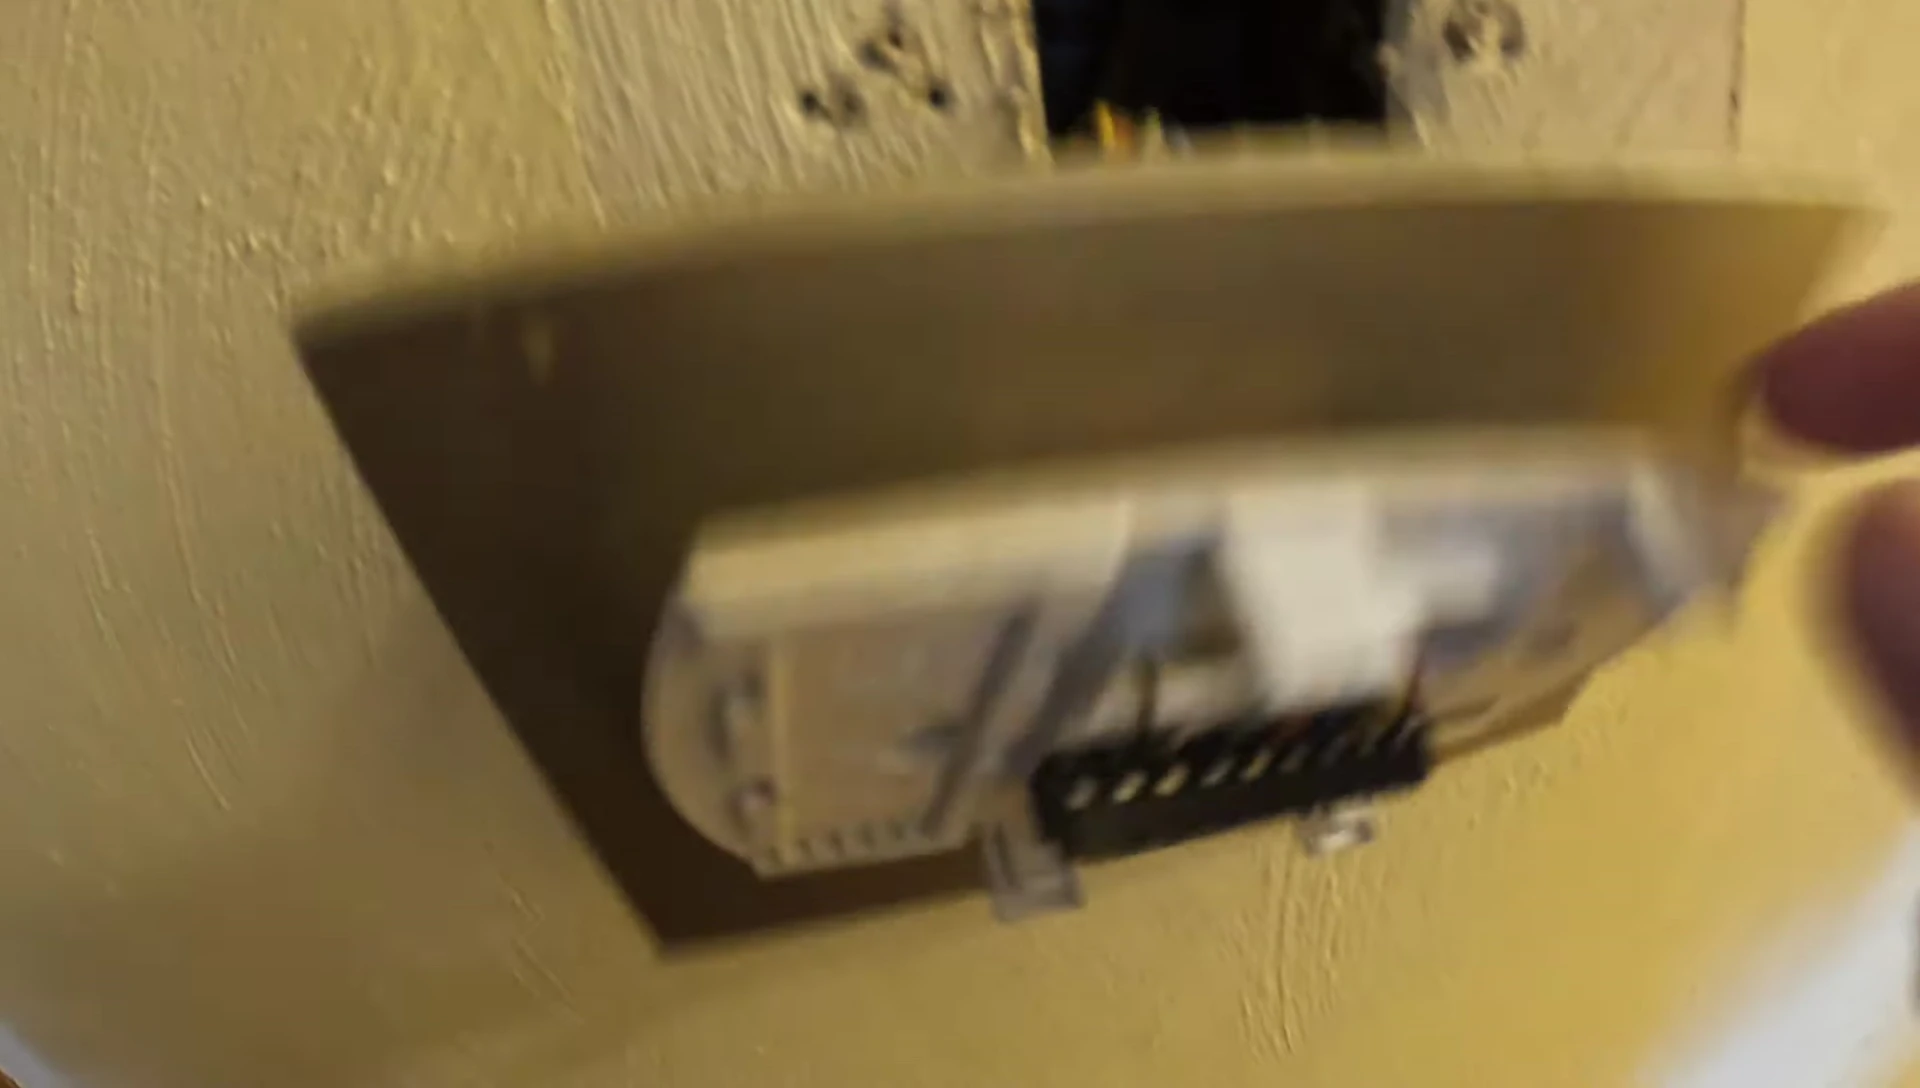
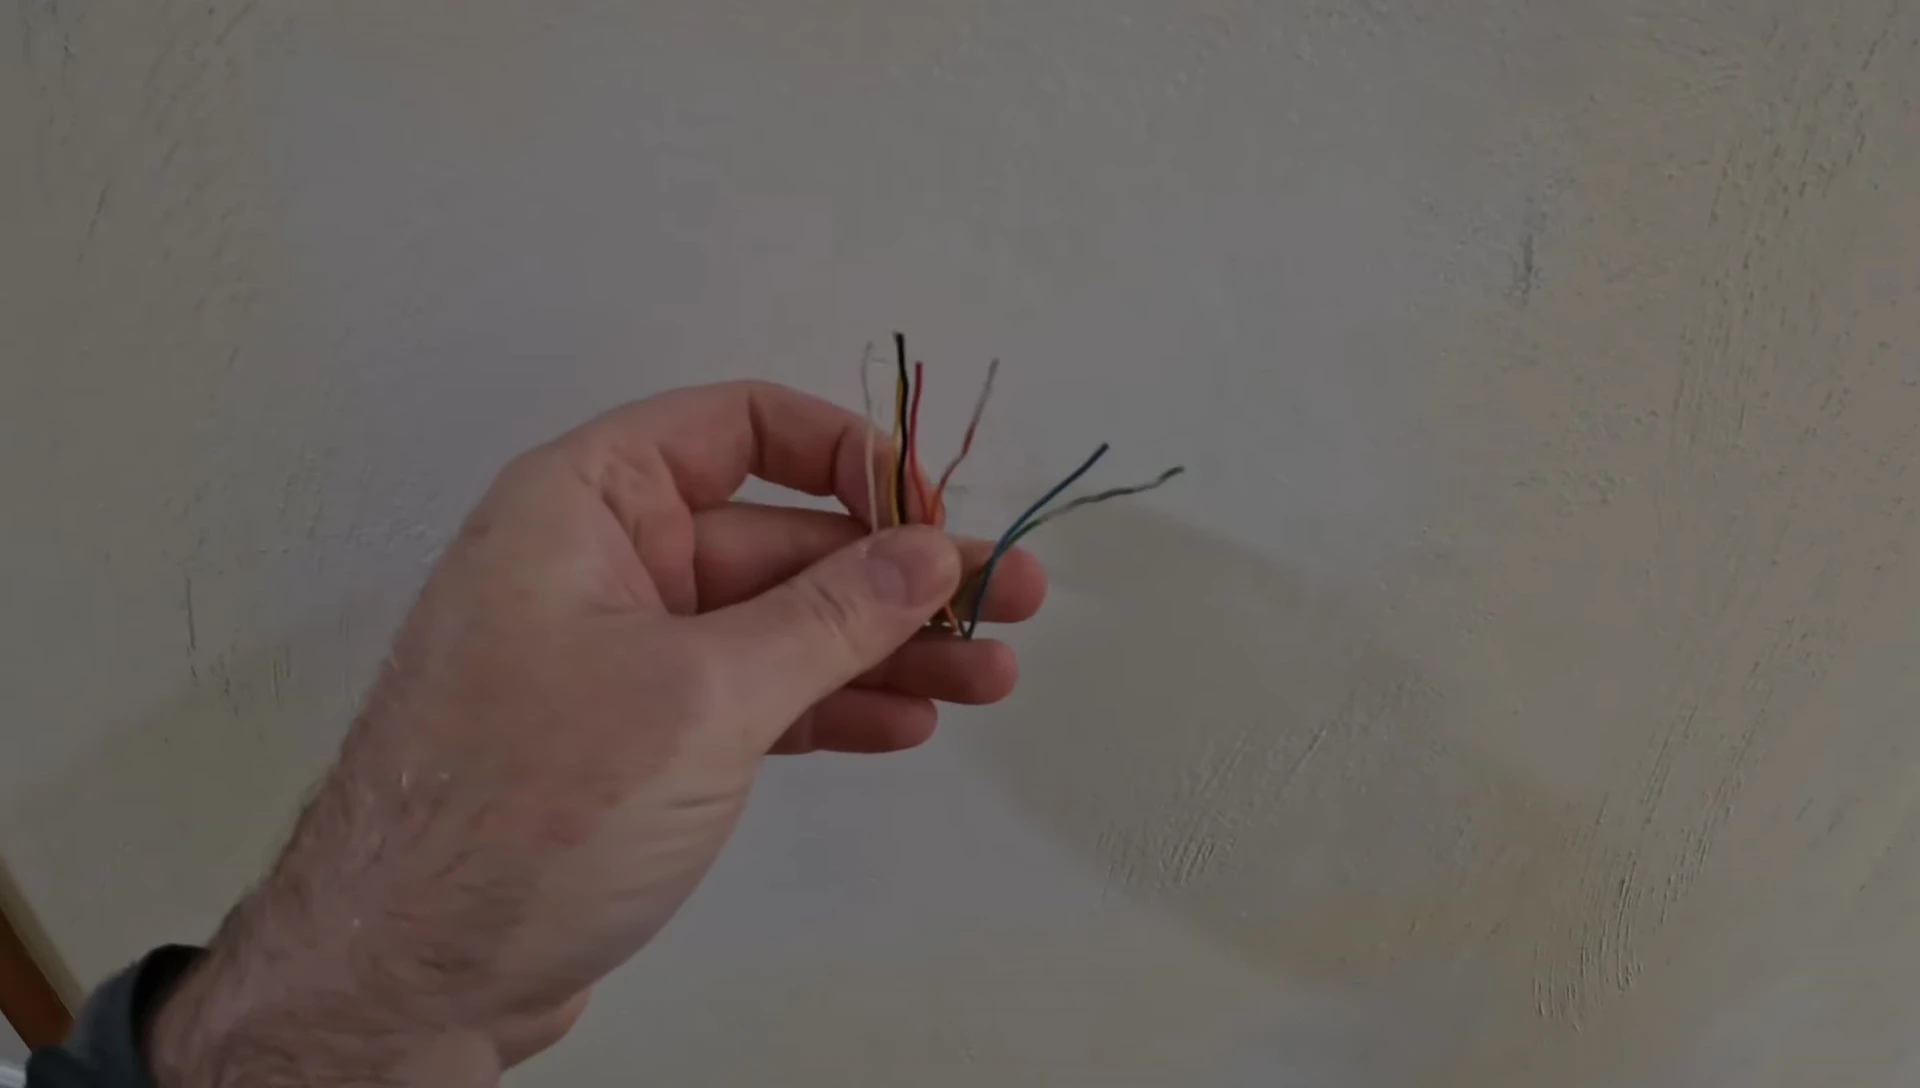
After removing the old thermostat, take a clear picture of the wiring configuration. This serves as a crucial reference when connecting the new thermostat. Then, carefully detach the wires from the old thermostat using a small flathead screwdriver. Be methodical and patient during this process, ensuring each wire is disconnected safely.
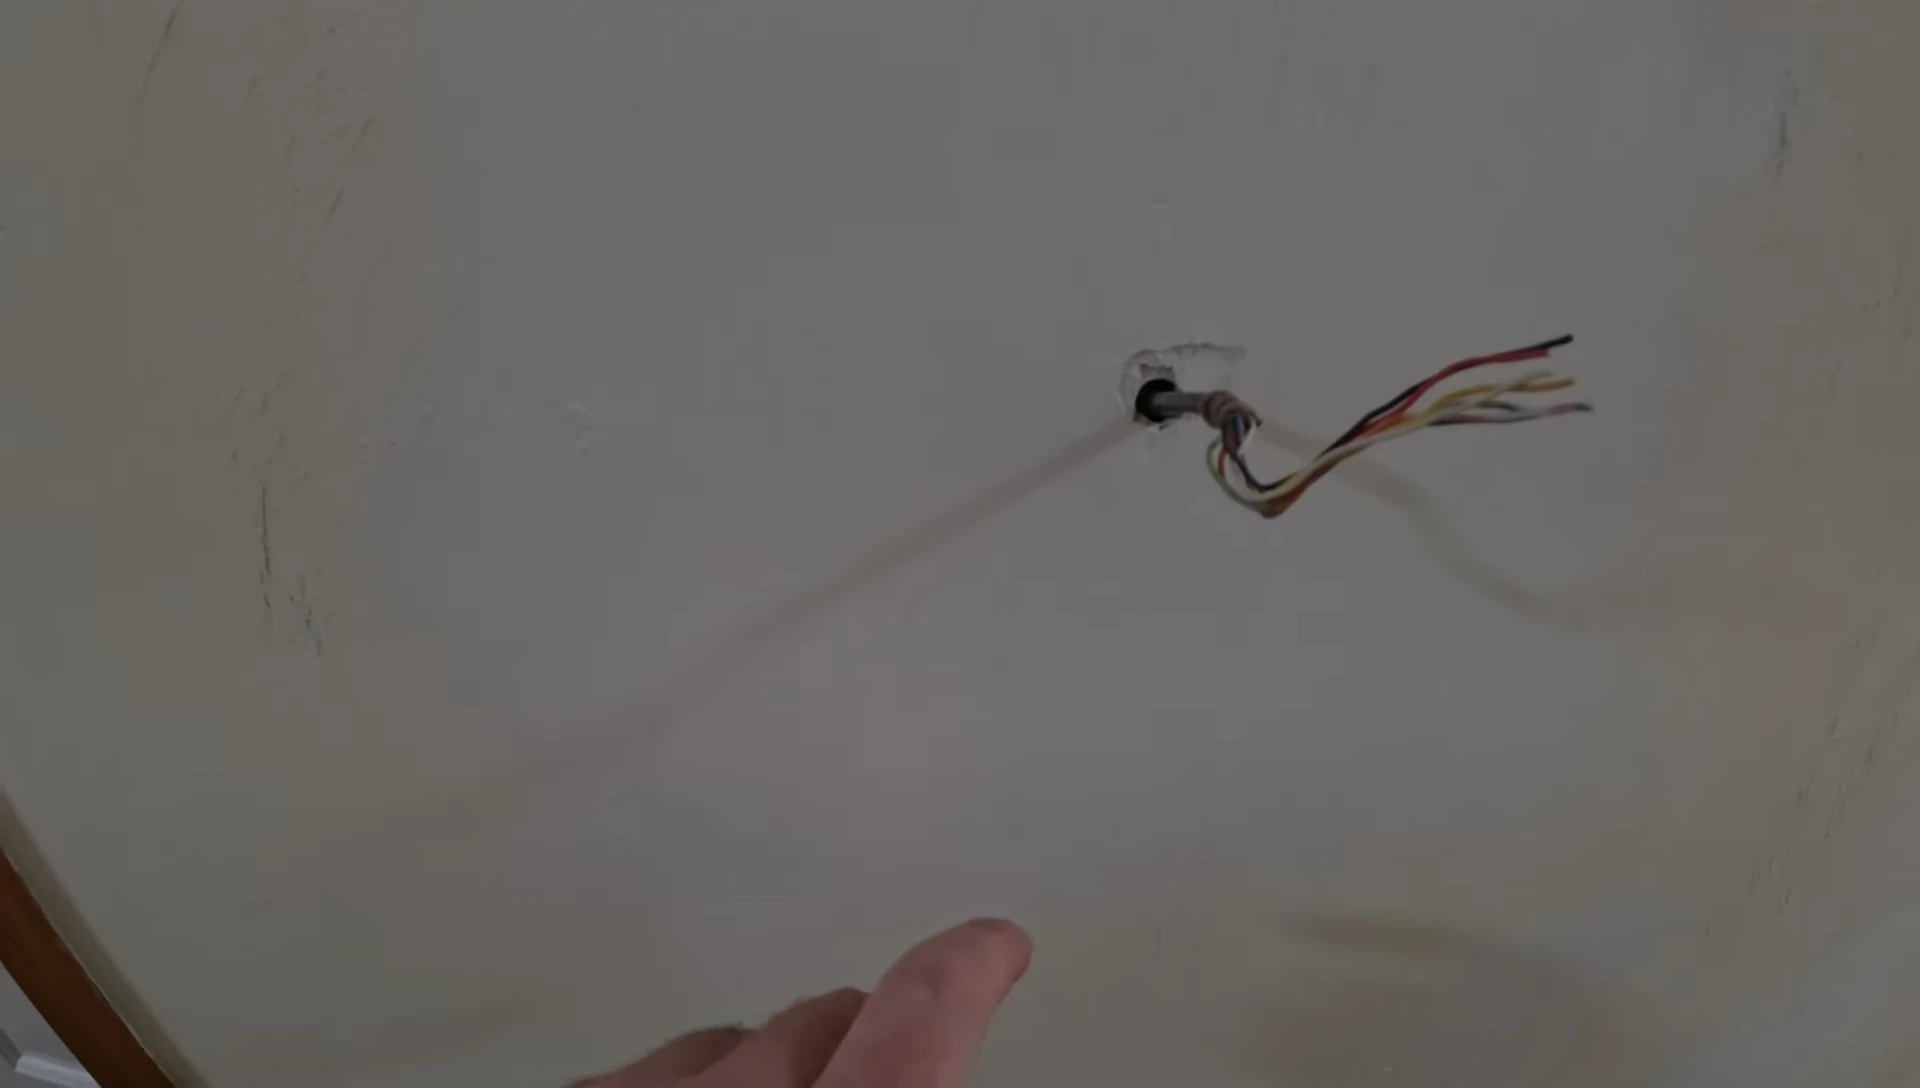
Preparing the Wall and Mounting Plate
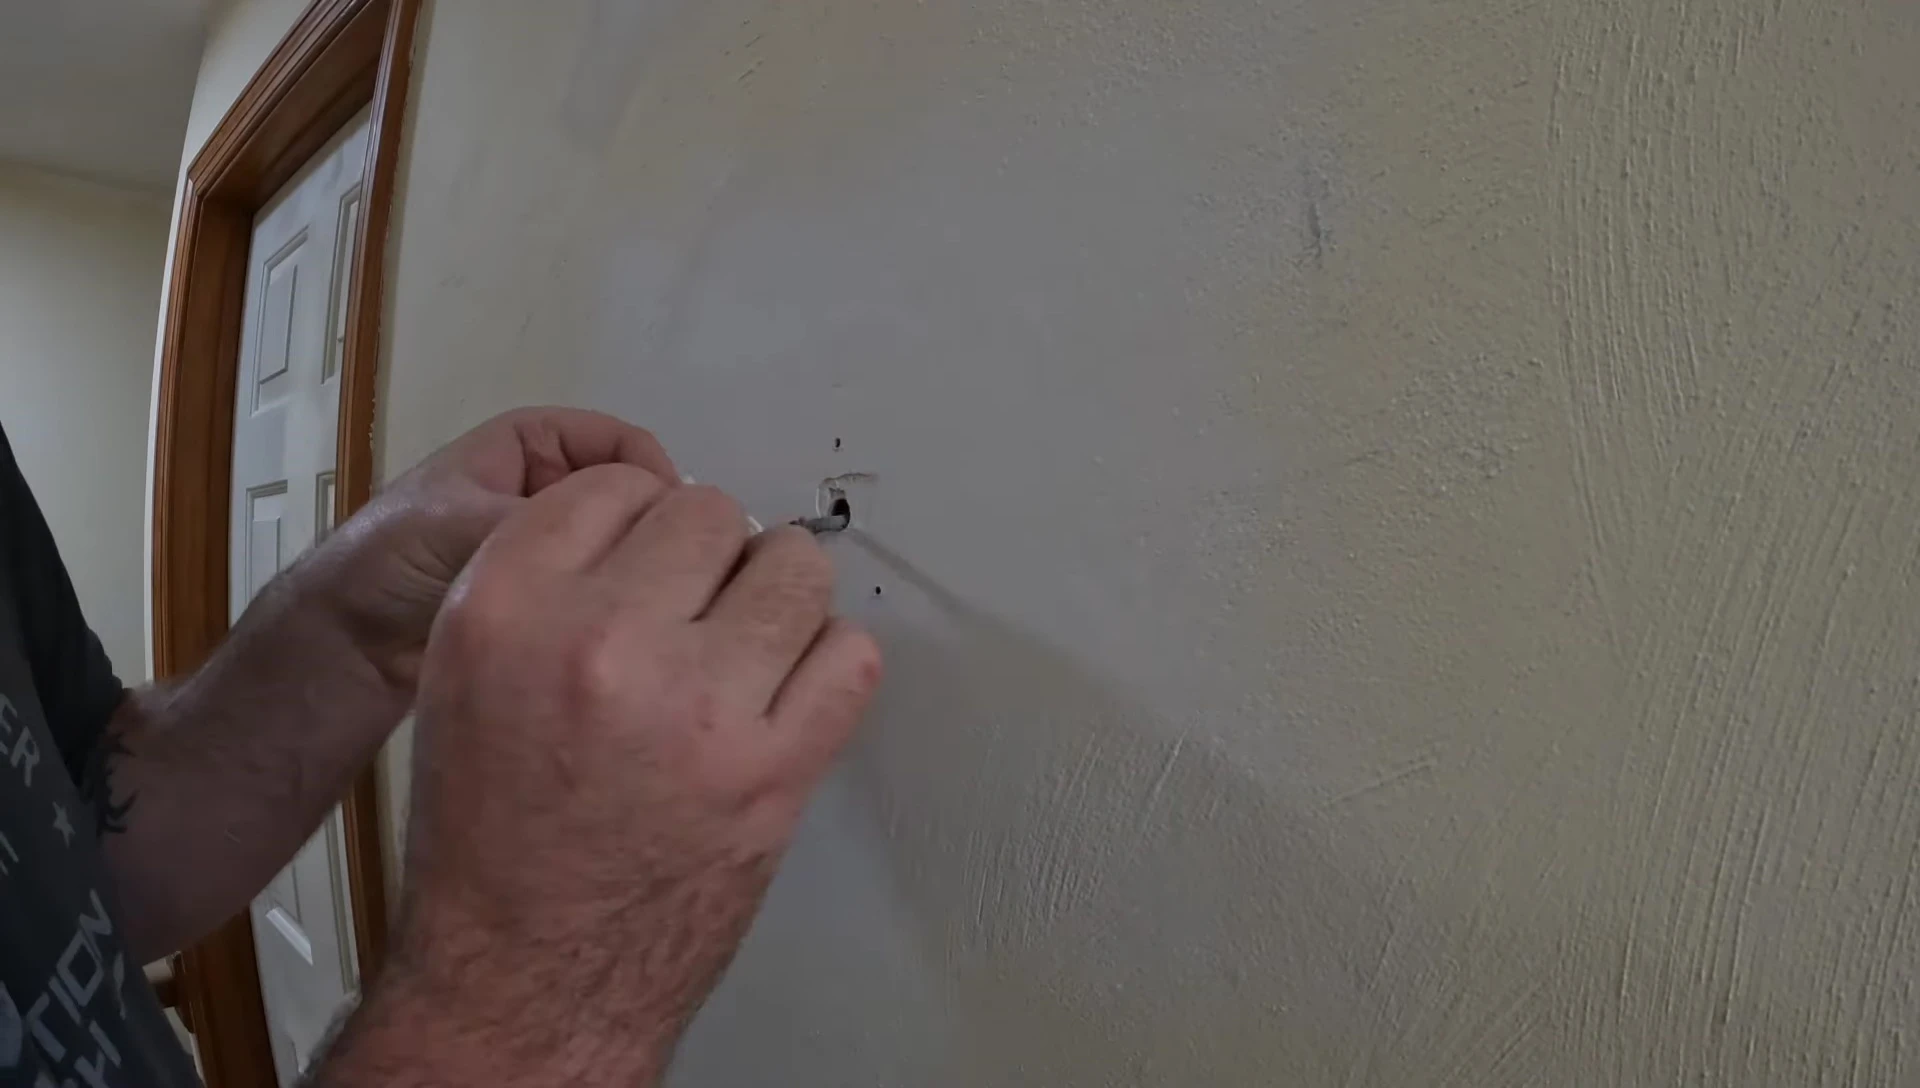
Before installing the new thermostat, assess the wall condition. In this case, some drywall work was necessary to create a stable mounting surface. The existing mounting plate was damaged, so adding a backing plate was crucial for secure installation. This might involve patching holes, sanding, texturing, and painting to match your existing wall finish.

Ensure the new mounting plate is securely attached to the wall. Consider using drywall anchors for a robust hold if you're installing into drywall. Pre-drilling pilot holes is recommended to avoid damaging the wall. In this instance, a plywood backing plate provided a stable base for the new thermostat's mounting plate.
Installing the Honeywell Home T5 Thermostat
Unpack your new Honeywell Home T5 thermostat. Carefully review the included instruction booklet. The installation process generally involves matching the wires from the old thermostat to the new one, following the wiring diagram provided. It's essential to ensure that your old system is compatible with the new thermostat.
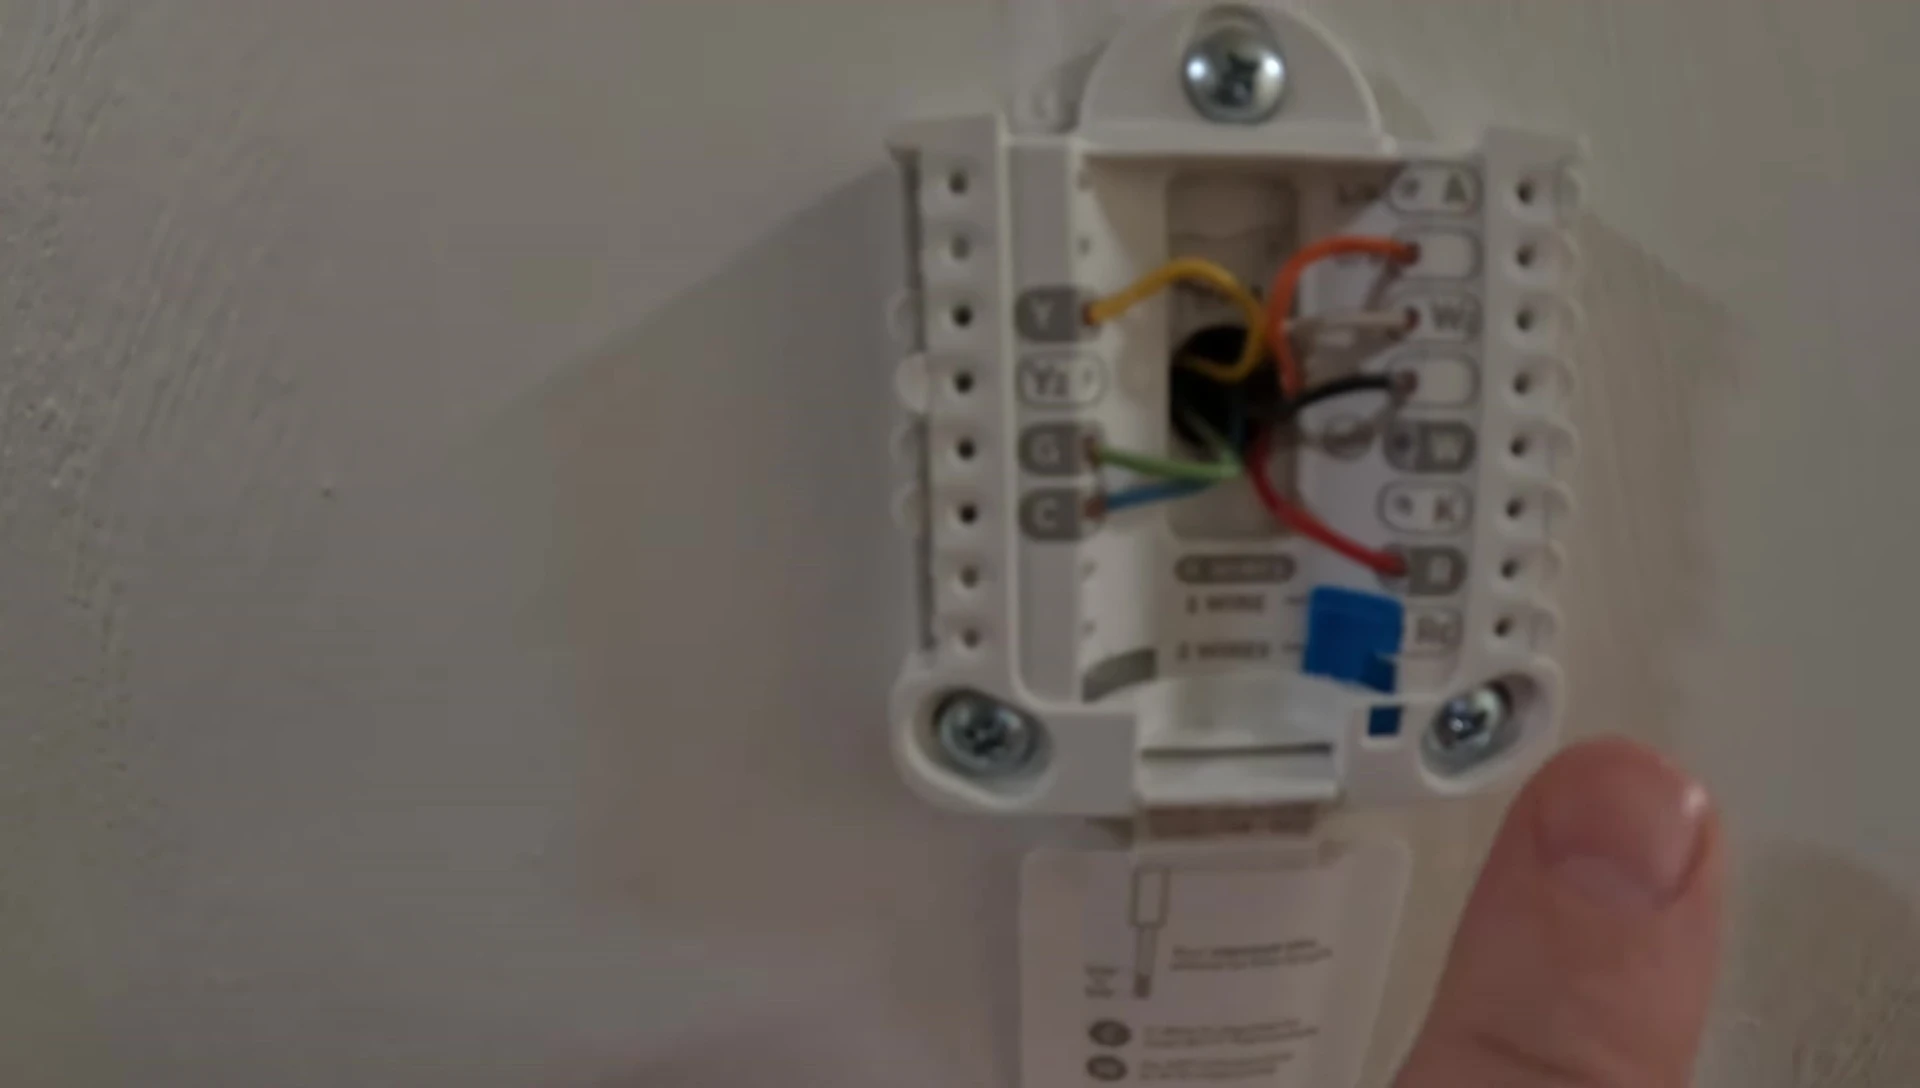
Before mounting the new thermostat, feed all the wires through the mounting plate. Secure each wire using the provided clips, making sure they are firmly connected and won't come loose. Double-check your wiring against the picture you took earlier. Mount the thermostat baseplate to the wall, ensuring it's level before tightening the screws completely.
Wiring and System Configuration
The wiring configuration varies depending on your HVAC system (heat pump, single-stage, two-stage, etc.). Ensure you correctly identify each wire (R, G, Y, W, C, etc.) and connect them according to your system's requirements and the thermostat's wiring diagram. Take extra care with heat pump systems as there are differences in wiring compared to standard systems. Incorrect wiring can damage your equipment.
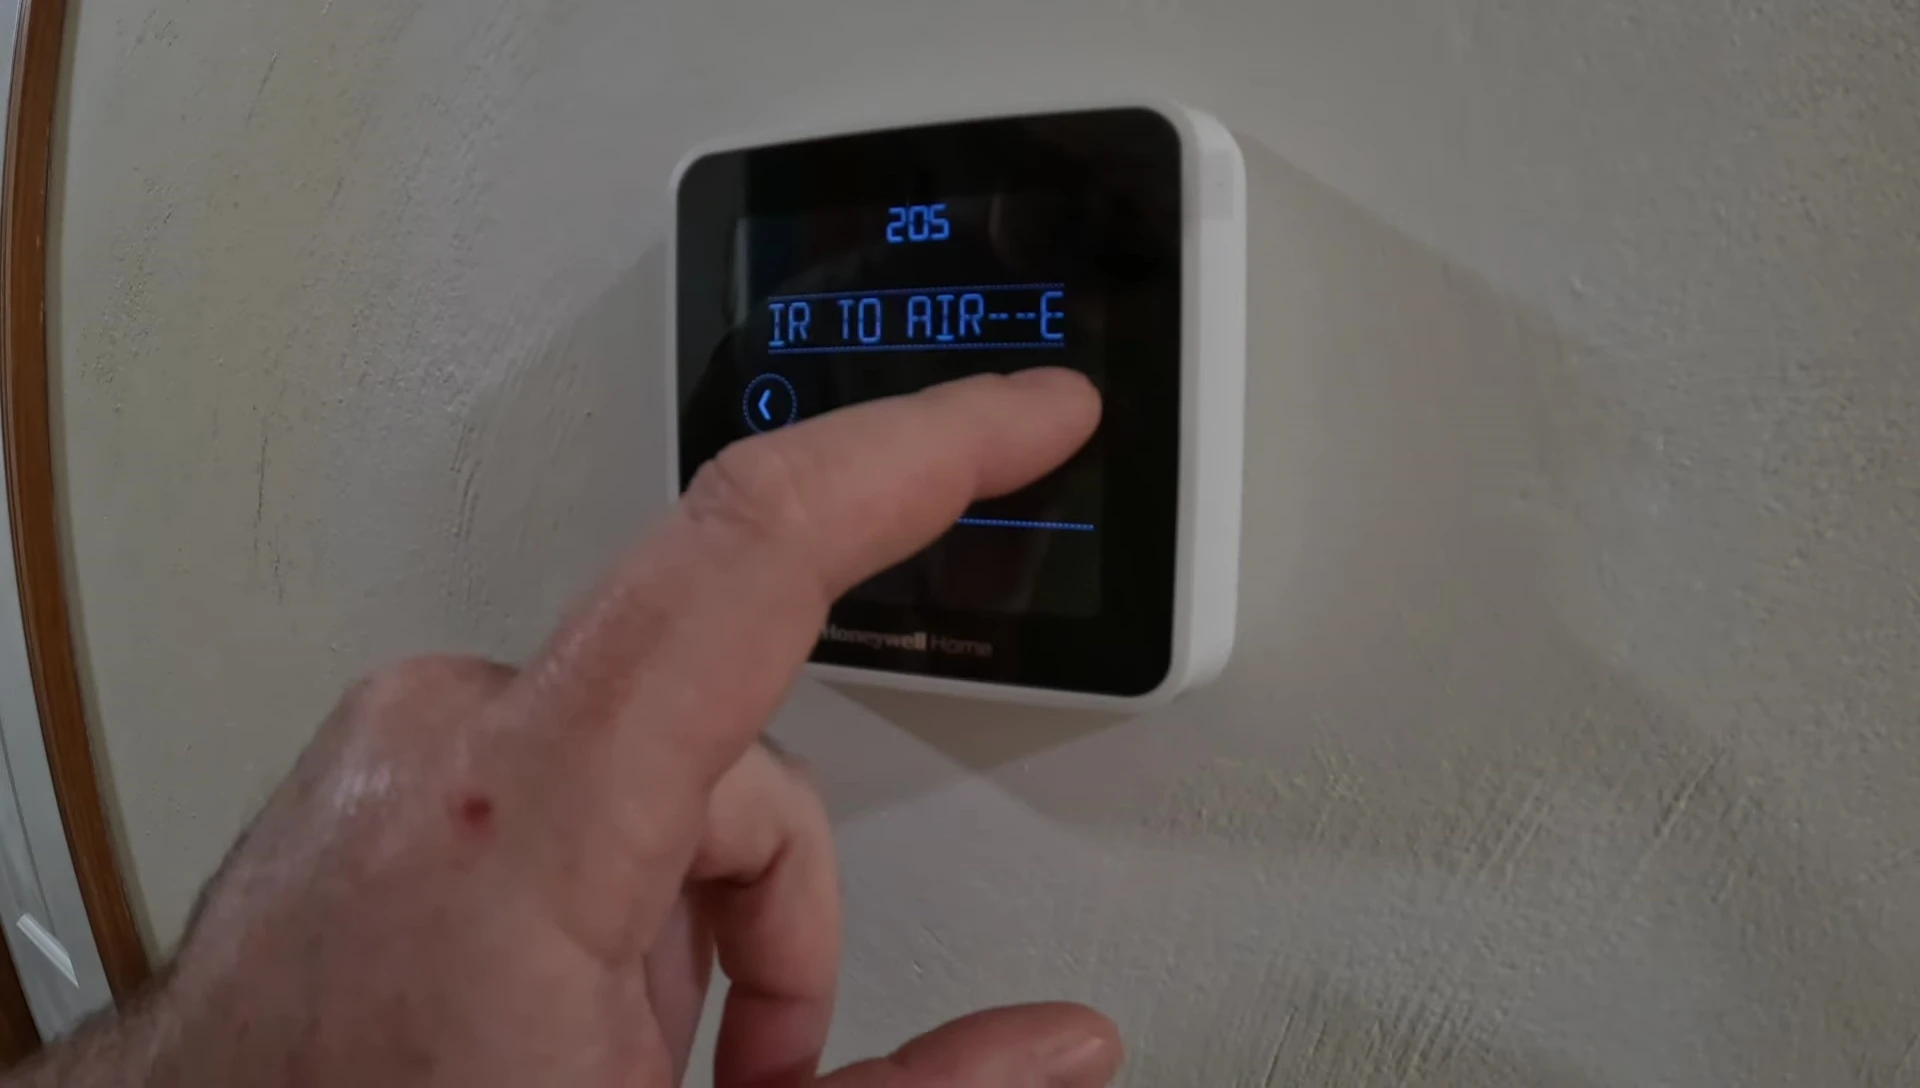
Many modern thermostats have built-in jumper settings to accommodate various system configurations. Review your HVAC system documentation to understand your specific wiring requirements and adjust the jumper settings as needed. Carefully test your heat, cool, and fan functions after installation.
App Setup and Additional Features
The Honeywell Home app simplifies the setup and management of your smart thermostat. It provides a user-friendly interface to control temperatures, schedule settings, and monitor energy usage. The app enables features like geofencing and vacation modes, enhancing energy efficiency and convenience.
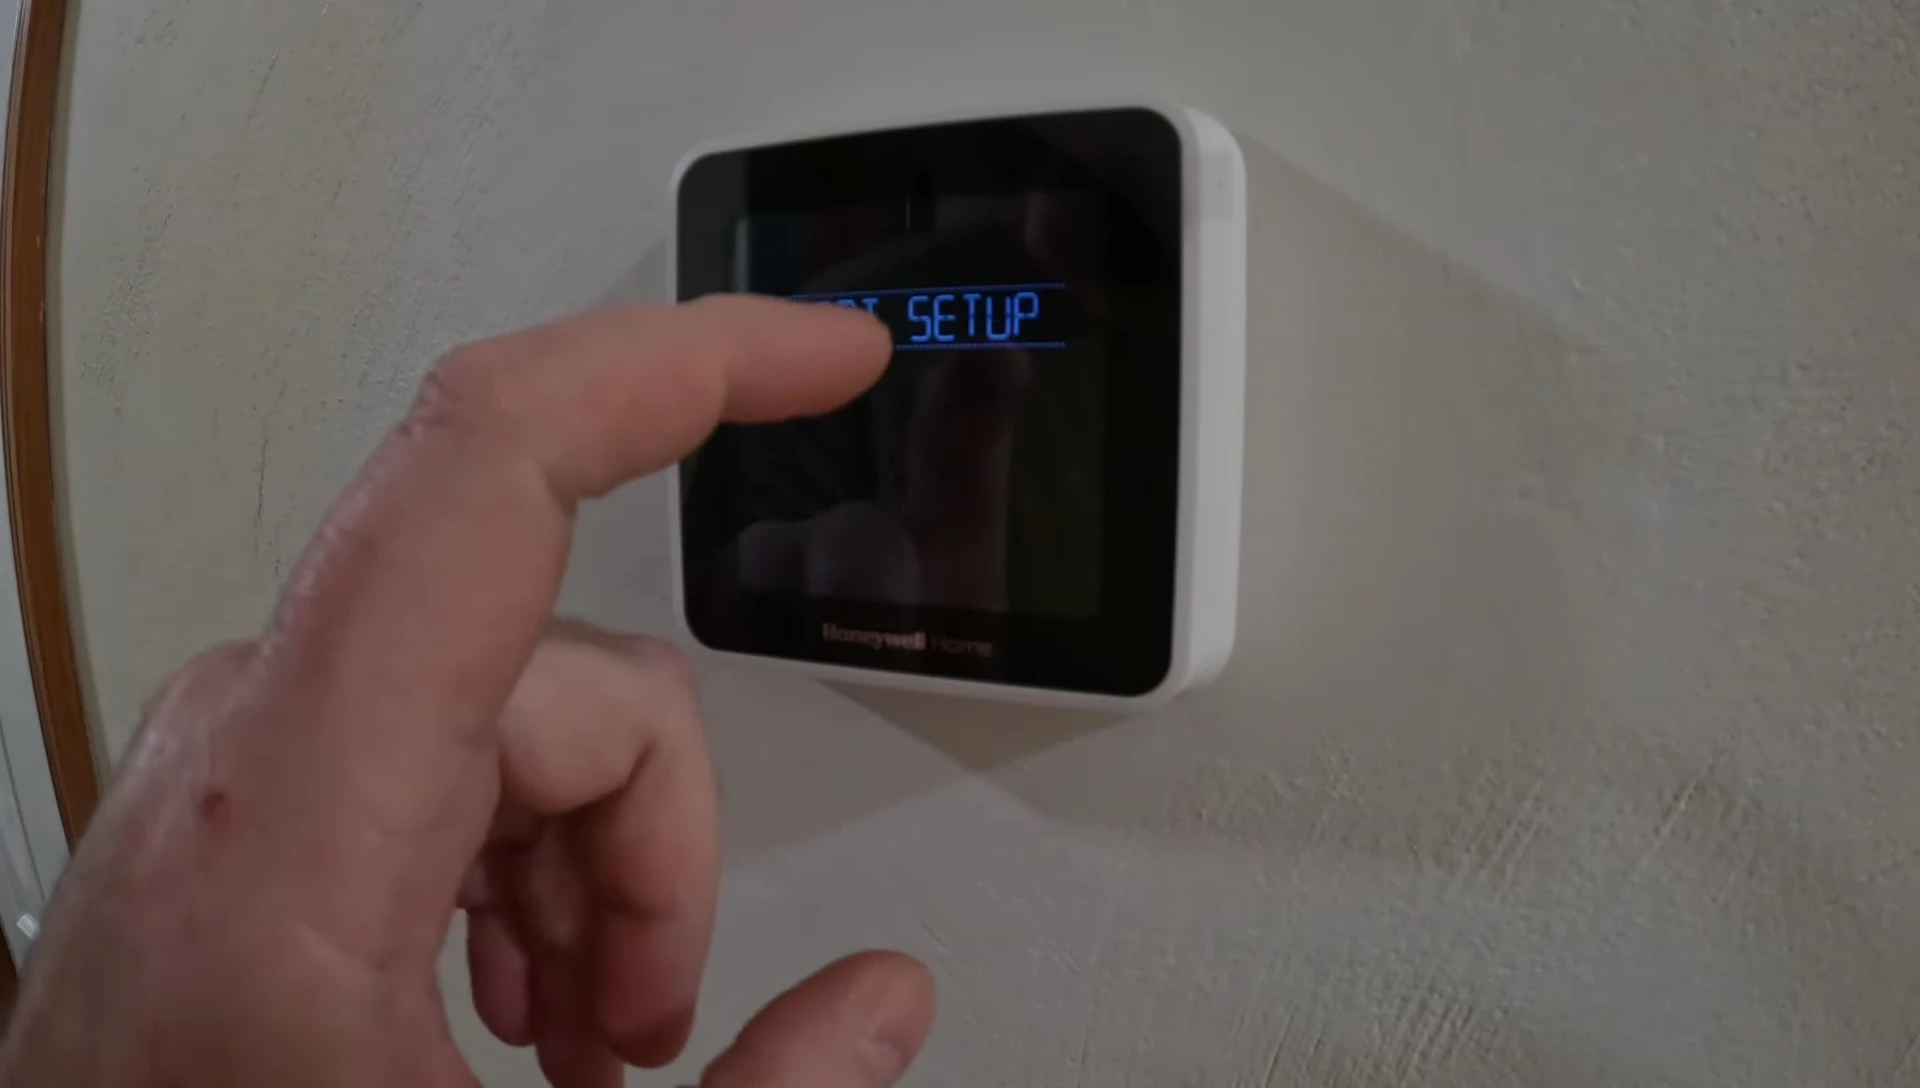
Through the app, you can adjust various settings, including screen brightness, temperature units, and Wi-Fi connectivity. Explore the app's features to customize your thermostat's functionality according to your preferences. Don't forget to check for available rebates from your utility companies, as many offer incentives for installing smart thermostats.
Conclusion and Final Thoughts
The Honeywell Home T5 Smart Thermostat offers a straightforward installation process, making it a viable DIY project for most homeowners. Its sleek design and user-friendly app contribute to a positive user experience. The availability of significant rebates significantly reduces the overall cost, enhancing its value proposition.
While the installation can be relatively easy, always exercise caution when working with electrical wiring and HVAC systems. Careful attention to wiring diagrams and compatibility is critical to avoid potential issues. The Honeywell Home T5 is a solid smart thermostat option, particularly with the potential for significant cost savings through rebates.