This guide provides a comprehensive, step-by-step walkthrough for installing a Honeywell Smart Thermostat. Whether you're a seasoned DIY enthusiast or a homeowner tackling your first home improvement project, this guide will equip you with the knowledge and confidence to successfully install your new thermostat. We'll cover everything from safely disconnecting the power and labeling wires to connecting the thermostat to your home Wi-Fi network and utilizing its advanced features. Clear instructions and helpful tips will ensure a smooth installation process.This guide emphasizes safety first, detailing the crucial step of switching off the power at the breaker before commencing any work. We’ll walk you through the process of removing your old thermostat, connecting the wires to your new Honeywell smart thermostat, and securely mounting the device. Finally, we’ll guide you through the setup process, including connecting to your home Wi-Fi network for remote access via the Honeywell Home app. With this guide, you’ll be enjoying the benefits of a smart thermostat in no time!
Pros And Cons
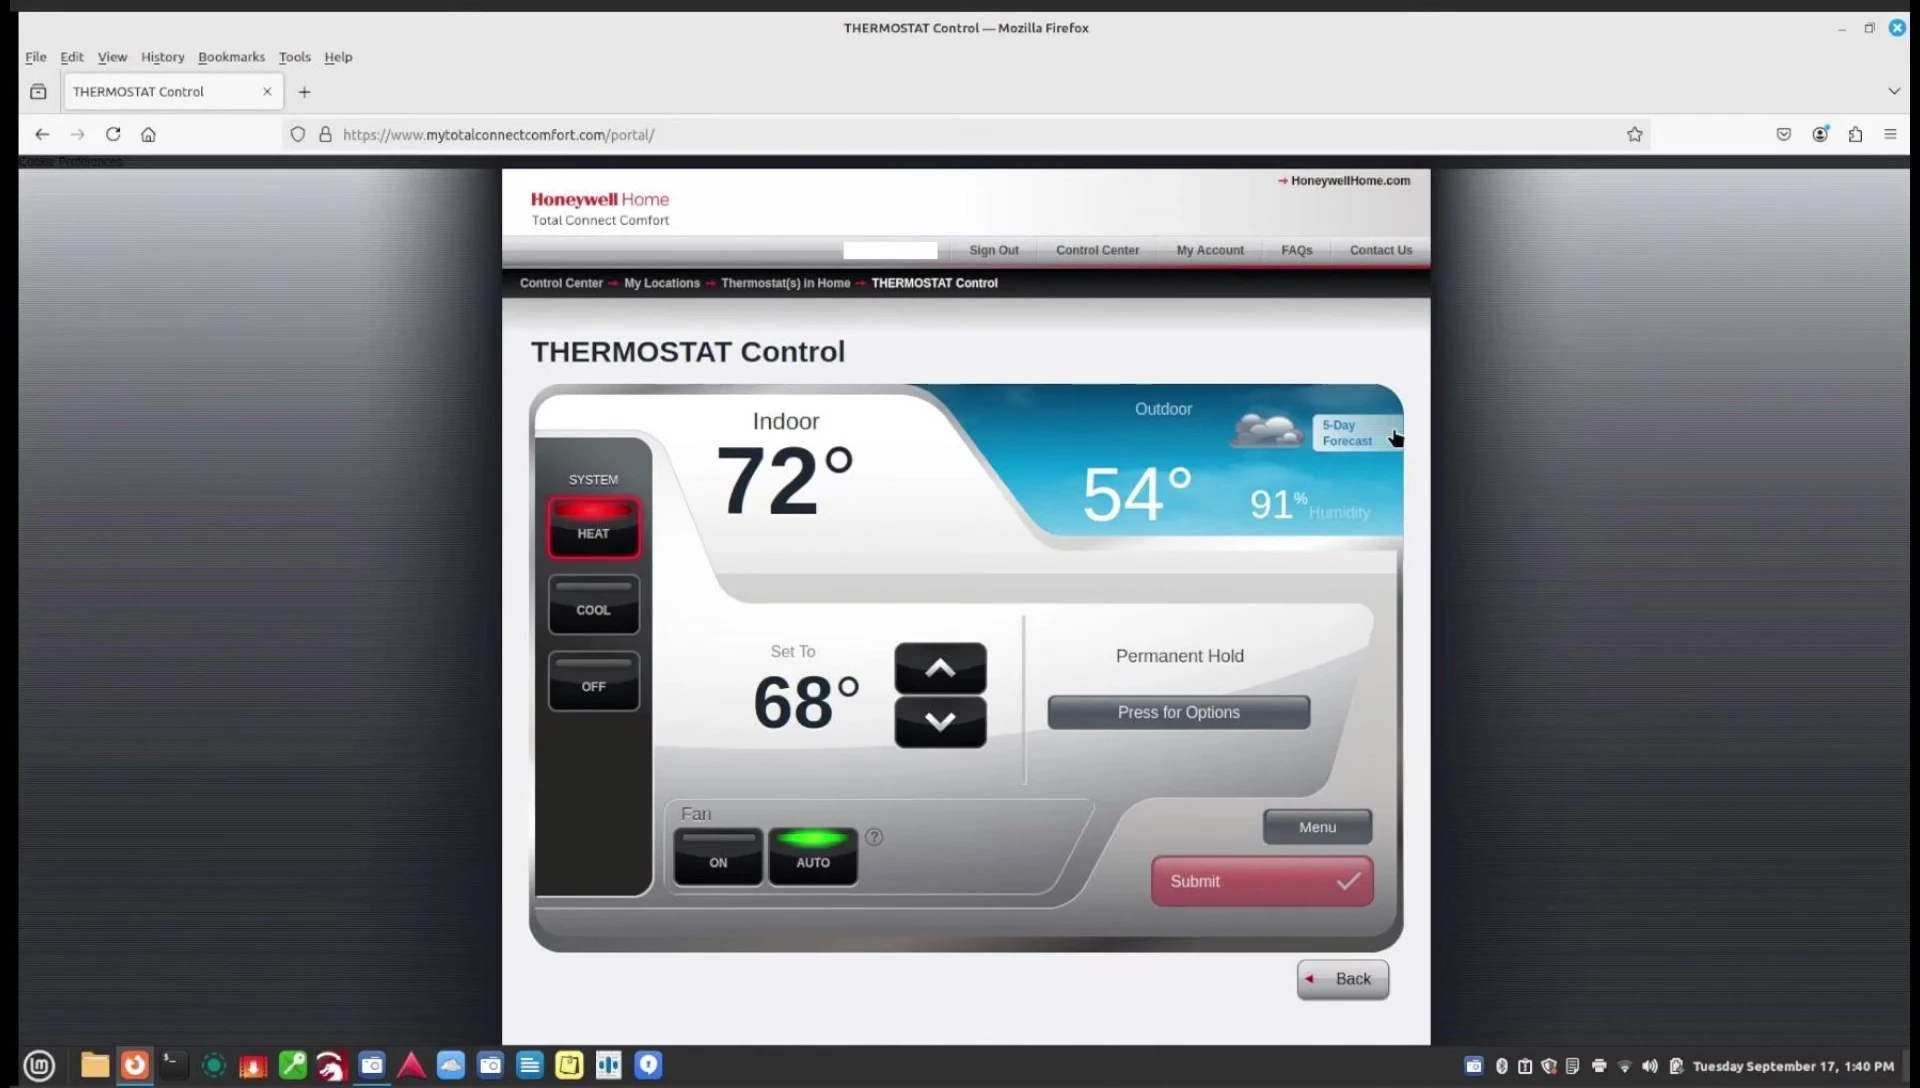
- Allows checking and controlling temperatures remotely via a phone app.
- Connects to home Wi-Fi.
- Installation may be difficult due to tight spaces.
- The placement of labels on the thermostat's wiring terminals may not align with the screws, causing confusion during installation.
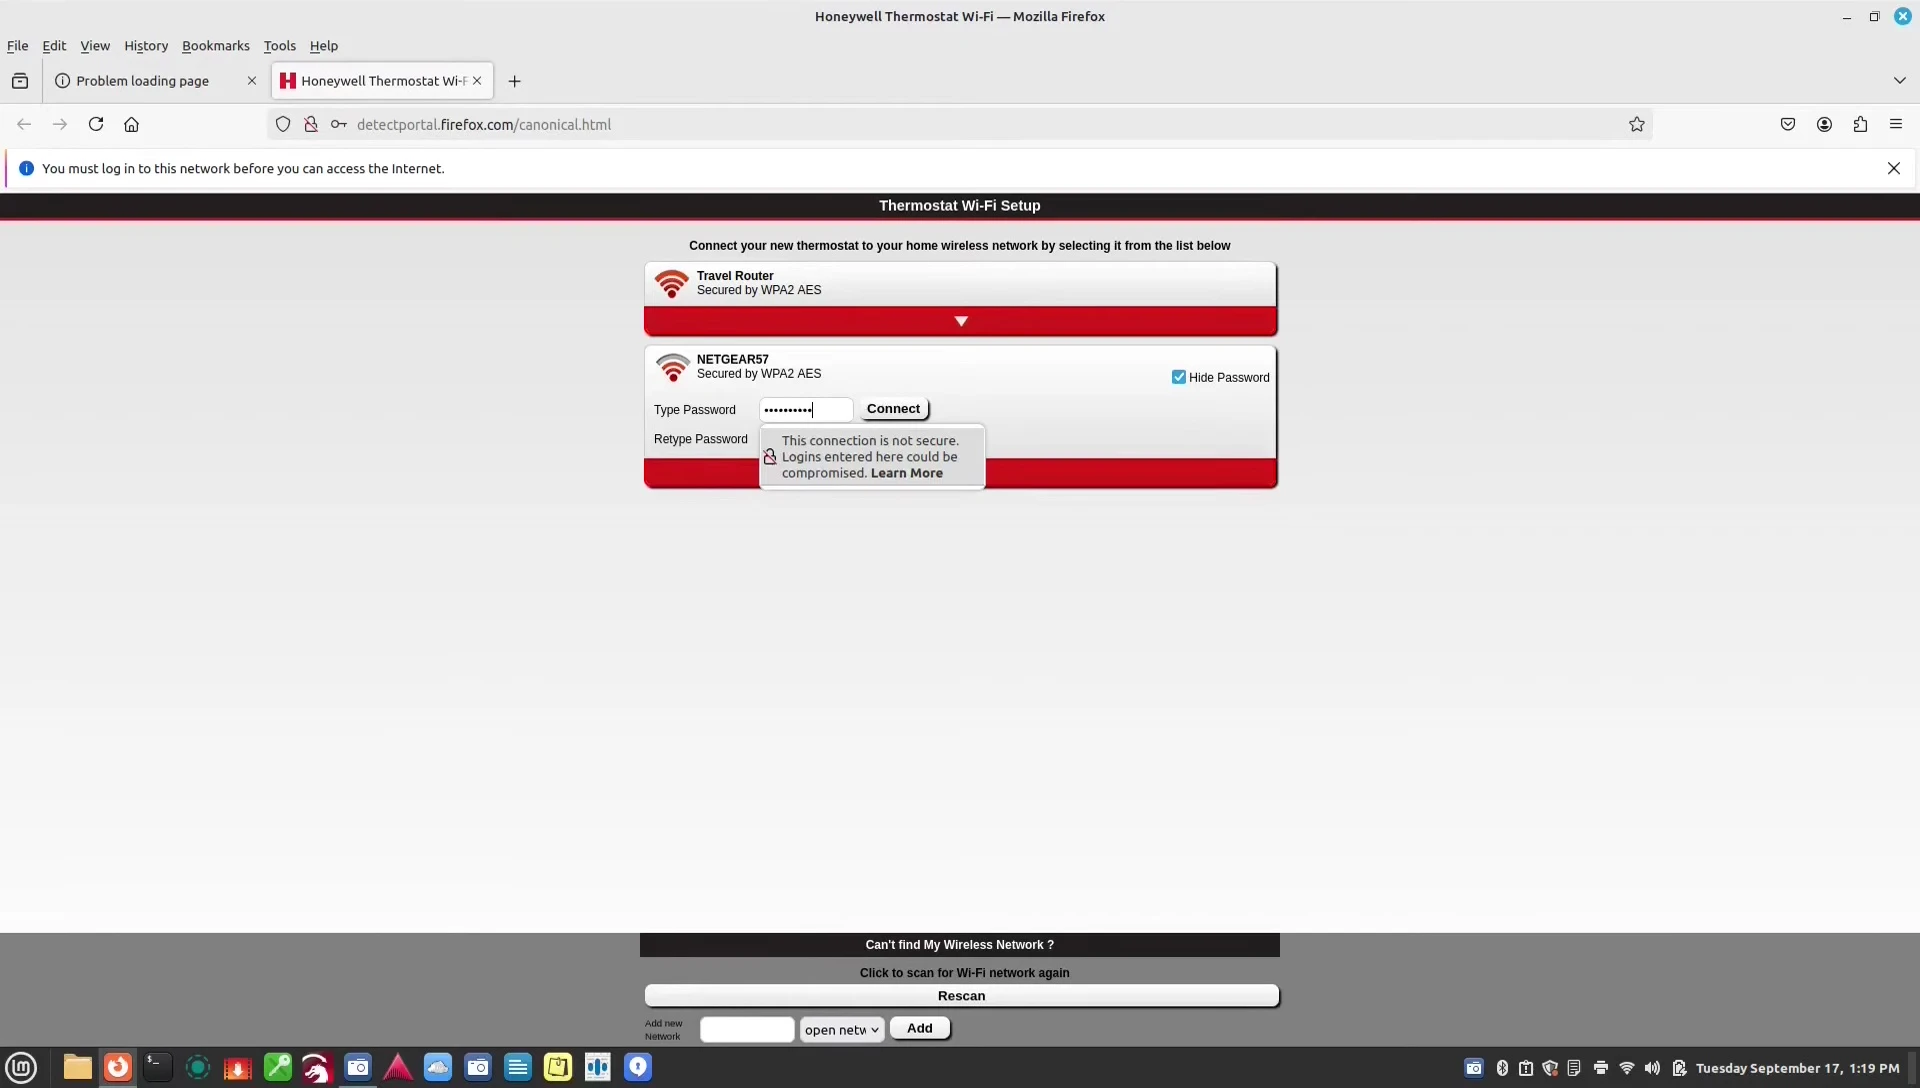
- The Wi-Fi setup process can be complicated, potentially requiring manual intervention to bypass connection errors.
Read more: Nuwave PIC Titanium Induction Cooktop Review: A Mixed Bag of Features
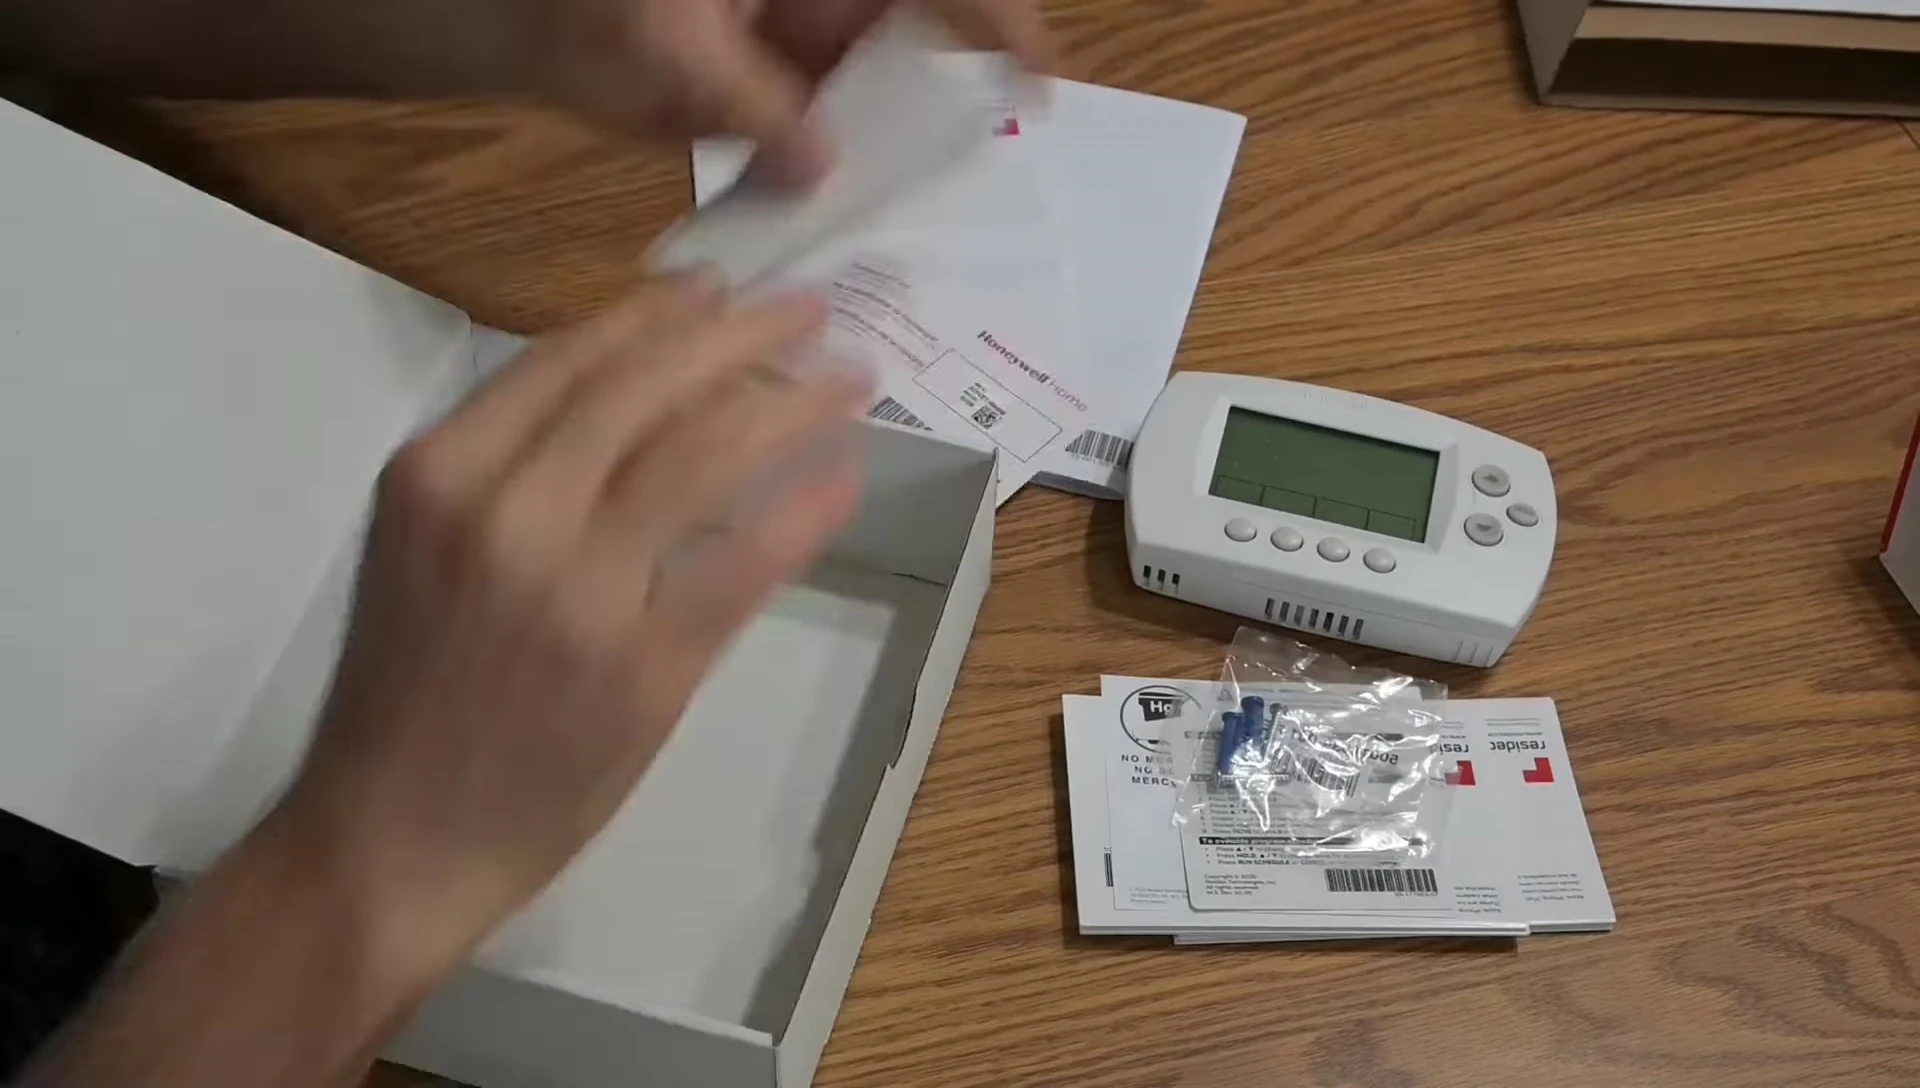
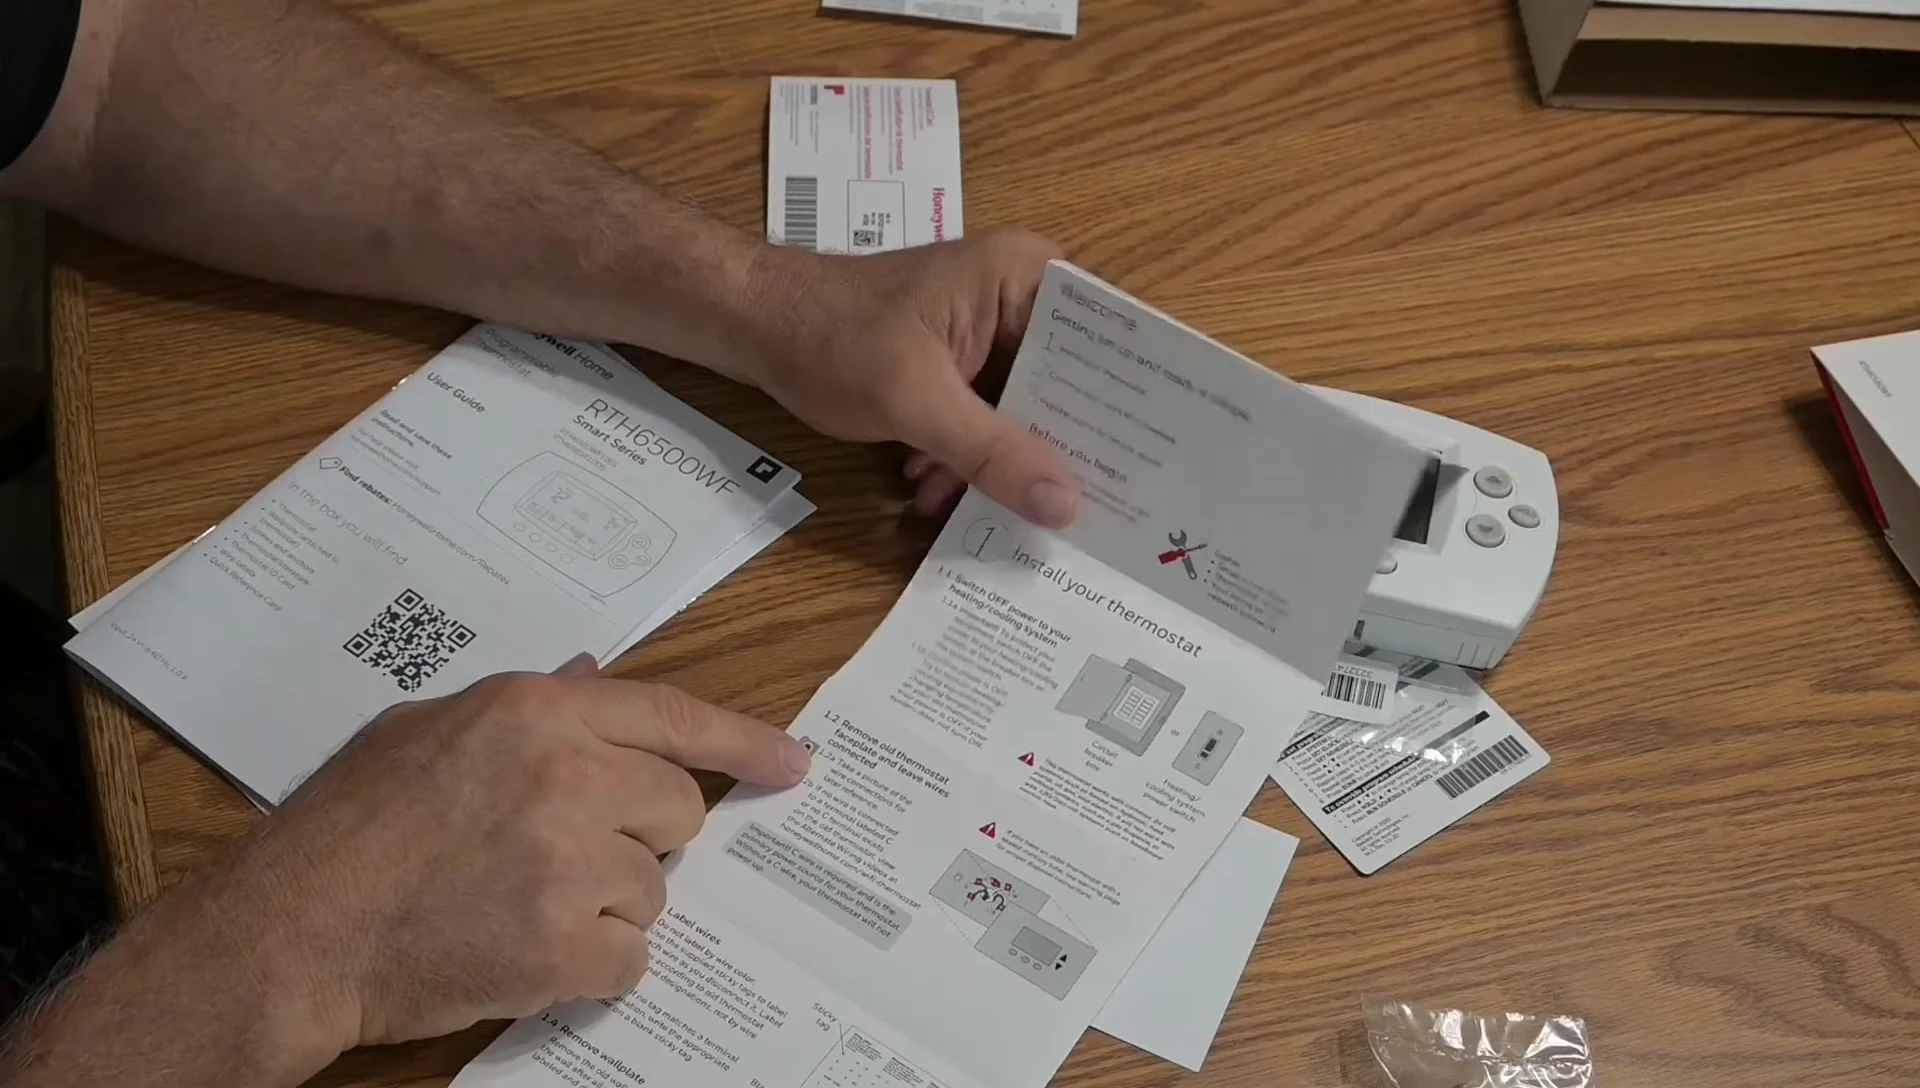
Preparing for Installation
Before starting the installation, ensure you have the necessary tools and materials. This includes a screwdriver, wire strippers (if needed), and the Honeywell smart thermostat itself. It is highly recommended that you switch off the power at the circuit breaker to avoid any electrical hazards. This crucial safety step prevents accidental shocks.
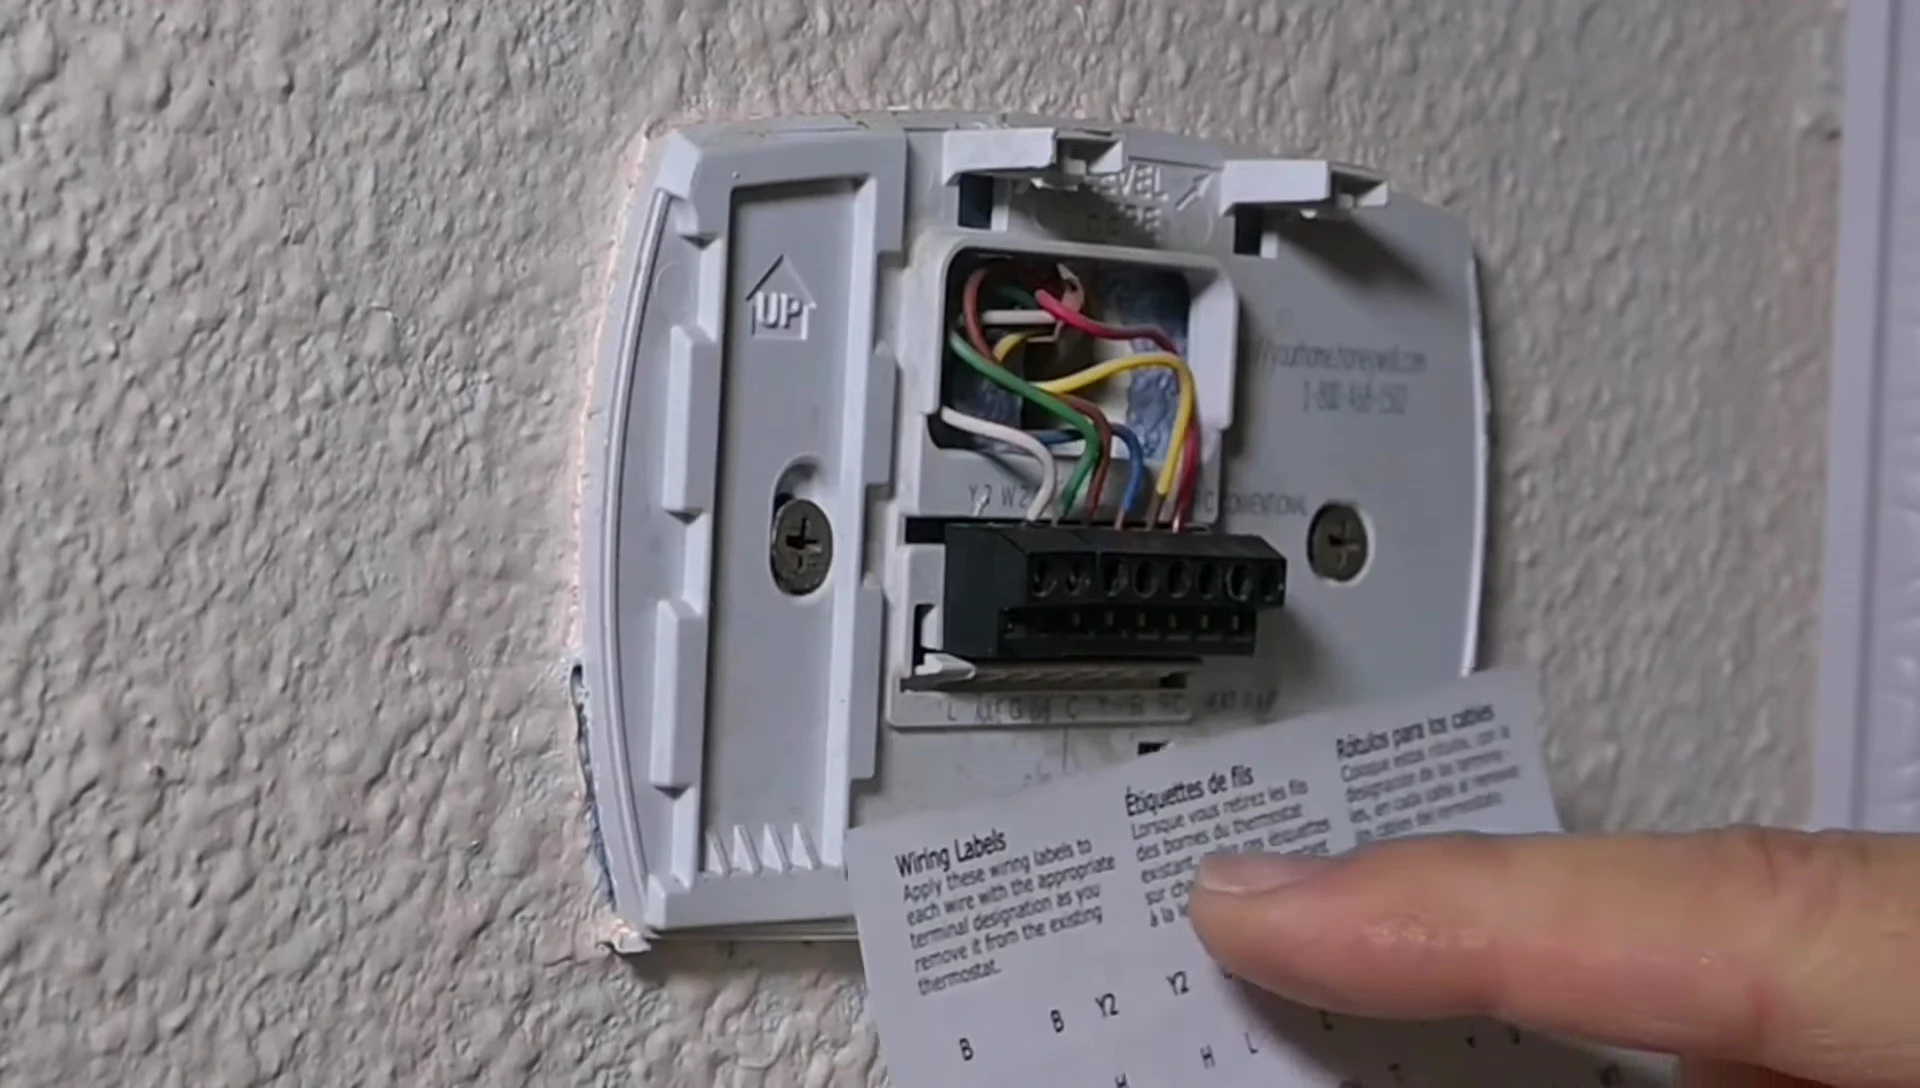
Carefully remove the old thermostat, taking note of the wire connections. Remember to label the wires clearly using the provided stickers. Labeling the wires according to their terminal designations on the old thermostat is more effective than relying on wire color alone, as wire colors can vary.
Mounting and Wiring the New Thermostat
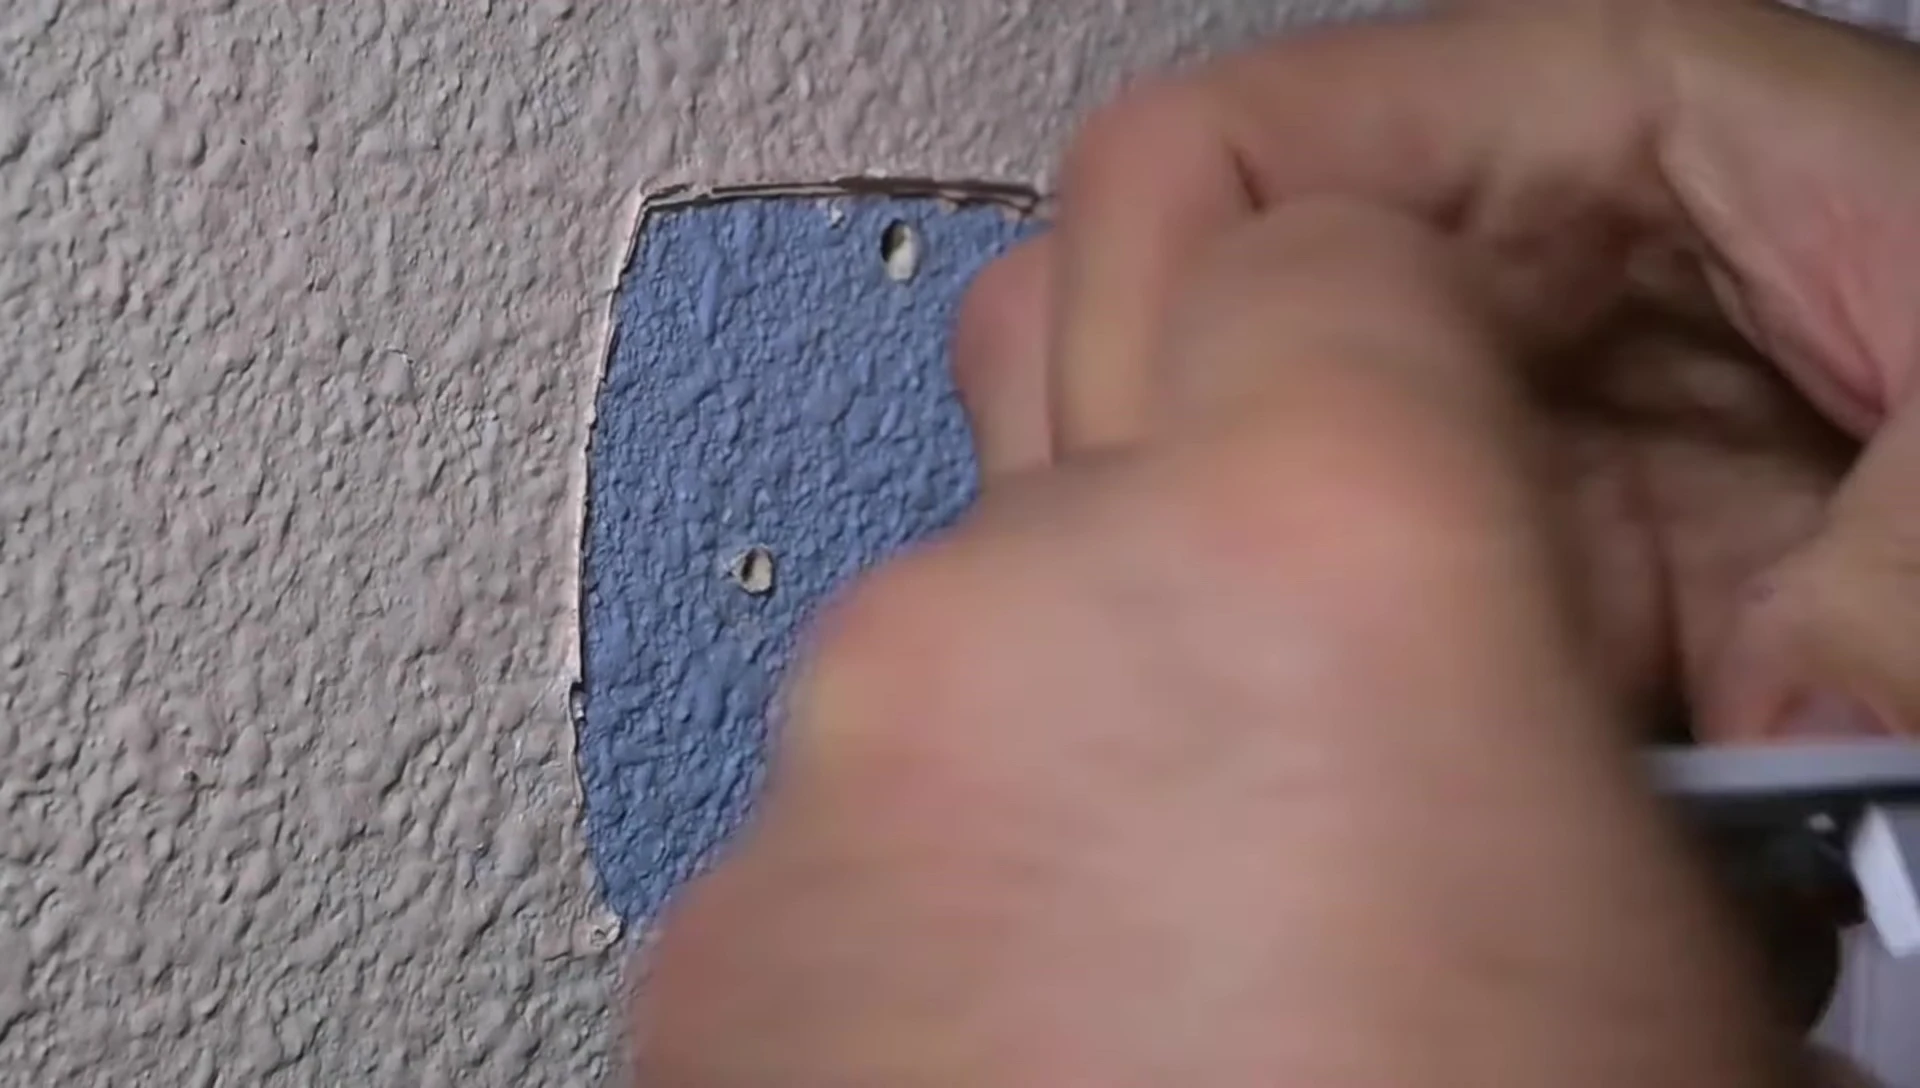
Once the old thermostat is removed and the wires are labeled, carefully mount the new wall plate. This step involves securing the plate to the wall, ensuring a stable base for the thermostat.

Connect the wires to the new thermostat, ensuring each wire corresponds to its labeled designation. Double-check all connections before proceeding. It's extremely important to ensure correct alignment of wires to avoid malfunction. Pay attention to terminal designations, not just wire colors.
After connecting all wires, carefully place the thermostat onto the mounted wall plate. Gently push the thermostat until it clicks into place.
Setting Up the Thermostat
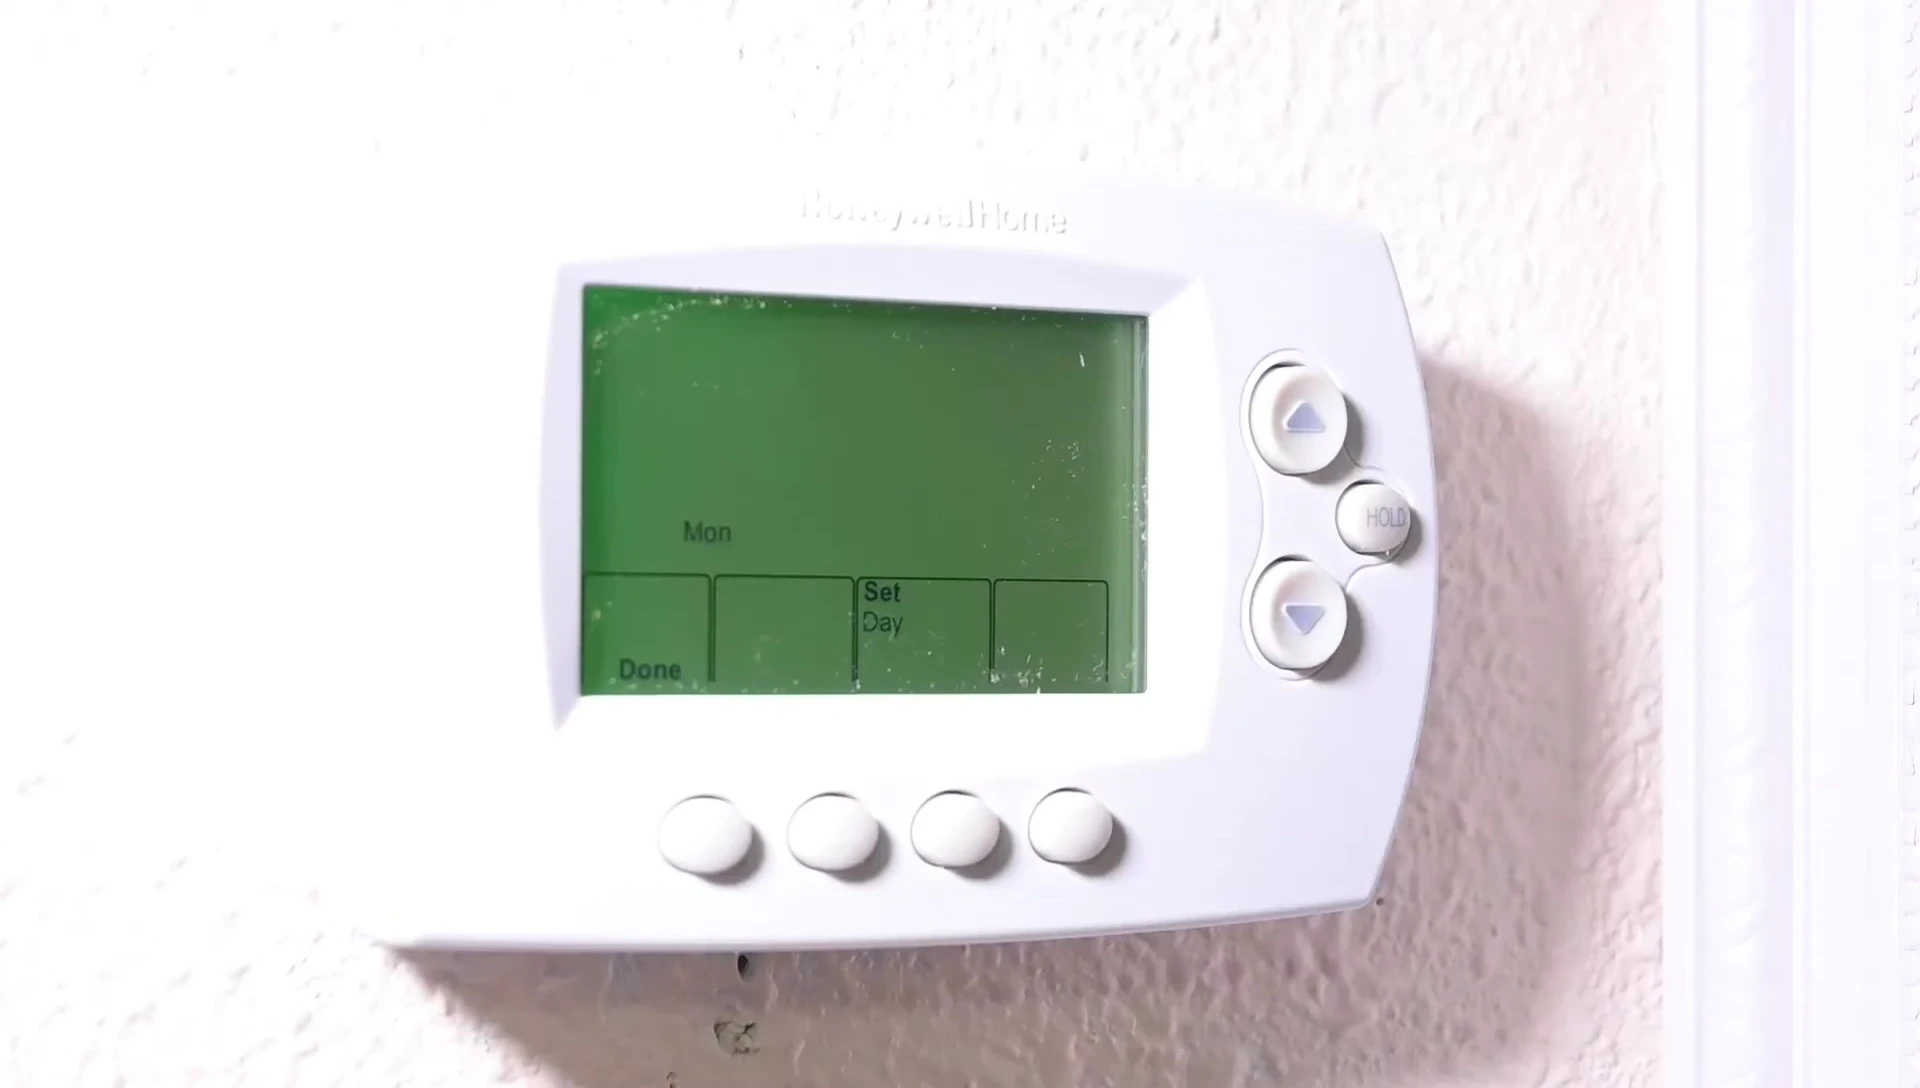
After completing the wiring, restore power to the system by switching the circuit breaker back on. The thermostat should power on and display the initial setup screen. This may include setting the time and date.

Set the clock and date accurately, this ensures accurate scheduling and logging of temperature data. Configure the system type to match your heating and cooling system (heat pump, gas, etc.).
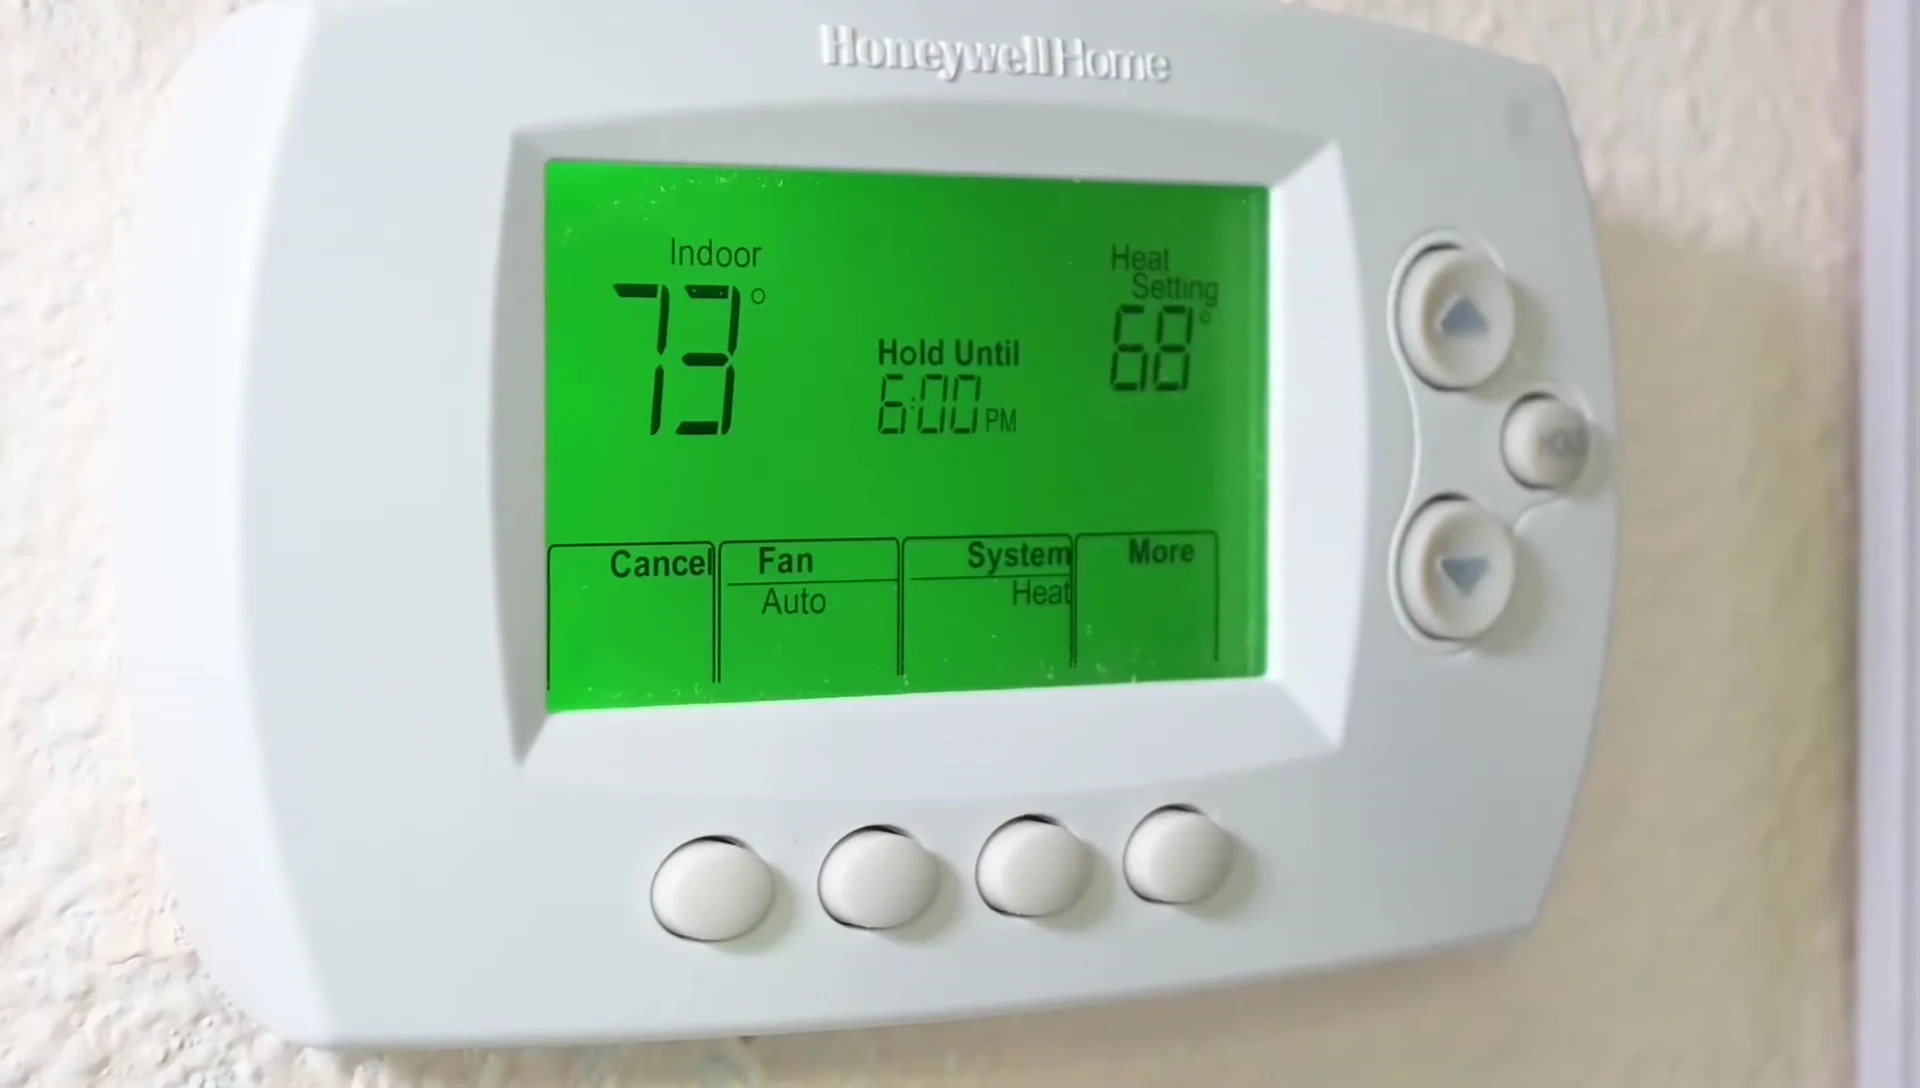
Program your desired heating and cooling schedule. This feature allows you to automate temperature adjustments based on your daily routine or preferences. If you have no set schedule, you can manually adjust settings as needed.

Connecting to Wi-Fi
To enable remote access, connect your thermostat to your home Wi-Fi network. This process typically involves connecting your laptop or smartphone directly to the thermostat's Wi-Fi signal. The thermostat will create its own temporary Wi-Fi network for setup.
Once connected, open a web browser on your device. You will be prompted to enter your home Wi-Fi credentials (SSID and password). This allows the thermostat to connect to your home router, granting it internet access.
After successful Wi-Fi setup, you should be able to access and control the thermostat through the Honeywell Home app on your smartphone or tablet.
Conclusion
Installing a Honeywell smart thermostat is a manageable DIY project for those comfortable with basic electrical work and technology. The step-by-step instructions, along with clear visual guidance, make the installation process straightforward.
Remember to prioritize safety by turning off the power at the breaker before starting the installation. Thoroughly labeling the wires is critical to avoid confusion and potential issues during reconnection.
The Honeywell smart thermostat offers convenient features, including remote temperature control, scheduling capabilities, and energy-saving options. Overall, its ease of use and advanced features make it a worthwhile upgrade for most homeowners. However, potential difficulties during the Wi-Fi setup process should be considered.