Upgrading your motorcycle's headlight to a brighter LED unit can significantly enhance your nighttime visibility and safety. This step-by-step guide provides a comprehensive tutorial on how to install LED headlights yourself, saving you the cost of professional installation. Even with minimal mechanical experience, you can successfully complete this upgrade with the right tools and careful attention to detail. We'll walk you through each stage, from safely removing the existing headlight assembly to testing the newly installed LED unit and ensuring a secure, watertight seal.This guide assumes a basic understanding of automotive components and tools. Remember, safety is paramount. If you feel uncomfortable at any point during the process, consult a professional mechanic. Following these instructions precisely will help you avoid potential damage to your motorcycle and ensure the correct installation of your new LED headlights. Prepare for a noticeable improvement in illumination, resulting in a safer and more confident riding experience, especially in challenging low-light conditions.
Pros And Cons
- Provides good brightness
- Works as an extra DRL (Daytime Running Light)
Read more: Nuwave PIC Titanium Induction Cooktop Review: A Mixed Bag of Features
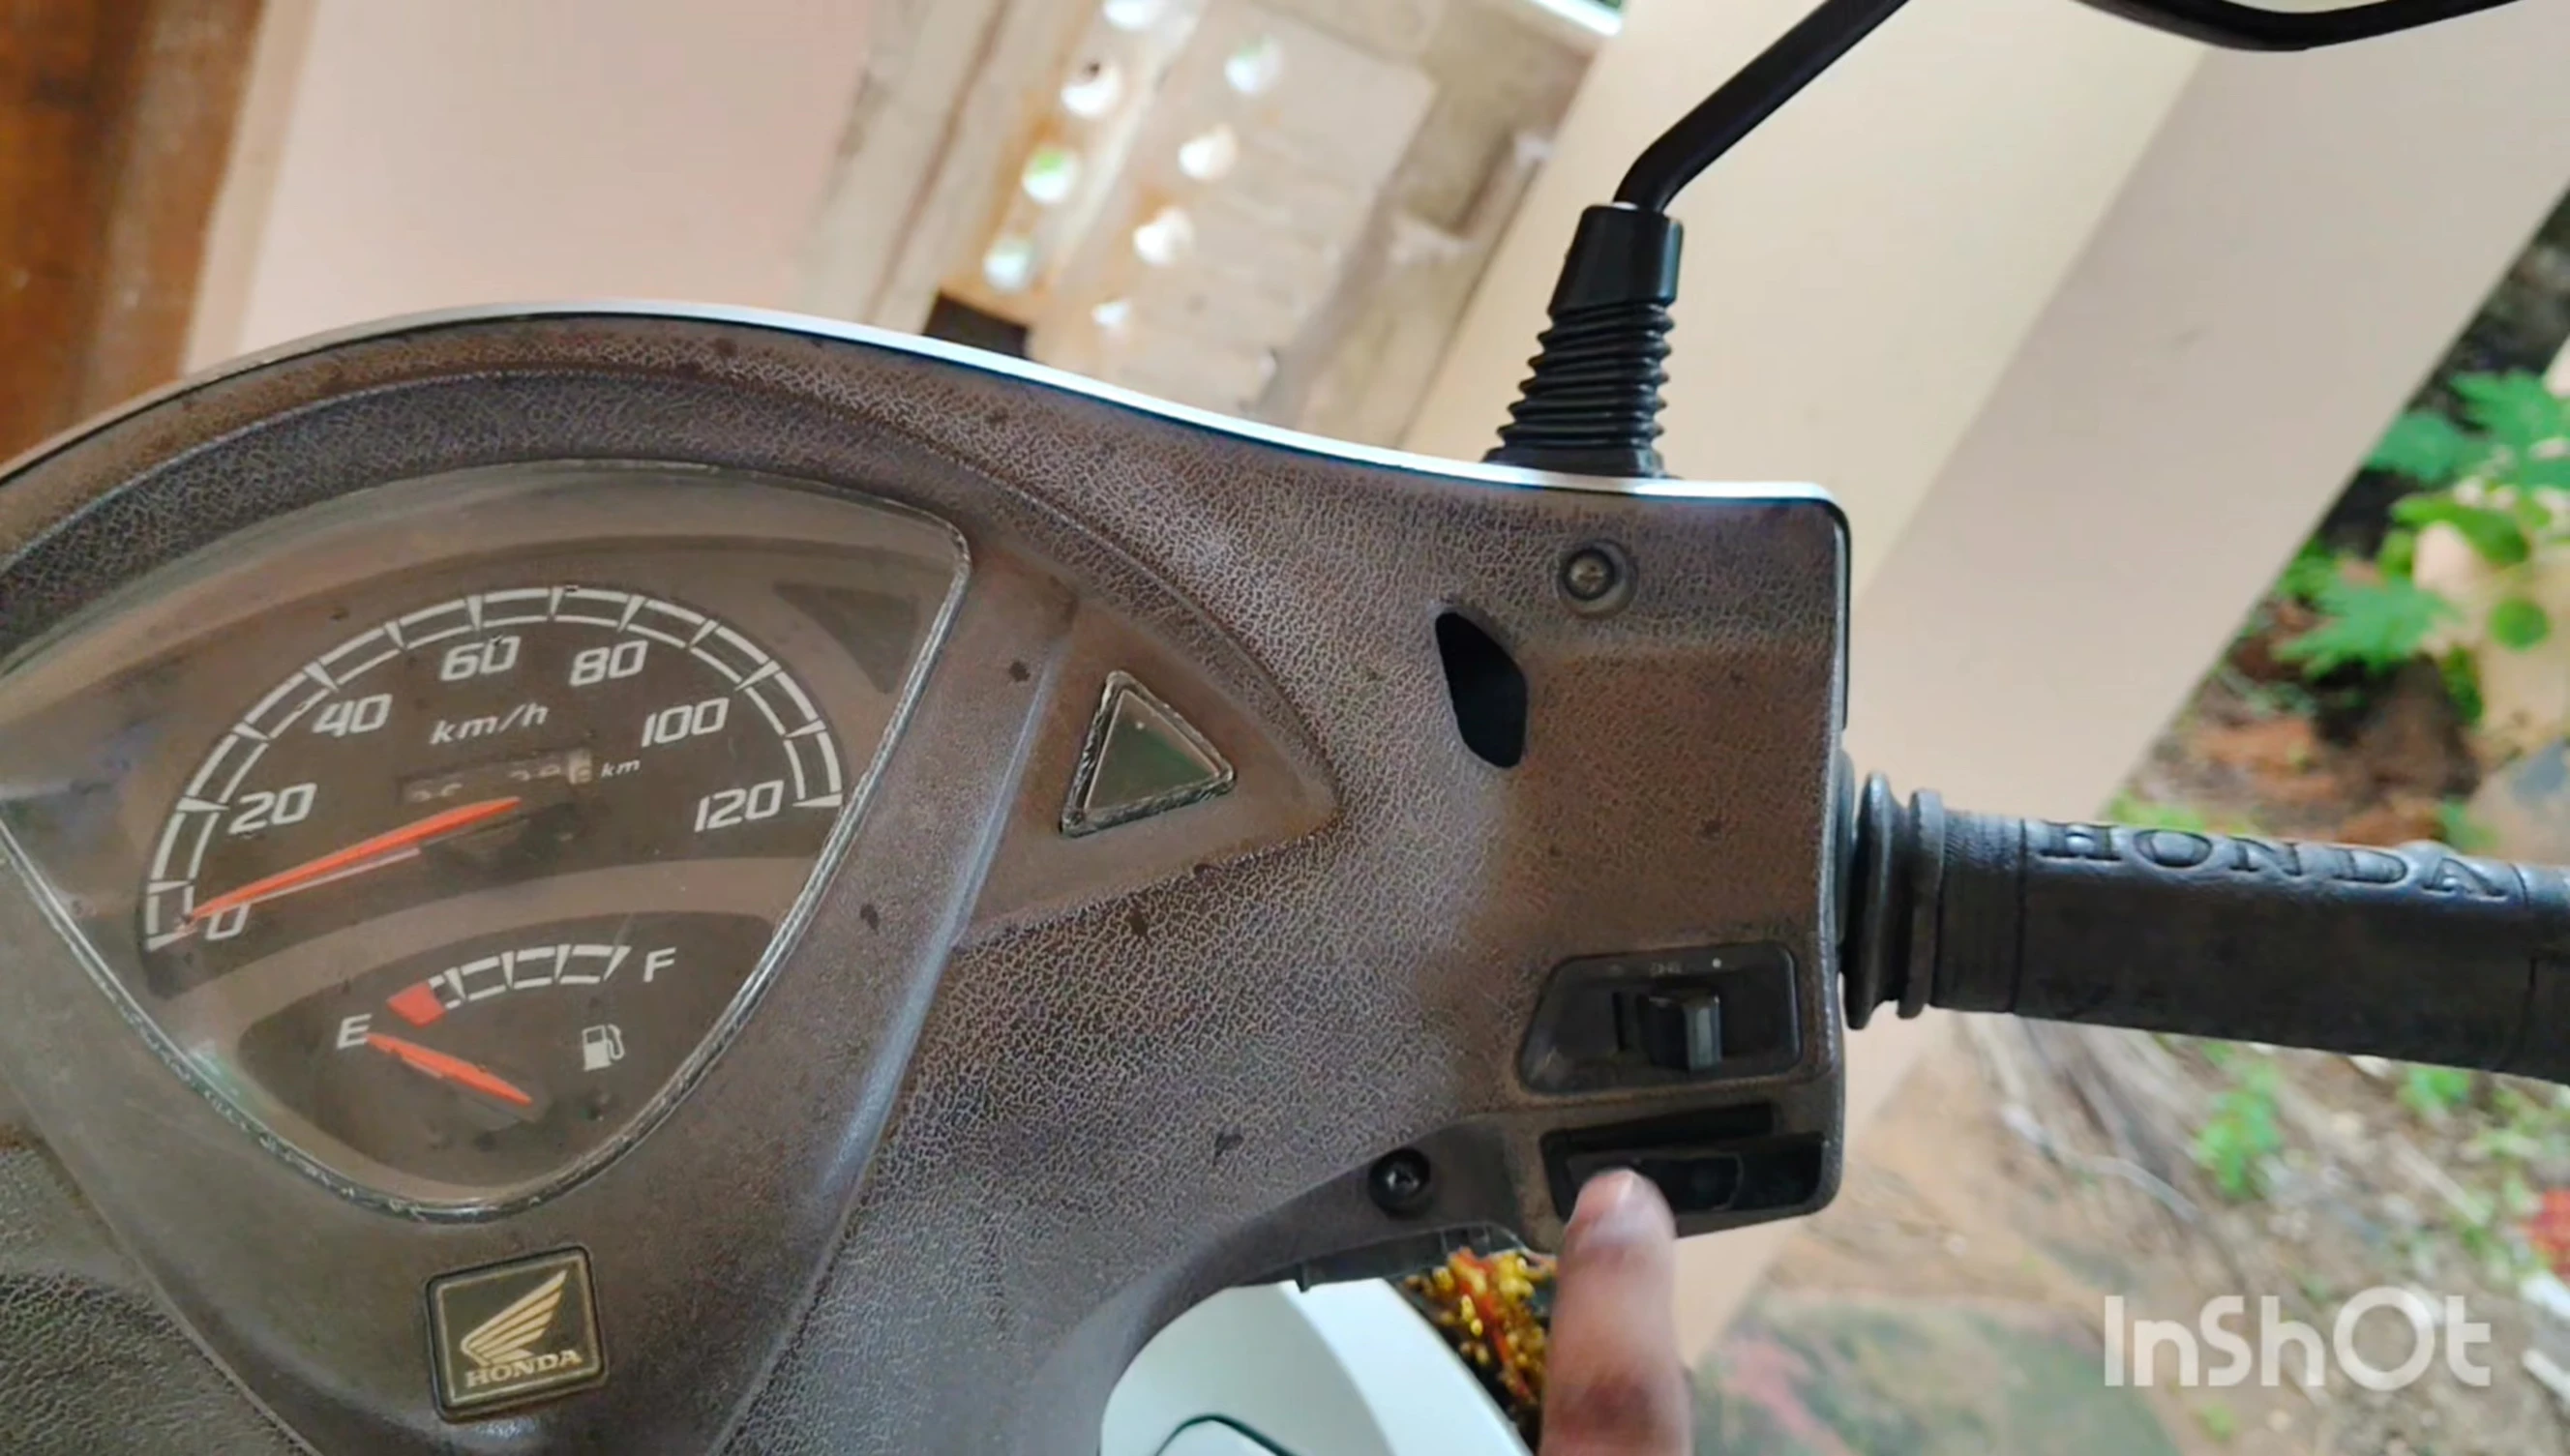
Disassembling the Existing Headlight
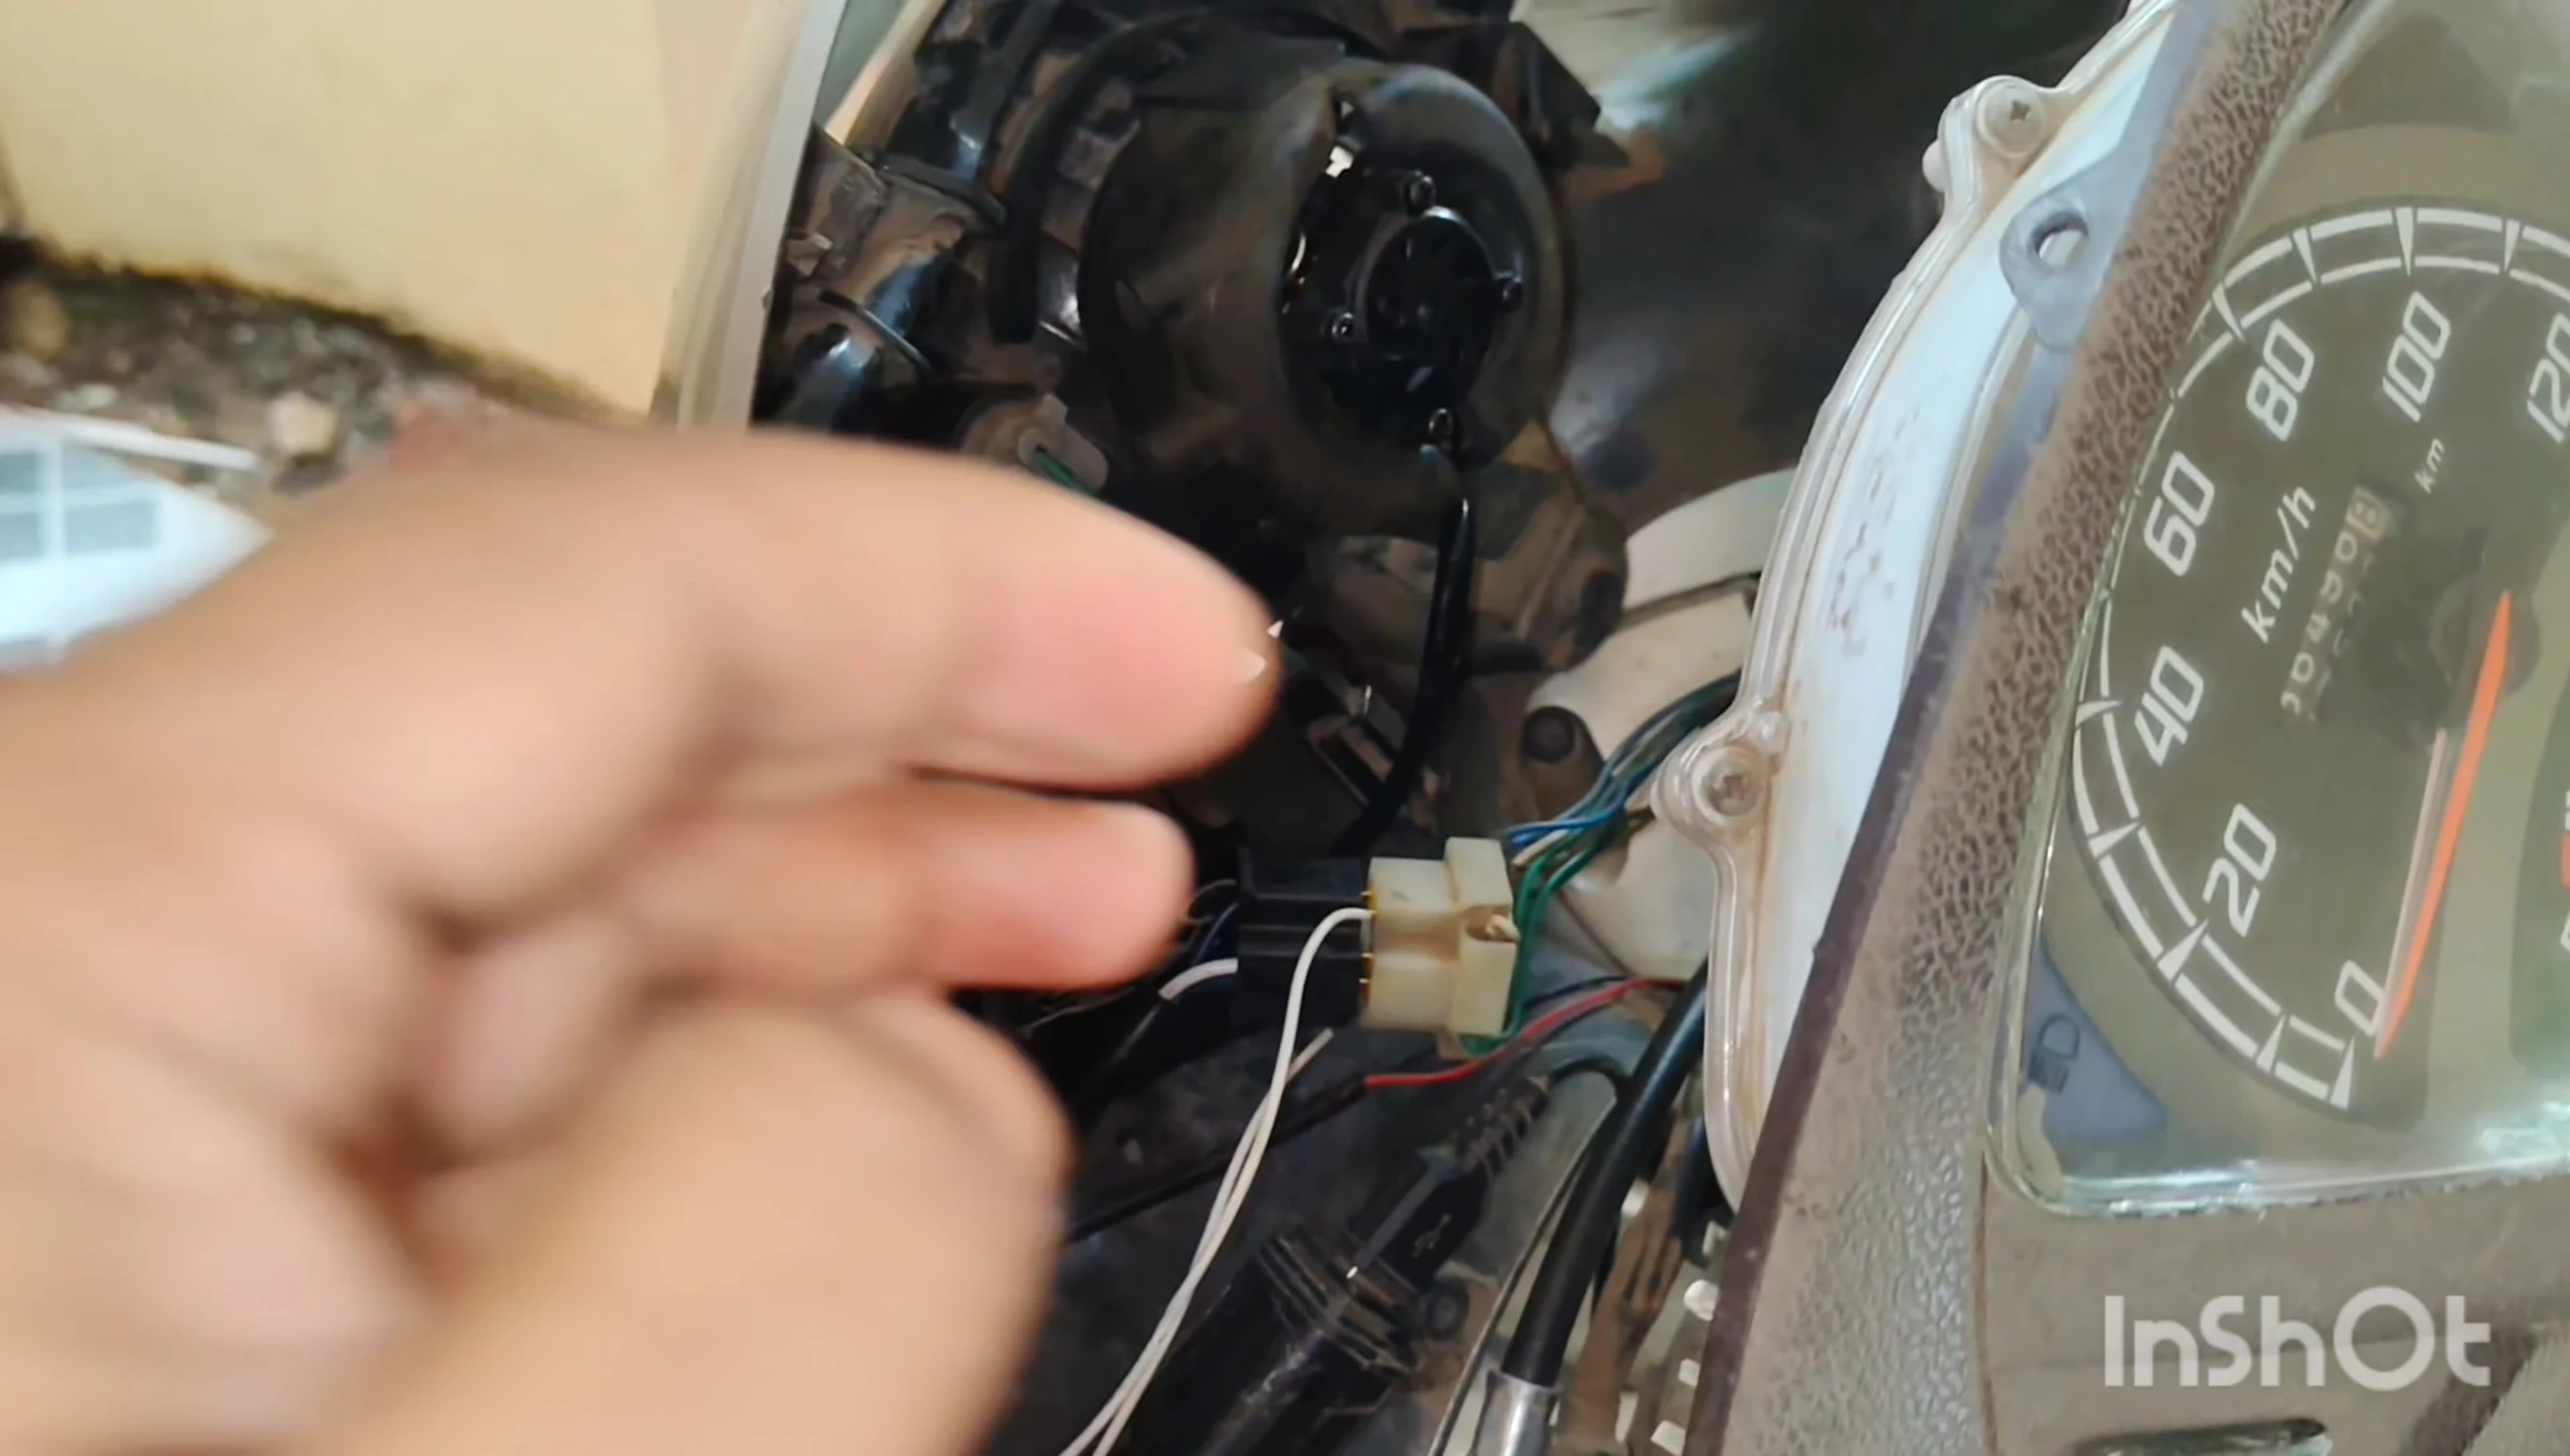
Before starting, ensure you have the necessary tools: a screwdriver and a prying tool. Carefully remove the two nuts securing the headlight assembly. This will allow you to access the internal components and prepare for the LED installation.
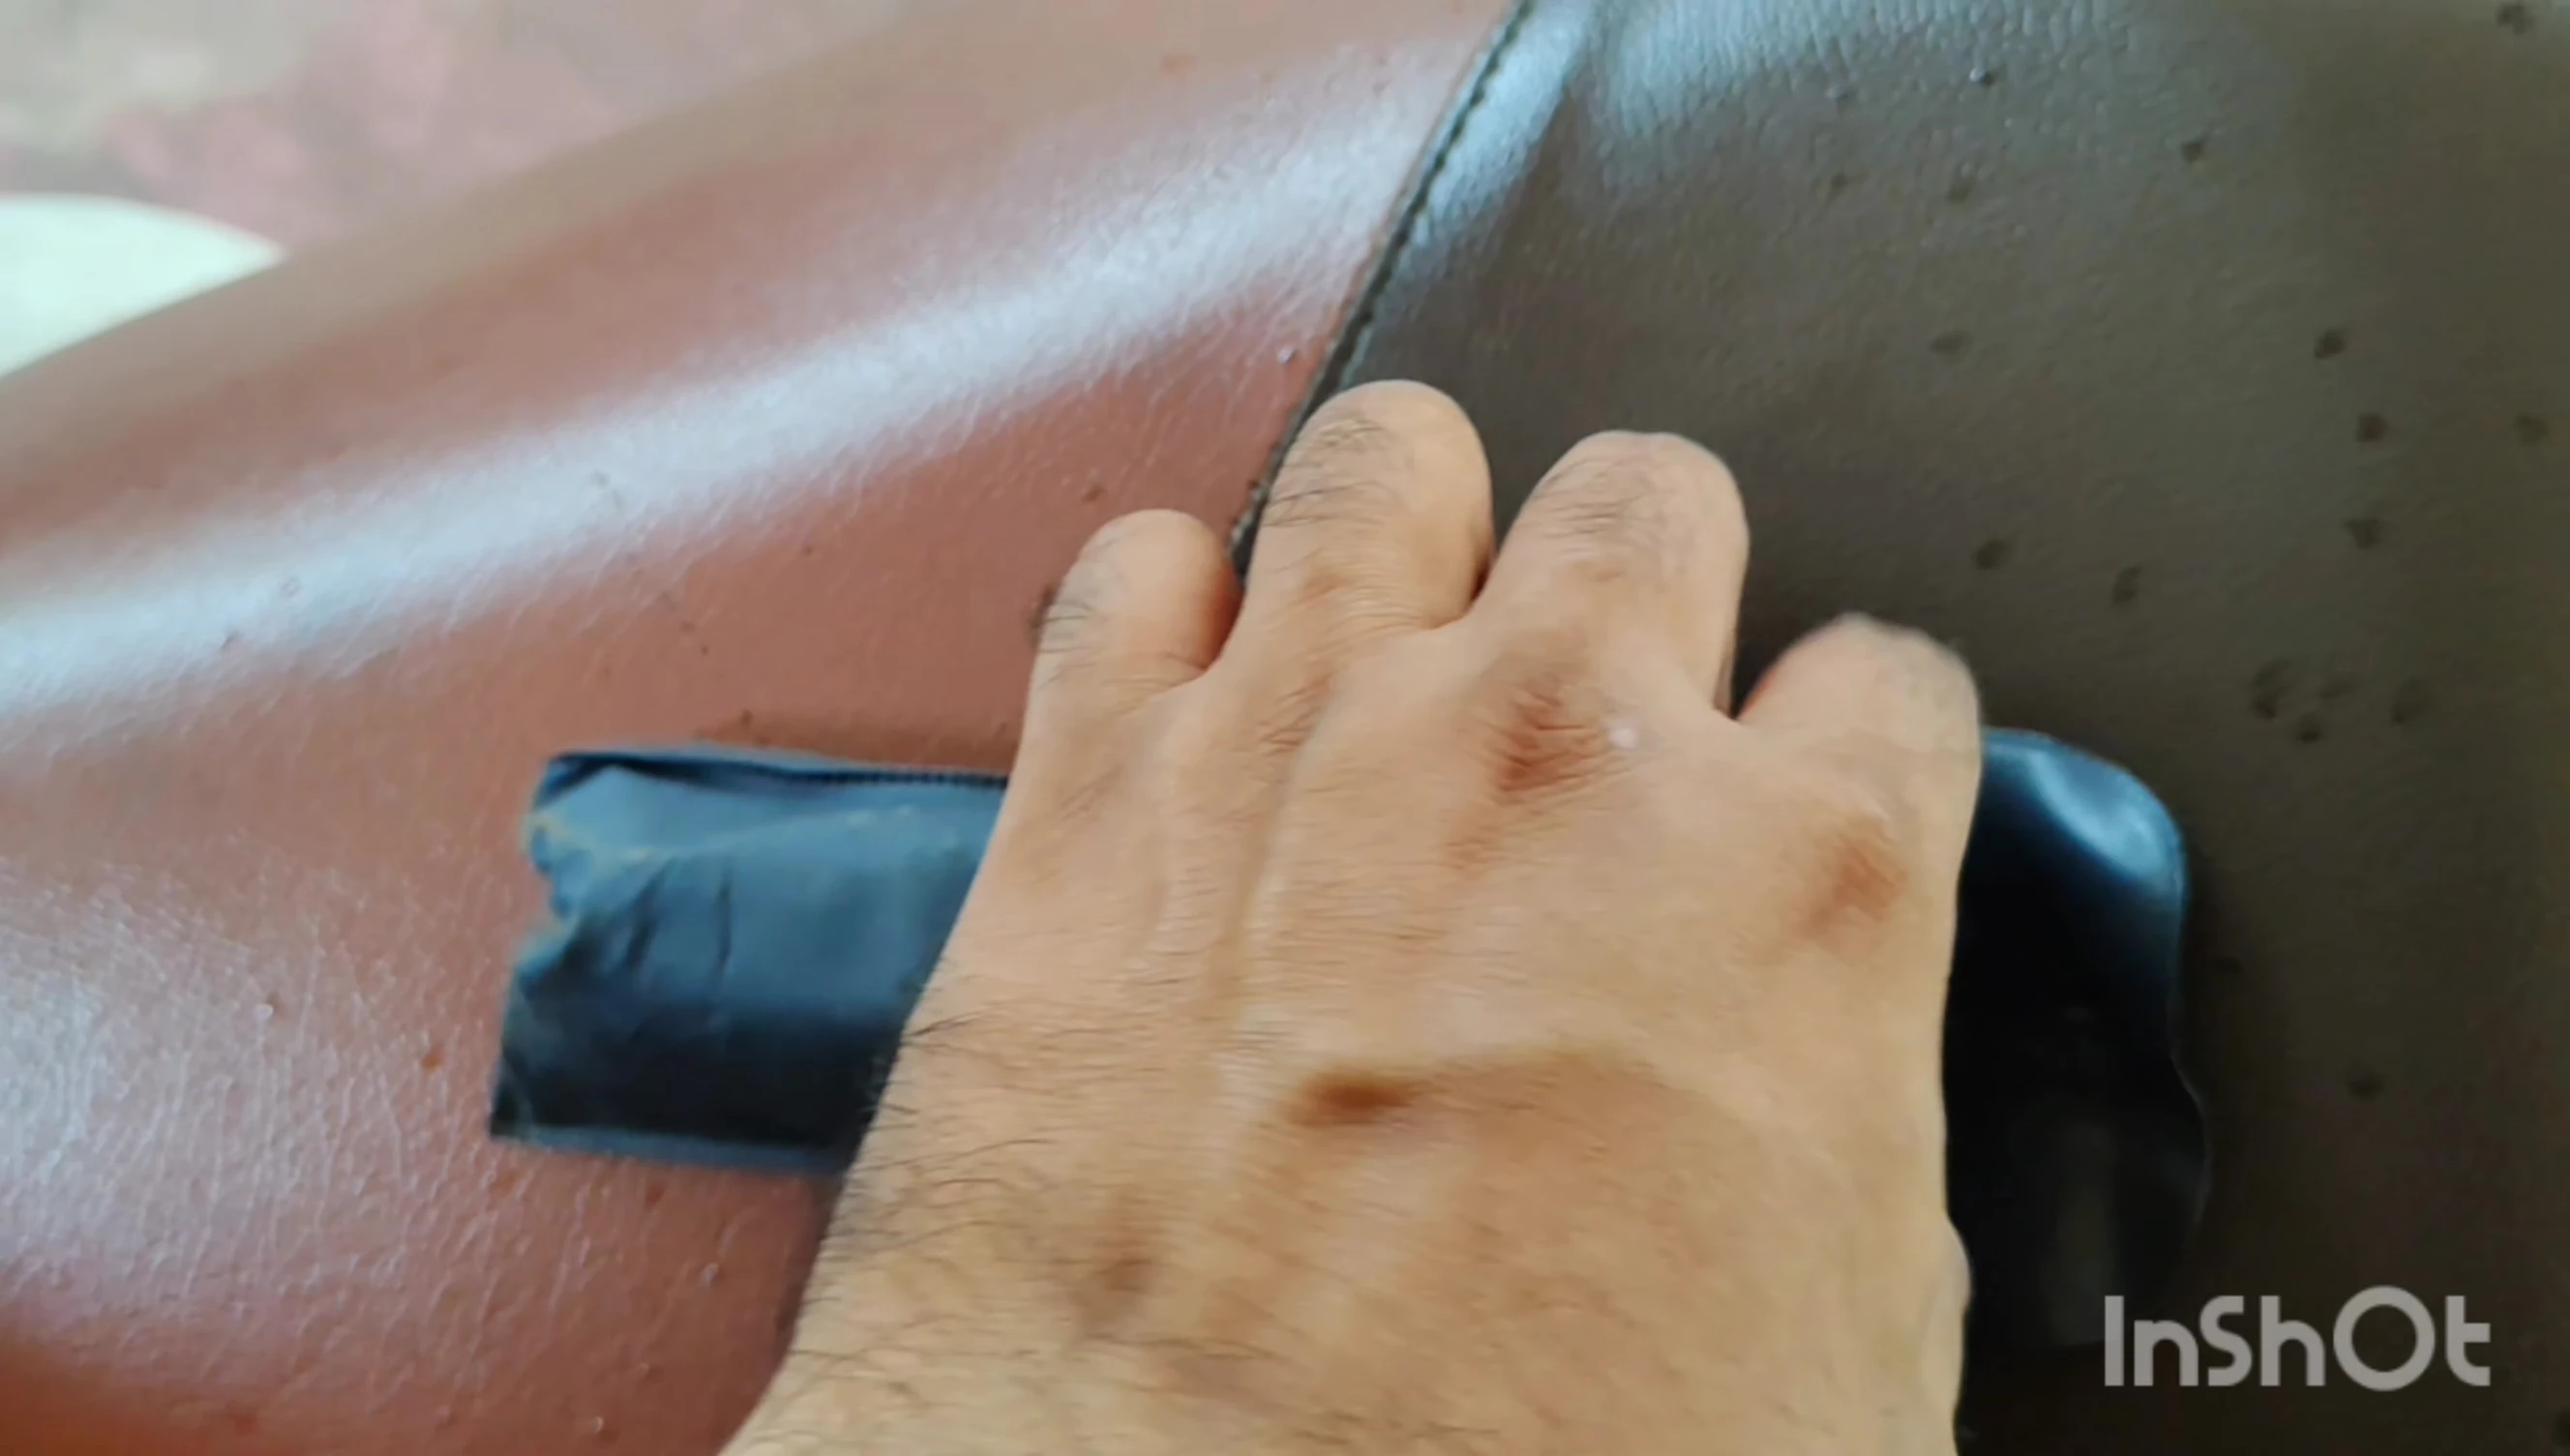
Once the nuts are removed, use the prying tool to gently separate the headlight housing. Be cautious not to damage any of the plastic components during this process.
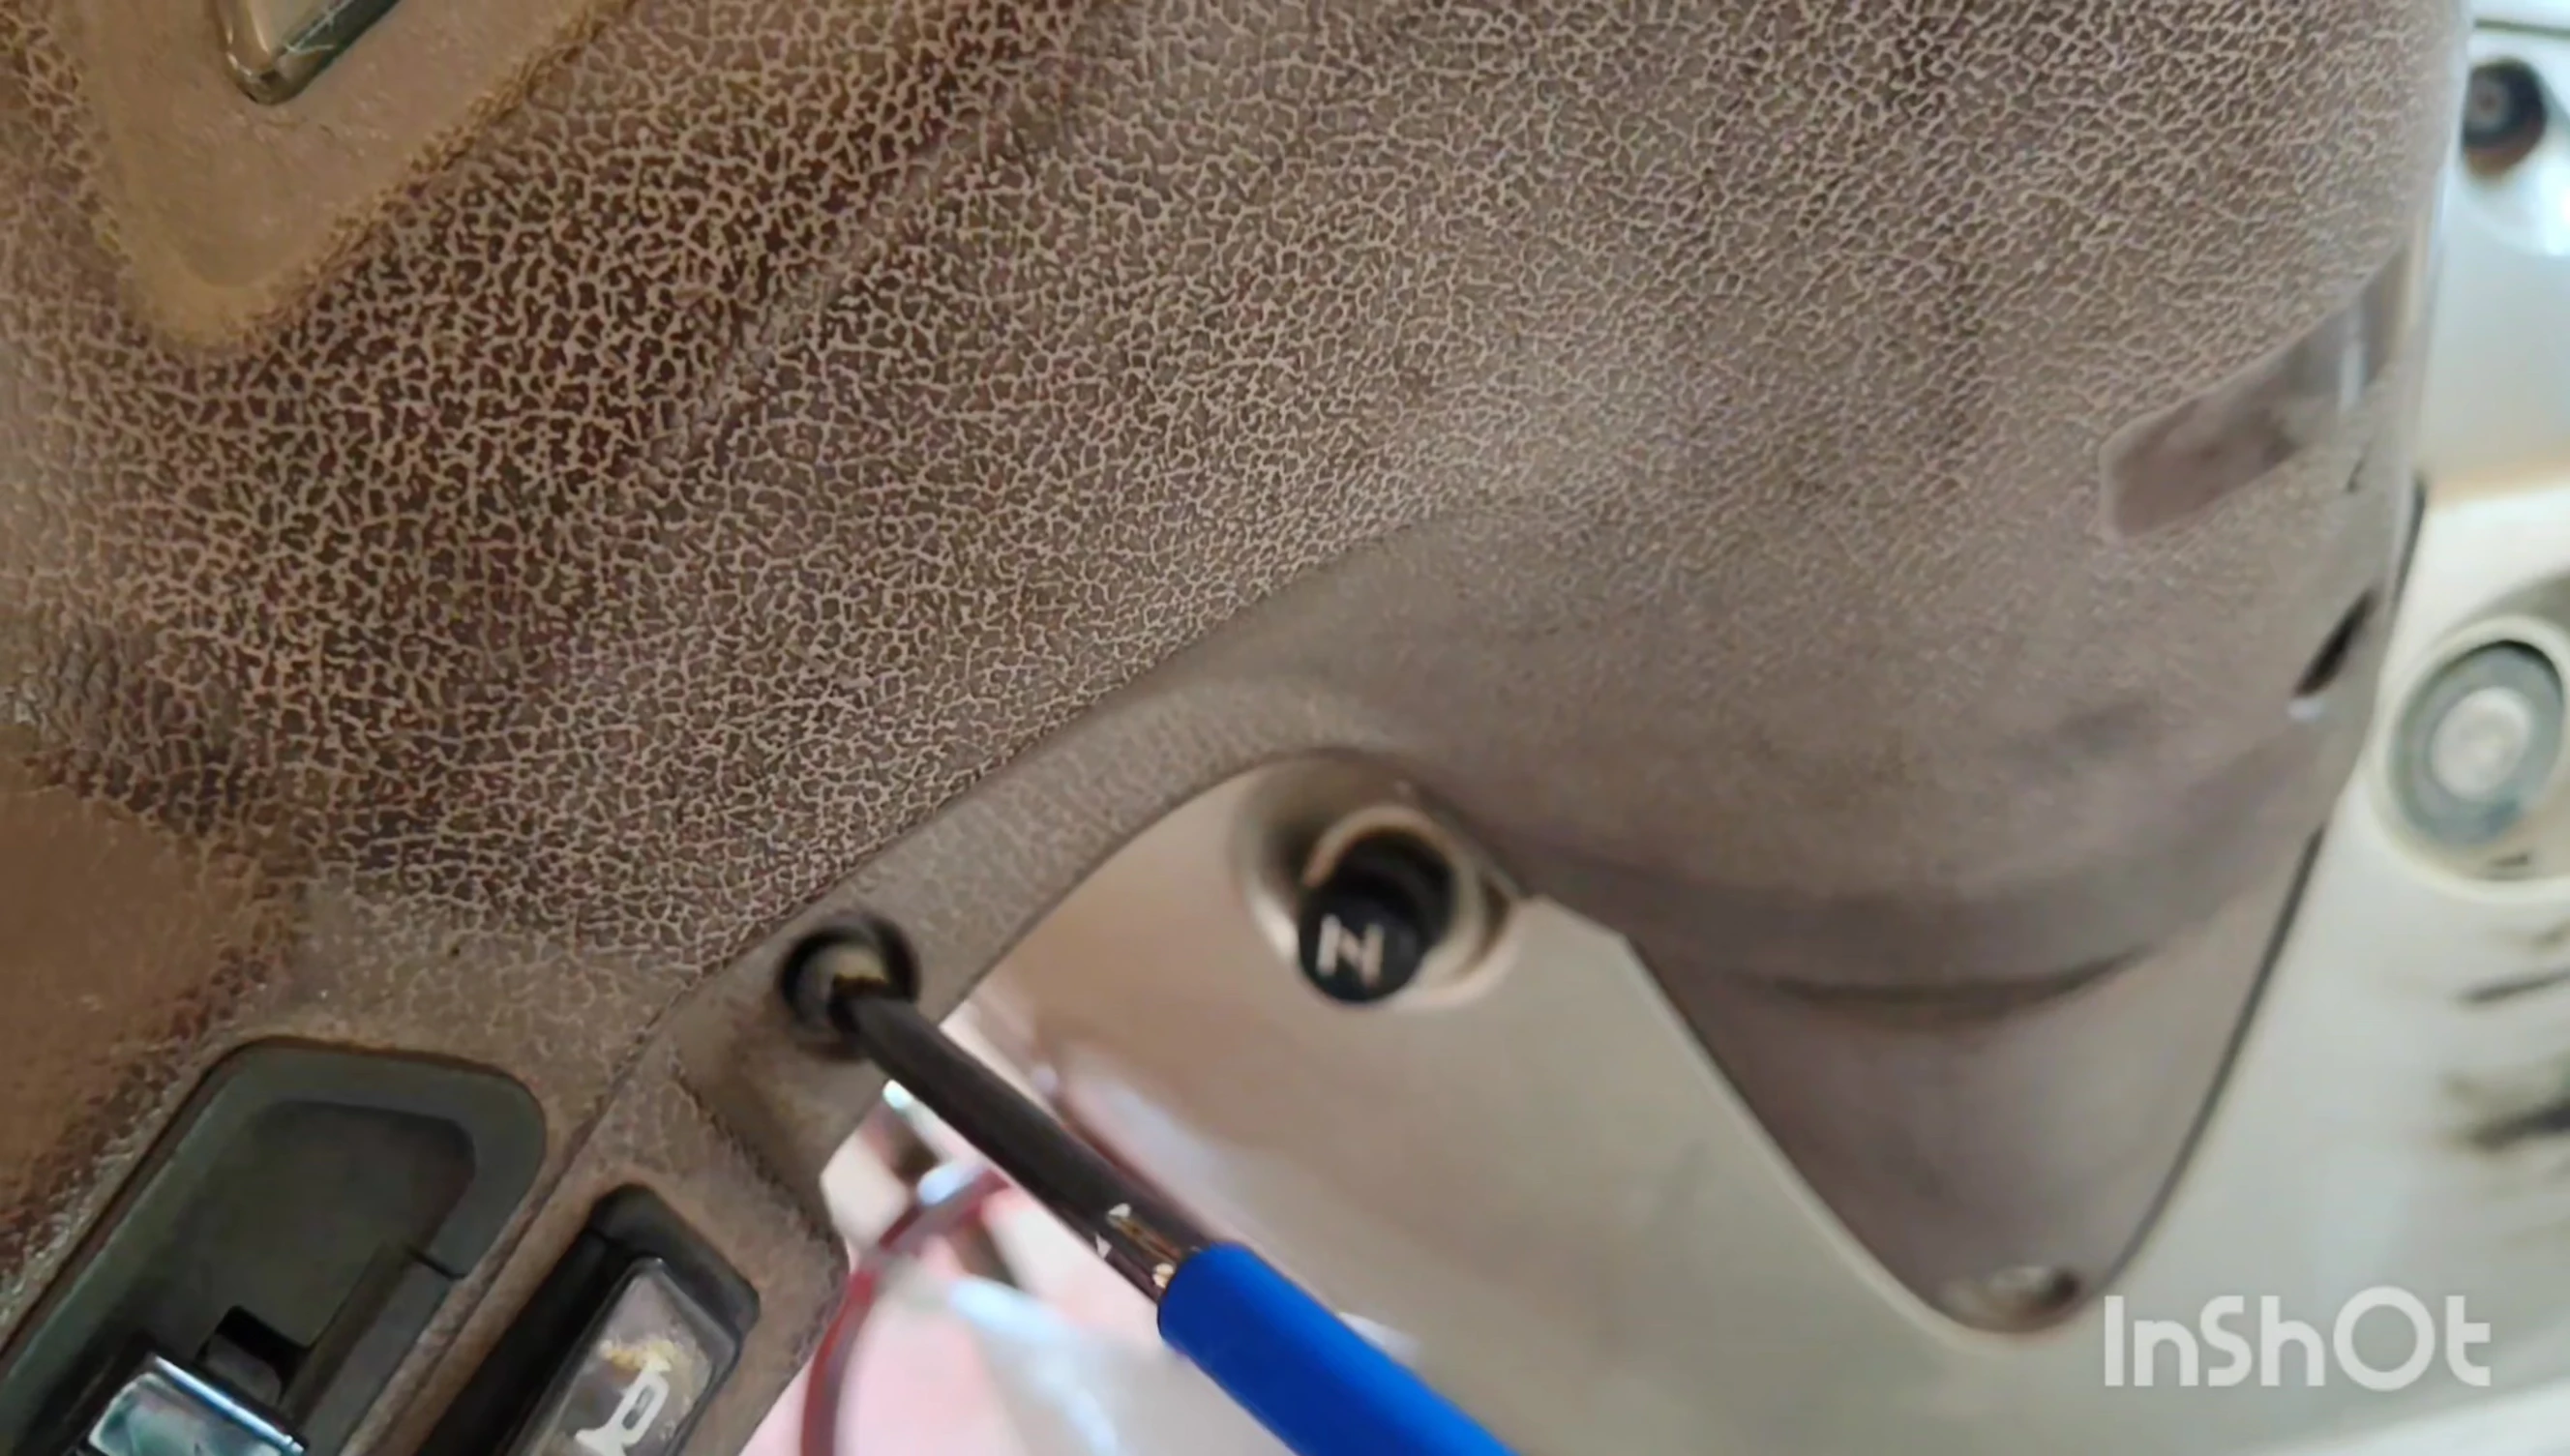
After you successfully separate the headlight housing, you will need to access the old LED unit. This often requires removing additional screws or fasteners. Proceed carefully and take pictures for reference during reassembly.
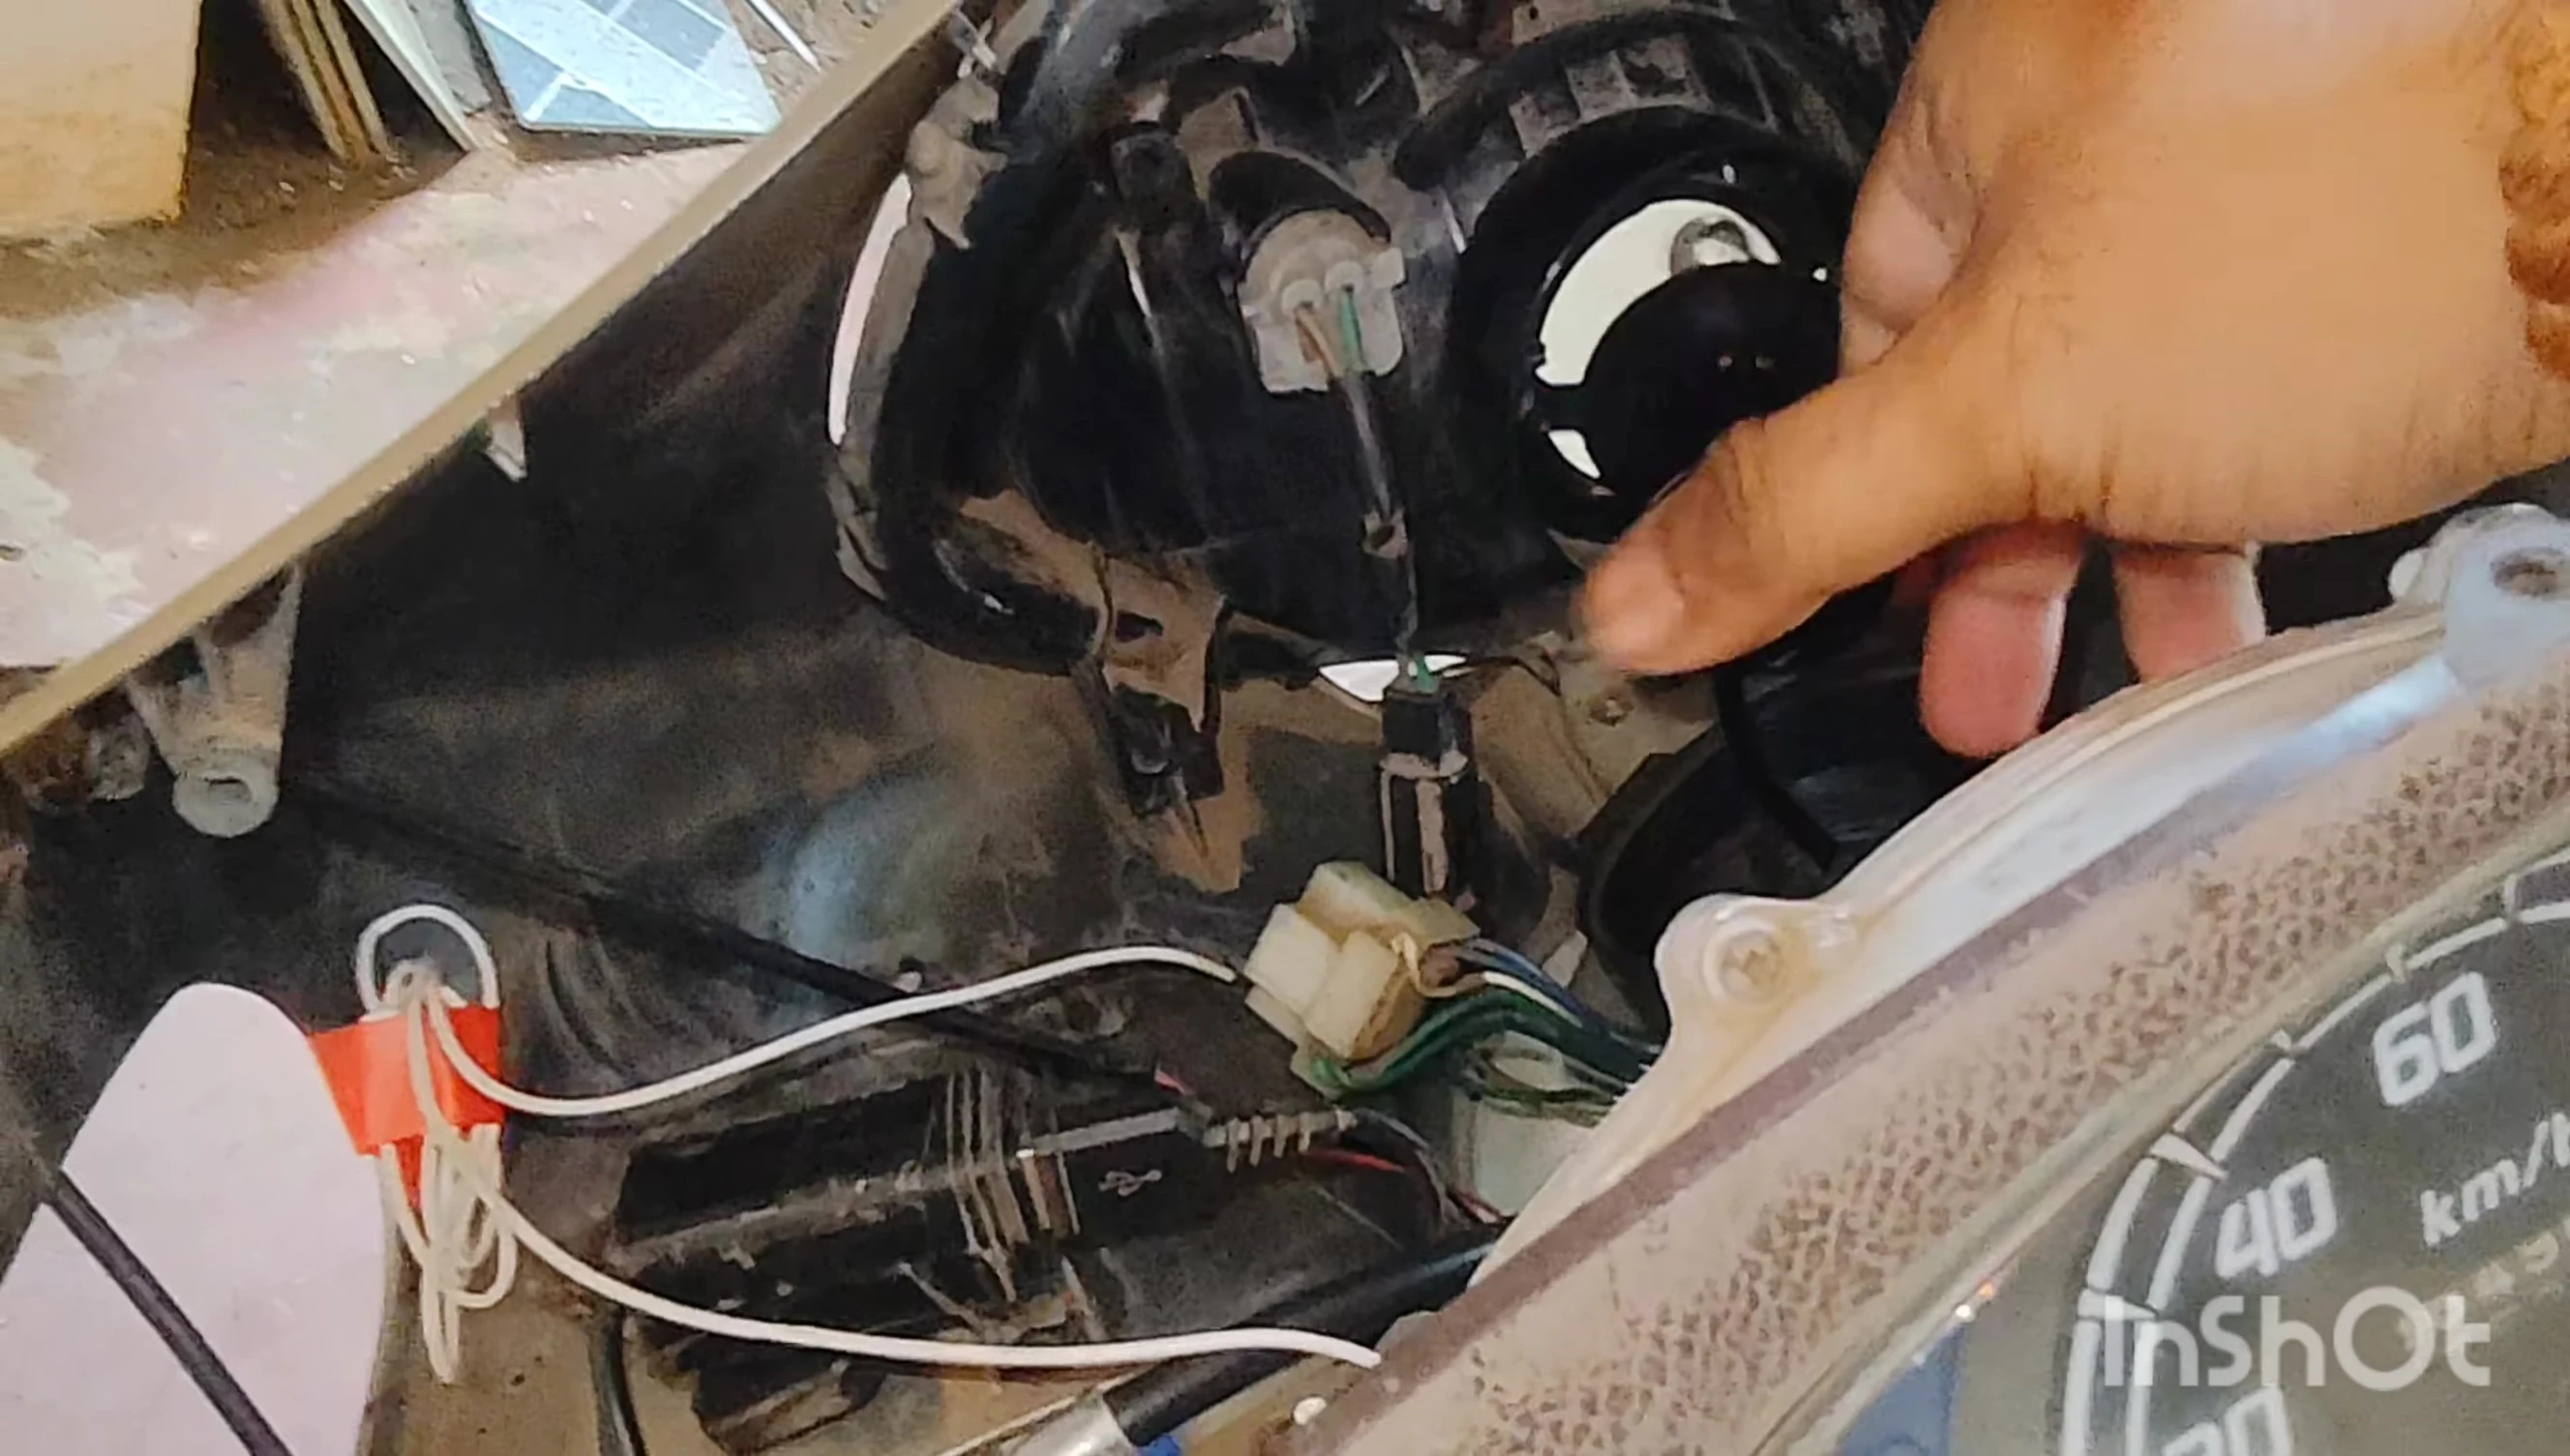
Removing the Old LED Unit
Carefully disconnect the wiring harness from the old LED unit. Take note of the connector type and position for easy reconnection later. This step is crucial to avoid any electrical issues during the installation of the new unit.
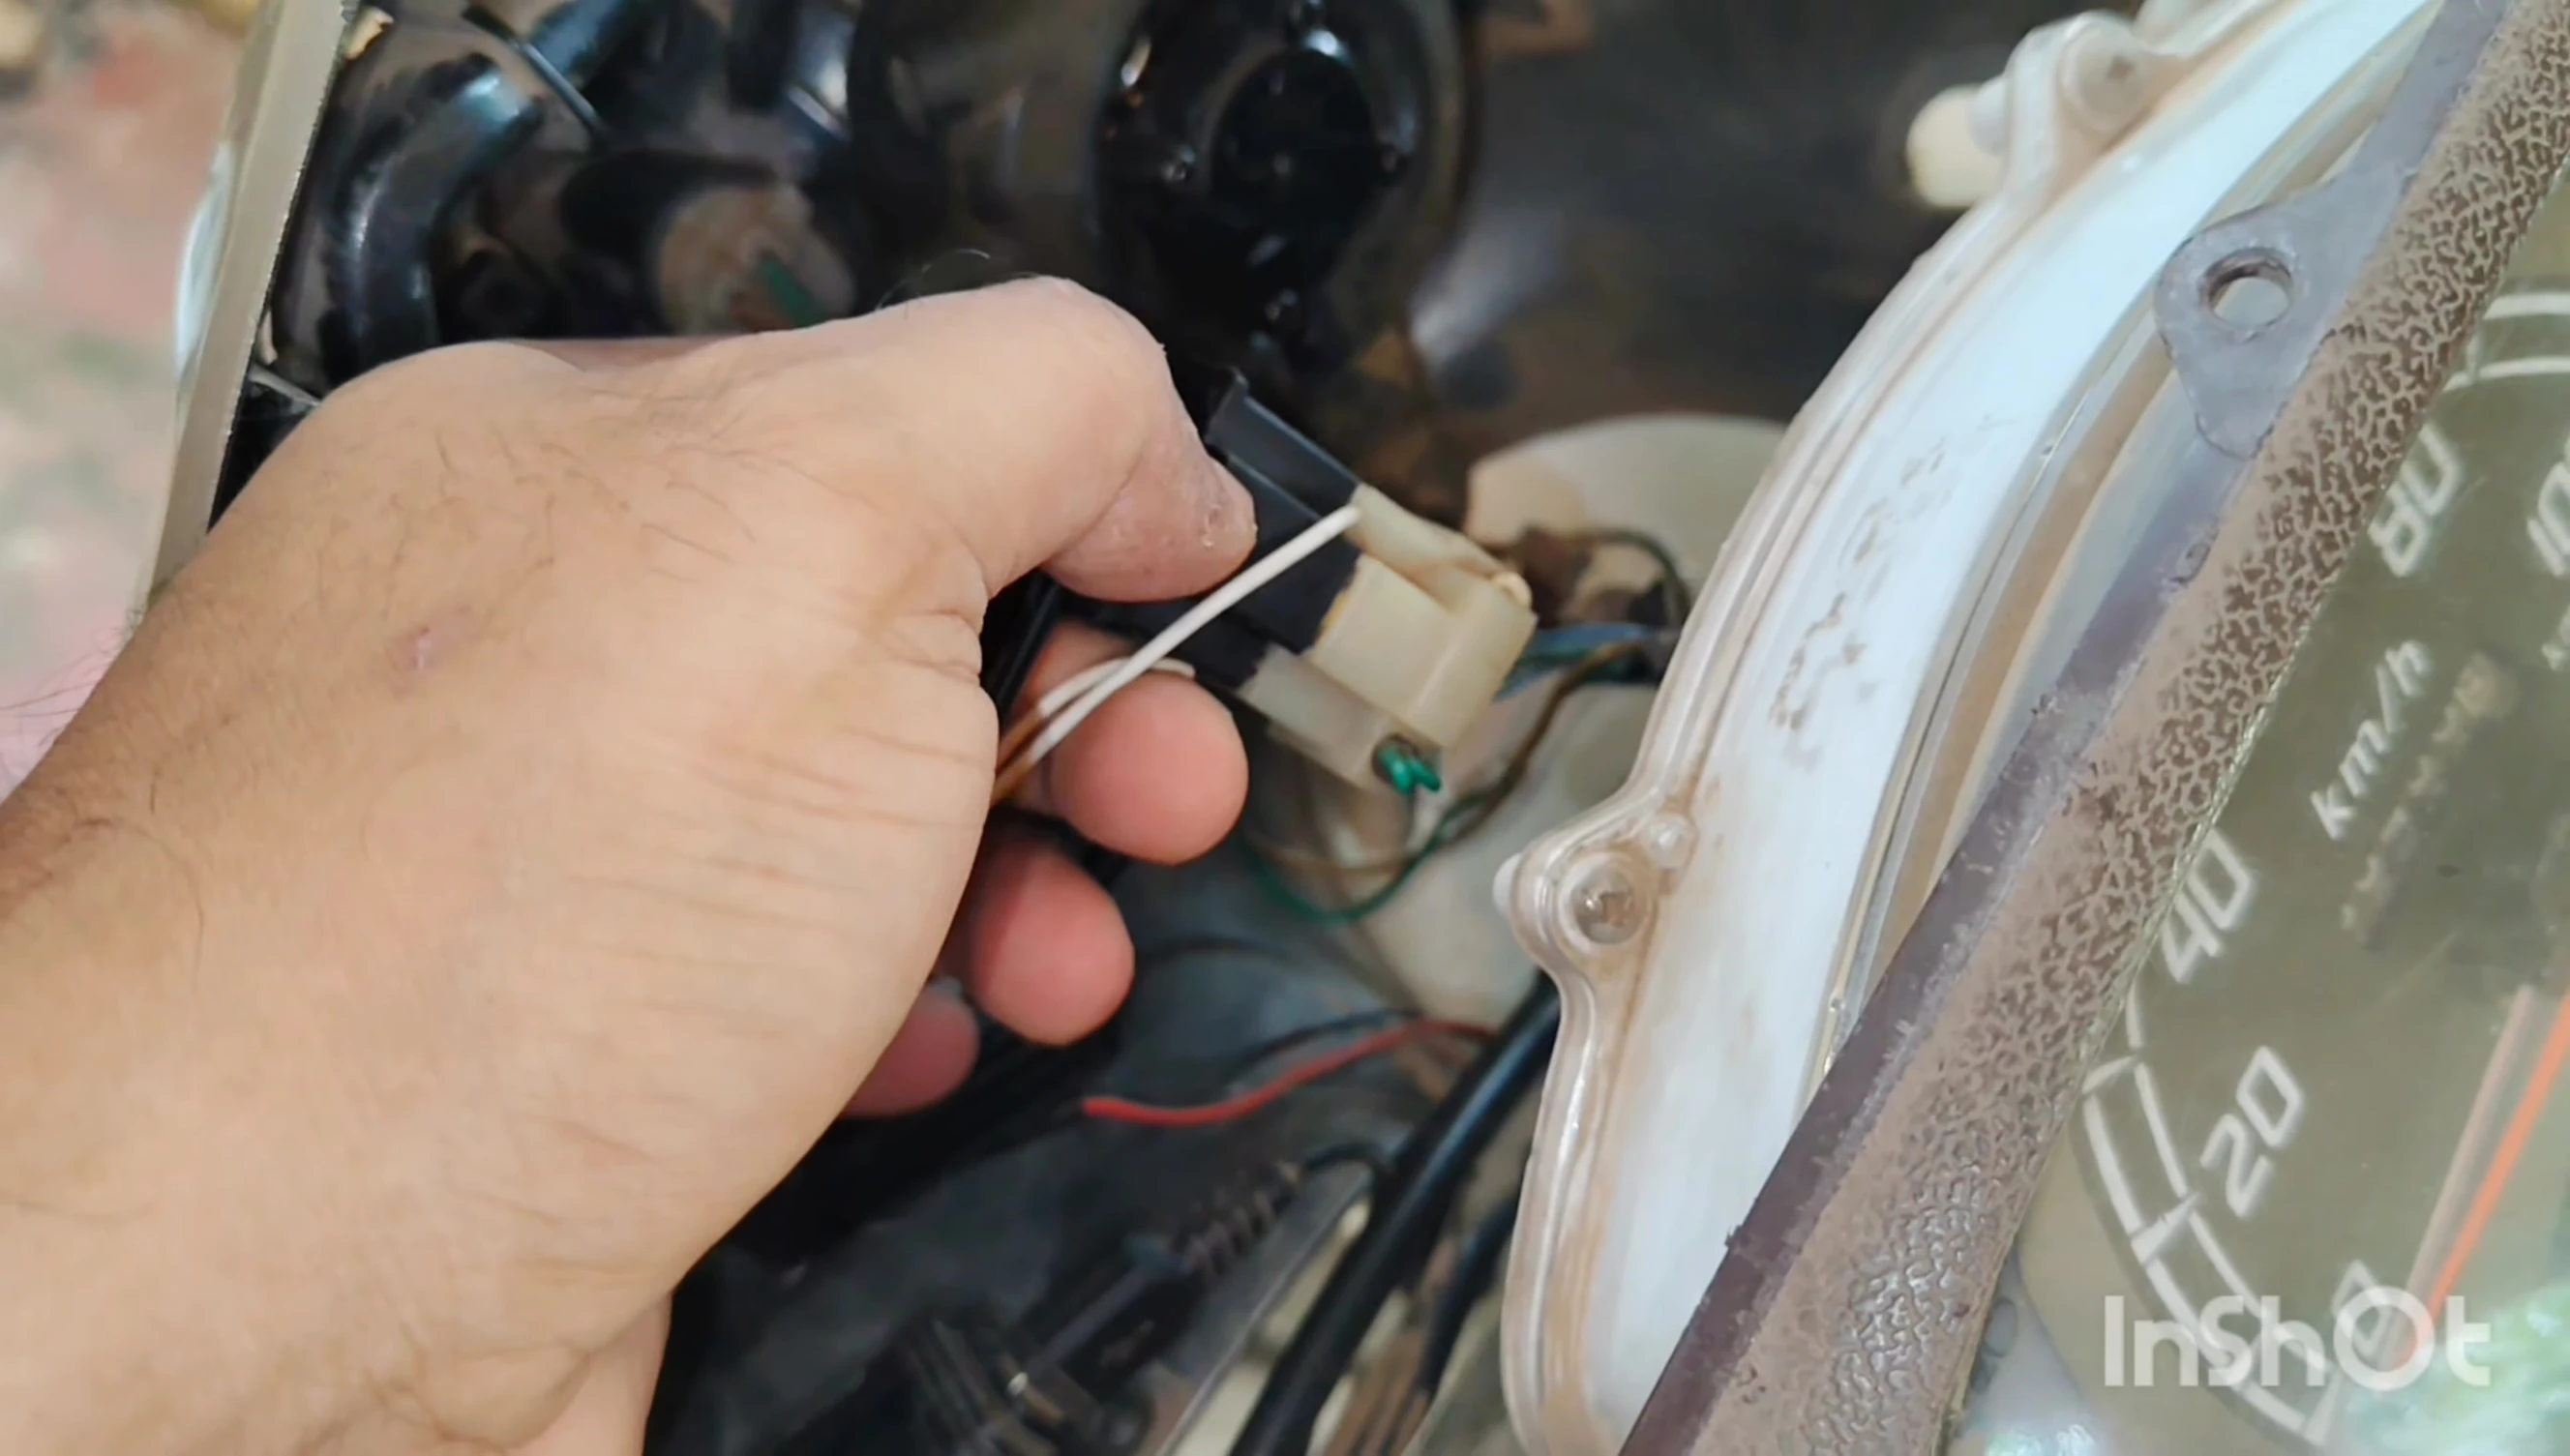
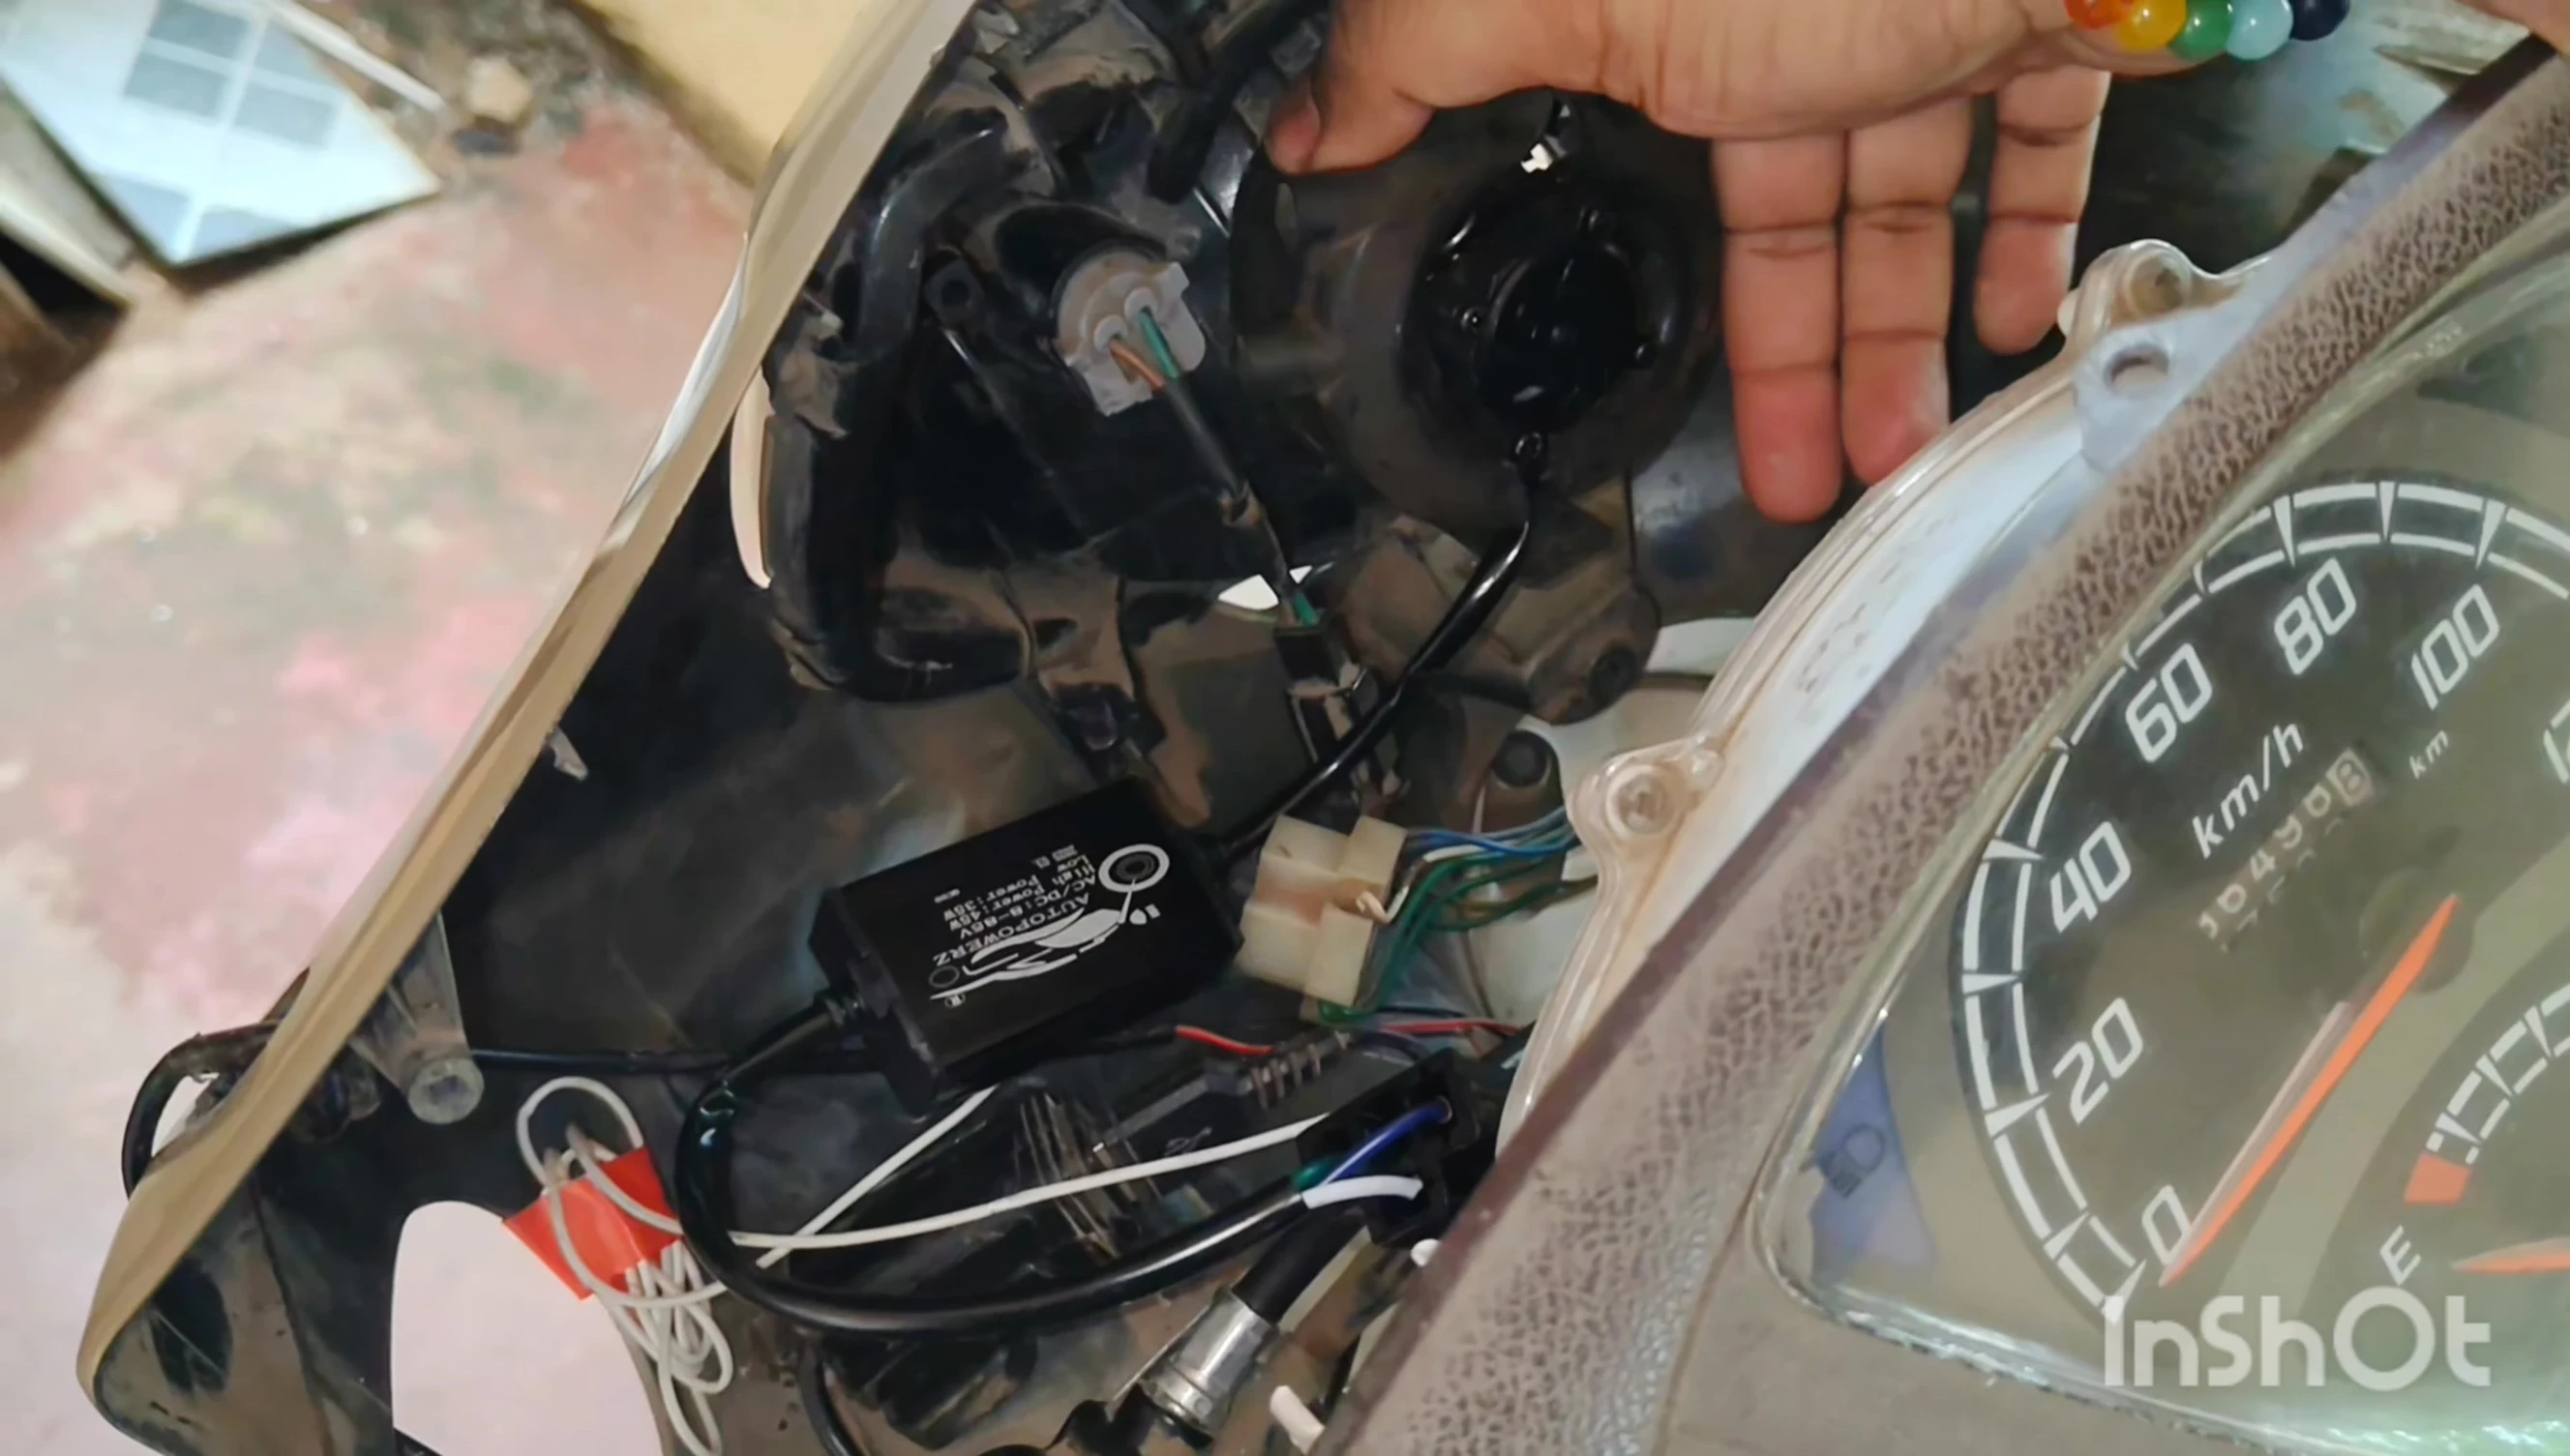
Once the wiring is disconnected, the old LED unit should be removable. There may be additional fasteners holding it in place; remove these carefully using the appropriate tools.
Before discarding the old LED unit, take some photos of its placement and how it connects to the housing. This will assist with the installation of the new LED unit.
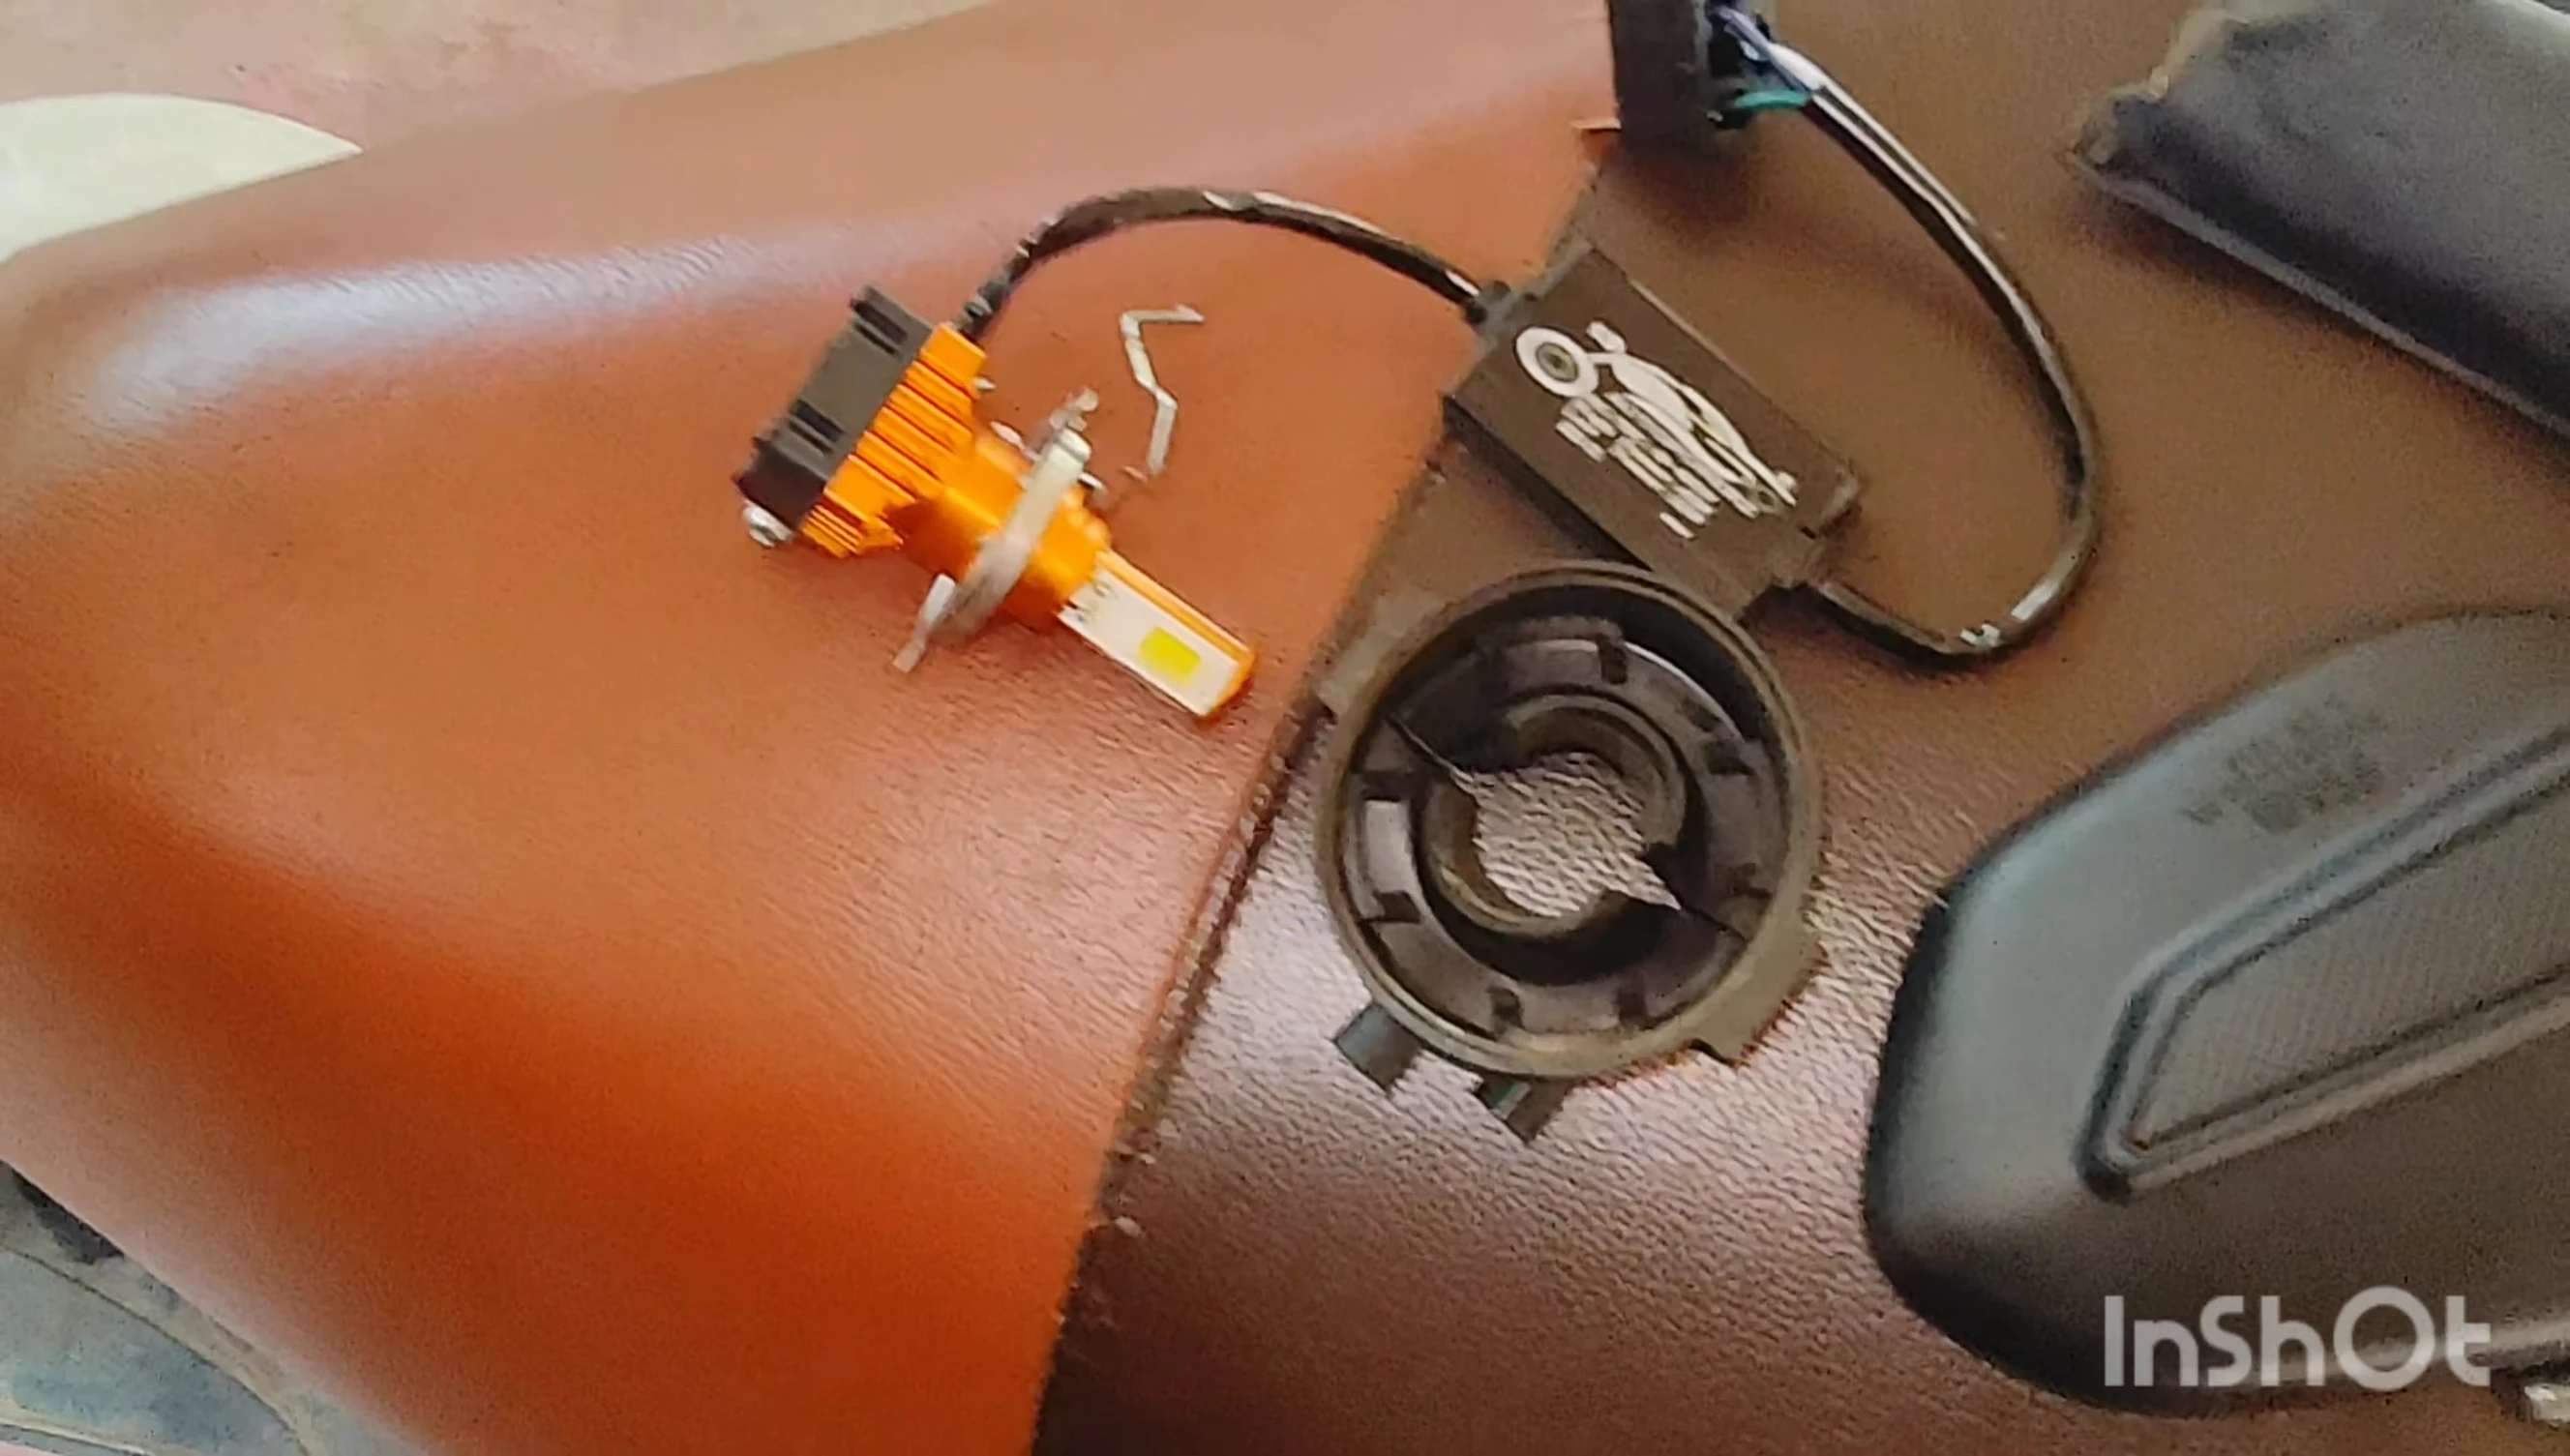
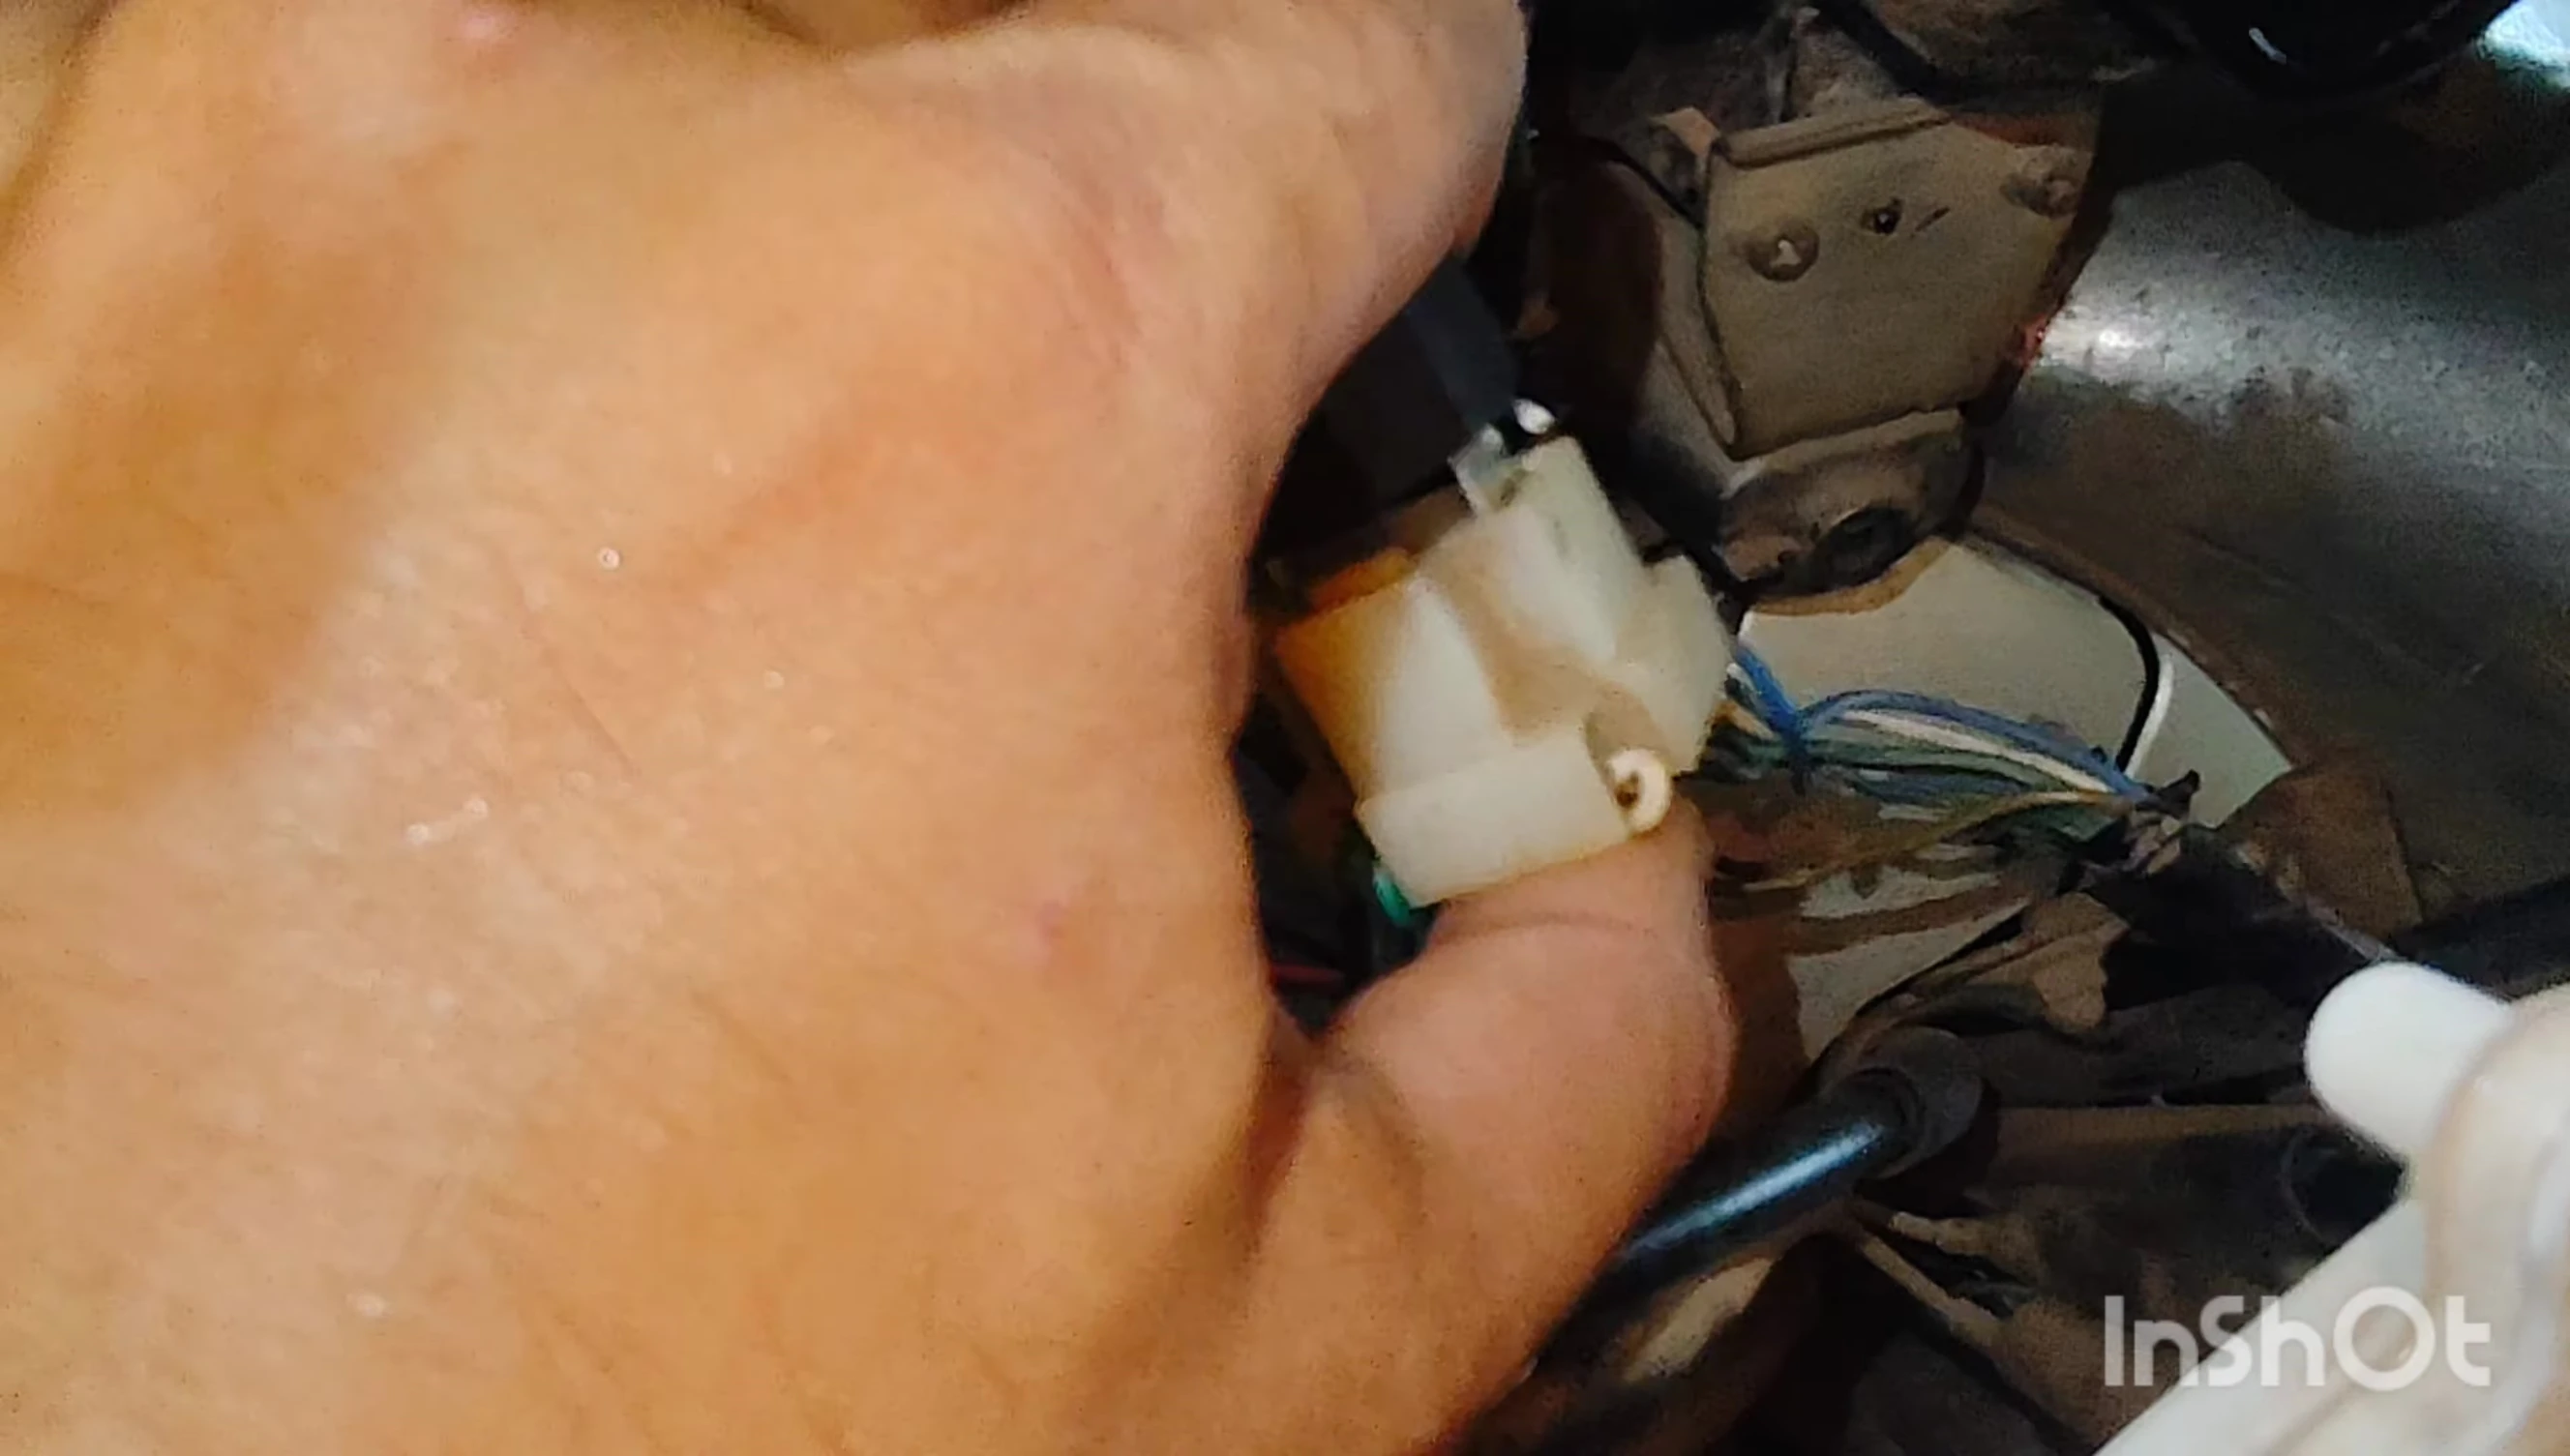
Installing the New LED Unit
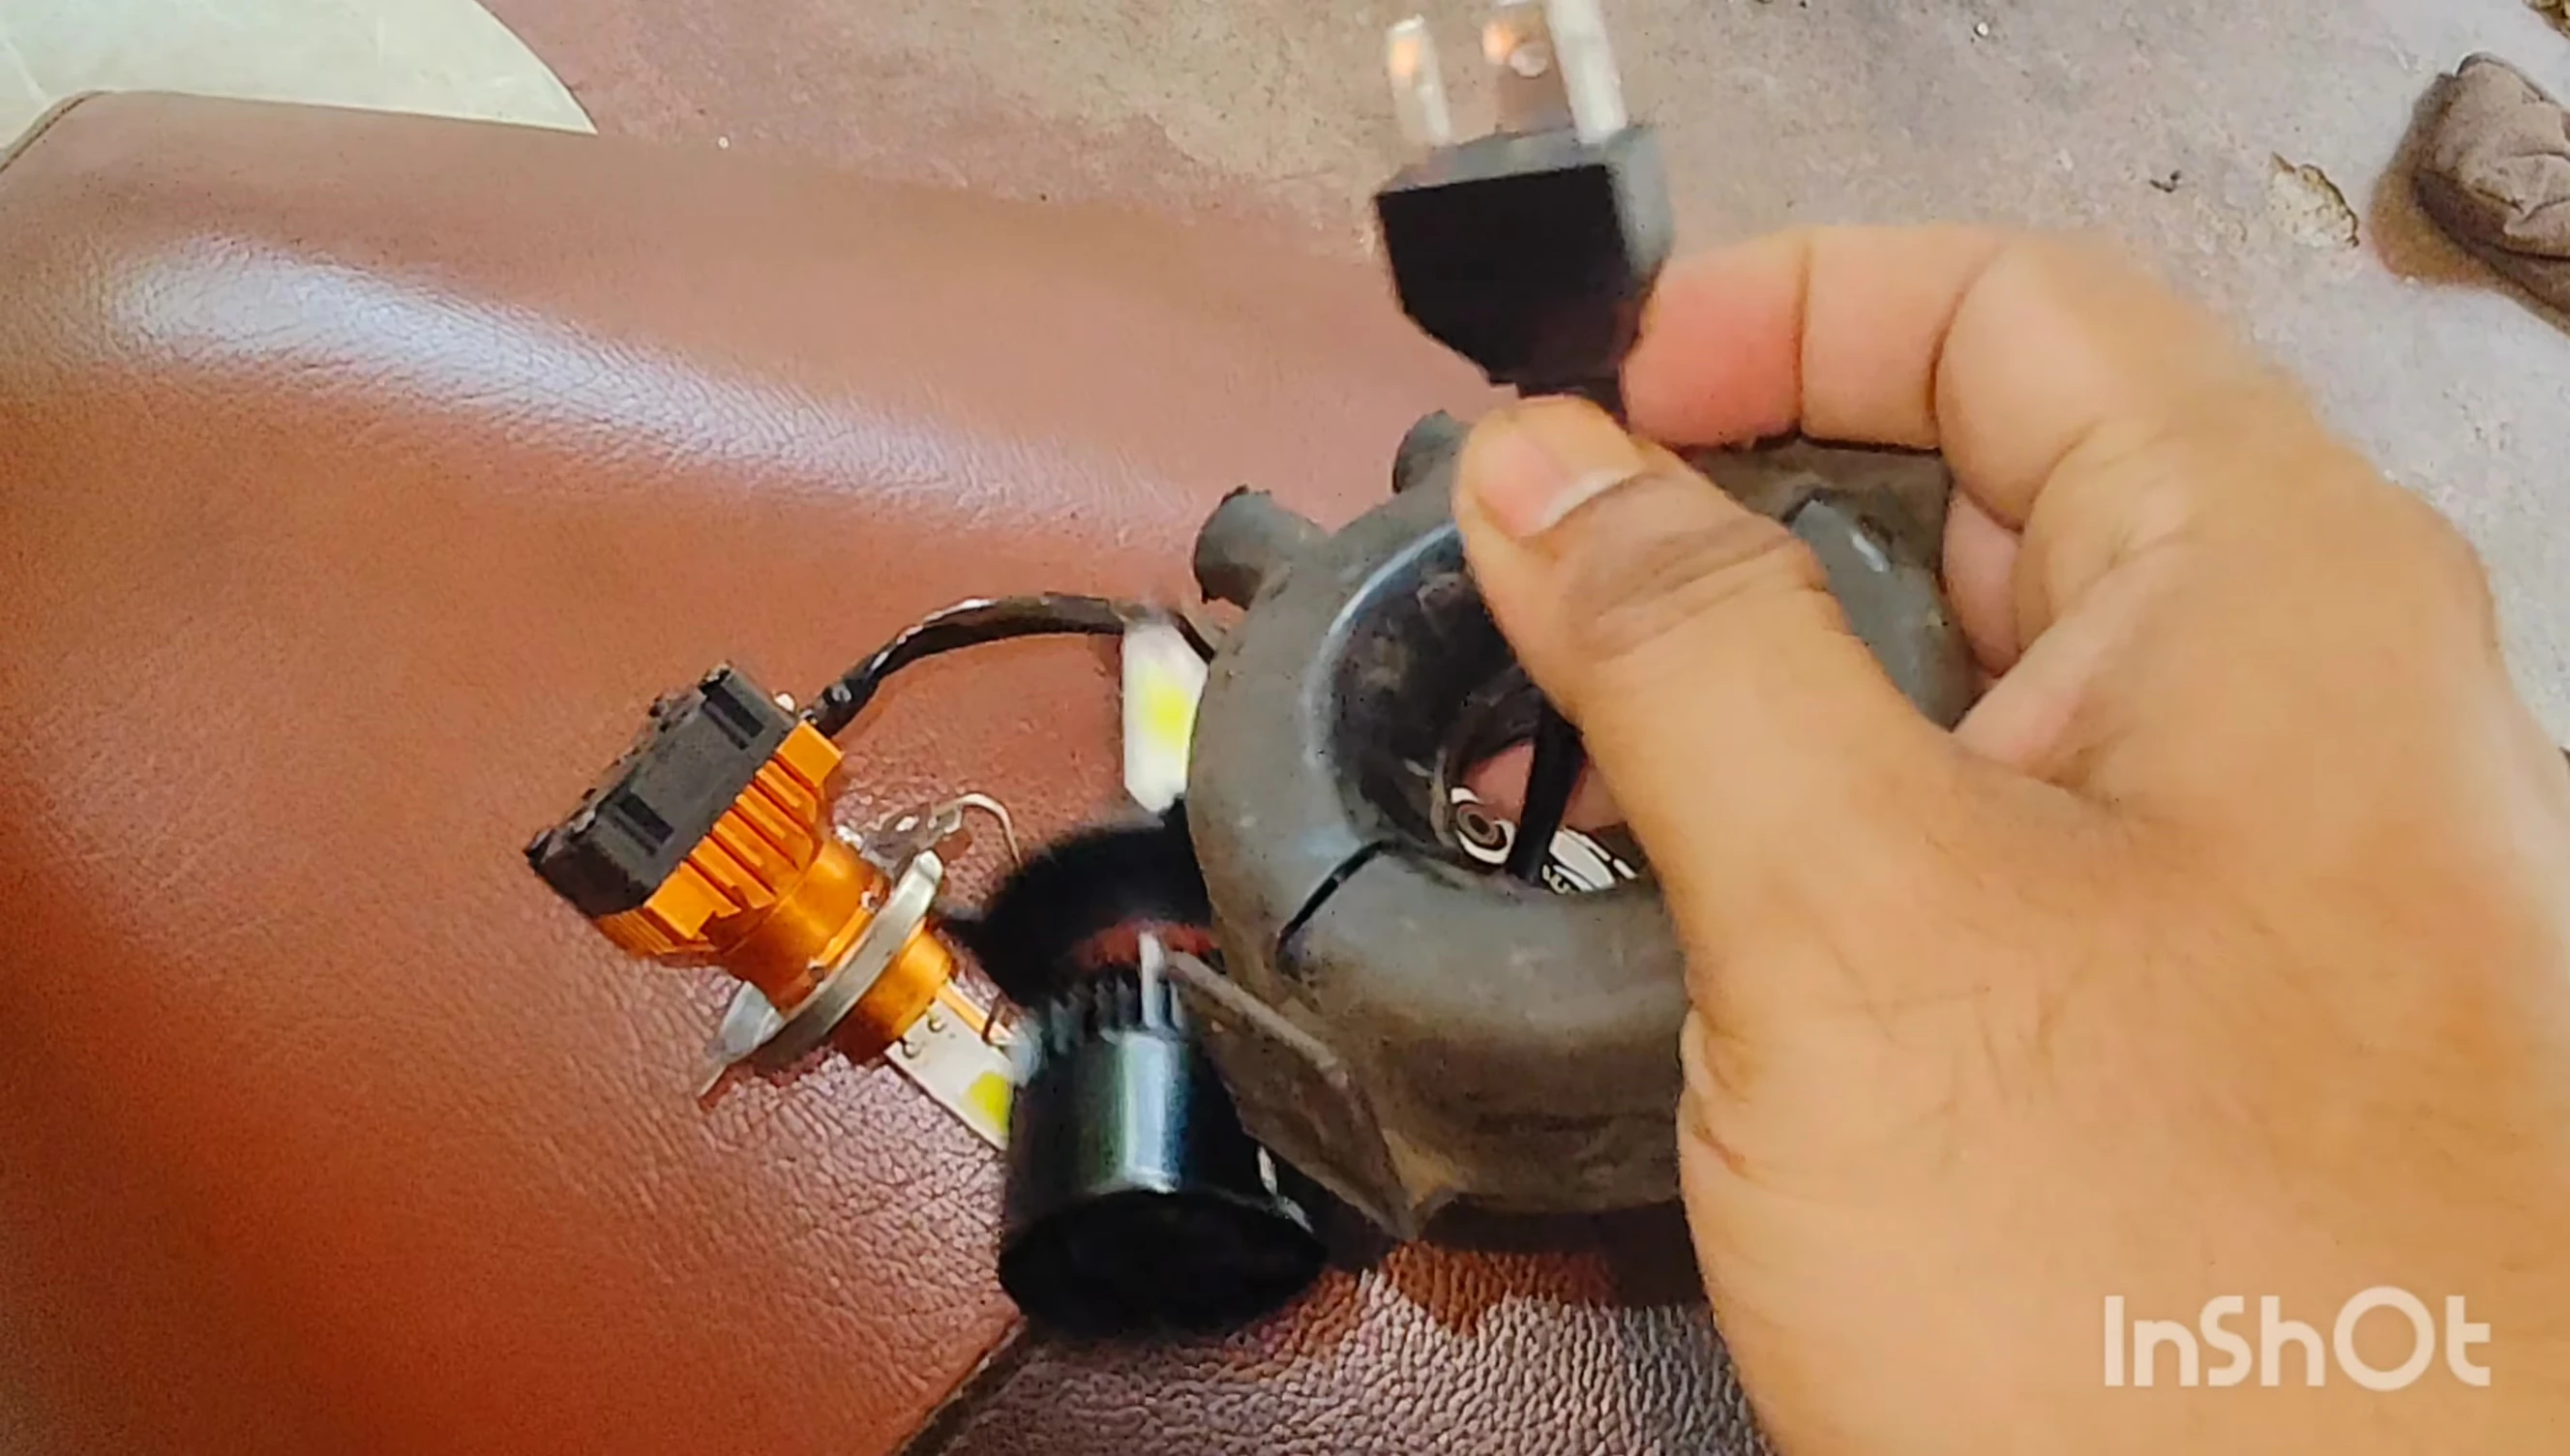
Insert the new LED unit into the headlight housing, ensuring it aligns correctly with all mounting points and connectors. Refer to the photographs taken earlier if needed.
Reconnect the wiring harness to the new LED unit, ensuring the connections are secure and correctly aligned. Double-check all connections before proceeding.
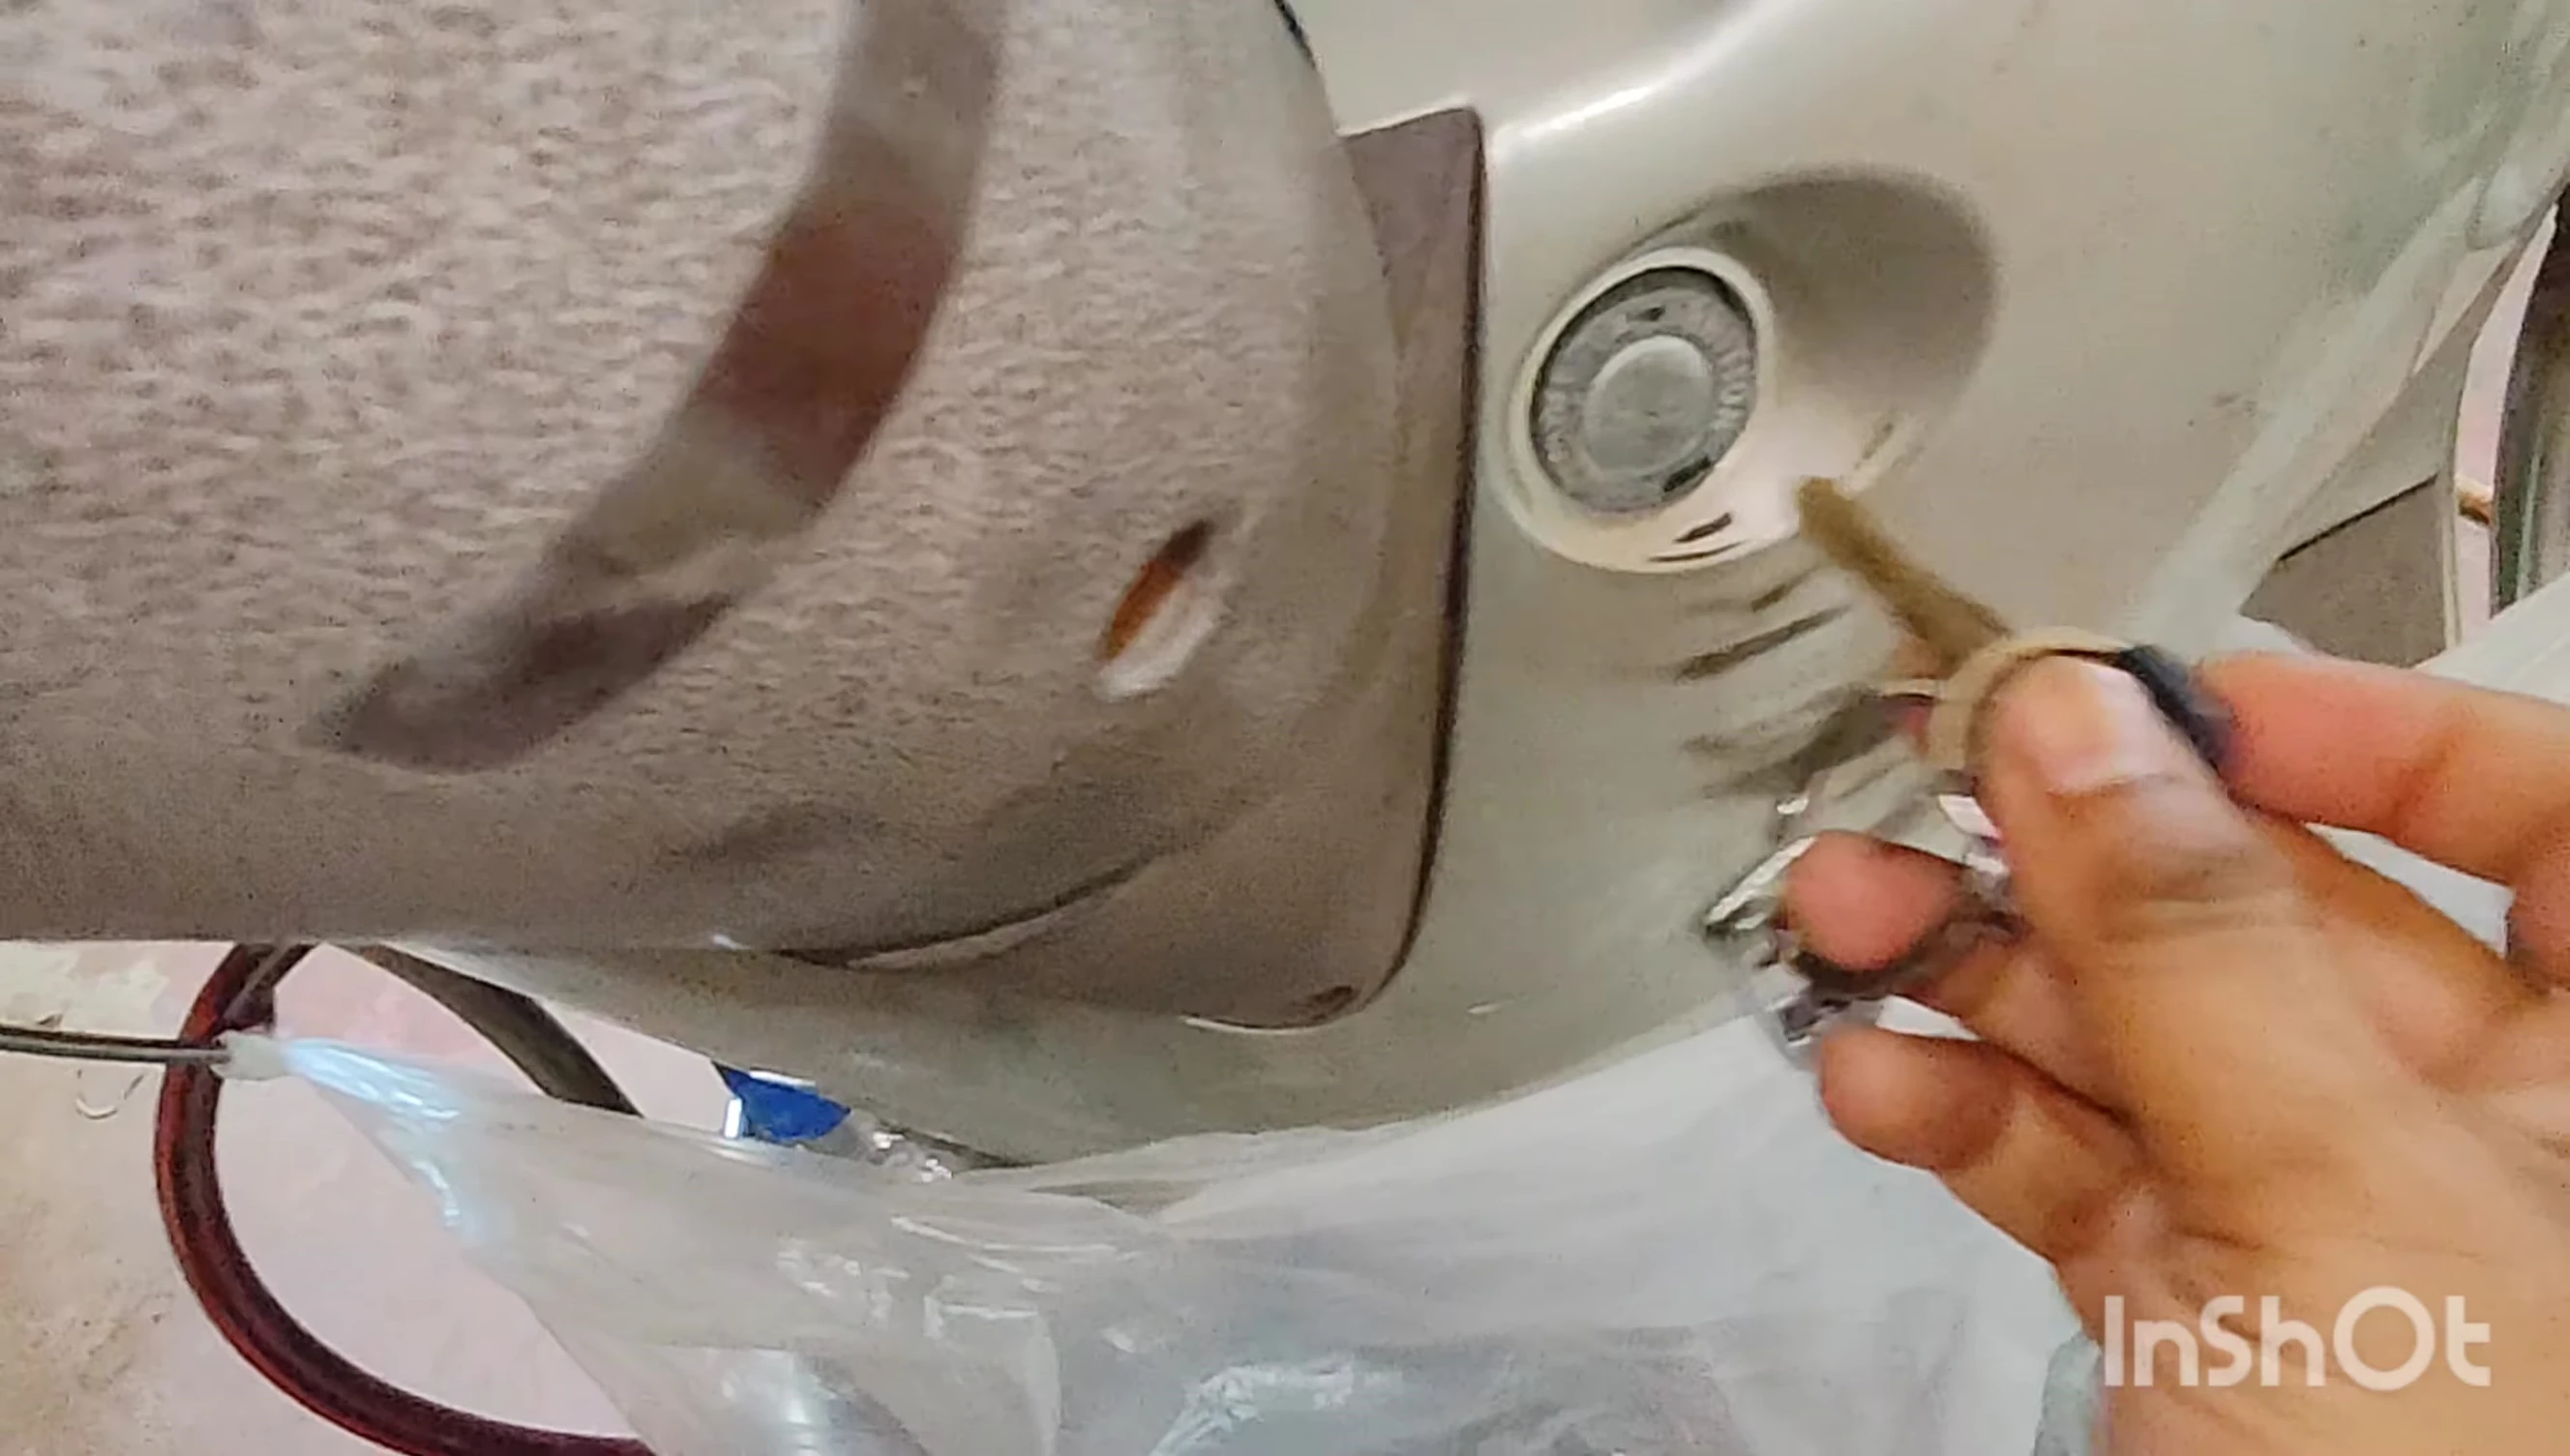
After connecting the wiring, reassemble the headlight housing and secure it with the nuts. Carefully tighten the nuts to ensure a secure and watertight seal.
Testing and Final Assembly
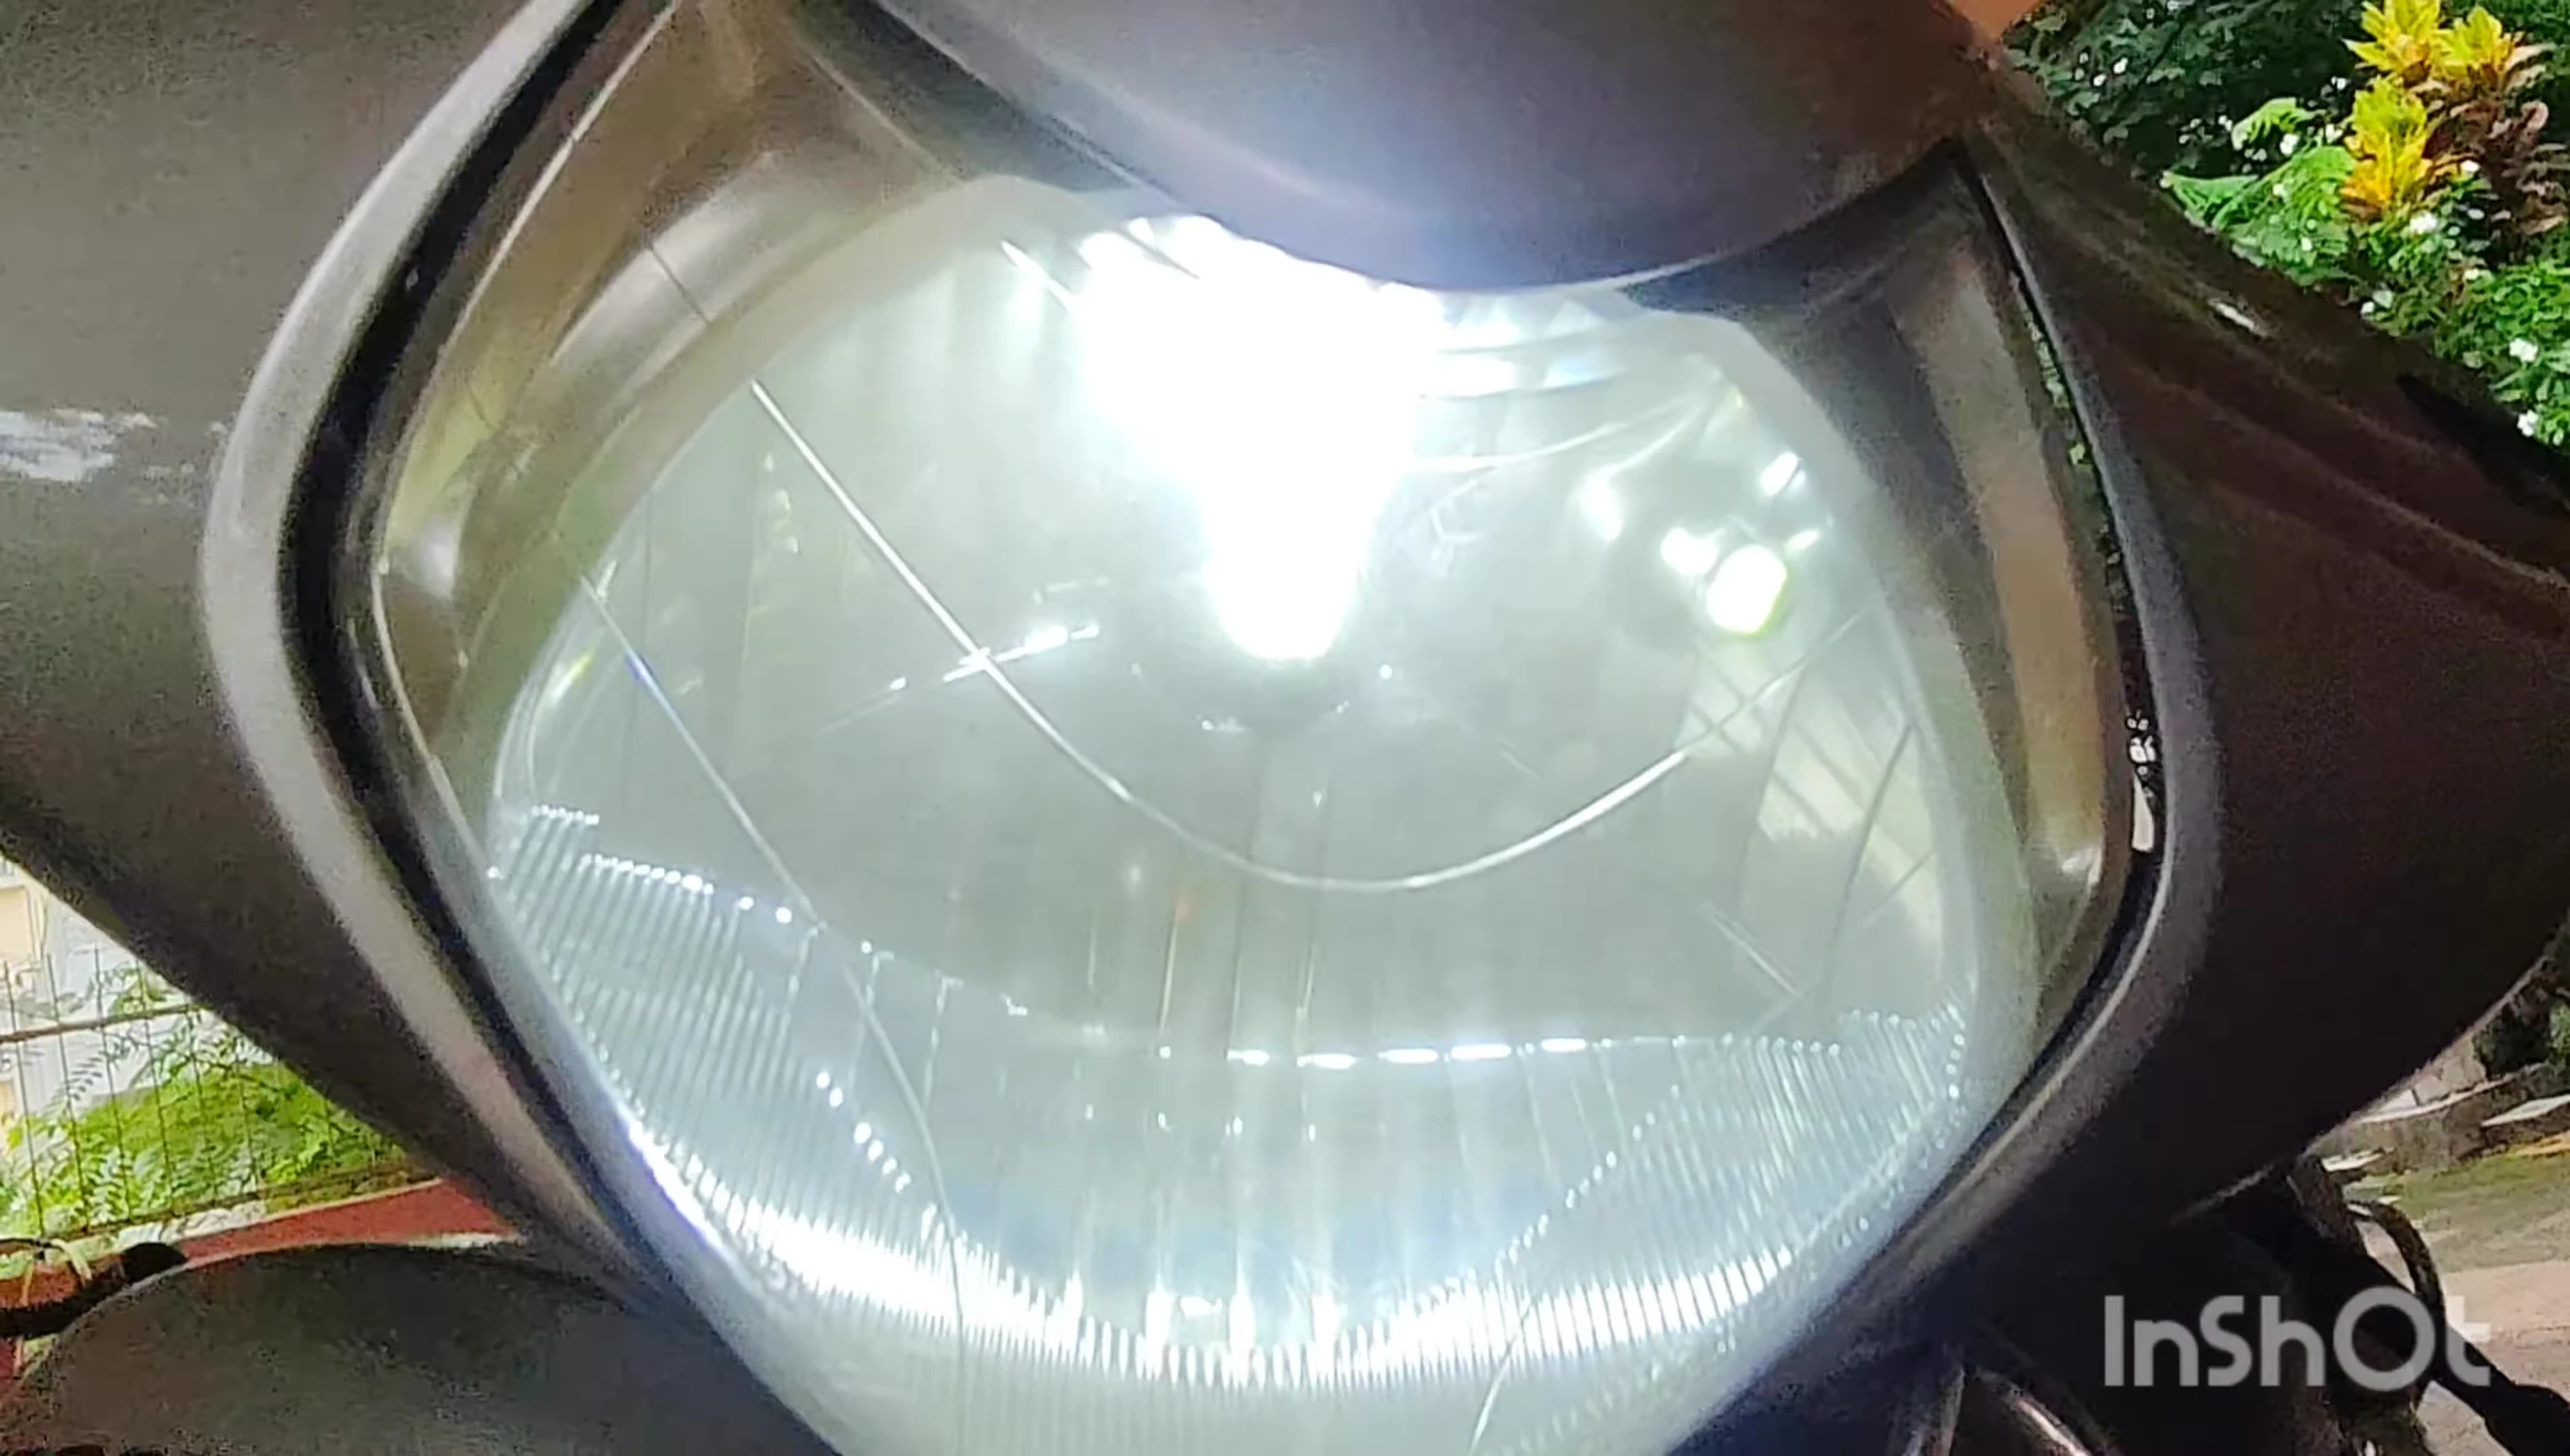
With the new LED unit installed and secured, test its functionality by turning on the headlight. Check for proper illumination and functionality of all lighting modes.
If the LED functions correctly, proceed to complete the final assembly. Ensure all components are securely fastened and the headlight housing is properly sealed.
Once everything is assembled, test all functions again to confirm proper operation and ensure no issues were introduced during reassembly.
Conclusion and Brightness Assessment
The new LED headlight provides significantly improved brightness compared to the previous unit. The installation process is relatively straightforward and can be done at home with basic tools and care.
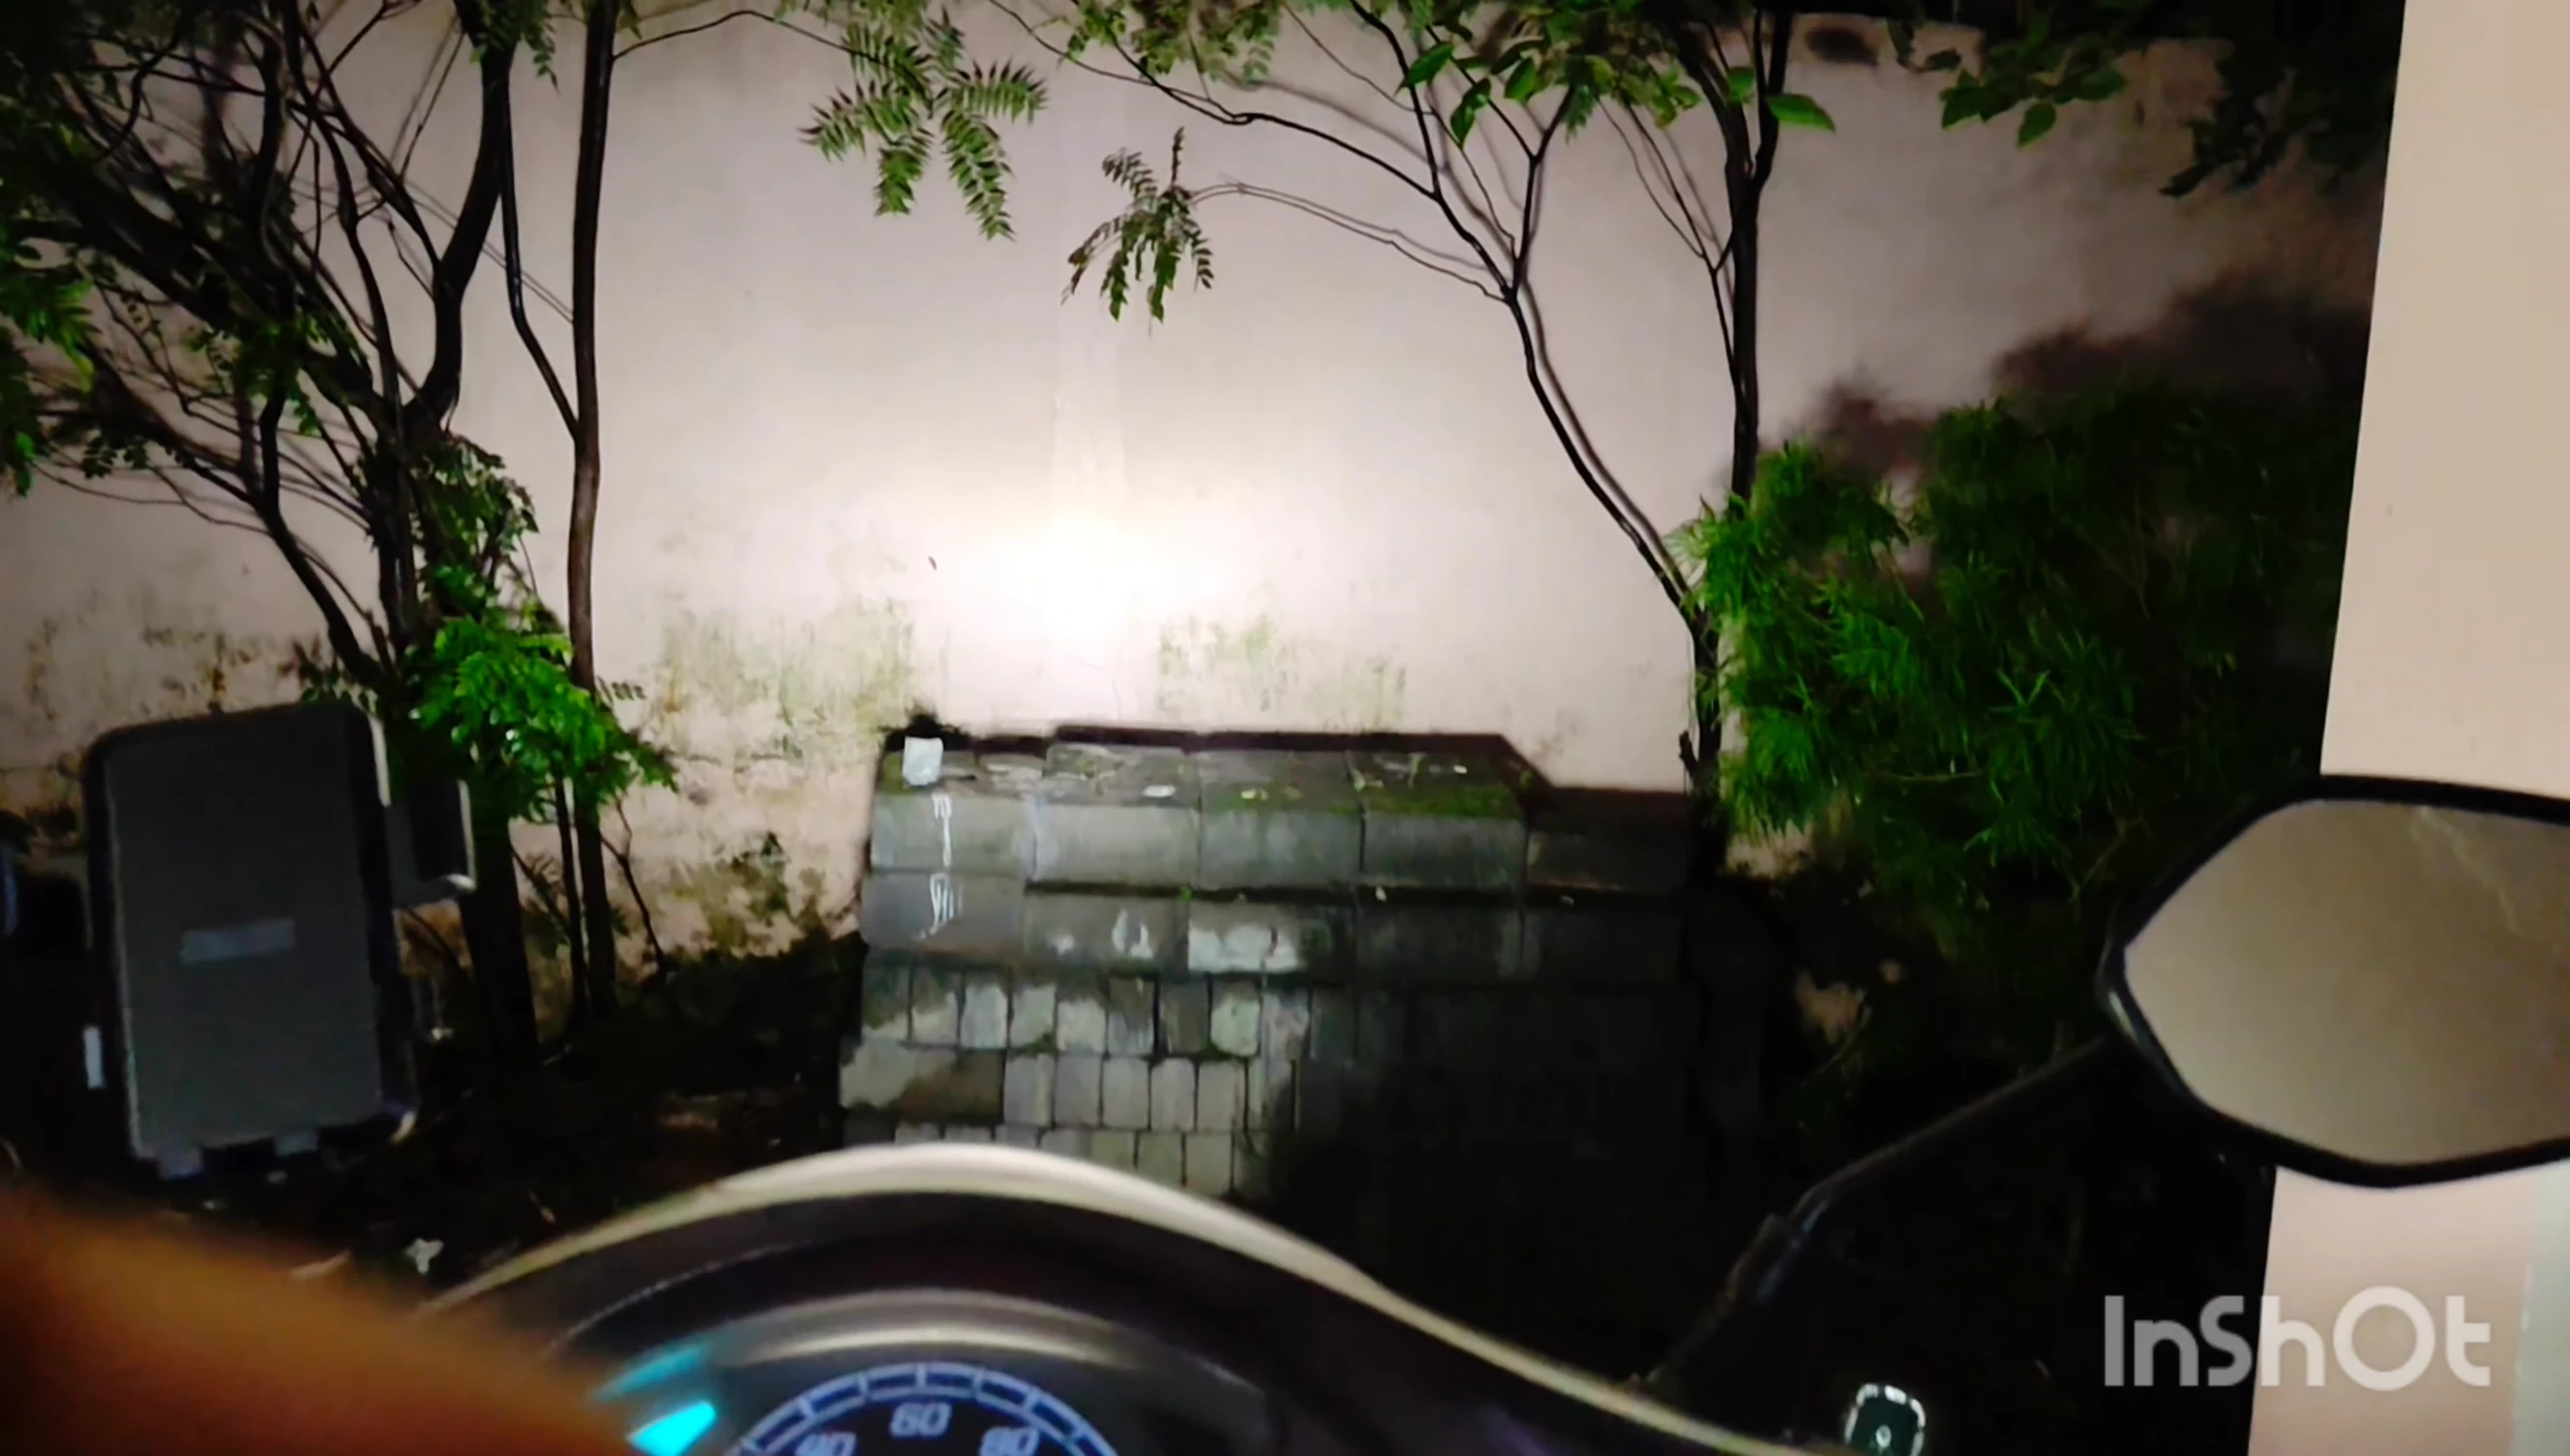
The enhanced brightness ensures better visibility, particularly at night and in low-light conditions. This greatly enhances rider safety.
Overall, upgrading to this LED headlight is recommended due to the significant improvement in brightness and visibility, offering a considerable safety benefit for nighttime riding.