This guide provides a step-by-step installation walkthrough for a Renogy solar kit on your off-grid camper. Achieving energy independence on the road is within reach with this comprehensive guide, designed for DIY enthusiasts with basic electrical knowledge. We'll cover every stage of the process, from securely mounting the solar panels to your camper's roof to connecting the charge controller and inverter, ensuring a safe and efficient power system. This detailed instruction set will walk you through best practices for maximizing performance and longevity, emphasizing the importance of proper wiring and robust weatherproofing.By following these instructions, you'll learn how to properly install your Renogy solar kit, guaranteeing a reliable and long-lasting off-grid power solution. We highlight crucial techniques for optimal snow load resistance, efficient wiring strategies, and neat interior organization. The guide emphasizes the importance of using high-quality materials, such as 3M 5200 sealant, and employing meticulous safety precautions throughout the entire installation process. With careful planning and attention to detail, you'll be enjoying the benefits of solar power on your next adventure.
Pros And Cons
- Provides 400 watts of power.
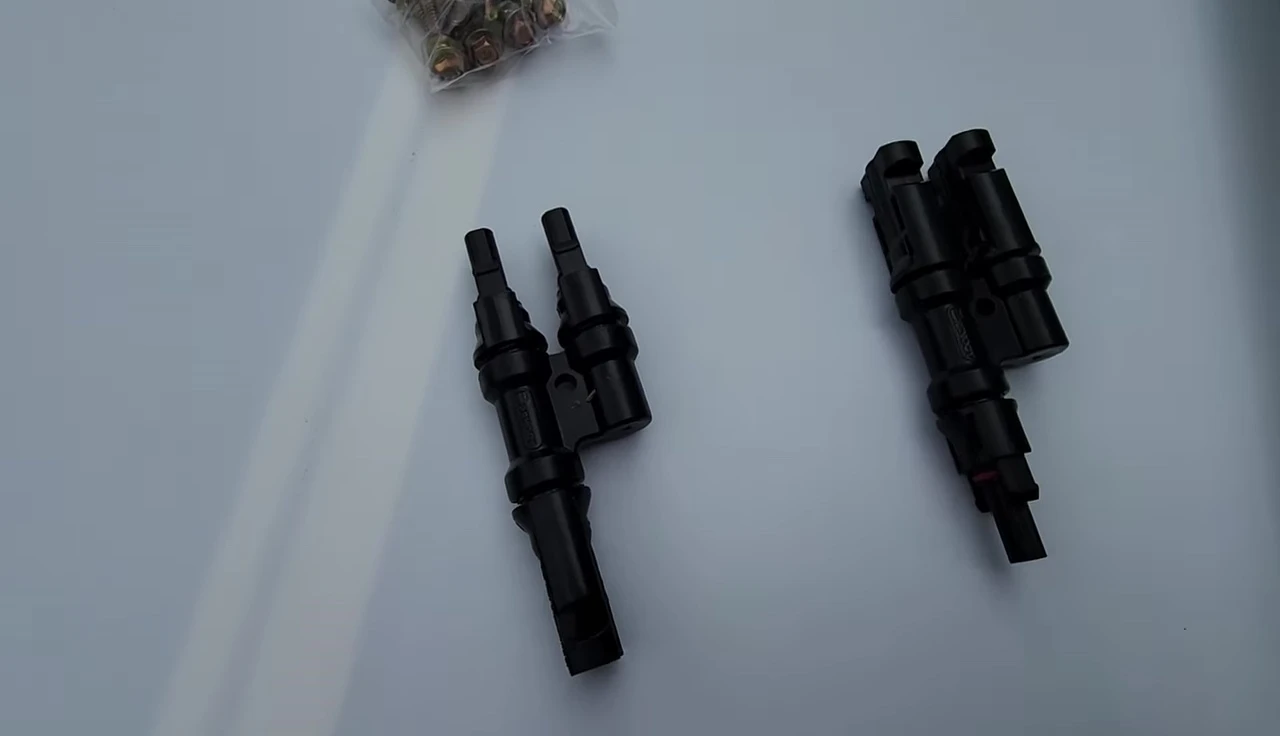
- Includes doubling up connectors (two into one).
- Wires may not reach, requiring extensions.
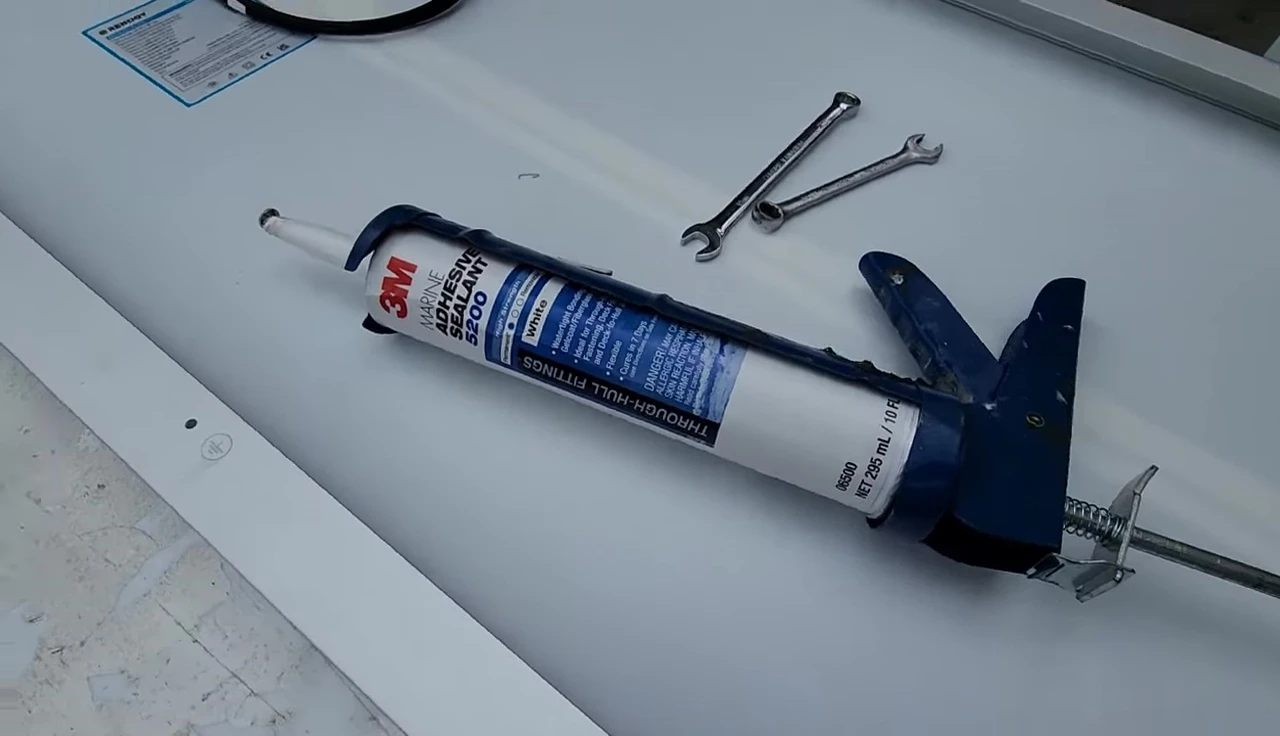
- Mounting brackets may need additional sealant (3M marine adhesive sealant 5200) for snow load.
Read more: InnerVenue's Forever Battery: Revolutionizing Renewable Energy Storage
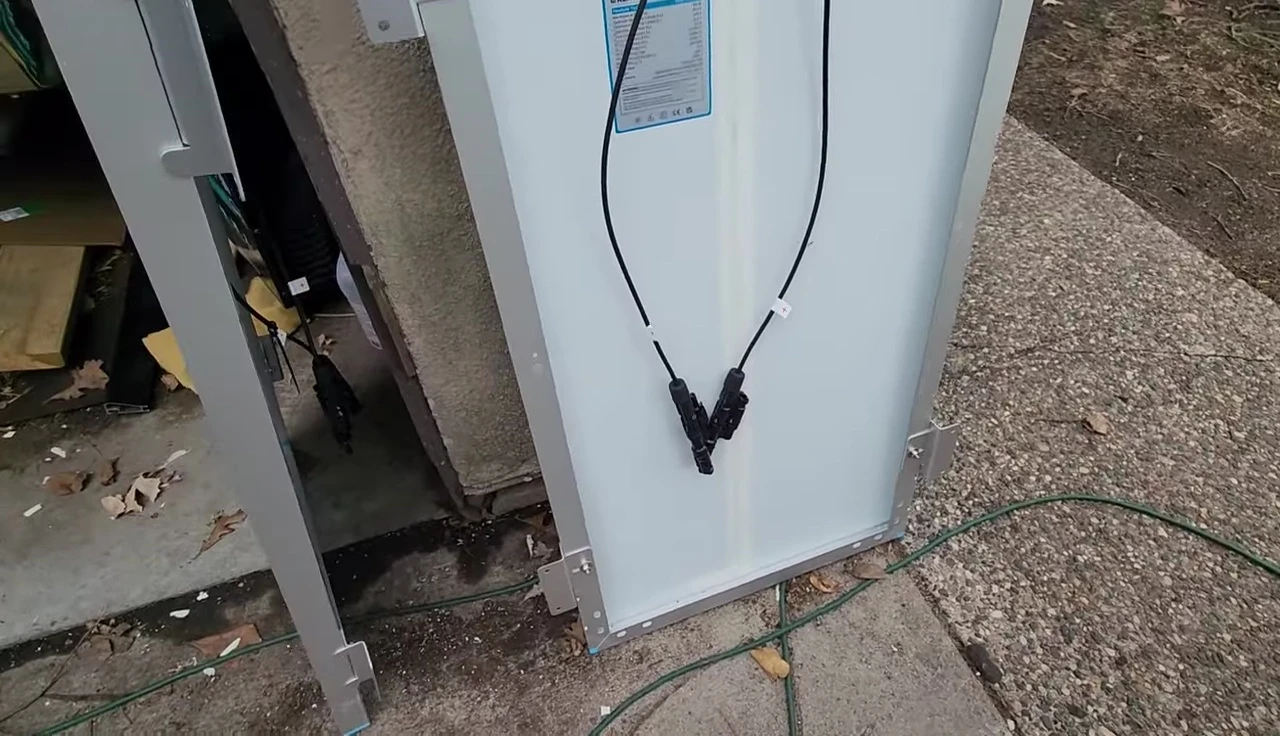
Mounting the Solar Panels
The first step in installing your Renogy solar kit is securely mounting the solar panels to your camper's roof. Proper mounting is crucial for both performance and longevity. Ensure you use the correct mounting brackets and pay close attention to their positioning, particularly if you live in a snowy climate.
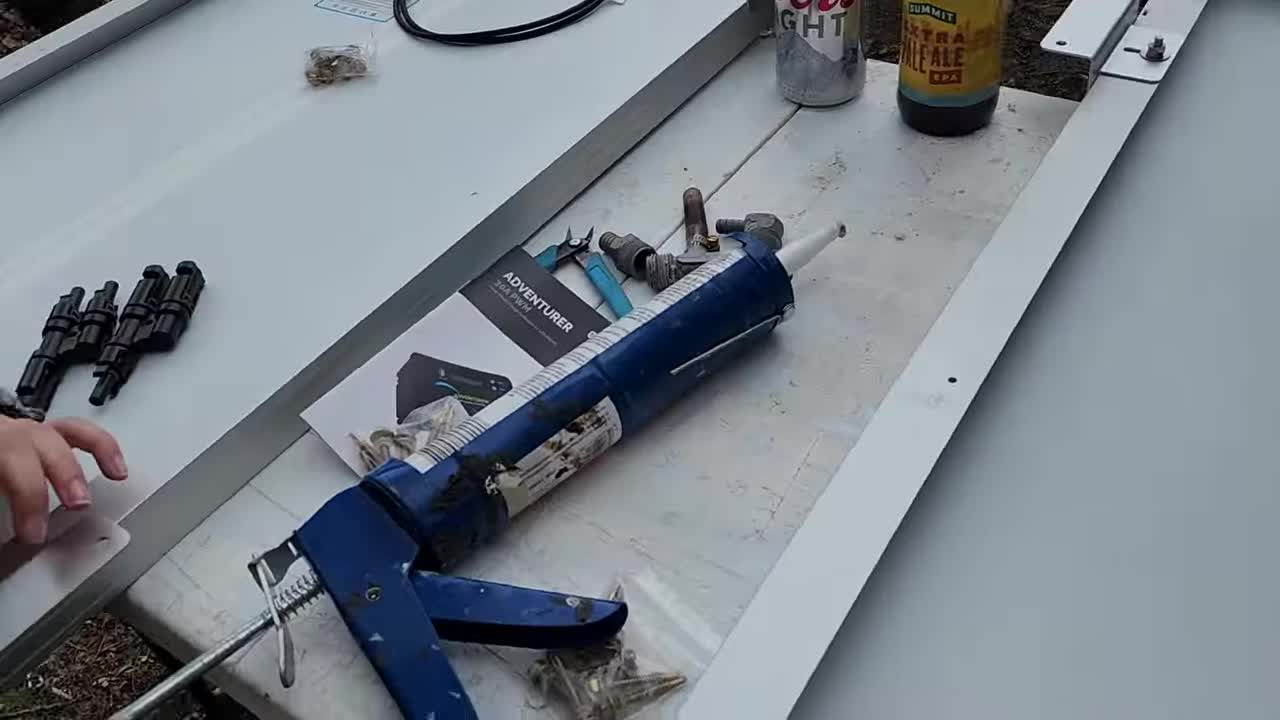
For optimal snow load resistance, mount the brackets on the inner holes rather than the outer ones. This helps to prevent bending of the panels under heavy snow accumulation. Utilize 3M 5200 marine adhesive sealant for added security and waterproofing. This high-quality sealant guarantees a robust and weatherproof bond.
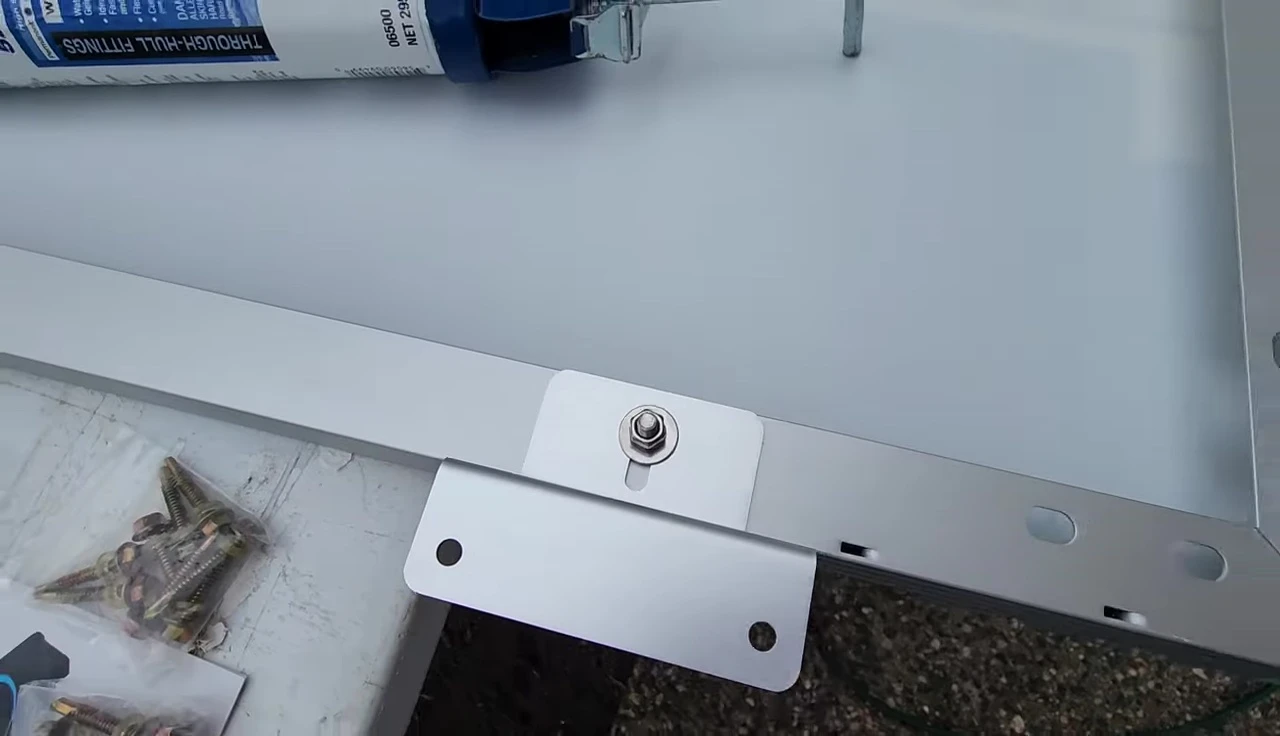
Remember to pre-drill holes for the mounting bolts to prevent stripping or cracking the camper's roof material. The bolts themselves should ideally have rubber seals to further prevent water ingress. This meticulous approach ensures a long-lasting and reliable solar panel installation.
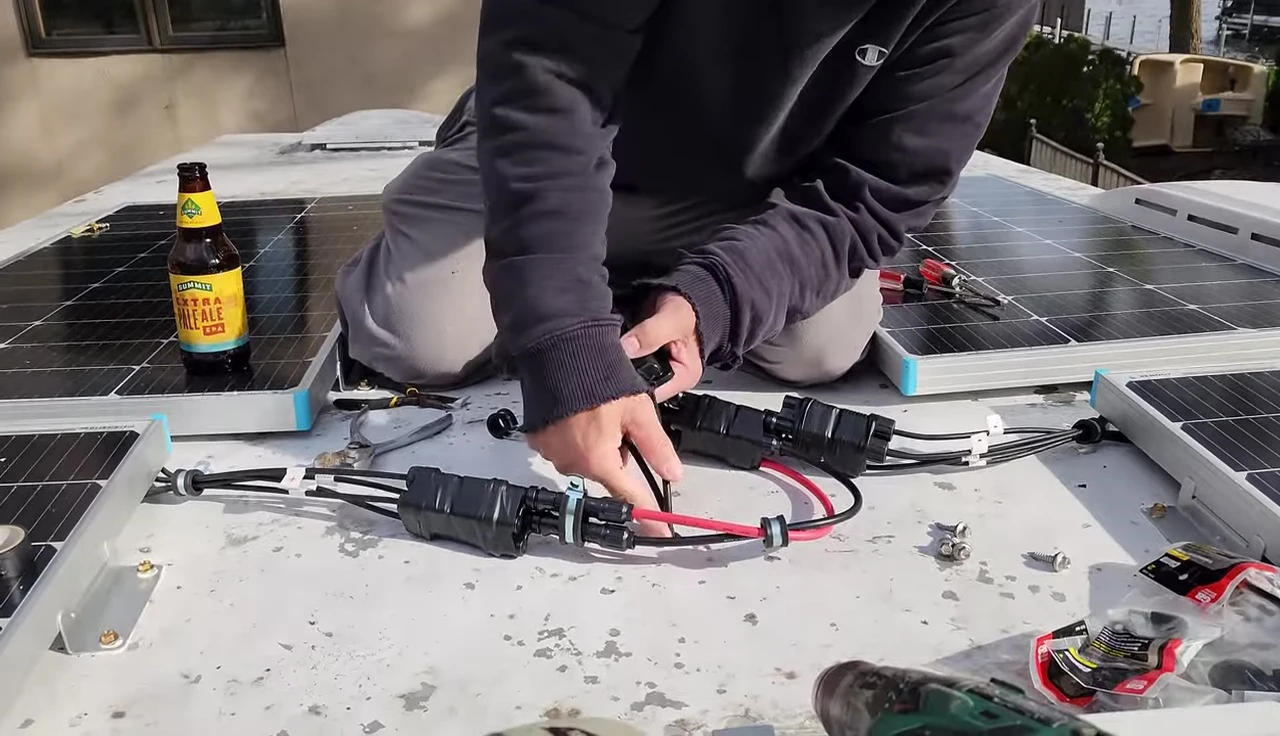
Wiring the Solar Panels
Connecting the solar panels efficiently is key for maximizing power output. This Renogy kit includes double-up connectors, allowing you to combine two strings of panels into one. This simplifies wiring and reduces the number of connections.
Ensure you carefully connect the panels, paying close attention to the polarity (+ and -) of each connection. Once connected, run the wires down to the charge controller, using additional extension cables if needed to reach the designated location. Secure these wires to prevent damage or chafing.
Employ wire management techniques like using grommets or protective sleeves to safeguard the wiring and prevent any damage that may arise from movement or vibration. A clean and organized wiring system enhances efficiency and reduces the risk of future issues.
Interior Wiring and Connections
After completing the exterior solar panel installation, the focus shifts to the interior wiring. Drill holes carefully through the camper's floor or wall to route the wires to the interior charge controller and inverter.
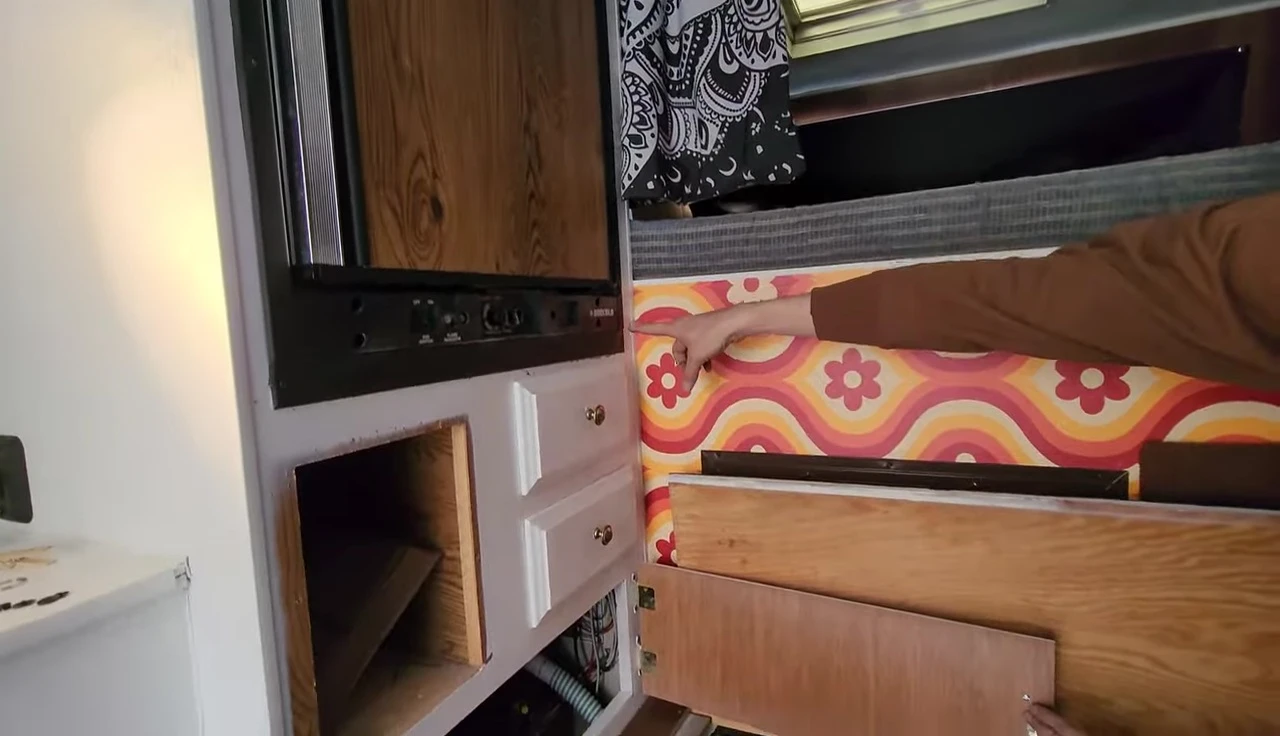
Secure the wires by using appropriate cable clamps and connectors. For a neat and organized setup, consider using bus bars to consolidate the wiring. This improves overall efficiency and reduces the chance of errors or issues in the future.
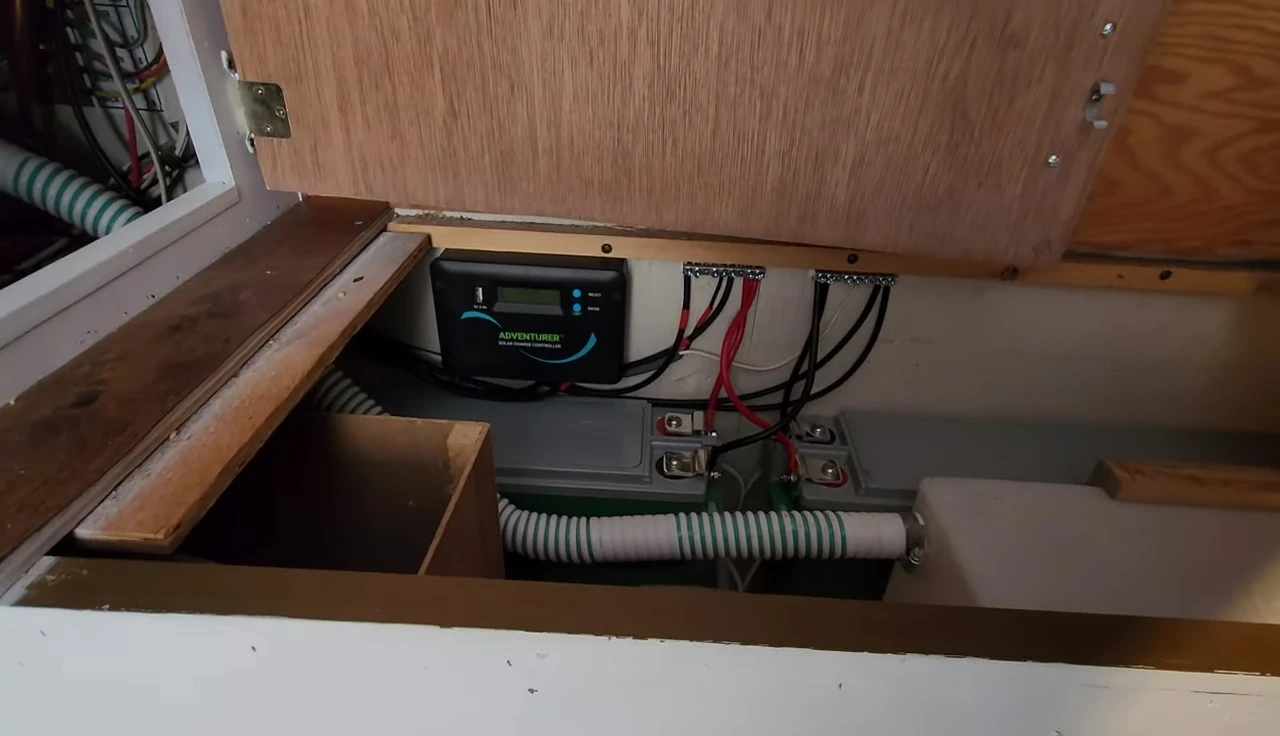
Connect the charge controller to the batteries and ensure the inverter is properly wired to both the DC power source (batteries) and AC panel. This integrated system provides a seamless power flow from the solar panels to your camper's electrical appliances.
Final Thoughts and Conclusion
Installing a Renogy solar kit on an off-grid camper is a rewarding experience, providing increased self-sufficiency and energy independence. The installation process itself, while requiring careful attention to detail, is manageable for DIY enthusiasts with basic electrical knowledge.
Careful planning, and the use of high-quality components like 3M 5200 sealant and properly sized wiring, are crucial for ensuring a successful and long-lasting solar power setup for your camper. Prioritize safety and always double-check connections before powering up the system.
This Renogy system provides a robust and reliable off-grid power solution for campers. Its ease of installation, coupled with its effectiveness, makes it a worthy investment for those seeking energy independence on the road. The key is careful planning and attention to detail during installation.