This comprehensive guide provides a step-by-step walkthrough for installing or replacing your pool heater, specifically focusing on the VARMINPOOL model. We'll cover everything from safely disconnecting power and removing the old unit, to plumbing the new heater and connecting the electrical wiring. Clear instructions, coupled with helpful tips, will guide you through each phase of the installation process, ensuring a smooth and efficient outcome. This guide also highlights the key features of the VARMINPOOL heater, emphasizing its energy efficiency, quiet operation, and smart capabilities, allowing you to make an informed decision before undertaking this project.Whether you're a seasoned DIY enthusiast or a first-time installer, this guide is designed to equip you with the knowledge and confidence to tackle this task. We'll delve into the specifics of plumbing configurations, including the use of bypass valves, and explain how to connect the condensate drain line. We'll also explore the advantages of the VARMINPOOL's Wi-Fi connectivity and its user-friendly app, showcasing how these features enhance the overall pool heating experience. By the end of this guide, you'll be ready to install or replace your pool heater with ease and confidence.
Pros And Cons
- Quiet (48 dB)
- Light (134 lbs)
- Energy efficient (requires 15 amp breaker instead of 60 amp)
- Wi-Fi compatible with user-friendly app for remote control and scheduling
- Easy to install and use
- Convenient inlet and outlet placement
- May take 12-18 hours or more to heat pool depending on ambient temperature and starting water temperature
Read more: Nuwave PIC Titanium Induction Cooktop Review: A Mixed Bag of Features
Safety First: Power Down and Disconnection
Before starting any work on your pool heater, prioritize safety. Always begin by turning off the pump and disconnecting the breaker to the pool pump and any other relevant components. This prevents electrical shocks and potential damage. Properly isolating the power source is crucial for a safe and successful installation or replacement.

Next, disconnect the electrical connections to the heater. You can do this either at the breaker box (the easier method) or directly at the heater itself. If disconnecting at the heater, always use a voltage tester to ensure the power is off before proceeding. Disconnect the ground wire and both hot wires carefully.

Removing the Old Heater
Once the electrical is disconnected, you can begin removing the old heater. If your heater is bolted to a concrete pad or pavers, remove the bolts or screws securing it. Then, carefully release the inflow and outflow pipes using grips to manage the water pressure. Expect some water leakage, but it should be minimal. Due to the weight, it is recommended to have assistance when removing the unit.


Plumbing Considerations: New vs. Replacement
If you're adding a new heater, you'll need to splice into your existing plumbing system after the filter. Install inflow and outflow pipes with valves (highly recommended for better control and to prevent continuous water flow). The diagram provides a visual representation of the plumbing configurations for both new installations and replacements.

Installing valves on both the inflow and outflow lines allows you to bypass the heater when it's not needed. This prevents continuous water circulation through the heater, saving energy and extending its lifespan. The diagram shows the plumbing configurations with and without bypass valves.

Installing the VARMINPOOL Heater
Begin by attaching the condensate drain line to the bottom of the new VARMINPOOL heater. This is a simple plug-in connection. The inlet and outlet pipes on this model are conveniently located on the back, simplifying the connection process. You may need to adjust the pipe lengths using a saw to align them with the heater's ports.

Use plumbing primer and cement to securely attach the elbows and pipes to the heater's ports. The quick-connect fittings on the VARMINPOOL heater make this process remarkably easy and quick. After plumbing is complete, connect the electrical wires (two hot and one ground), ensuring they match the wiring diagram.

VARMINPOOL Heater Features and App Integration
The VARMINPOOL heater boasts impressive features. It is exceptionally quiet (48 dB) and lightweight (134 lbs), making installation and operation smoother. It’s also energy-efficient, requiring only a 15-amp breaker instead of the typical 60-amp breaker for other heaters. This results in significant energy savings.

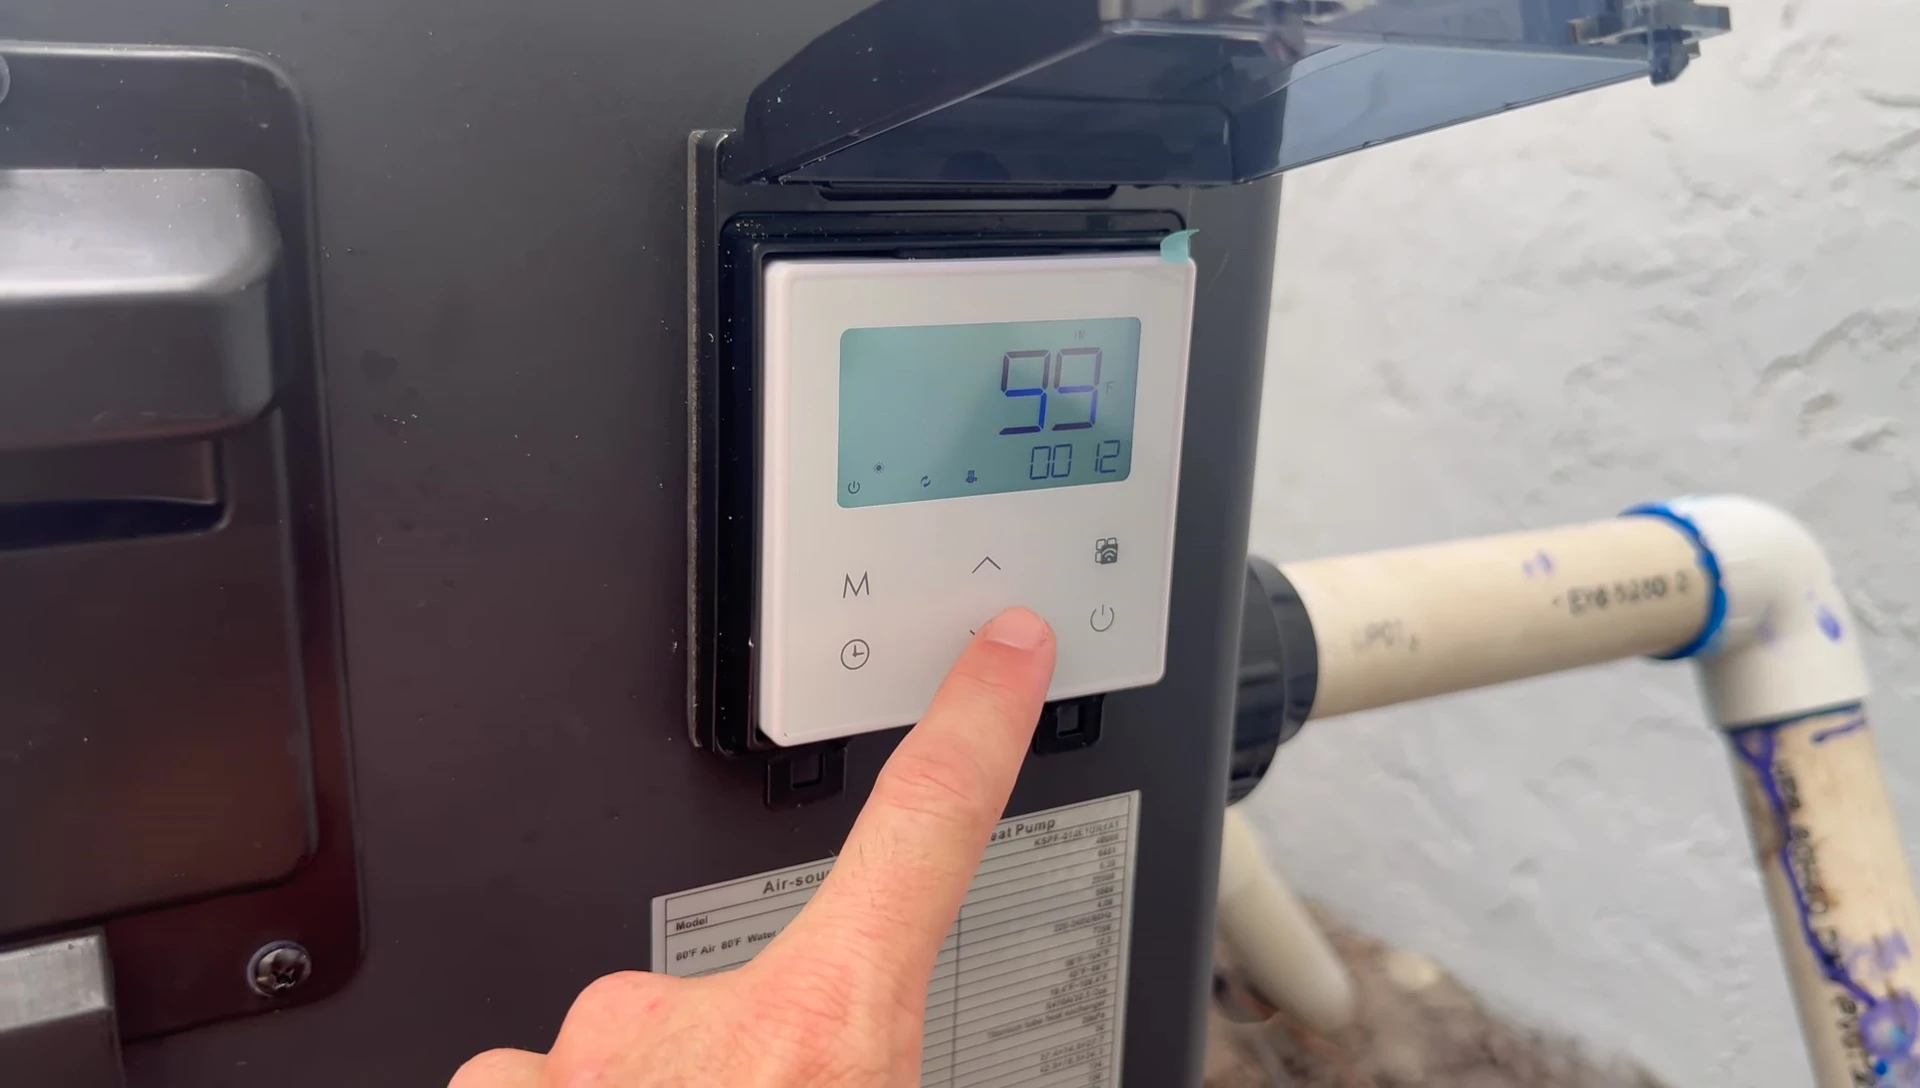
The VARMINPOOL heater’s Wi-Fi compatibility is a major advantage. The app provides more control, a larger display, and easier temperature adjustments compared to using the heater’s onboard controls. You can set schedules, control temperature remotely, and even link the heater's operation to your pool pump.
Conclusion: Is the VARMINPOOL Heater Worth It?
The VARMINPOOL pool heater offers a compelling combination of ease of installation, quiet operation, energy efficiency, and smart features. Its lightweight design and user-friendly app greatly simplify the overall experience. The significant reduction in required amperage is a plus, making installation less complex.
While the initial cost might be a factor, the long-term energy savings and convenience make it a worthwhile investment. The quiet operation and ease of use are also notable advantages. Considering its features and performance, the VARMINPOOL heater is a strong contender in the market and receives a favorable review.