Upgrading your home's thermostat to a smart model like the Ecobee offers significant benefits, including energy savings and enhanced comfort control. This DIY guide provides a step-by-step walkthrough of the Ecobee smart thermostat installation process, empowering you to tackle this project yourself and avoid costly professional installation fees. Whether you're a seasoned DIY enthusiast or a beginner, this guide will equip you with the knowledge and confidence to successfully install your new Ecobee thermostat. We'll cover everything from careful pre-installation planning and wiring considerations to the final setup and testing procedures.This detailed guide emphasizes safety precautions throughout the entire installation process, ensuring a smooth and worry-free experience. We will break down each stage into easily manageable steps, accompanied by clear instructions and helpful tips. By following this guide meticulously, you'll learn how to efficiently manage your wiring, securely mount the thermostat, and properly connect it to your HVAC system. Get ready to enjoy the convenience and energy efficiency of your new smart thermostat!
Pros And Cons
- Works with a smart home system
- Can be placed in a new location due to wireless capabilities
- Requires running new wires if not already wired
Read more: AMI Meter Reading Guide: Understanding Your Smart Electricity Meter
Planning the Installation
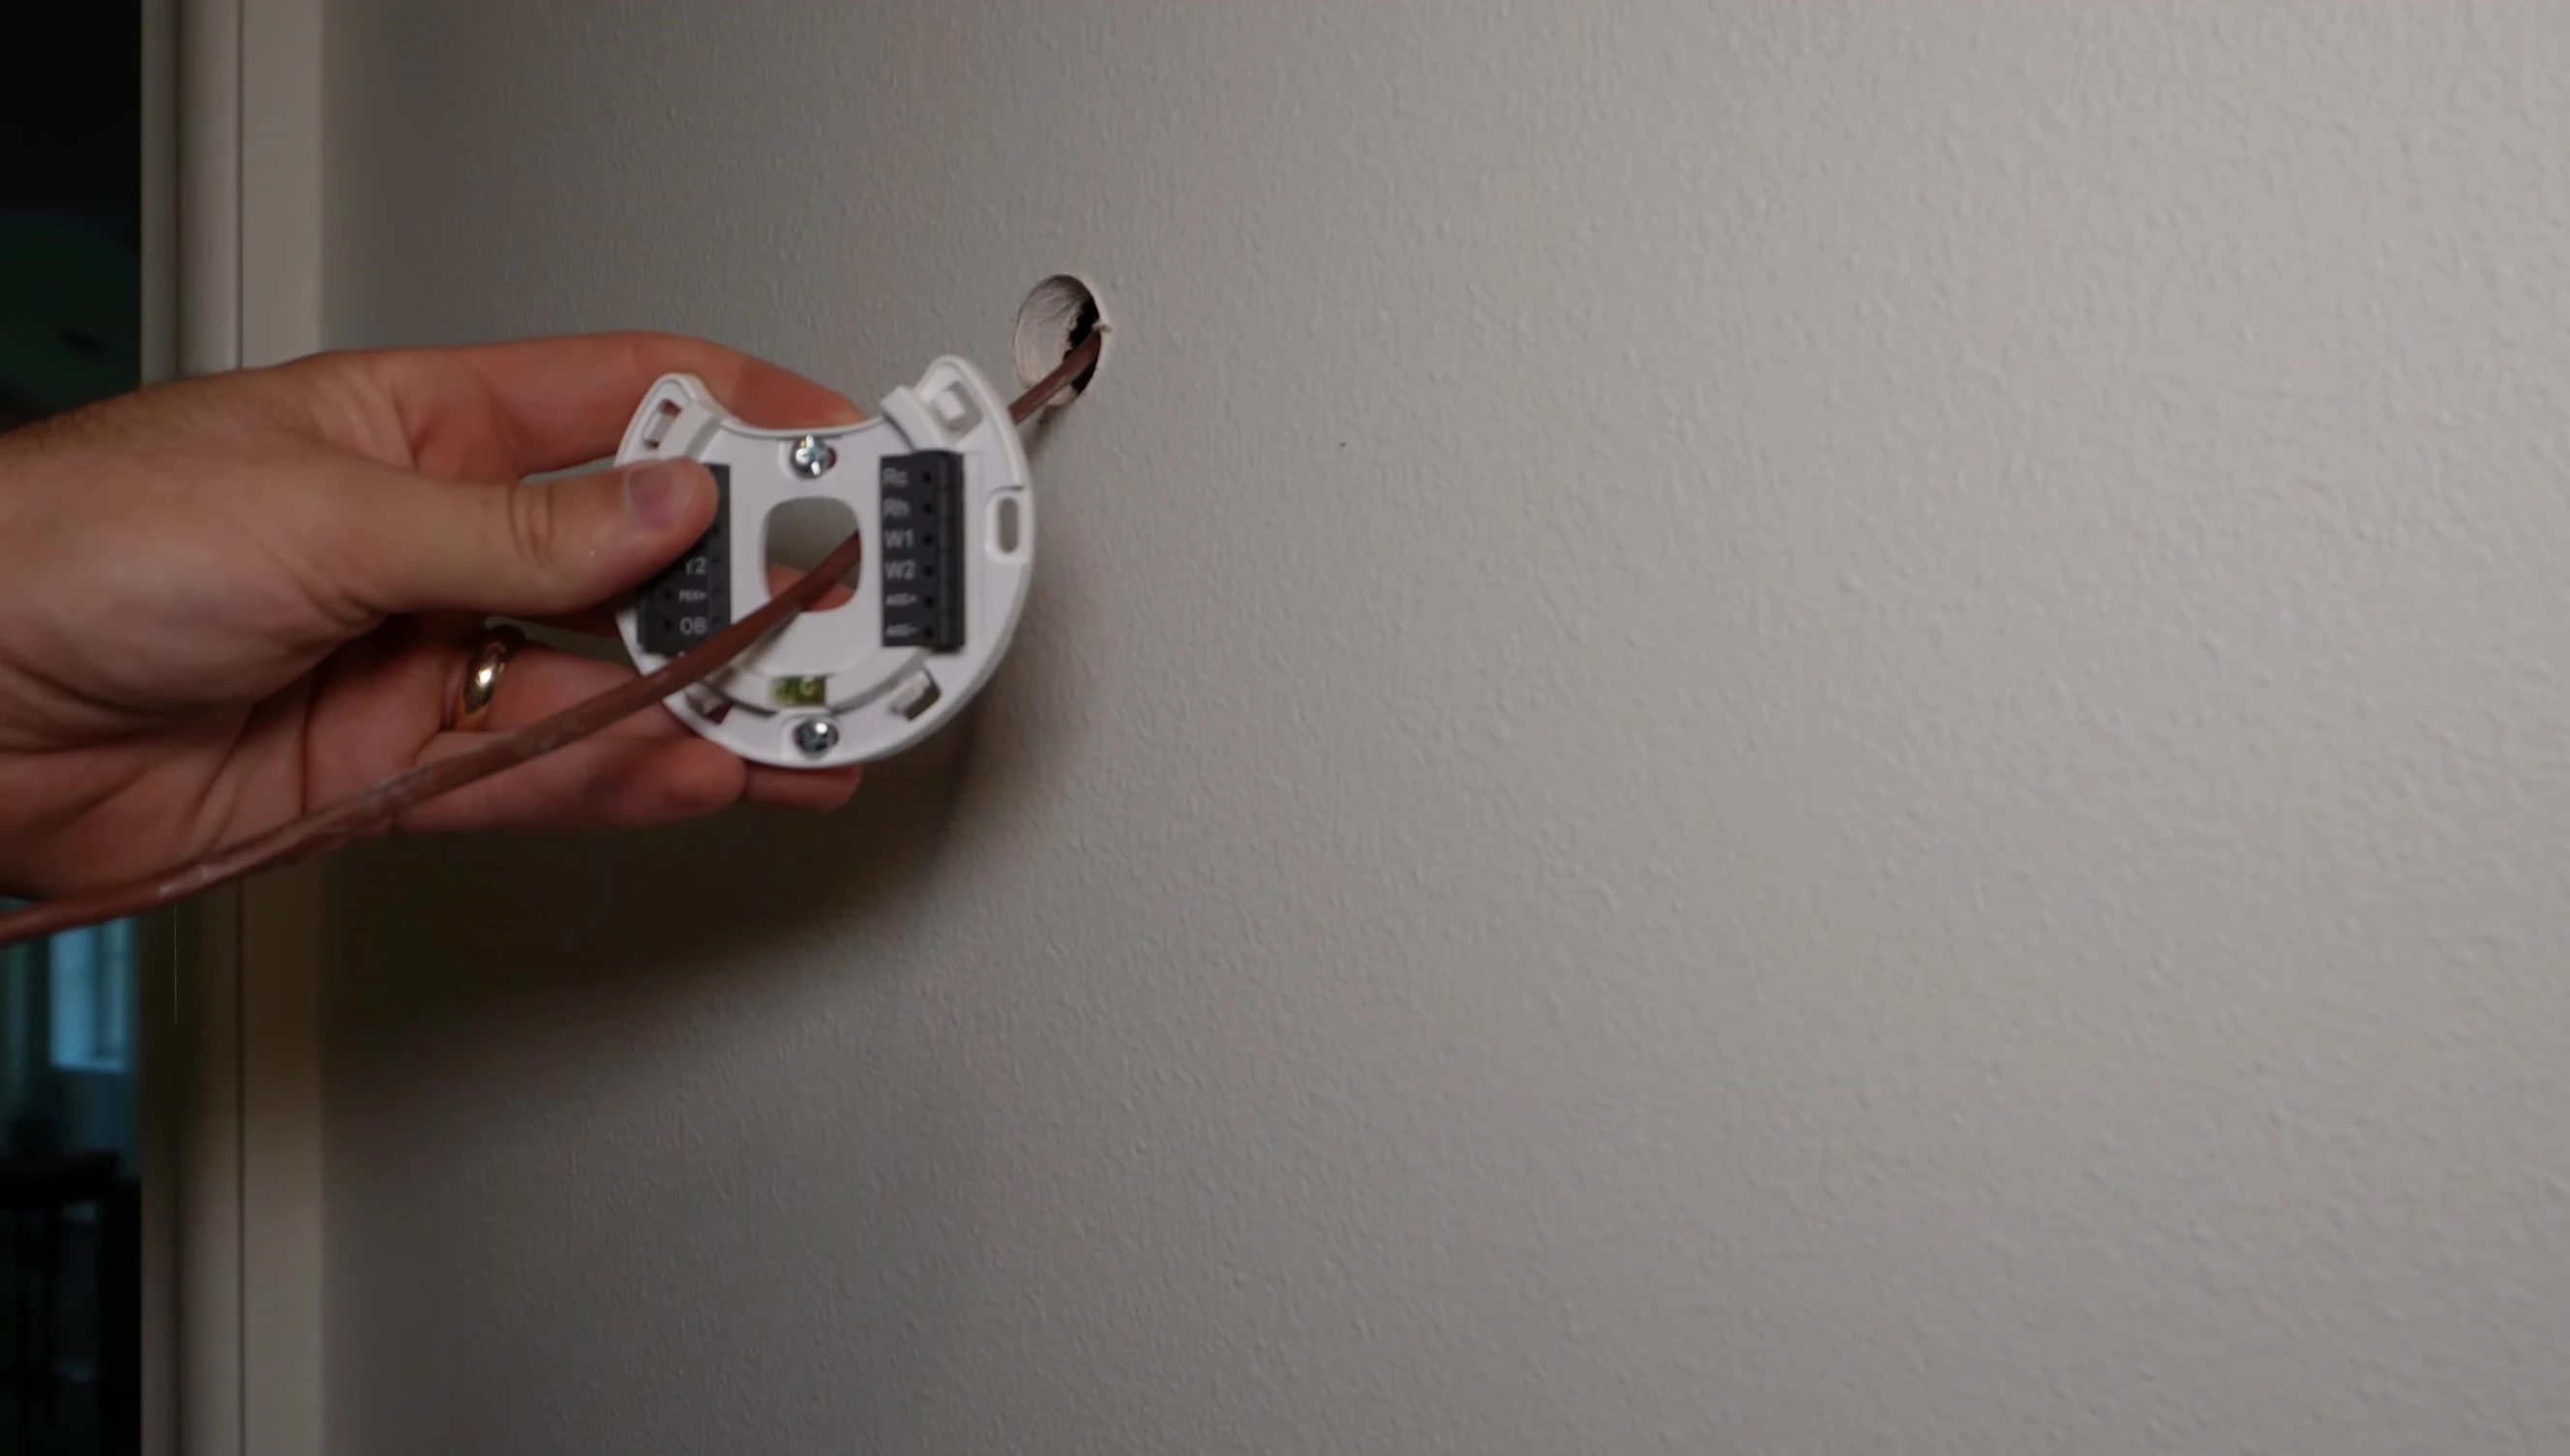
The first step in upgrading to a smart thermostat is careful planning. I chose a location based on existing wiring, utilizing the cavity near the doorbell chime for easy access. This minimizes the need for extensive drilling and ensures a clean installation.
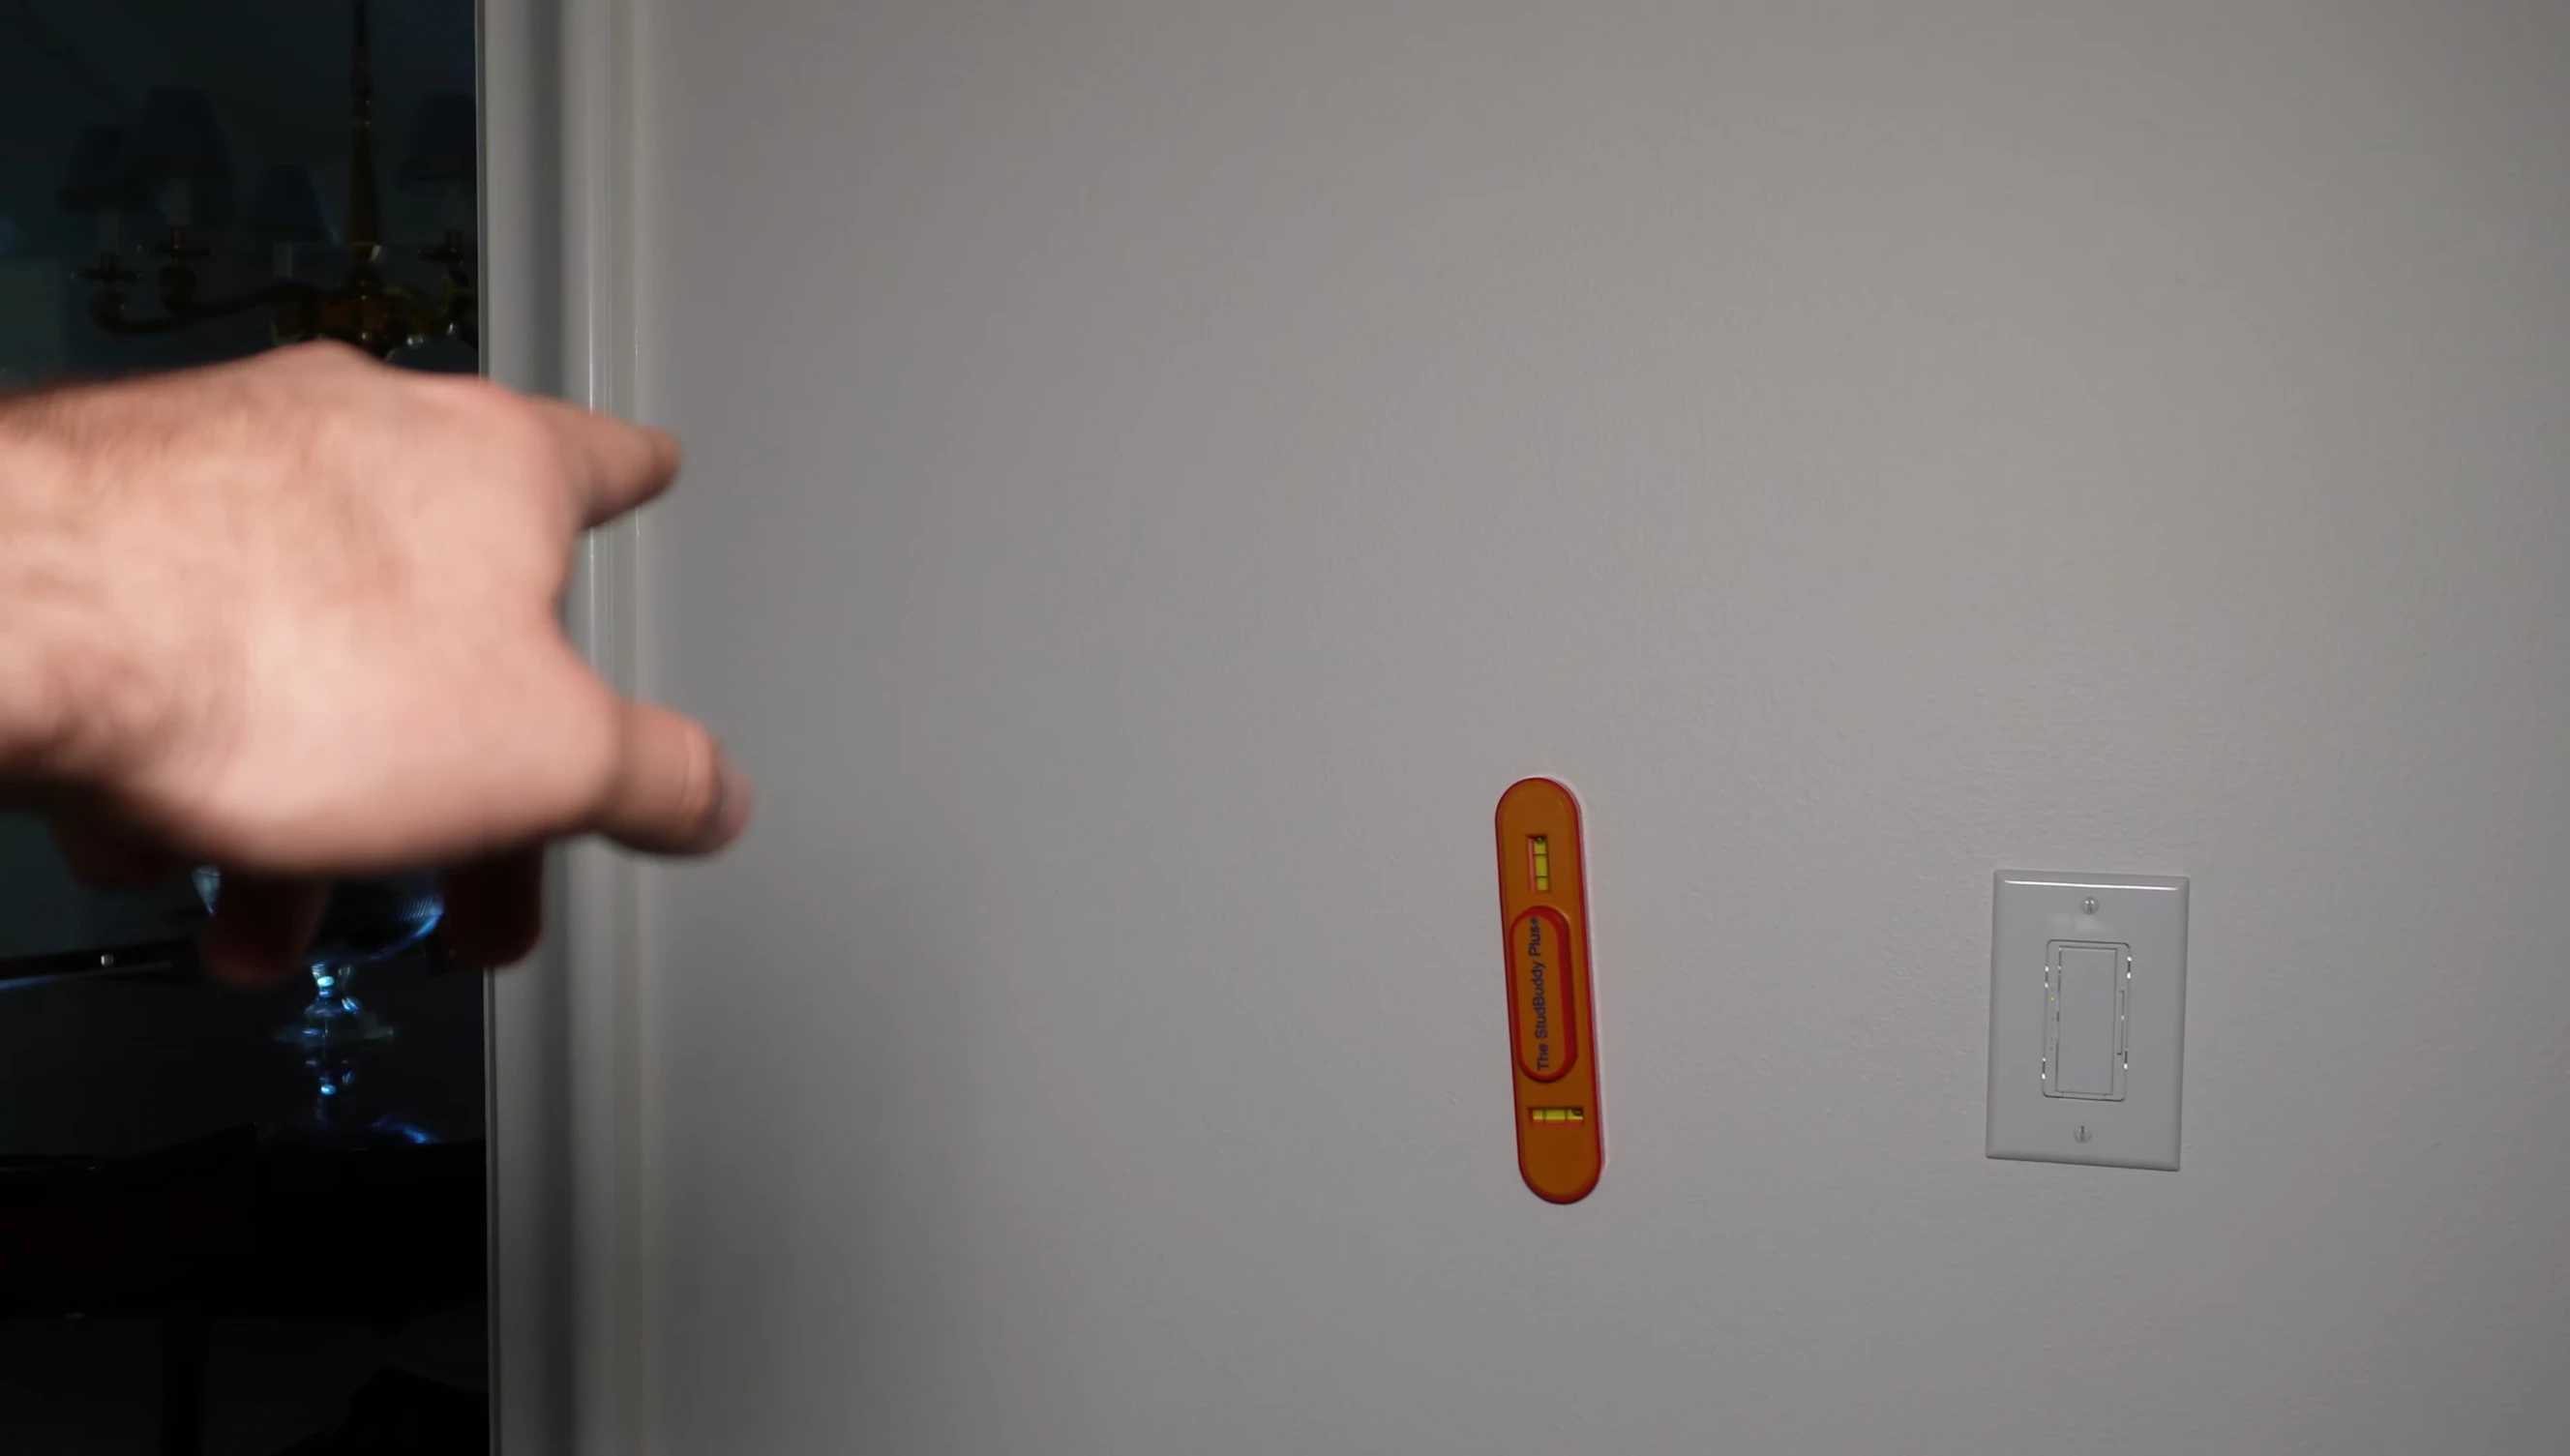
Measuring the wall cavity and determining the best placement for the thermostat is crucial. This ensures optimal signal reception and aesthetic appeal. Using a camera to inspect the cavity beforehand is recommended to avoid unexpected obstructions.
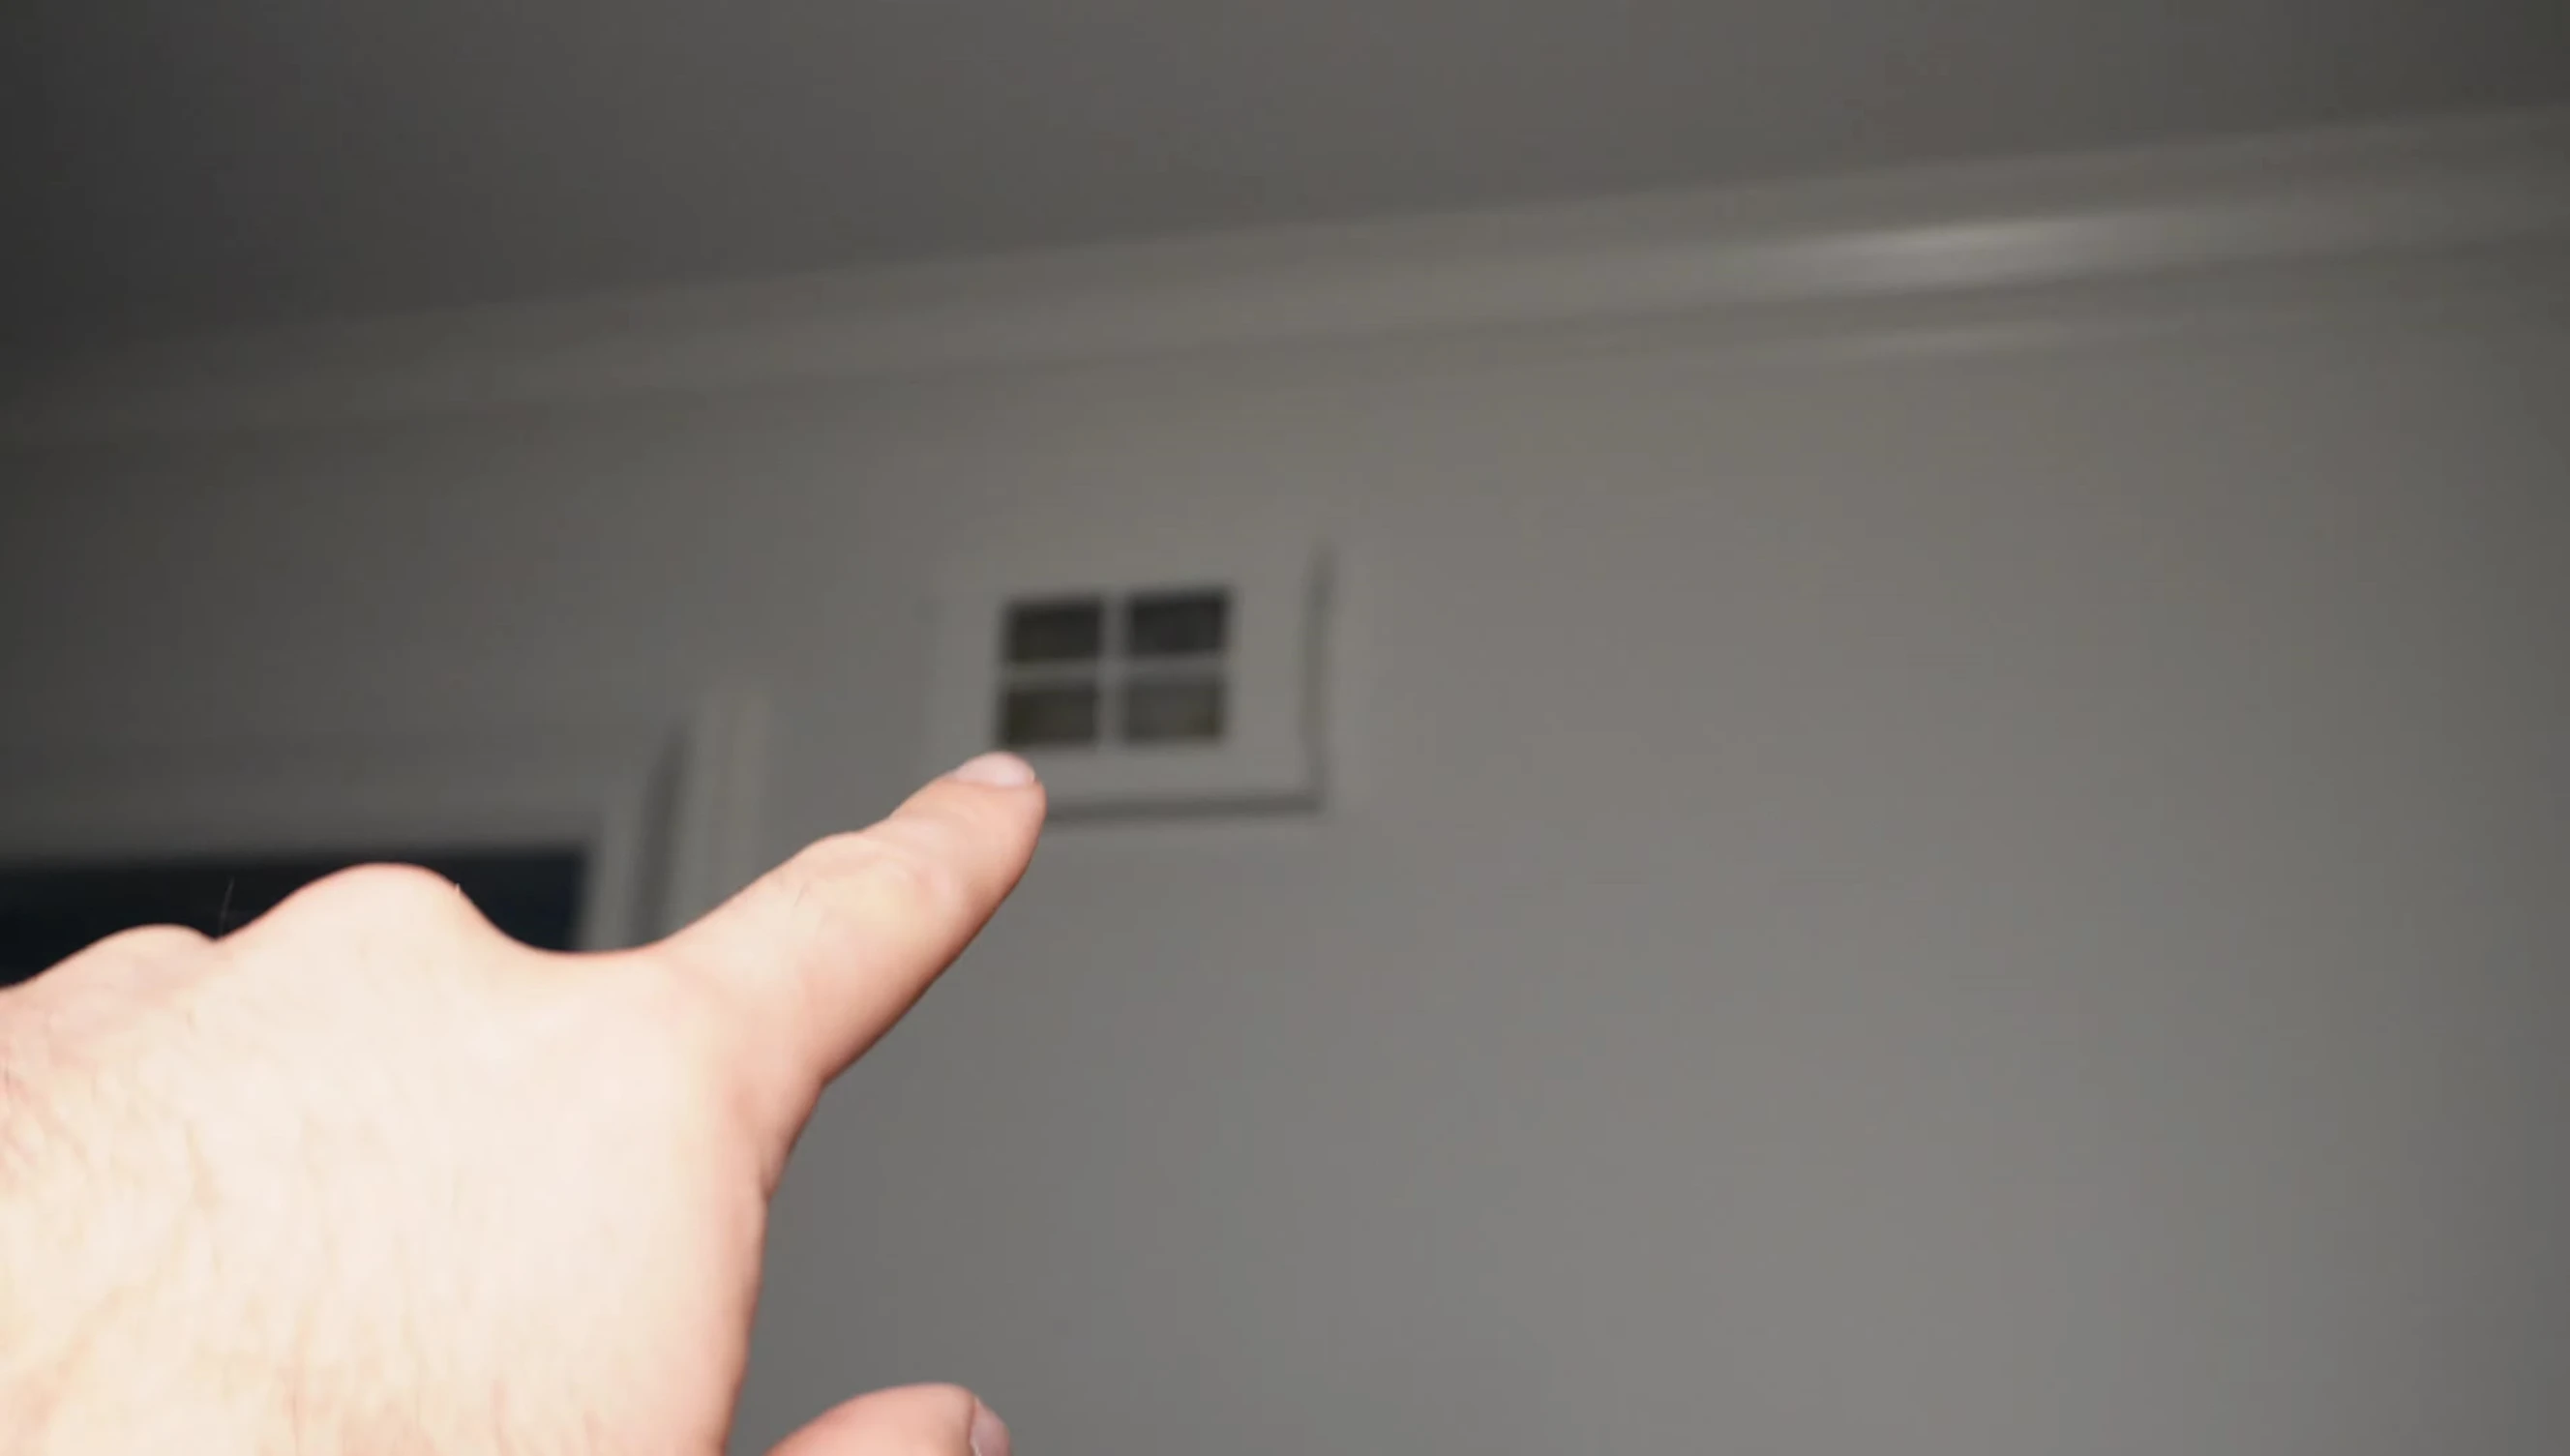
Identifying the optimal location will involve considering factors like proximity to the existing wiring, convenience, and the overall aesthetic of the room. Preparing the area minimizes disruptions and allows for a smoother installation.
Running New Wires
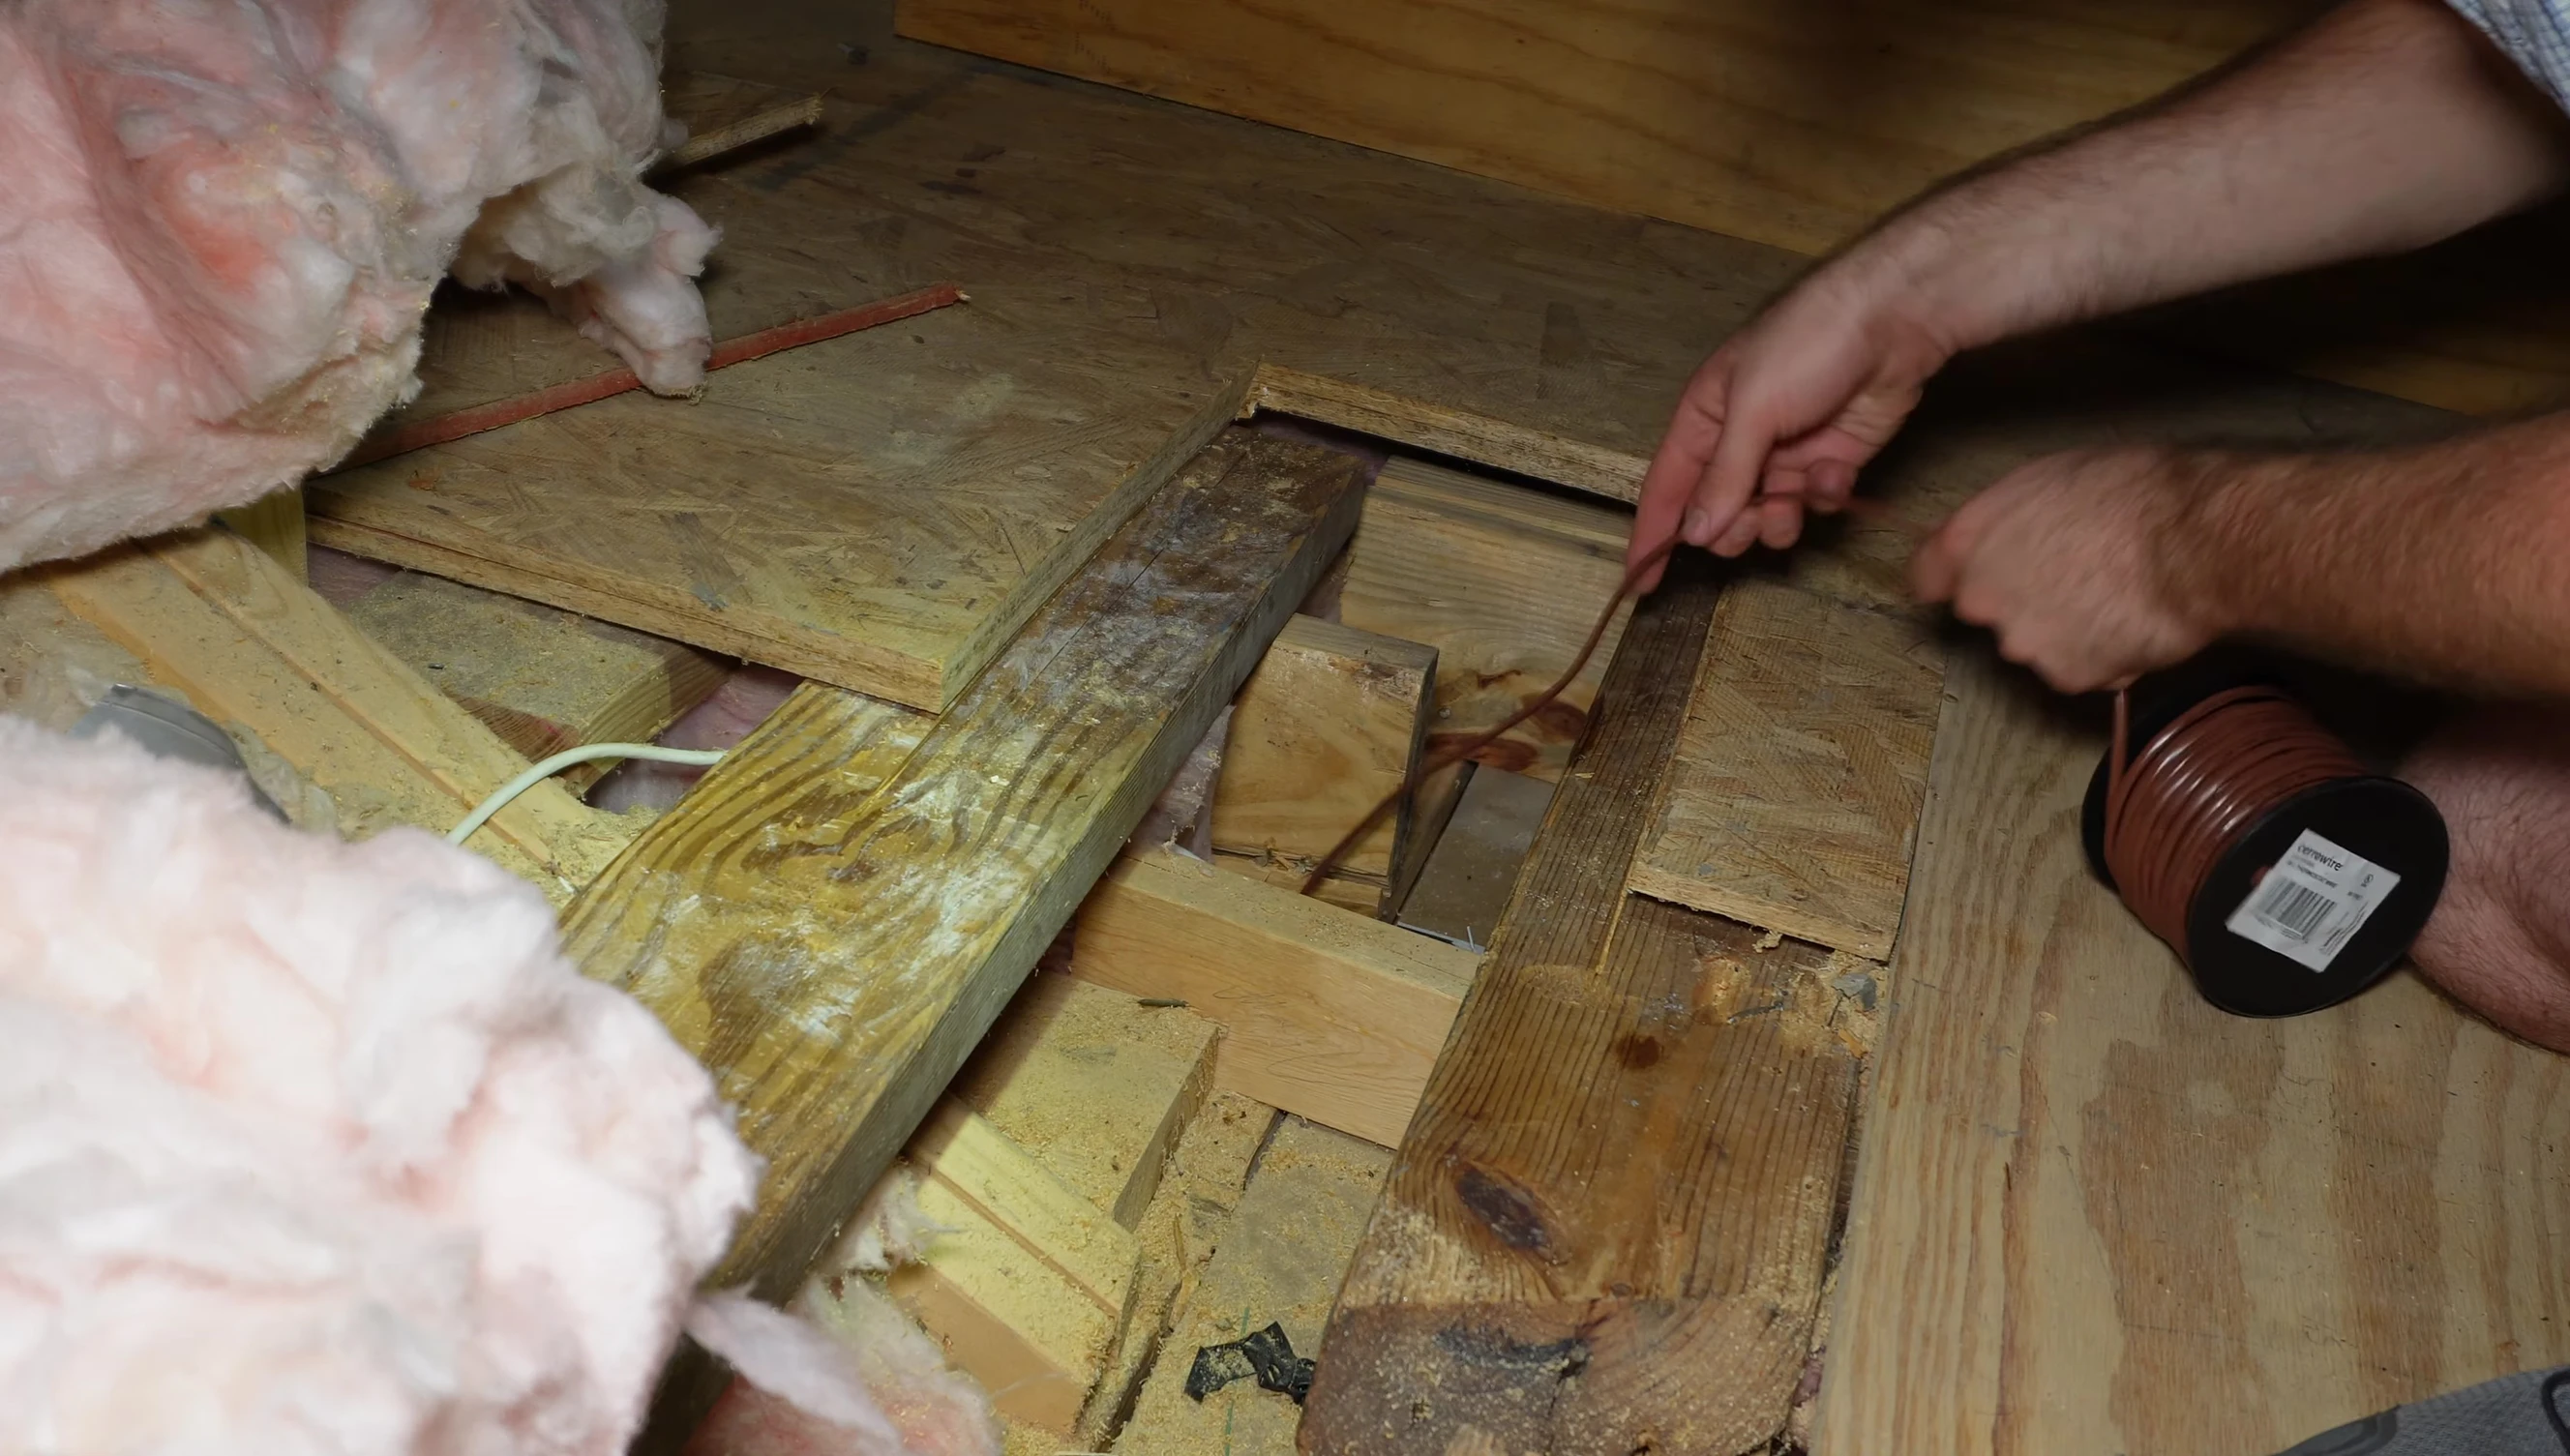
Running new wires to the thermostat location is often necessary, especially when replacing an older, wireless unit. The process involves carefully navigating the attic space and locating the existing doorbell wiring.
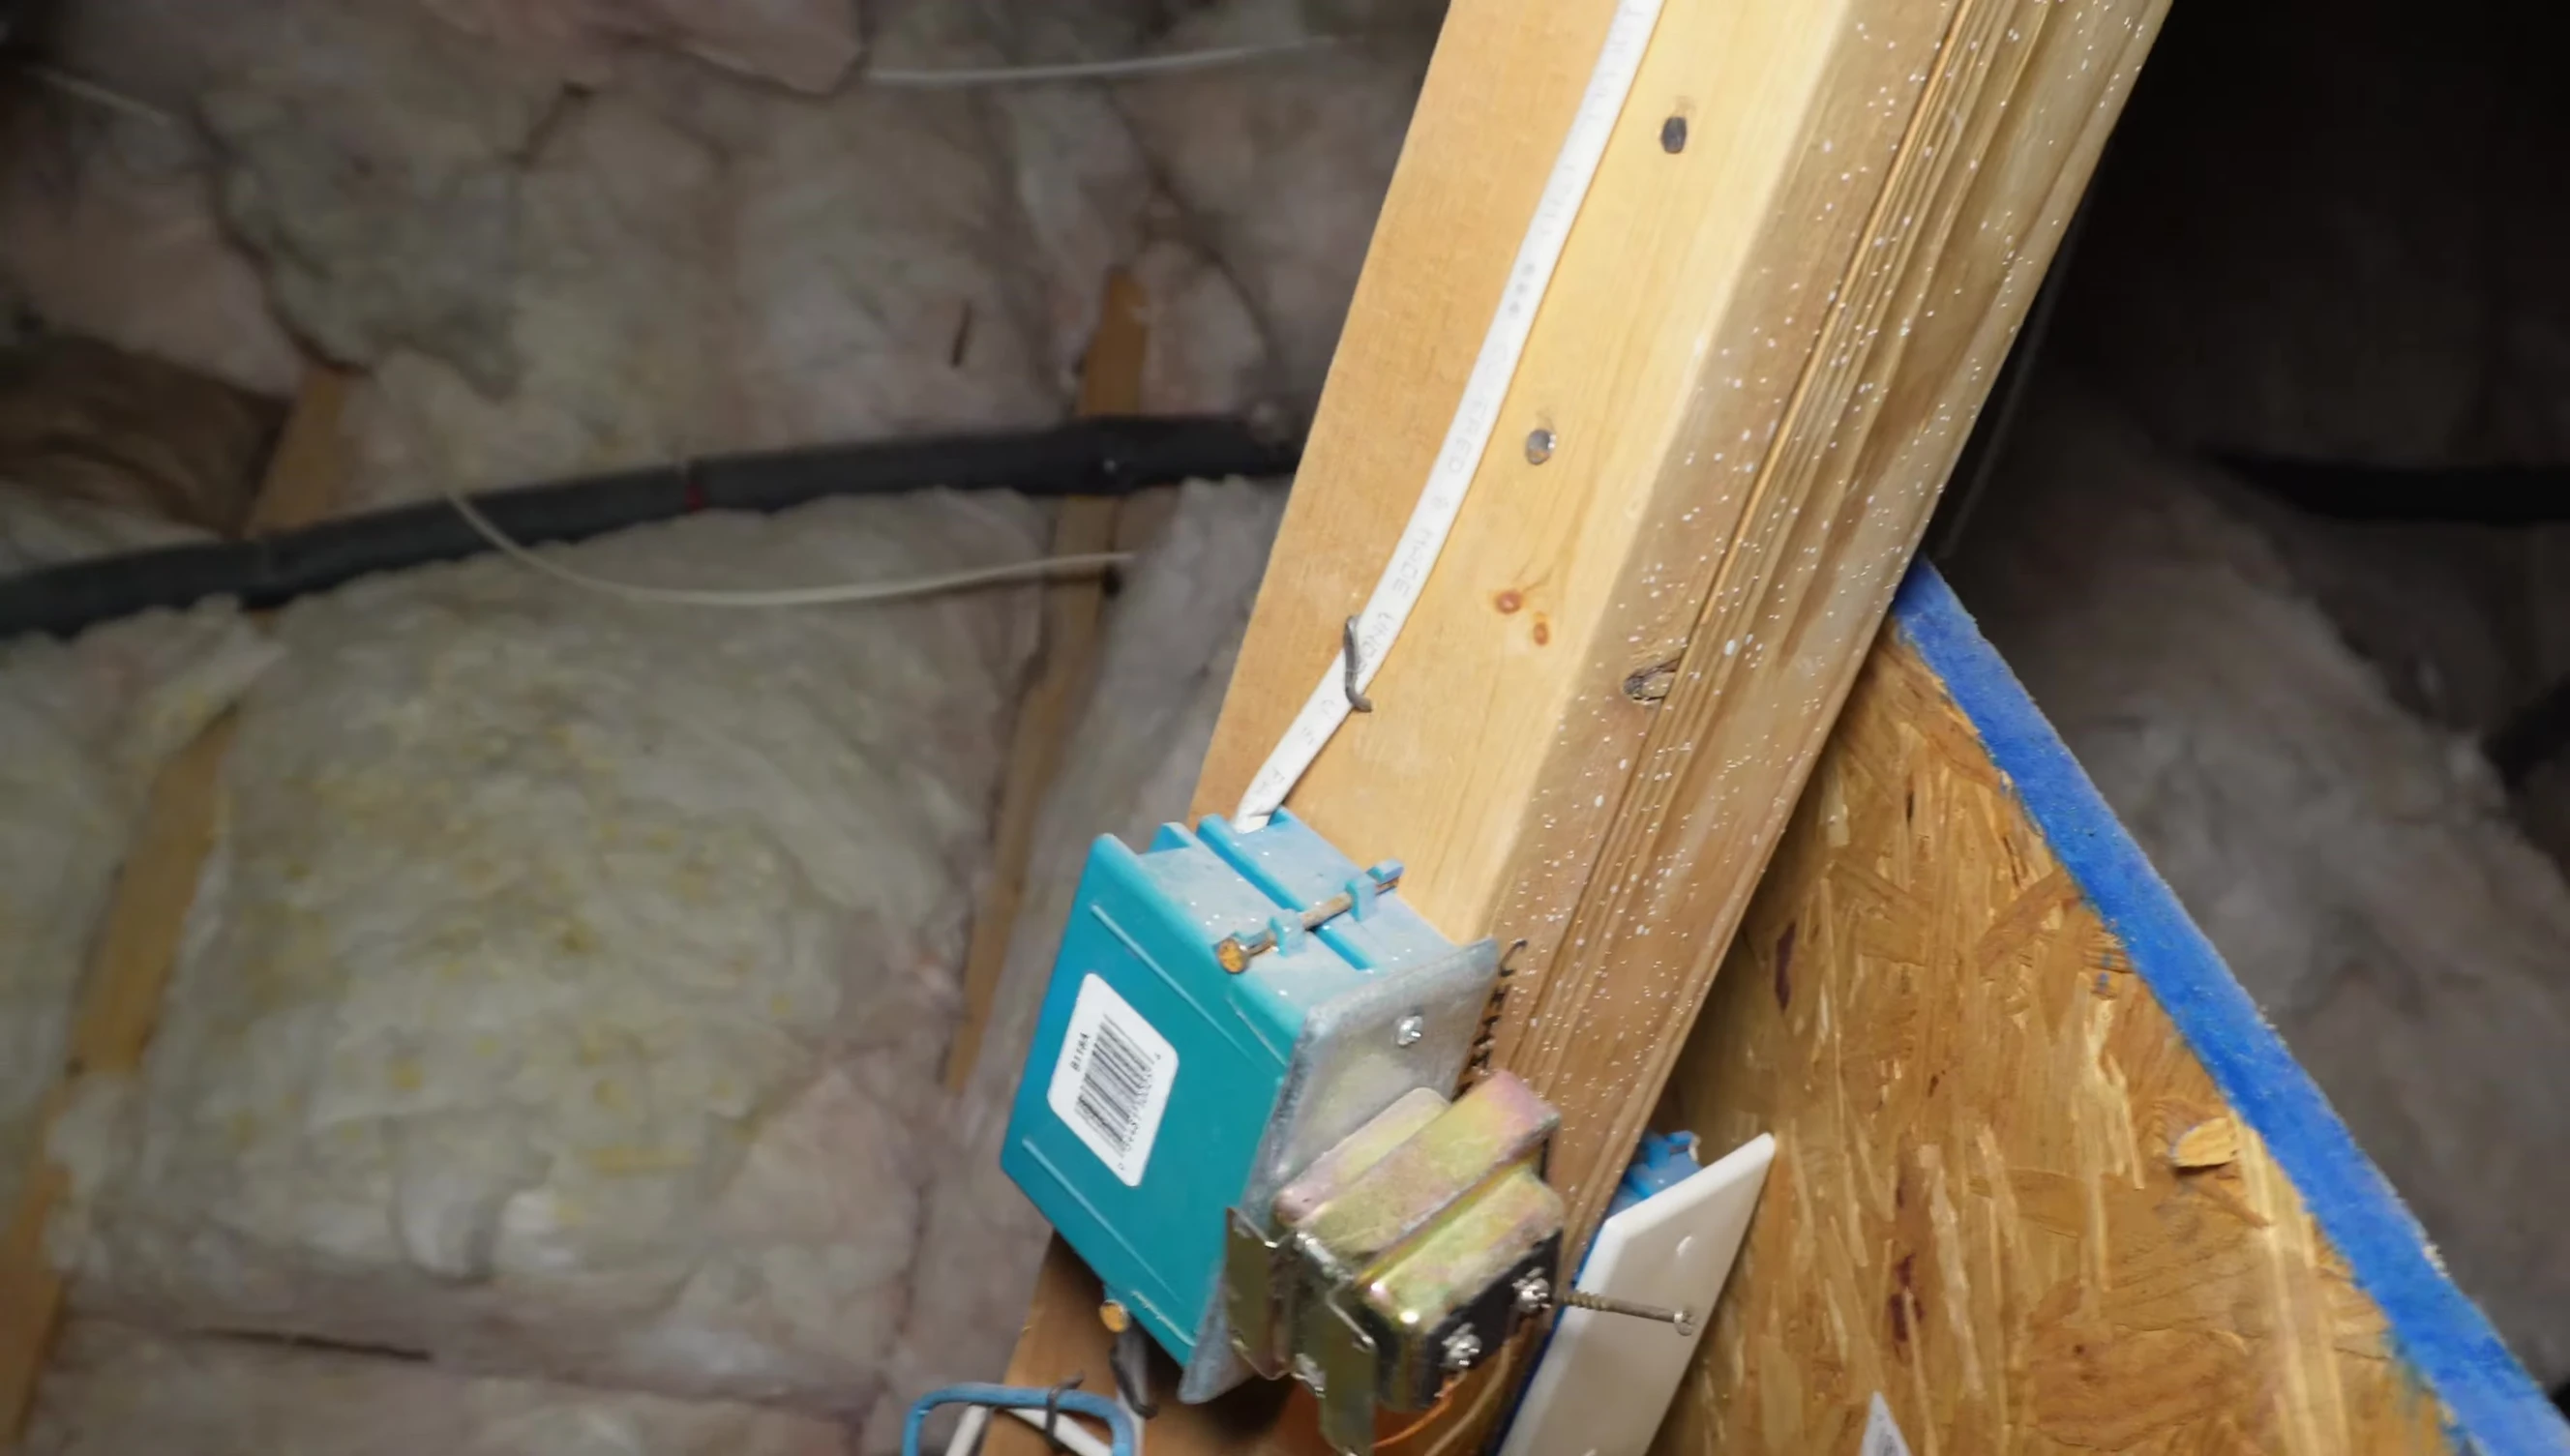
Use of a fish tape or similar tool is highly recommended. This makes threading the new thermostat wire through the wall cavities significantly easier. Proper identification of the existing wiring helps avoid damaging other components.
Safety precautions are crucial. Always disconnect power before beginning any wiring work. Securely fasten the wires once they're in place to prevent future problems.
Installing the Ecobee Thermostat
Precisely drilling the hole for the thermostat wiring is key. Using a pilot hole ensures the wire is secured and prevents damage. Ensure the hole is large enough for easy wire insertion.
After properly routing and connecting the wires, it's time to mount the Ecobee thermostat. Use a level to ensure the thermostat is perfectly aligned and mounted securely. The use of appropriate screws is essential for a secure fit.
A neat installation is important. Tuck away excess wiring carefully to maintain a clean look. Take your time, double-checking each connection to prevent errors.
Wiring and Connections
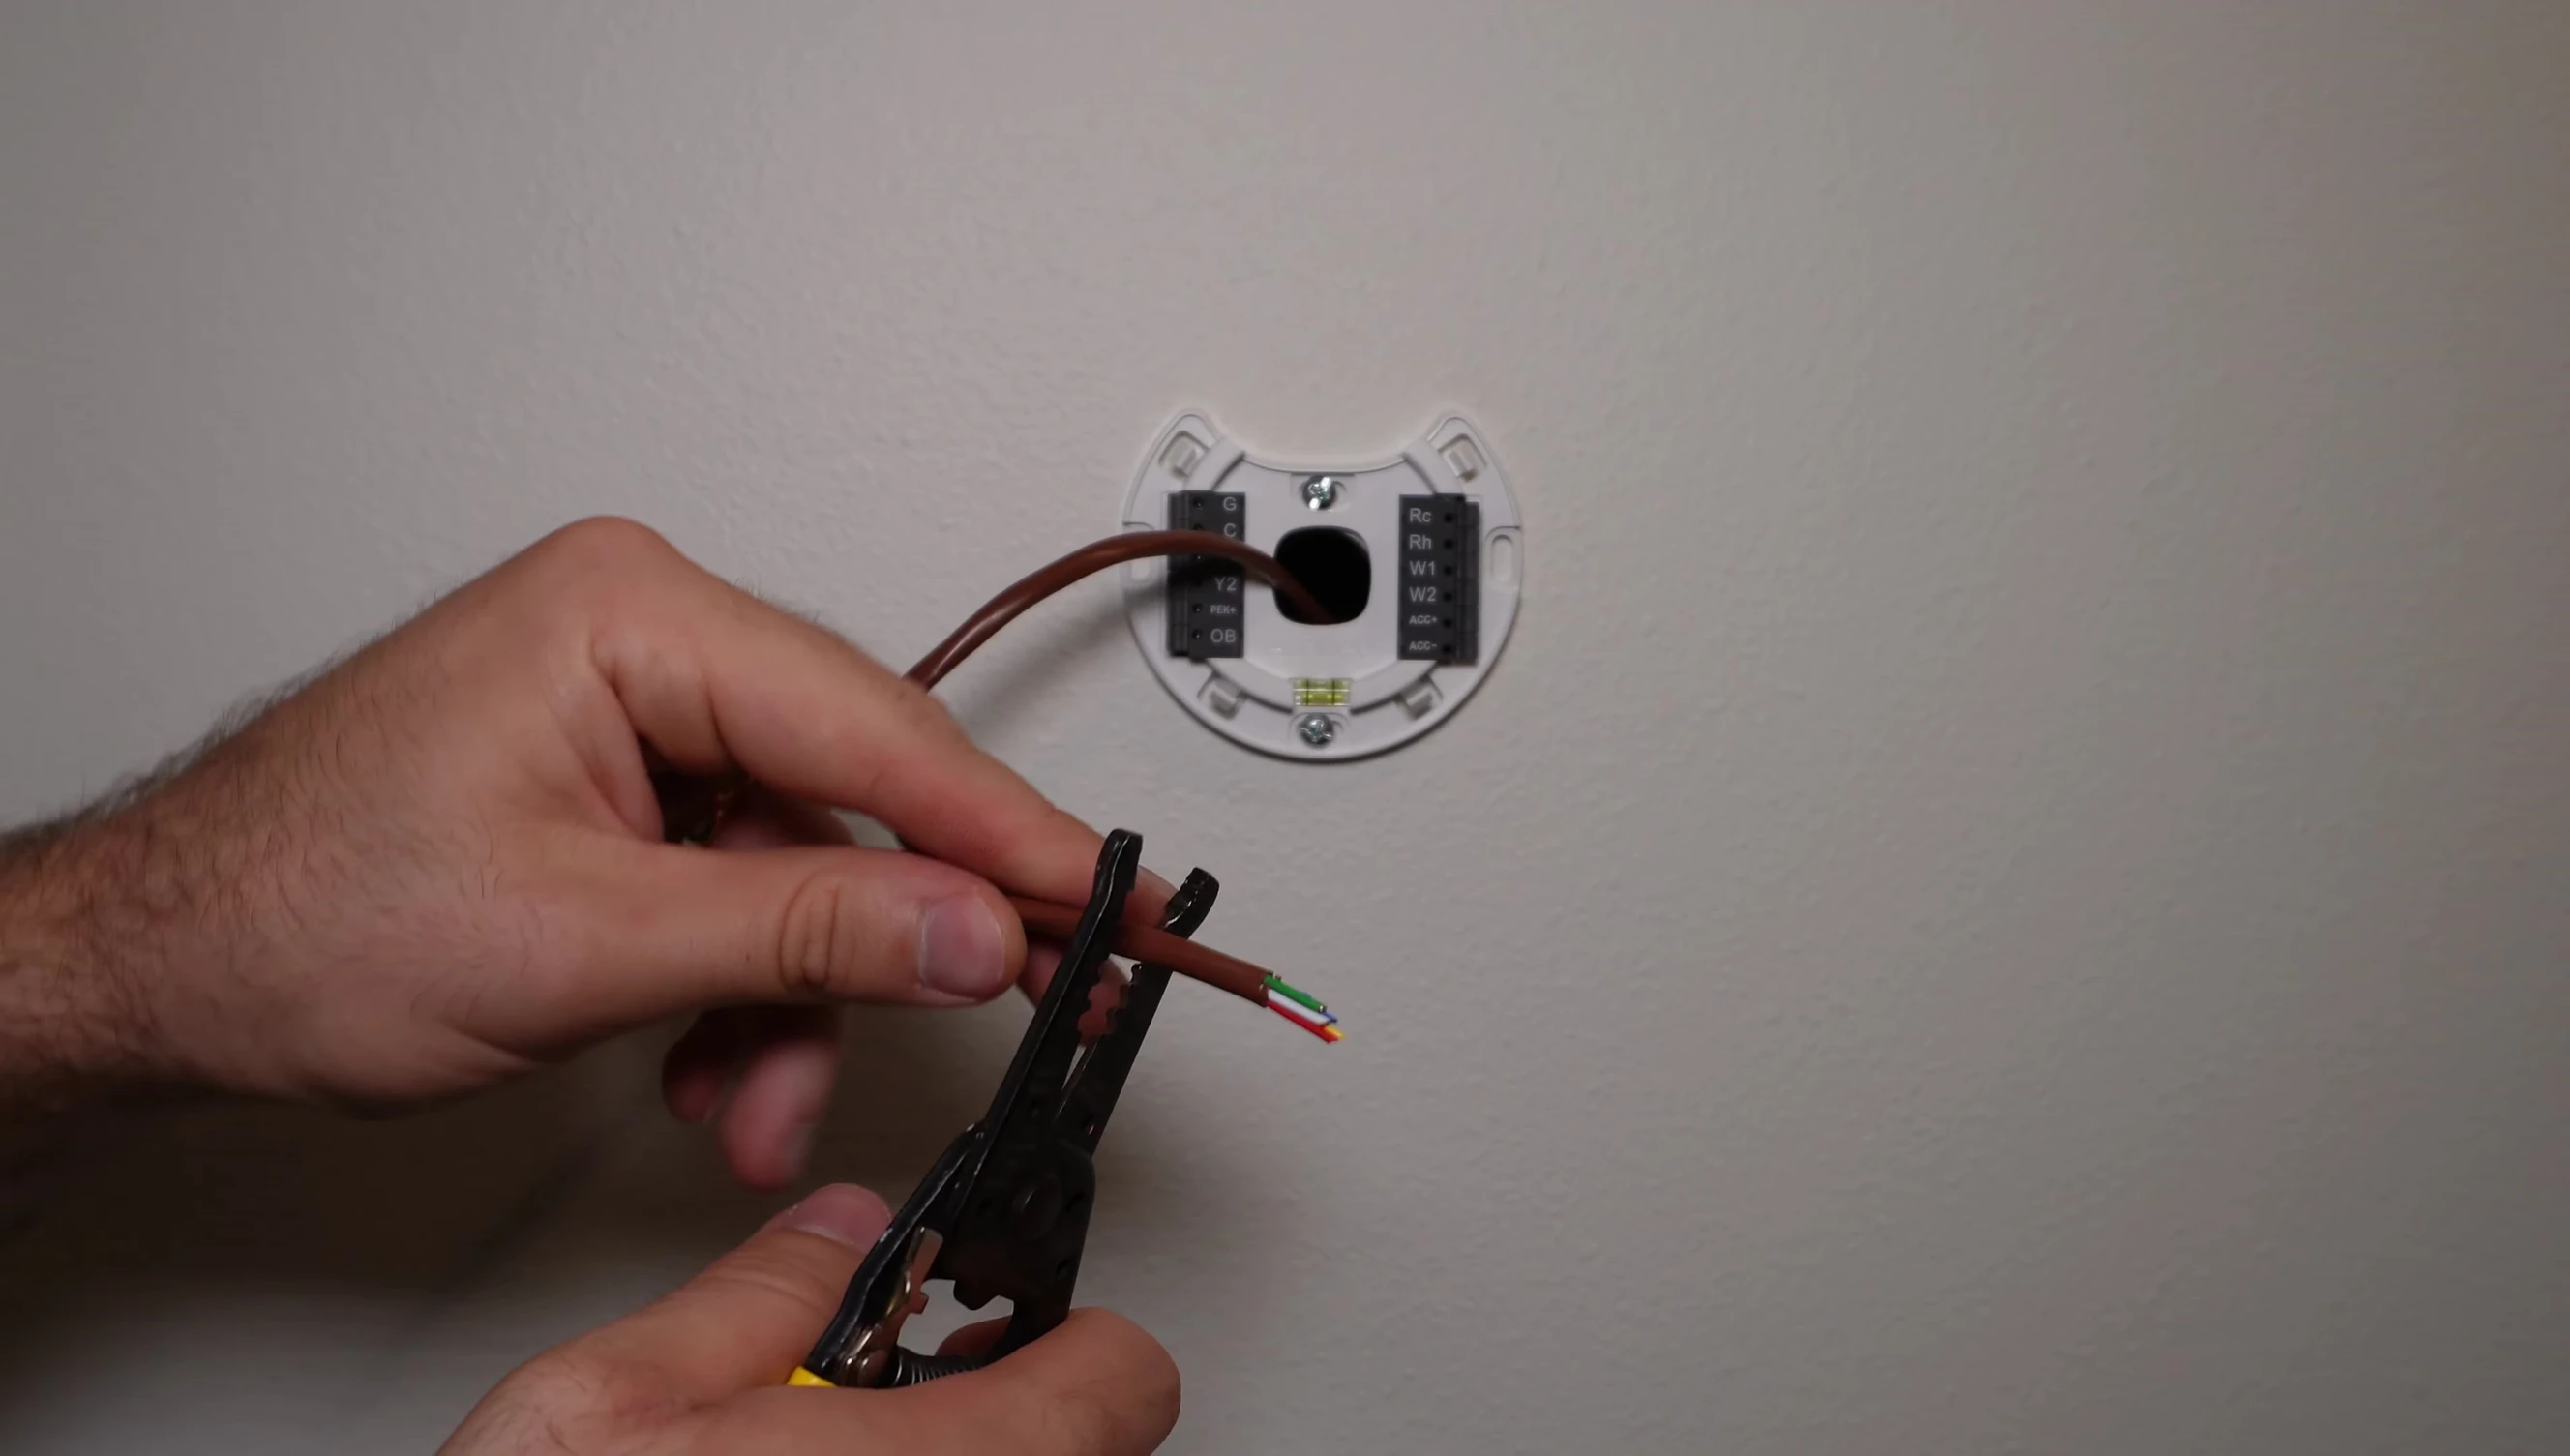
Connecting the wires to the thermostat requires attention to detail. Matching wire colors to their respective terminals is essential for correct functionality. Use wire strippers to remove insulation without damaging the wires.
Double-check the connections before closing up the wall. Securely fastening each wire prevents loose connections and ensures proper signal transmission. This step prevents future problems.
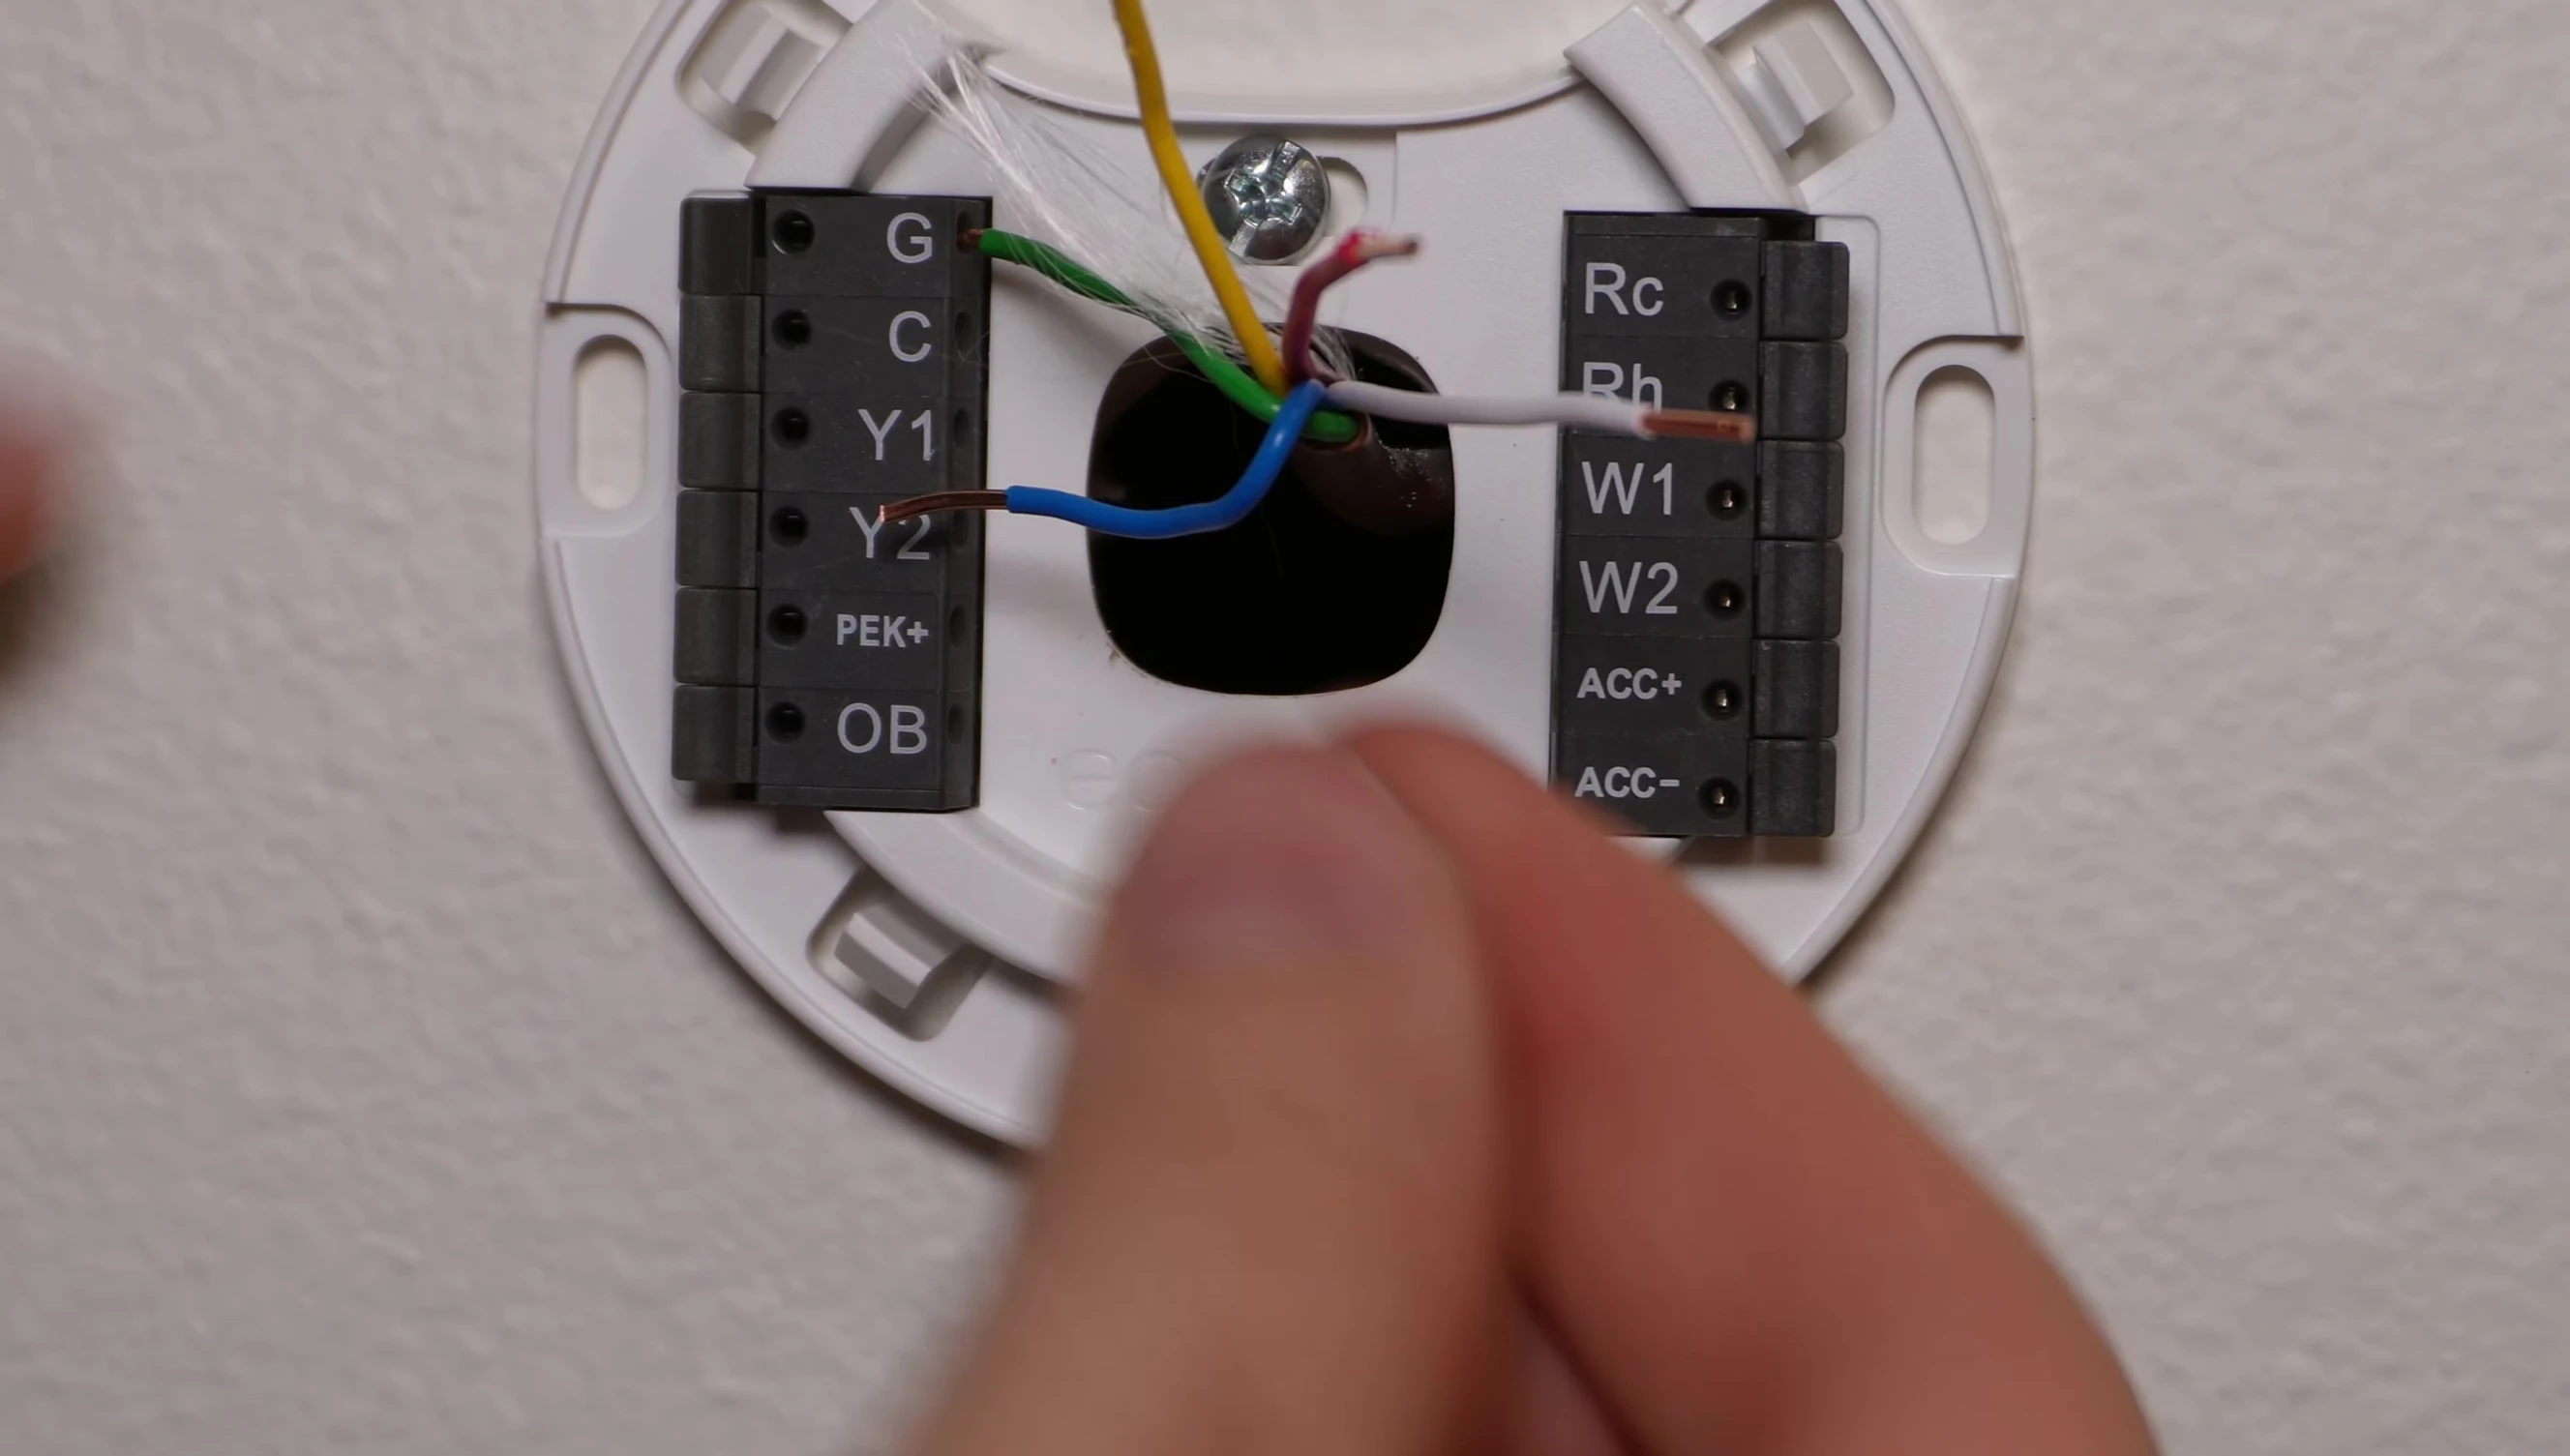
Always consult your thermostat's installation guide for accurate wiring diagrams. This is crucial to avoiding incorrect connections and potential damage to your system.
AC Unit and Zone Controller Setup
Accessing and working with your air conditioning unit requires careful consideration. Disconnect power to ensure safety before making any changes. Locate the appropriate zone control for your new thermostat.
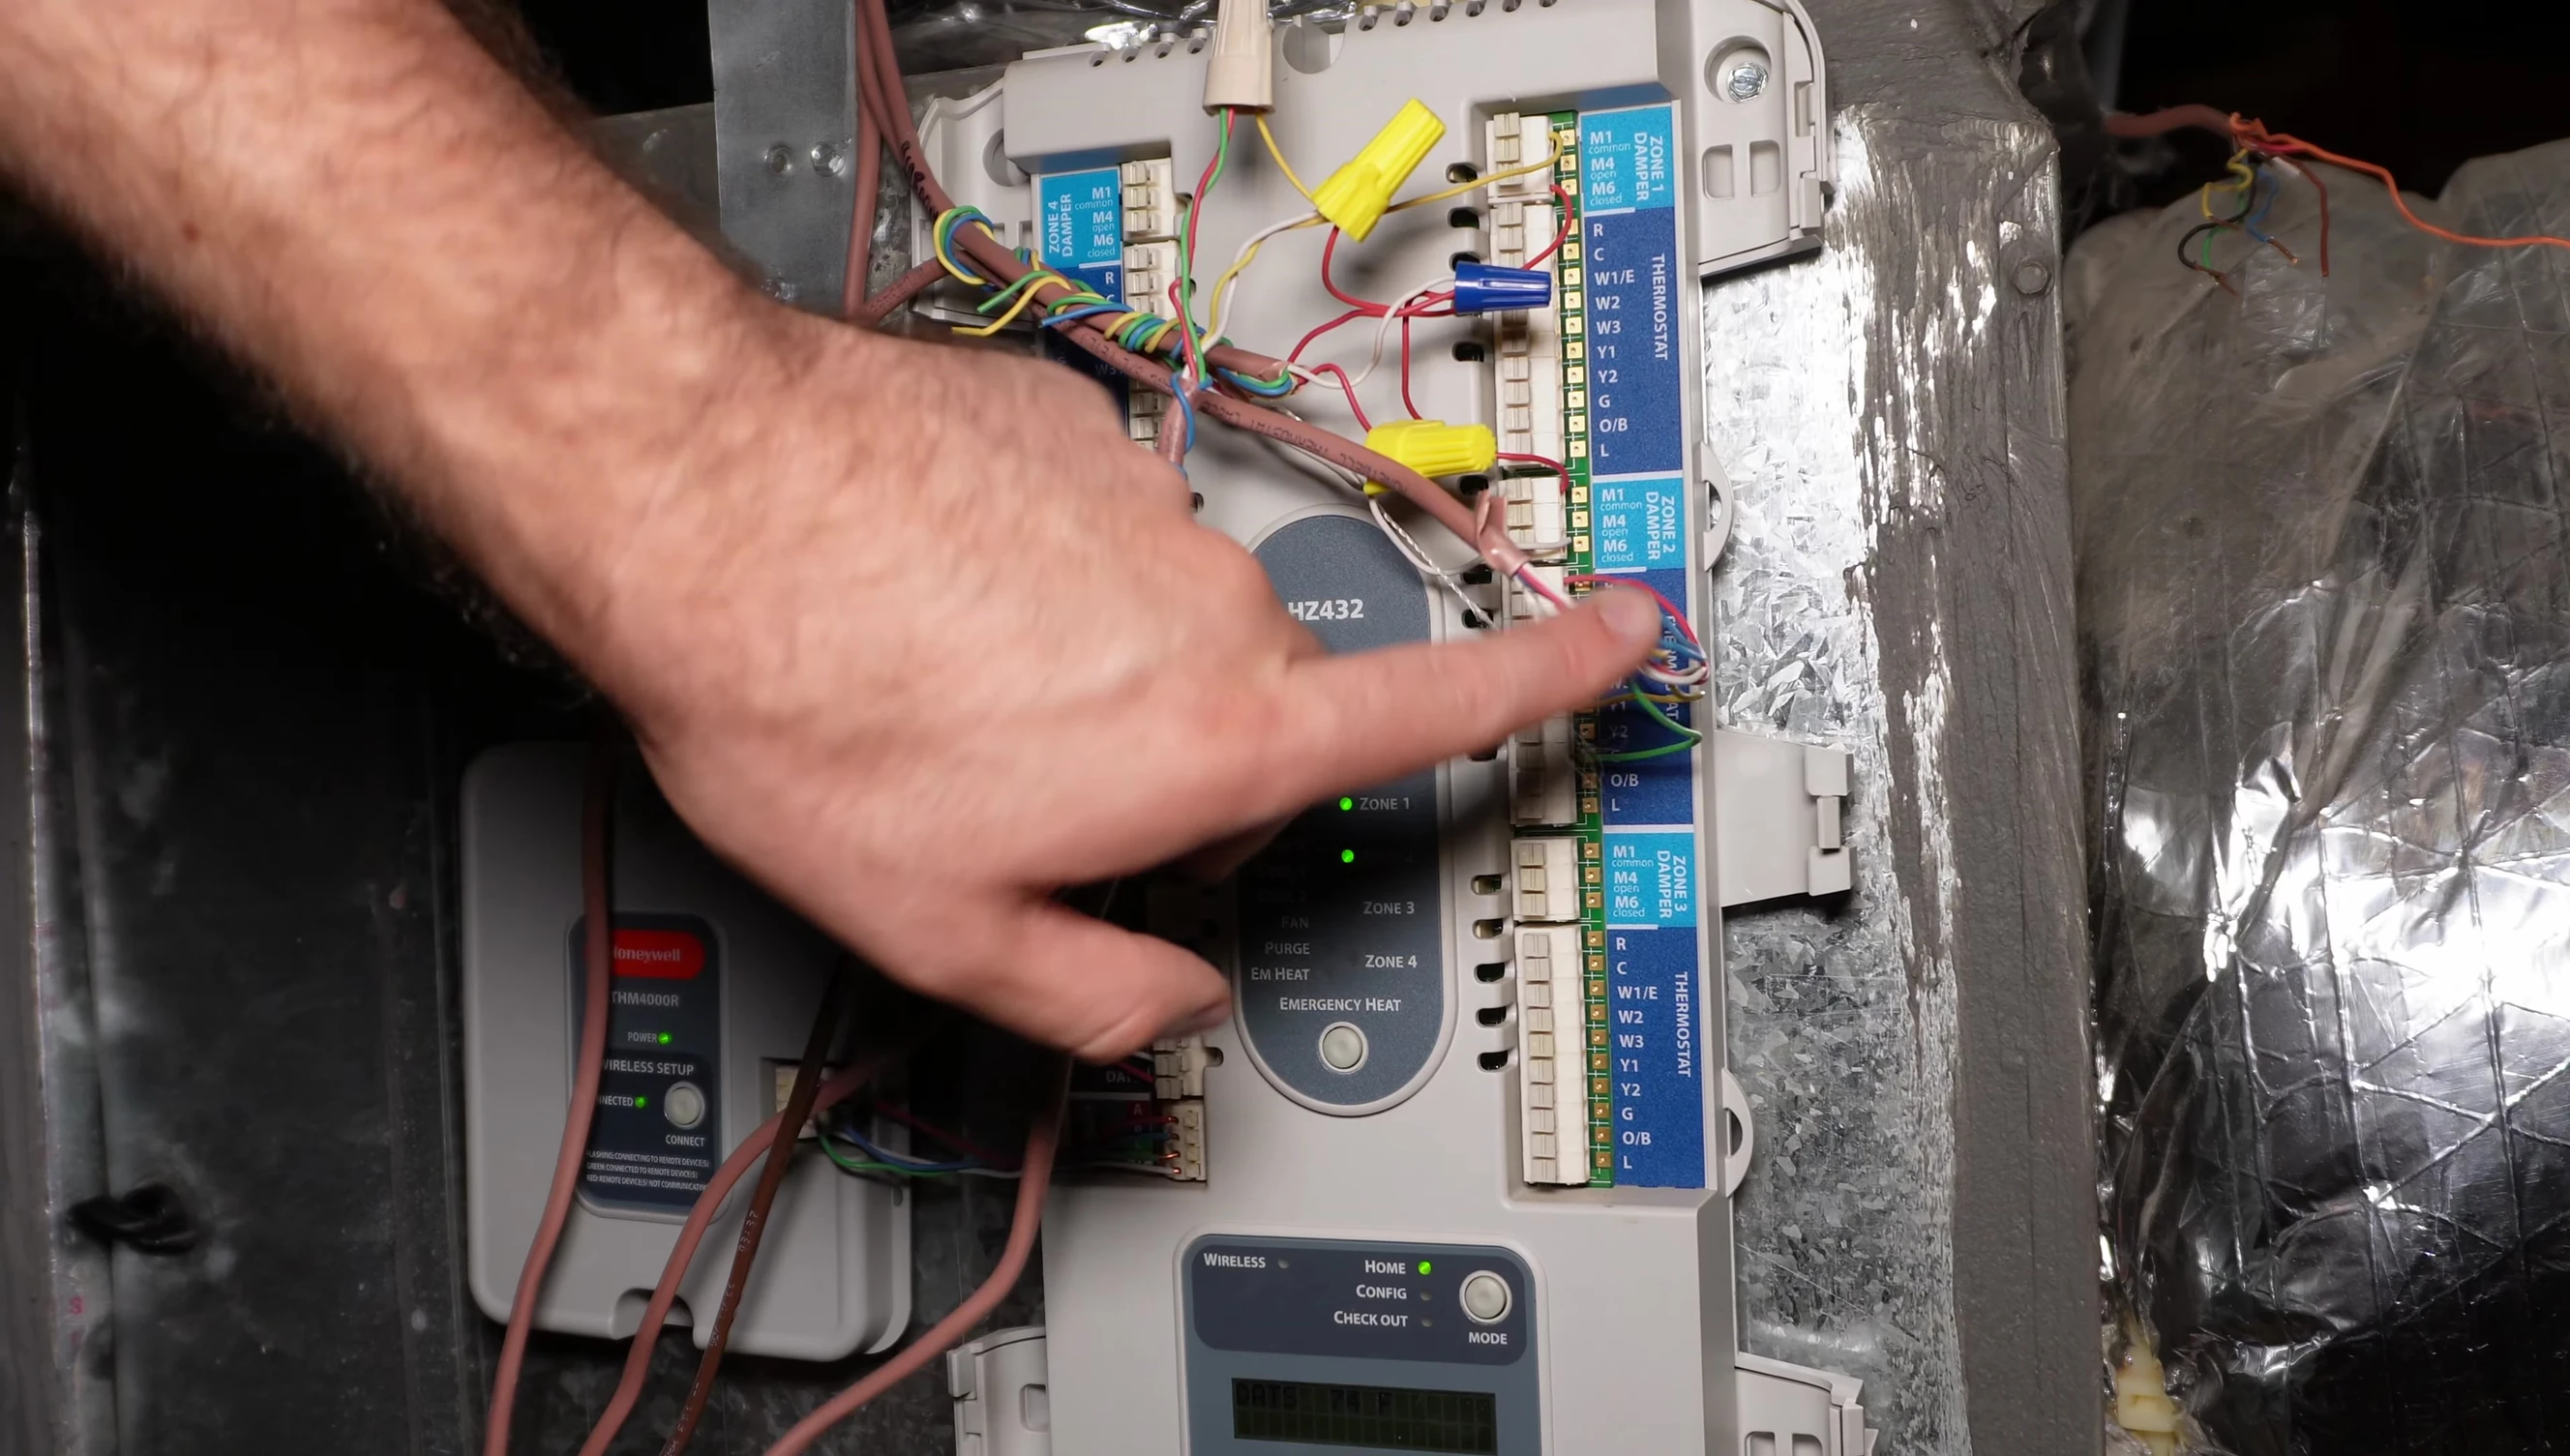
Properly connecting the thermostat wires to the AC unit is essential. Consulting the documentation will assist with accurate wiring. This step is crucial for successful operation.
Test your connections carefully to ensure correct operation. Verify that power is restored and your AC unit is responding properly to the new thermostat.
Final Setup and Testing
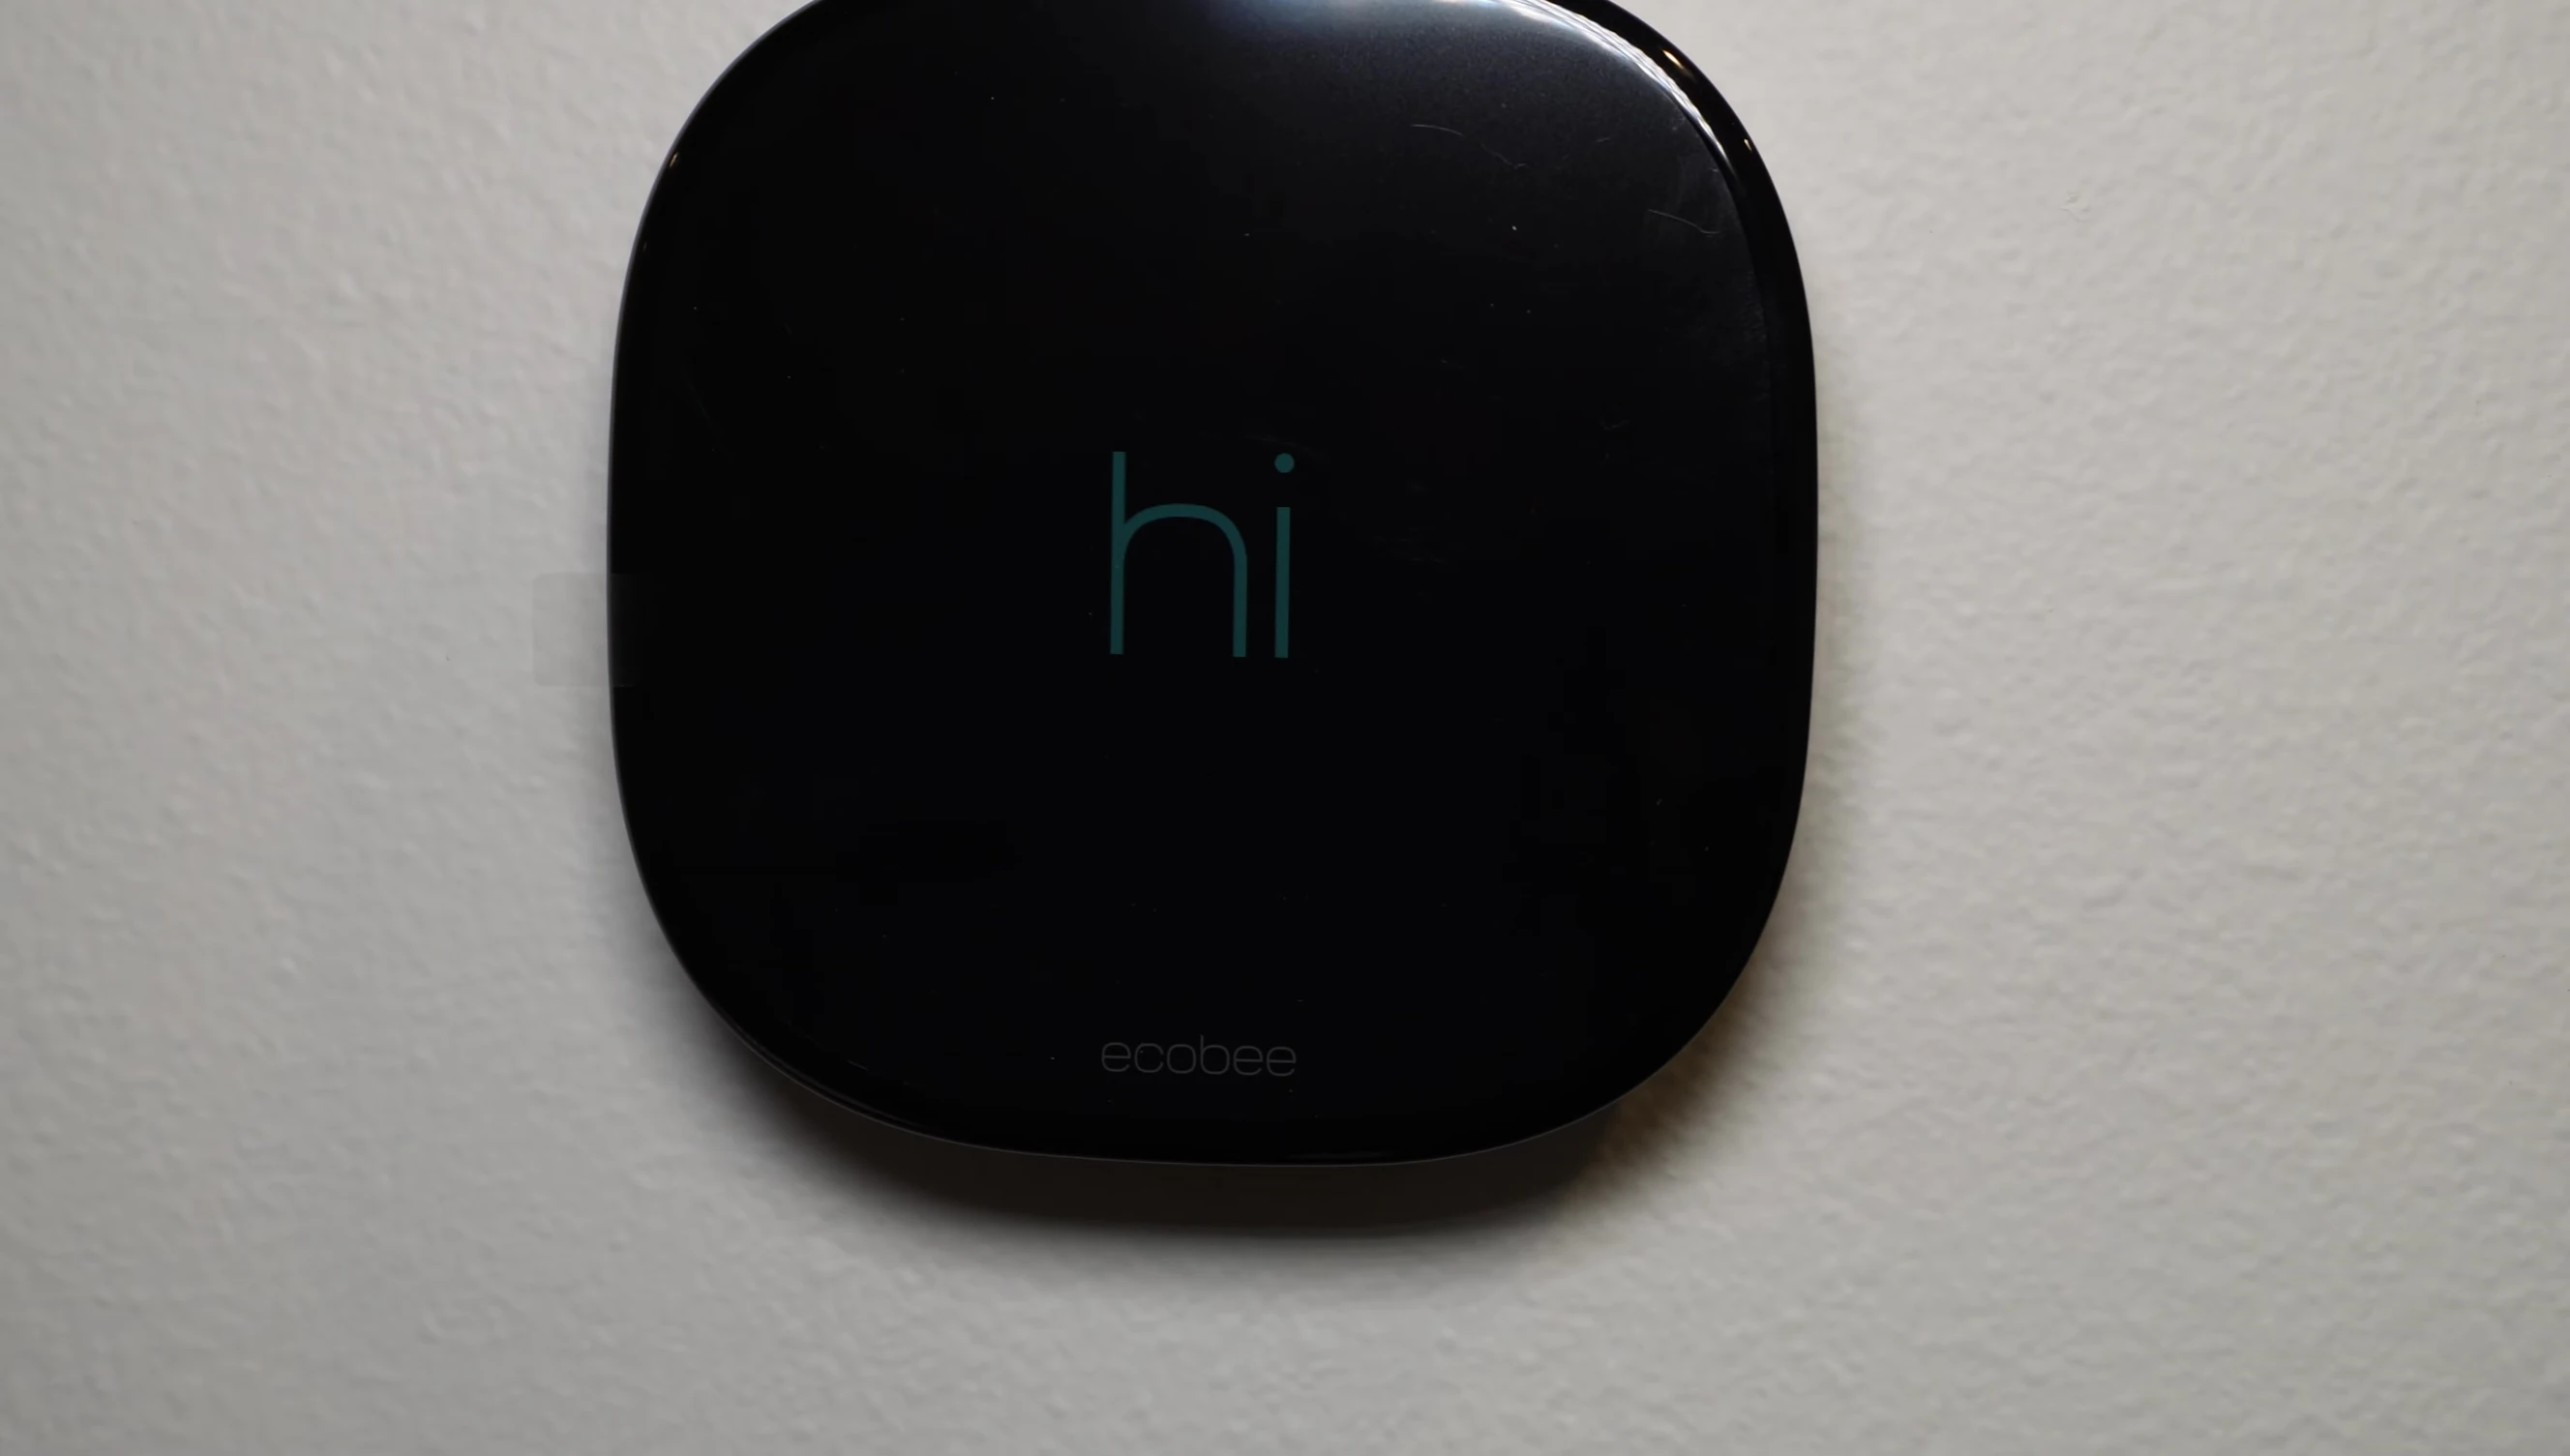
Once the wiring is complete, the Ecobee thermostat should power on and initiate the setup process. Follow the on-screen instructions carefully, providing necessary information such as your Wi-Fi credentials.
The final step involves testing the newly installed thermostat. Verify the temperature settings and check the operation of your HVAC system. This ensures everything is functioning correctly before closing up the wall.
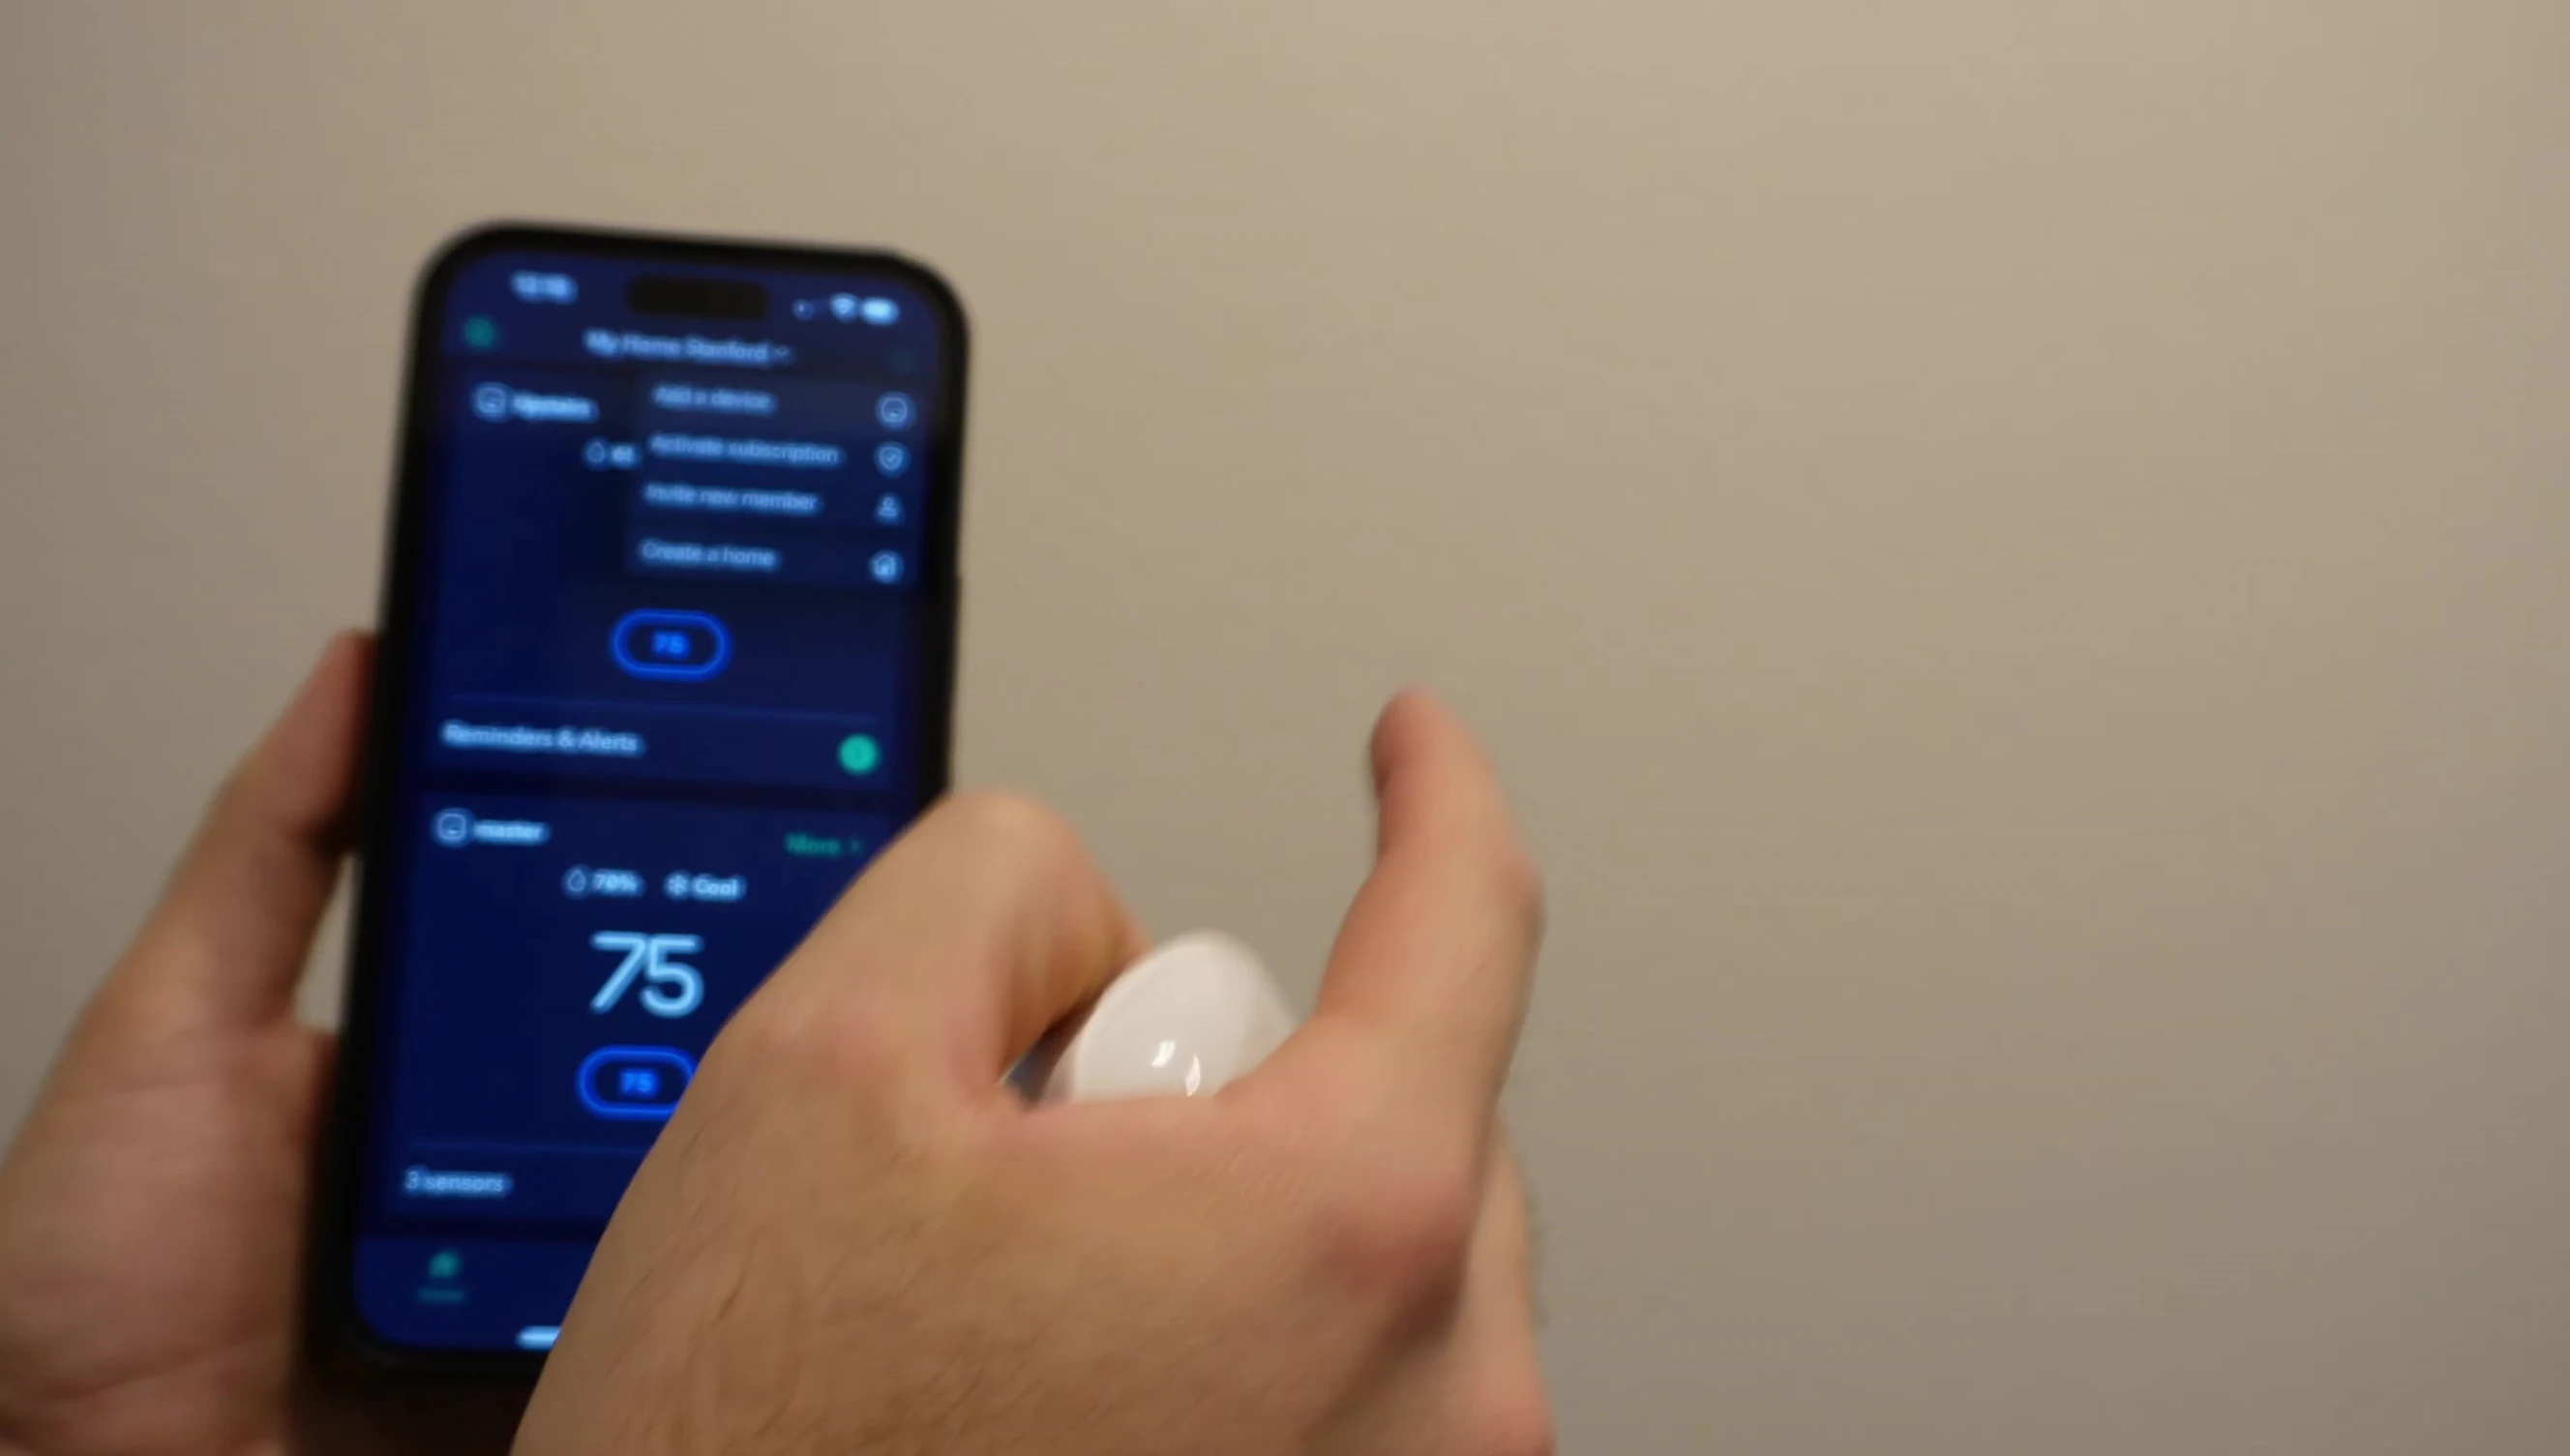
Installing a smart sensor provides additional convenience and precise temperature readings. This enhances the overall efficiency of the thermostat.