Upgrading your home's climate control with a smart thermostat offers convenience and potential energy savings. This DIY guide provides a step-by-step process for installing your new smart thermostat, empowering you to take control of your home's comfort. We'll walk you through each stage, from safely disconnecting your old thermostat to connecting your new one and setting up remote access via your smartphone. Following these clear instructions, you can enjoy the benefits of a smart thermostat in no time.This guide prioritizes safety throughout the installation process, emphasizing crucial safety precautions before you even begin. We’ll cover essential steps such as turning off the power, documenting your wiring configuration, and carefully connecting your new thermostat. While this is a manageable DIY project for many, we remind you to consult a qualified professional if you encounter any difficulties or feel uncomfortable at any point. Let's get started on improving your home's climate control!
Pros And Cons
- Can be installed easily without professional help.
- Allows climate control from anywhere.
- Can save money on energy bills in the long run.
Read more: AMI Meter Reading Guide: Understanding Your Smart Electricity Meter
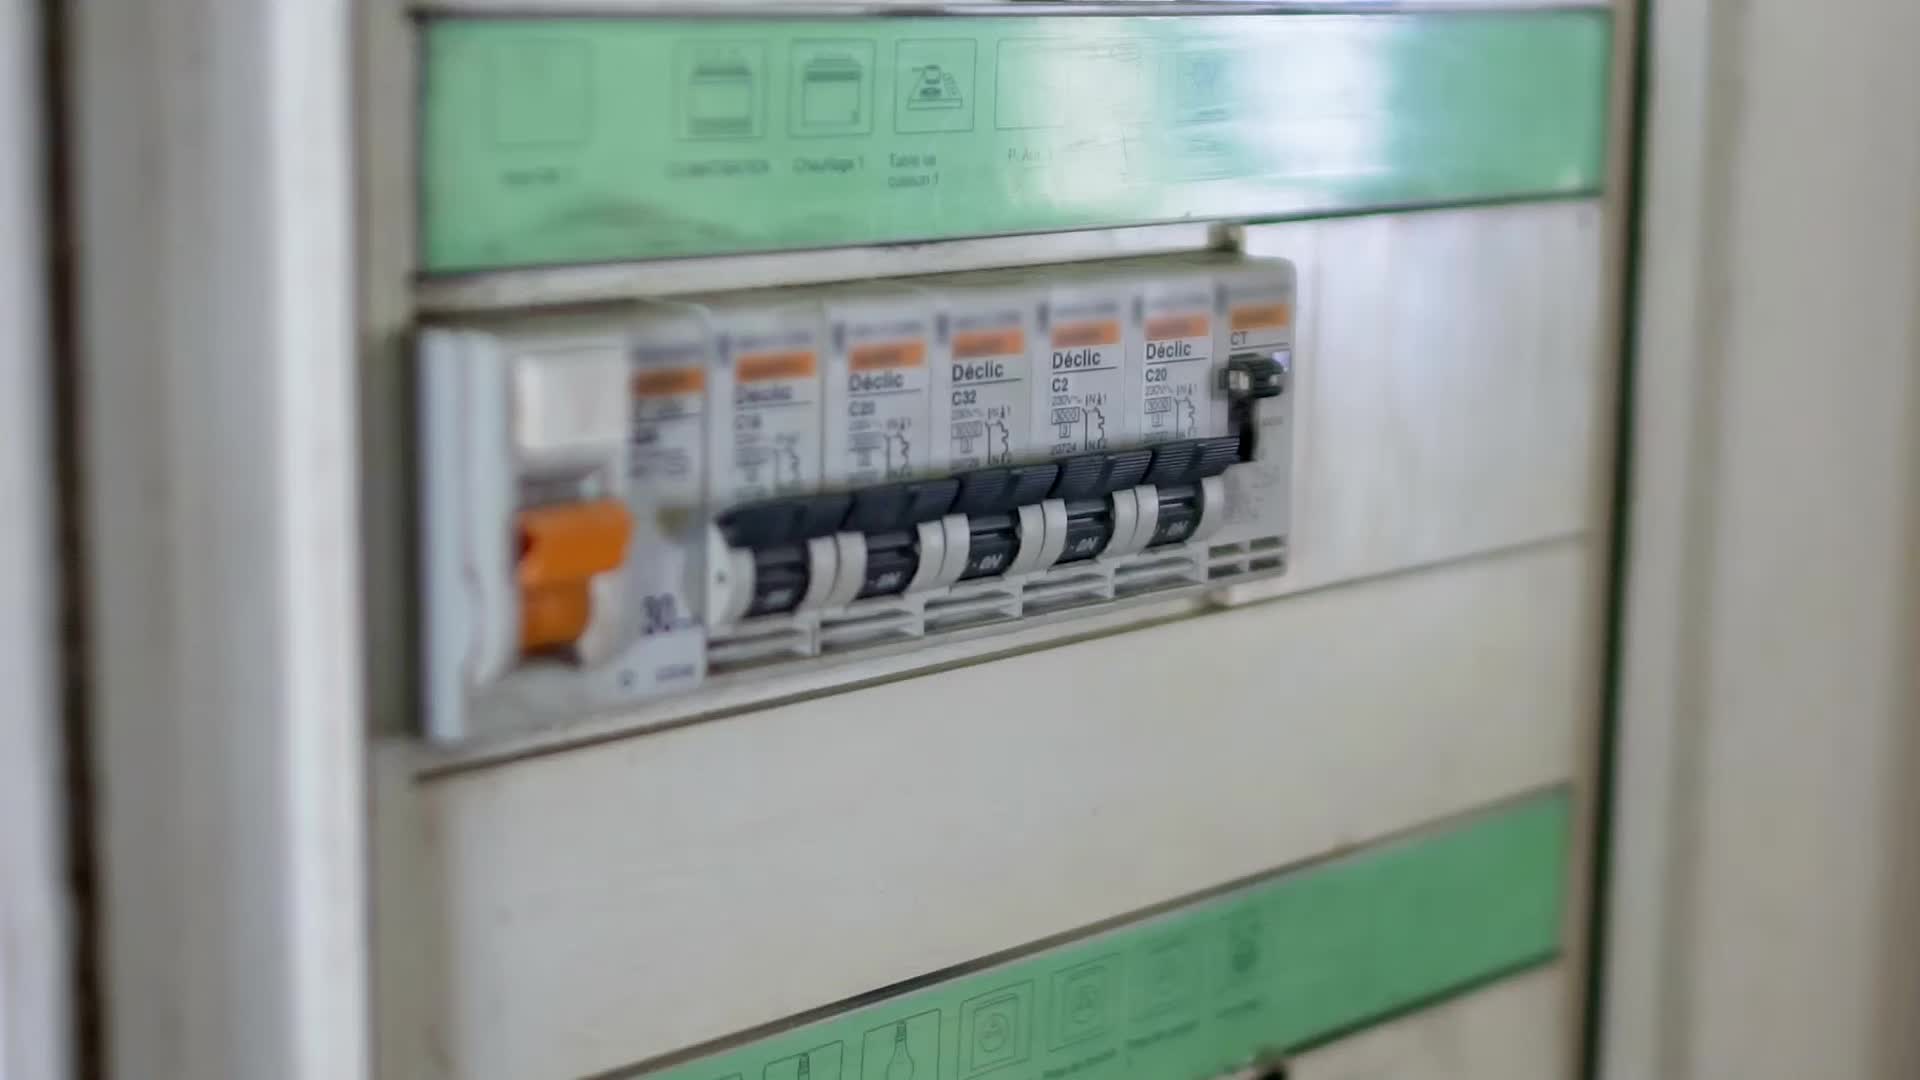
Safety First: Power Down Your System
Before you begin any work on your HVAC system, safety is paramount. Always turn off the power to your system at the breaker box. This prevents electrical shocks and ensures a safe working environment. Double-check that the power is off by verifying your old thermostat's screen is dark. Taking this precaution safeguards you throughout the entire process.
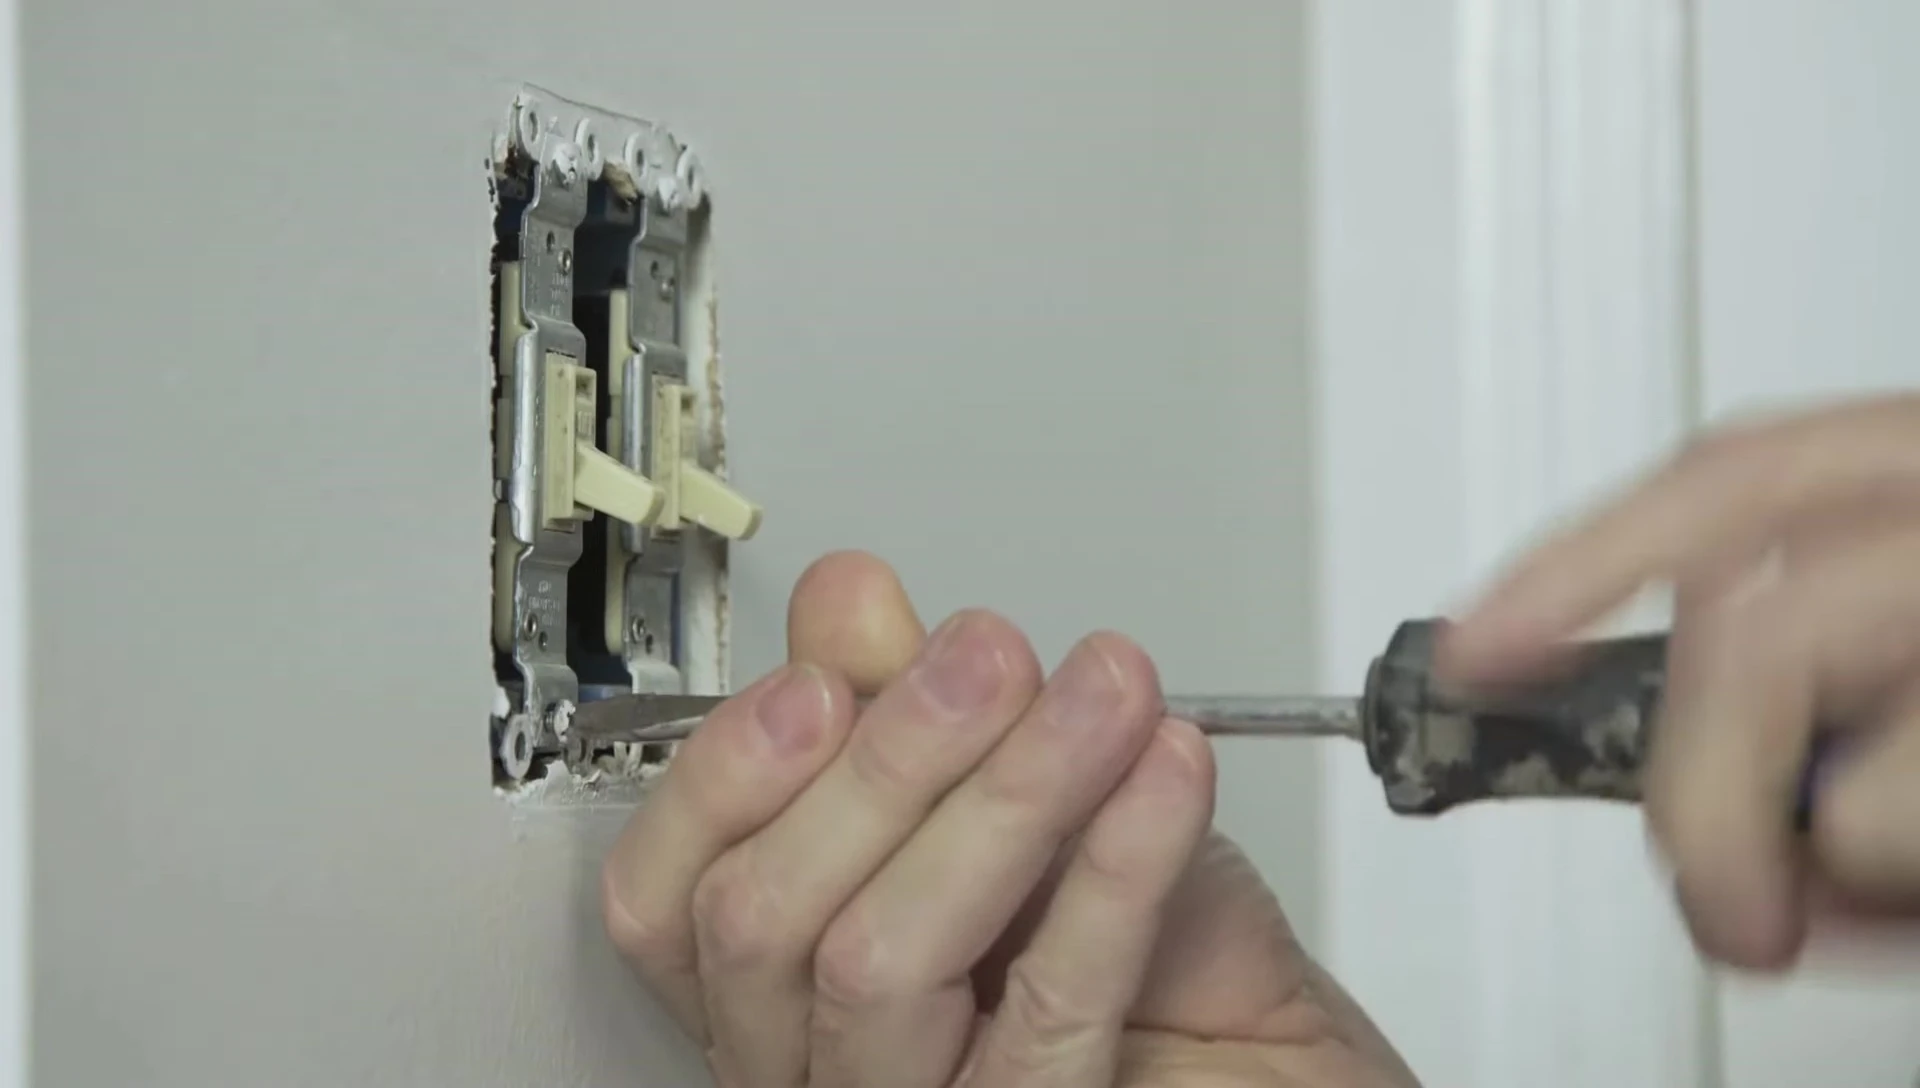
Removing the Old Thermostat
Carefully remove the old thermostat's faceplate. This usually involves a simple snap-off mechanism. Once removed, you'll see several wires connected to terminals labeled with letters like R, W, Y, and G. Before disconnecting anything, take a clear picture of the wiring configuration. This photographic record is essential for accurate reconnection later.
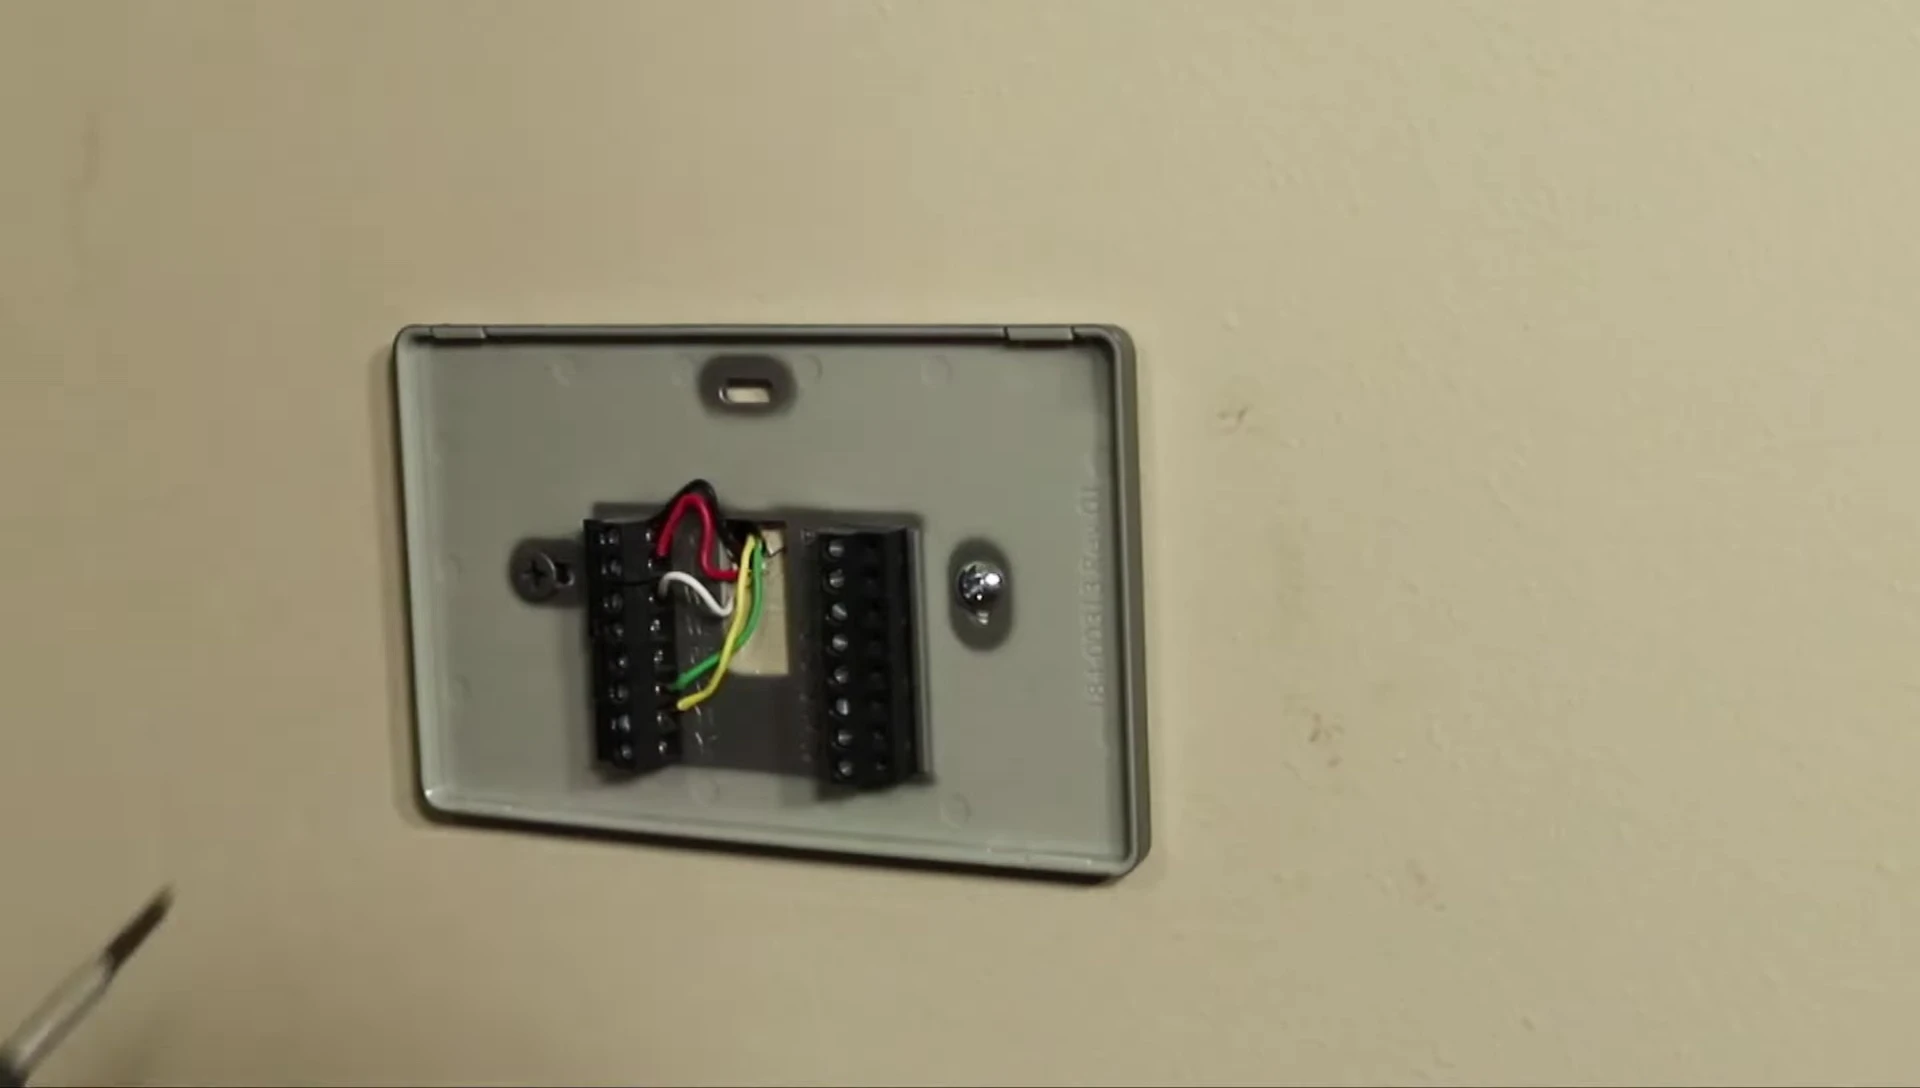
Disconnecting and Labeling Wires
Gently loosen the screws securing each wire and disconnect them one by one. If your new smart thermostat came with labels, use them to clearly mark each wire according to its original terminal. This labeling step is critical for a smooth reconnection process and will save you considerable time and frustration.
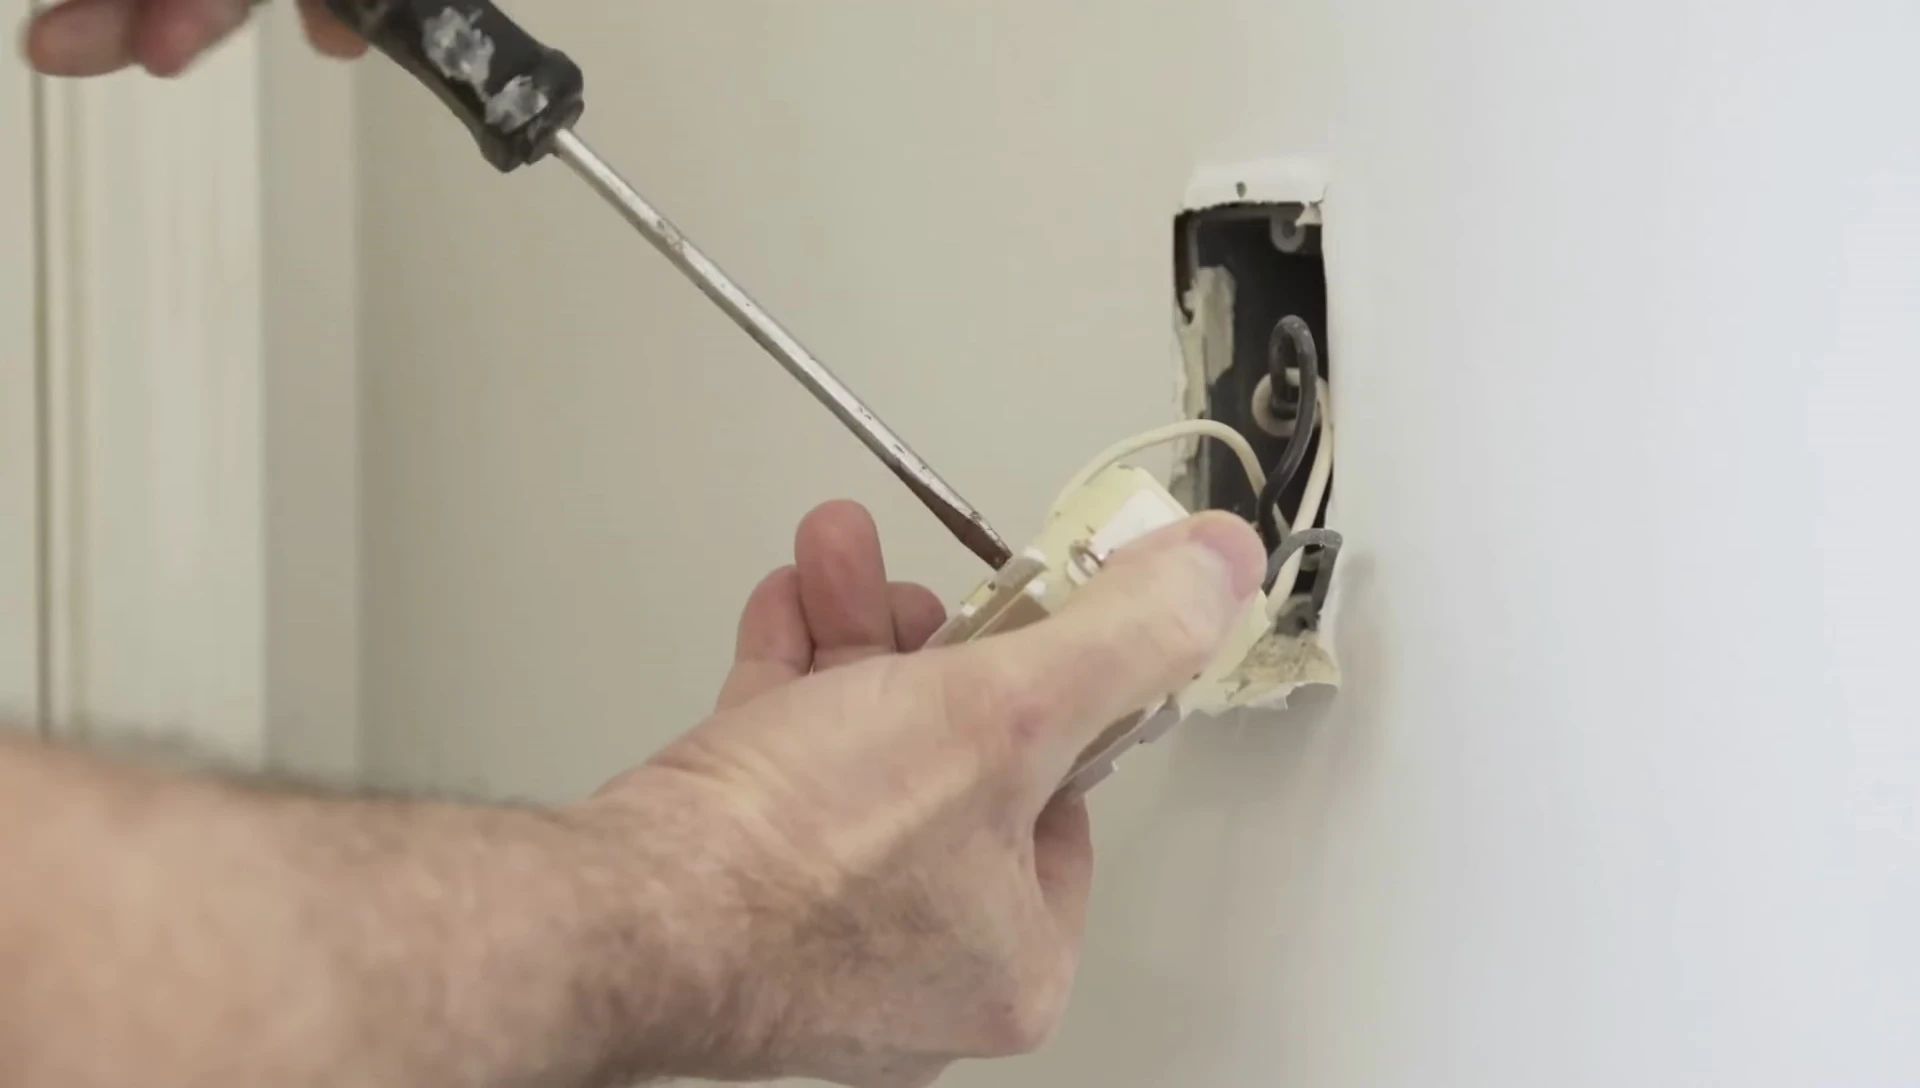
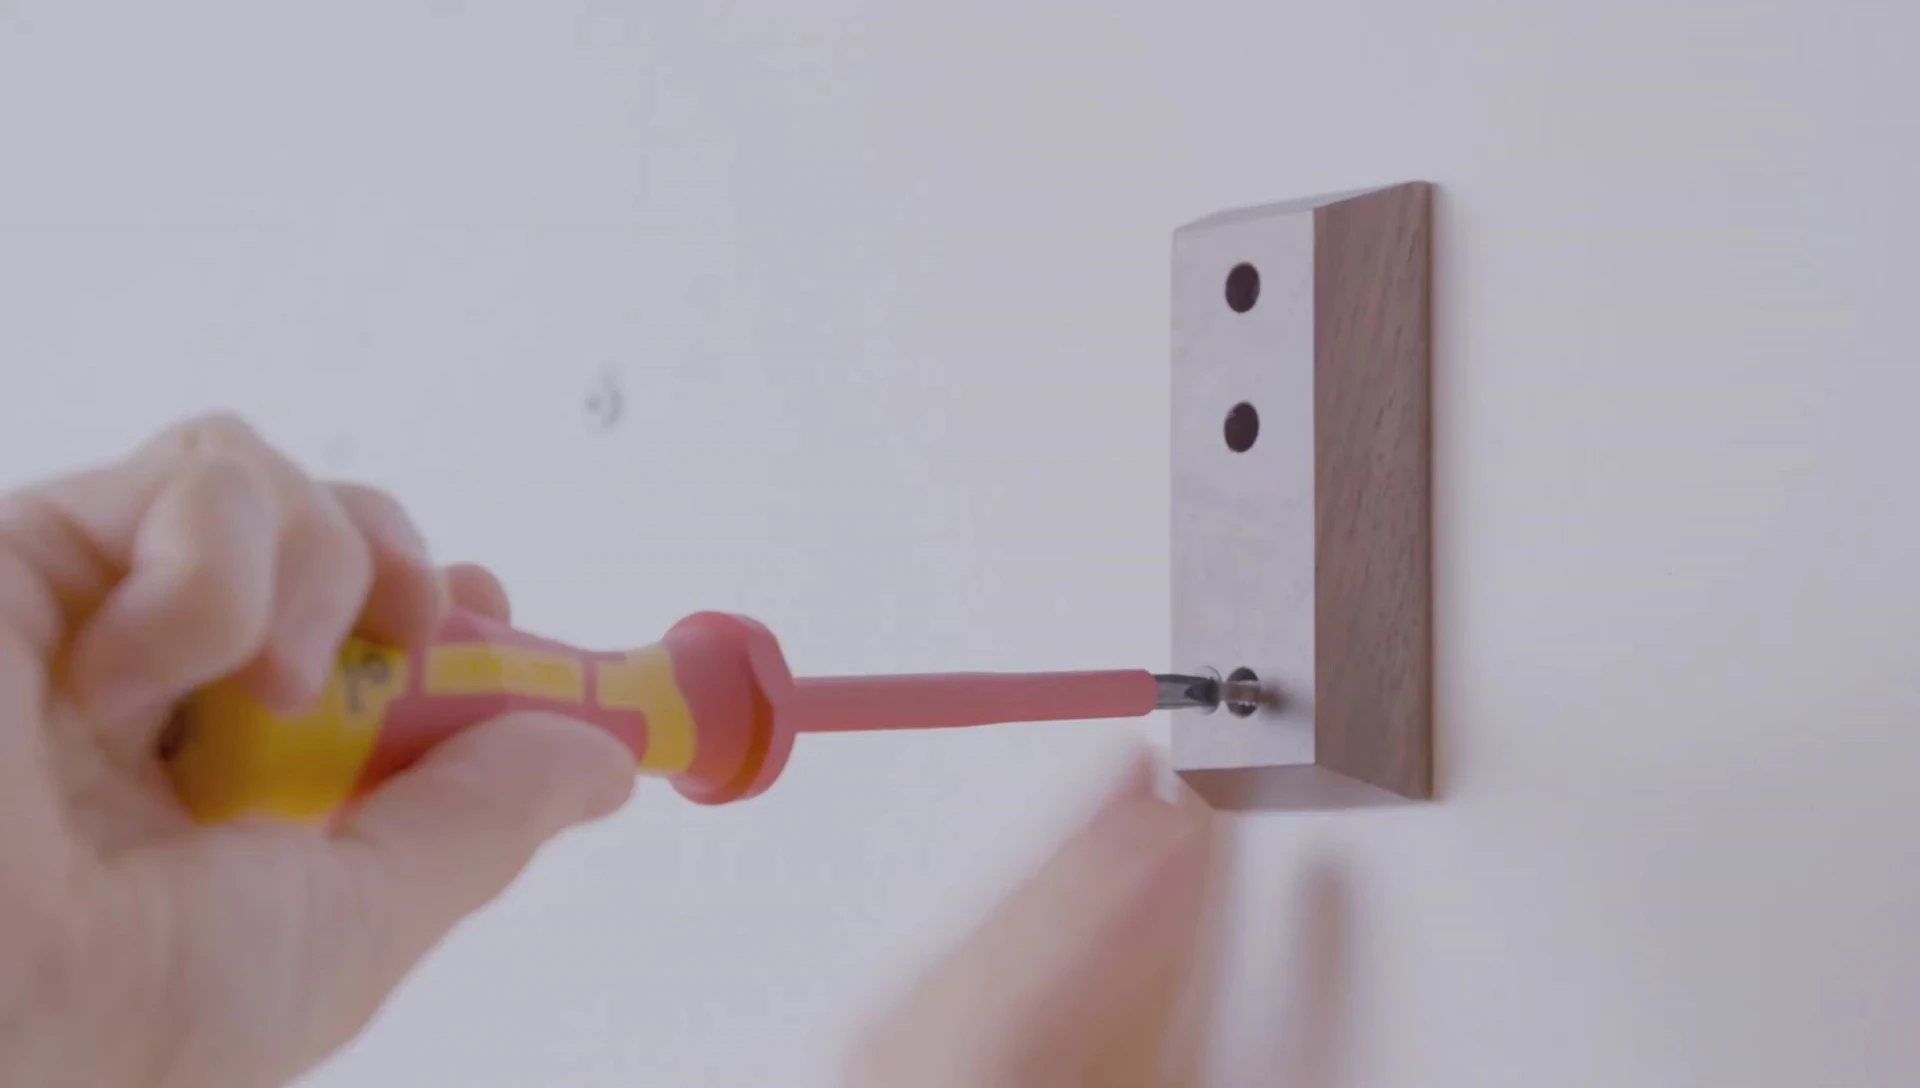
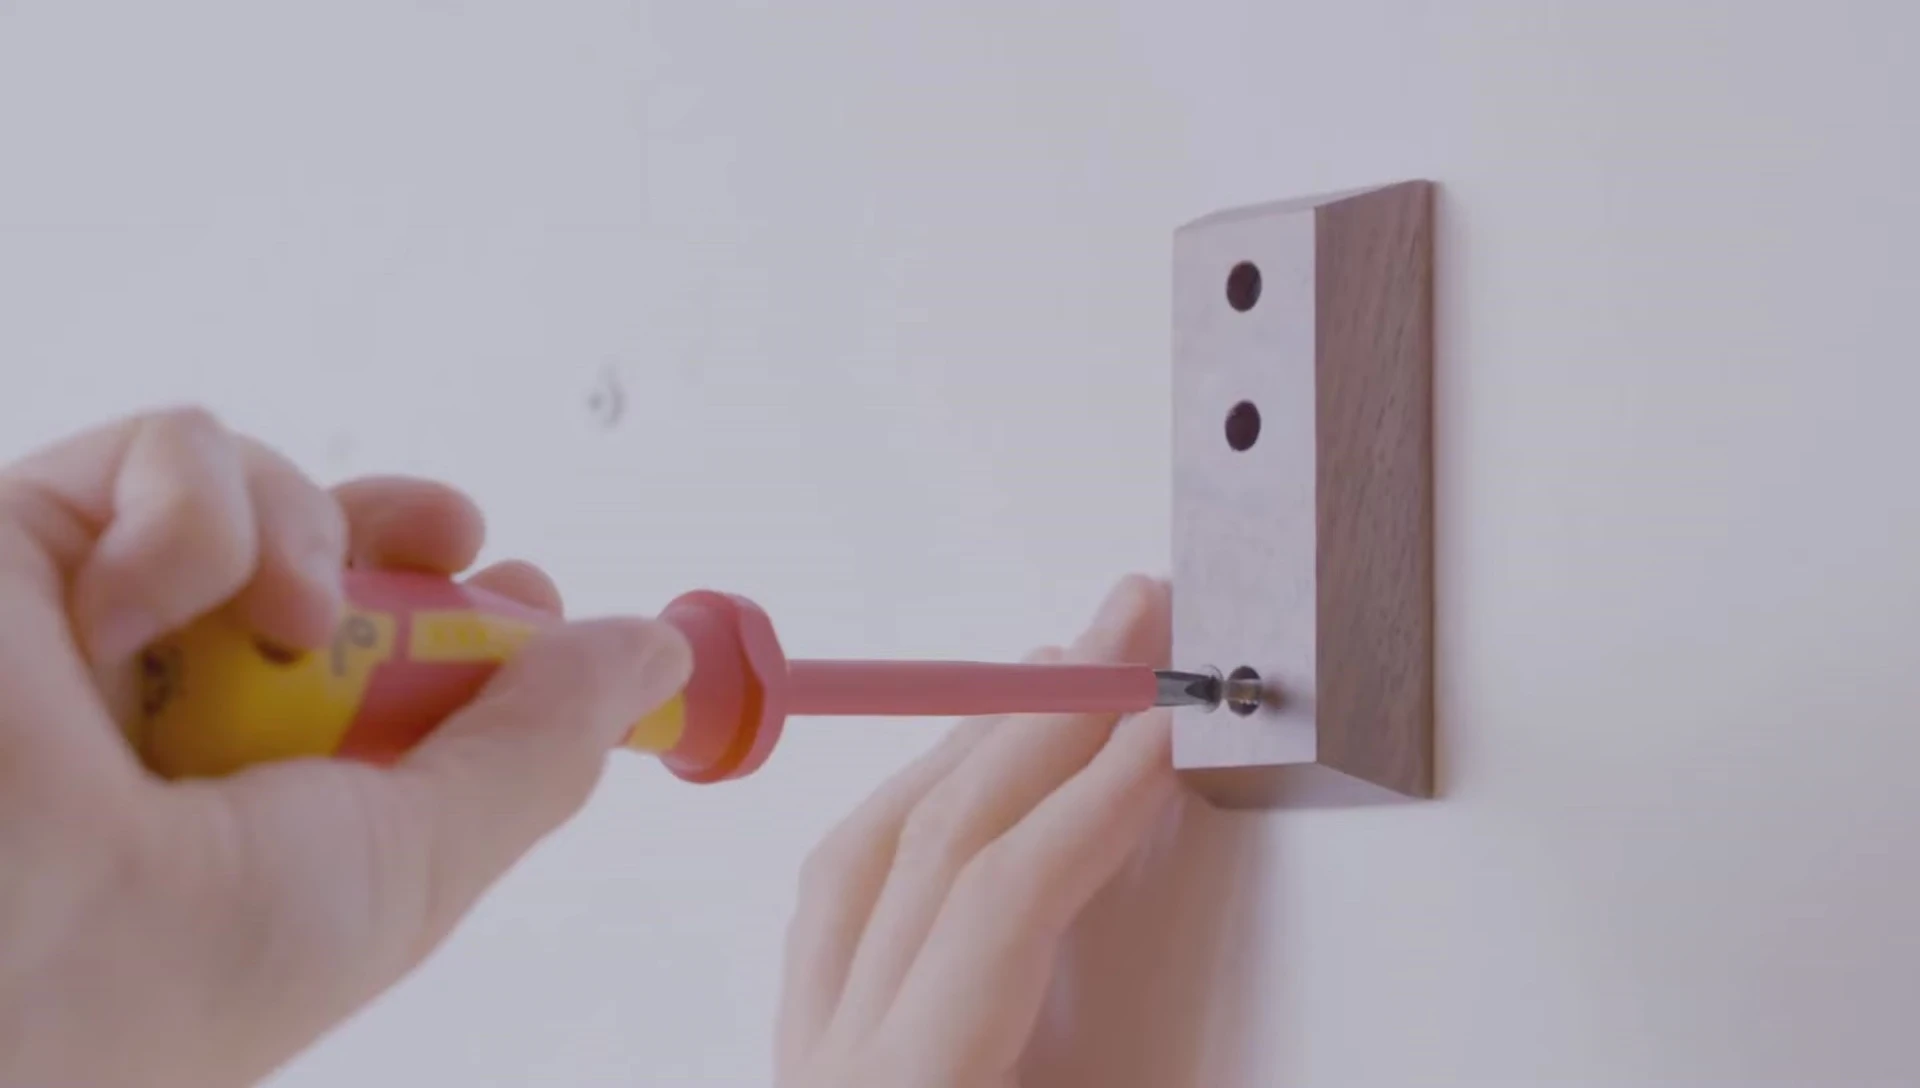
Installing the New Thermostat Base
Remove the old mounting plate from the wall. Take your new smart thermostat's base and carefully position it on the wall, using the built-in level to ensure it's perfectly straight. Mark and drill any necessary holes, then securely screw the mounting plate to the wall.
Connecting Wires and Powering Up
Reconnect the wires to the matching terminals on your new smart thermostat, referencing your earlier photo to ensure accuracy. If you have a C wire (common wire), connect it; this provides power for the thermostat. If not, consult your thermostat manual for alternative wiring options. After connecting all wires, snap on the faceplate and restore power at the breaker box.

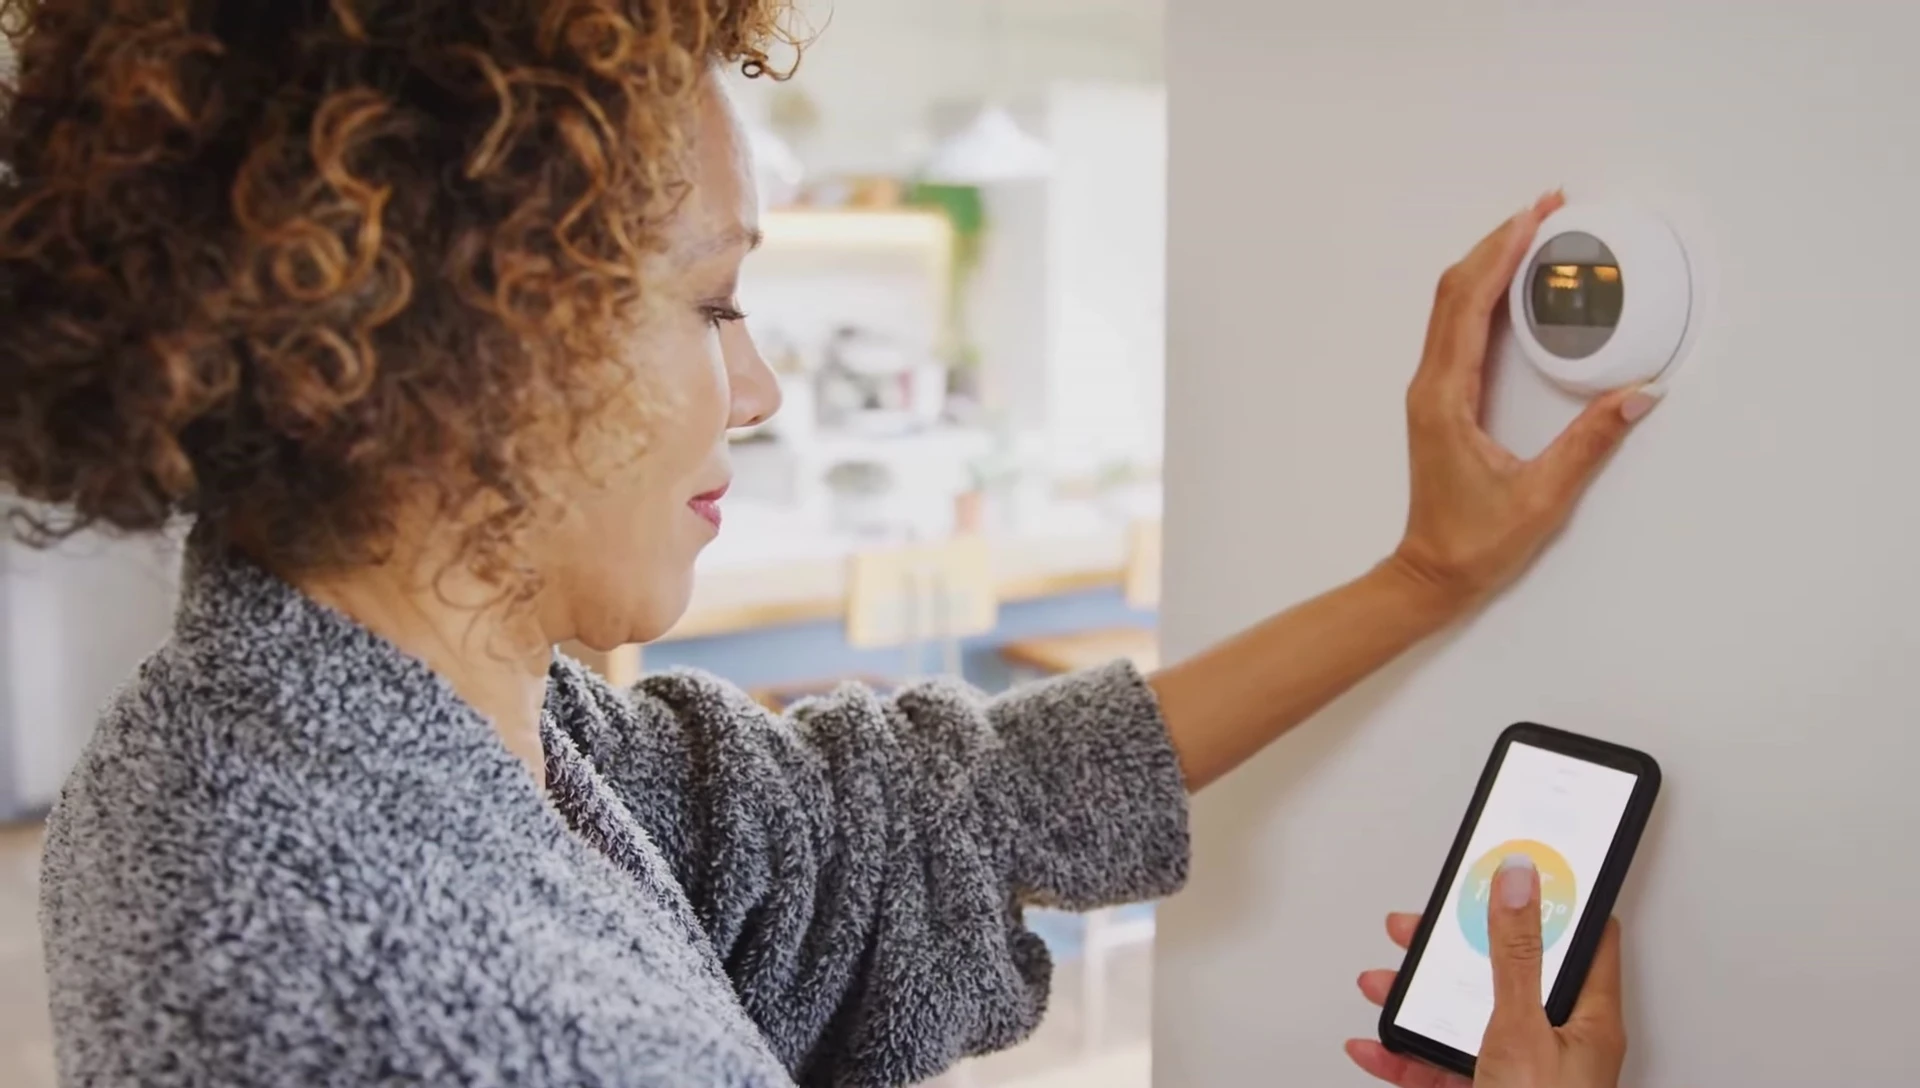
Connecting to Wi-Fi and Final Setup
Your new thermostat should now power on. Follow the on-screen instructions to connect it to your Wi-Fi network. Set your temperature preferences and download the accompanying app (if available) for remote control via your smartphone. You've successfully upgraded your home's climate control!
Conclusion: Smart Thermostat Benefits and Considerations
Installing a smart thermostat offers numerous benefits, including remote climate control and potential energy savings. However, if you encounter any difficulties or feel uncertain about any step, don't hesitate to contact a qualified professional. While this DIY project is generally manageable, prioritizing safety and seeking professional help when needed is always recommended.