This guide provides a comprehensive, step-by-step tutorial on setting up the Emporia Energy Monitor Gen 3 using its accompanying mobile app. Whether you're a tech novice or a seasoned smart home user, this walkthrough will equip you with the knowledge to seamlessly integrate your energy monitor and begin tracking your home's energy consumption. We'll cover everything from downloading the app and creating an account, to adding your device and configuring individual circuit monitoring. Clear instructions and screenshots (if applicable) will guide you through each stage of the process.This tutorial focuses on utilizing the Emporia Energy app for a smooth and efficient setup experience. We will detail the app's intuitive interface and highlight key features, such as adding new devices and naming individual circuits for precise energy monitoring. By the end of this guide, you'll be empowered to leverage the Emporia Gen 3's detailed energy usage insights, enabling you to understand your consumption patterns and identify opportunities for energy conservation.
Pros And Cons
- Easy setup via app
- App walks through installation process
- Monitors energy consumption of each circuit
- Once set up, requires no further action
Read more: AMI Meter Reading Guide: Understanding Your Smart Electricity Meter
Downloading and Account Setup
Begin by downloading the Emporia Energy app from your device's app store. After installation, create a new account or log in if you already have one. This account will link to your energy monitor and allow you to access all the data.
The app's user interface is straightforward, guiding you through the setup process. After logging in, you'll be ready to add your Emporia Gen 3 smart home energy monitor.
Adding Your Emporia Gen 3 Device
Access the main menu of the Emporia Energy app, usually represented by a hamburger icon in the top left corner. Select 'Manage or Setup Devices' from the dropdown menu.
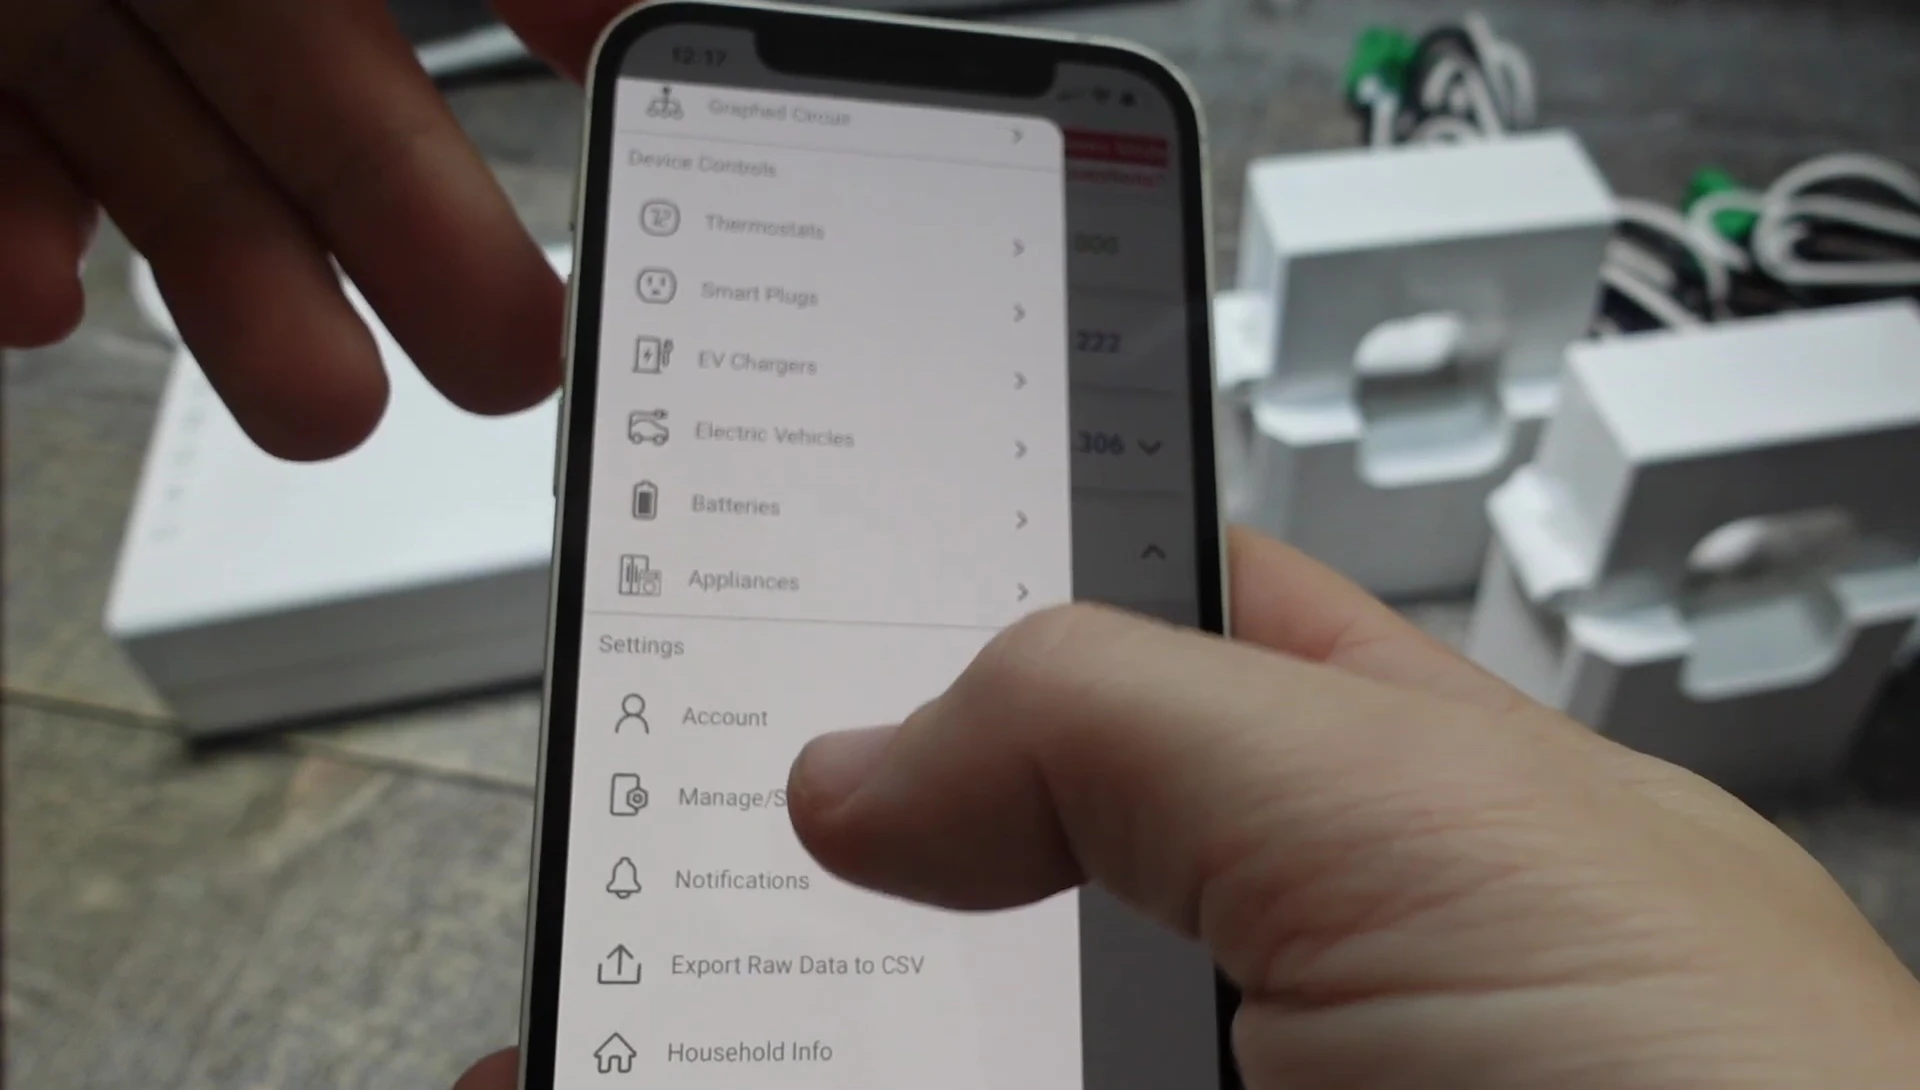
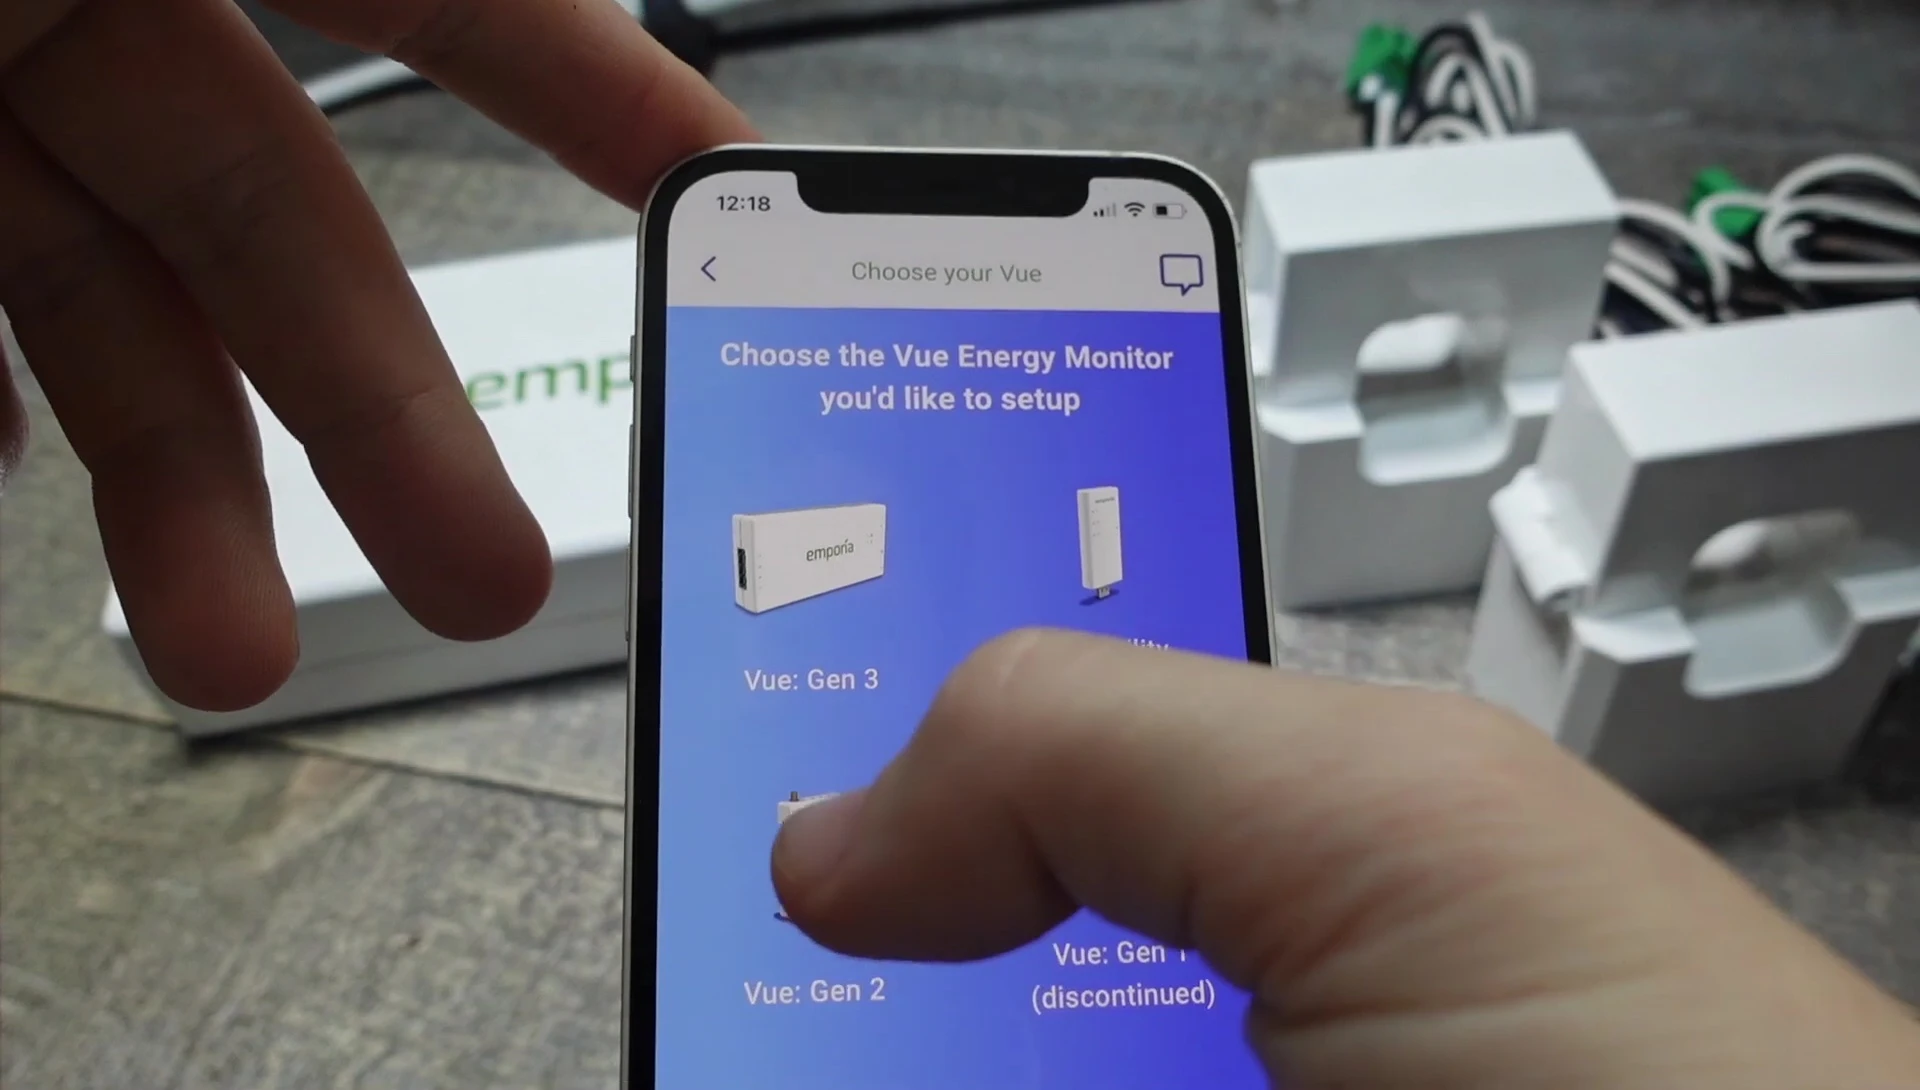
Next, tap 'Add a Device'. You'll then be presented with a list of compatible devices; choose 'View Energy Monitors' and select your Emporia Gen 3 monitor.
Setup Options: New or Existing Installation
The app provides two options: one for first-time setup (if you haven't installed the monitor yet), guiding you through the physical installation process.
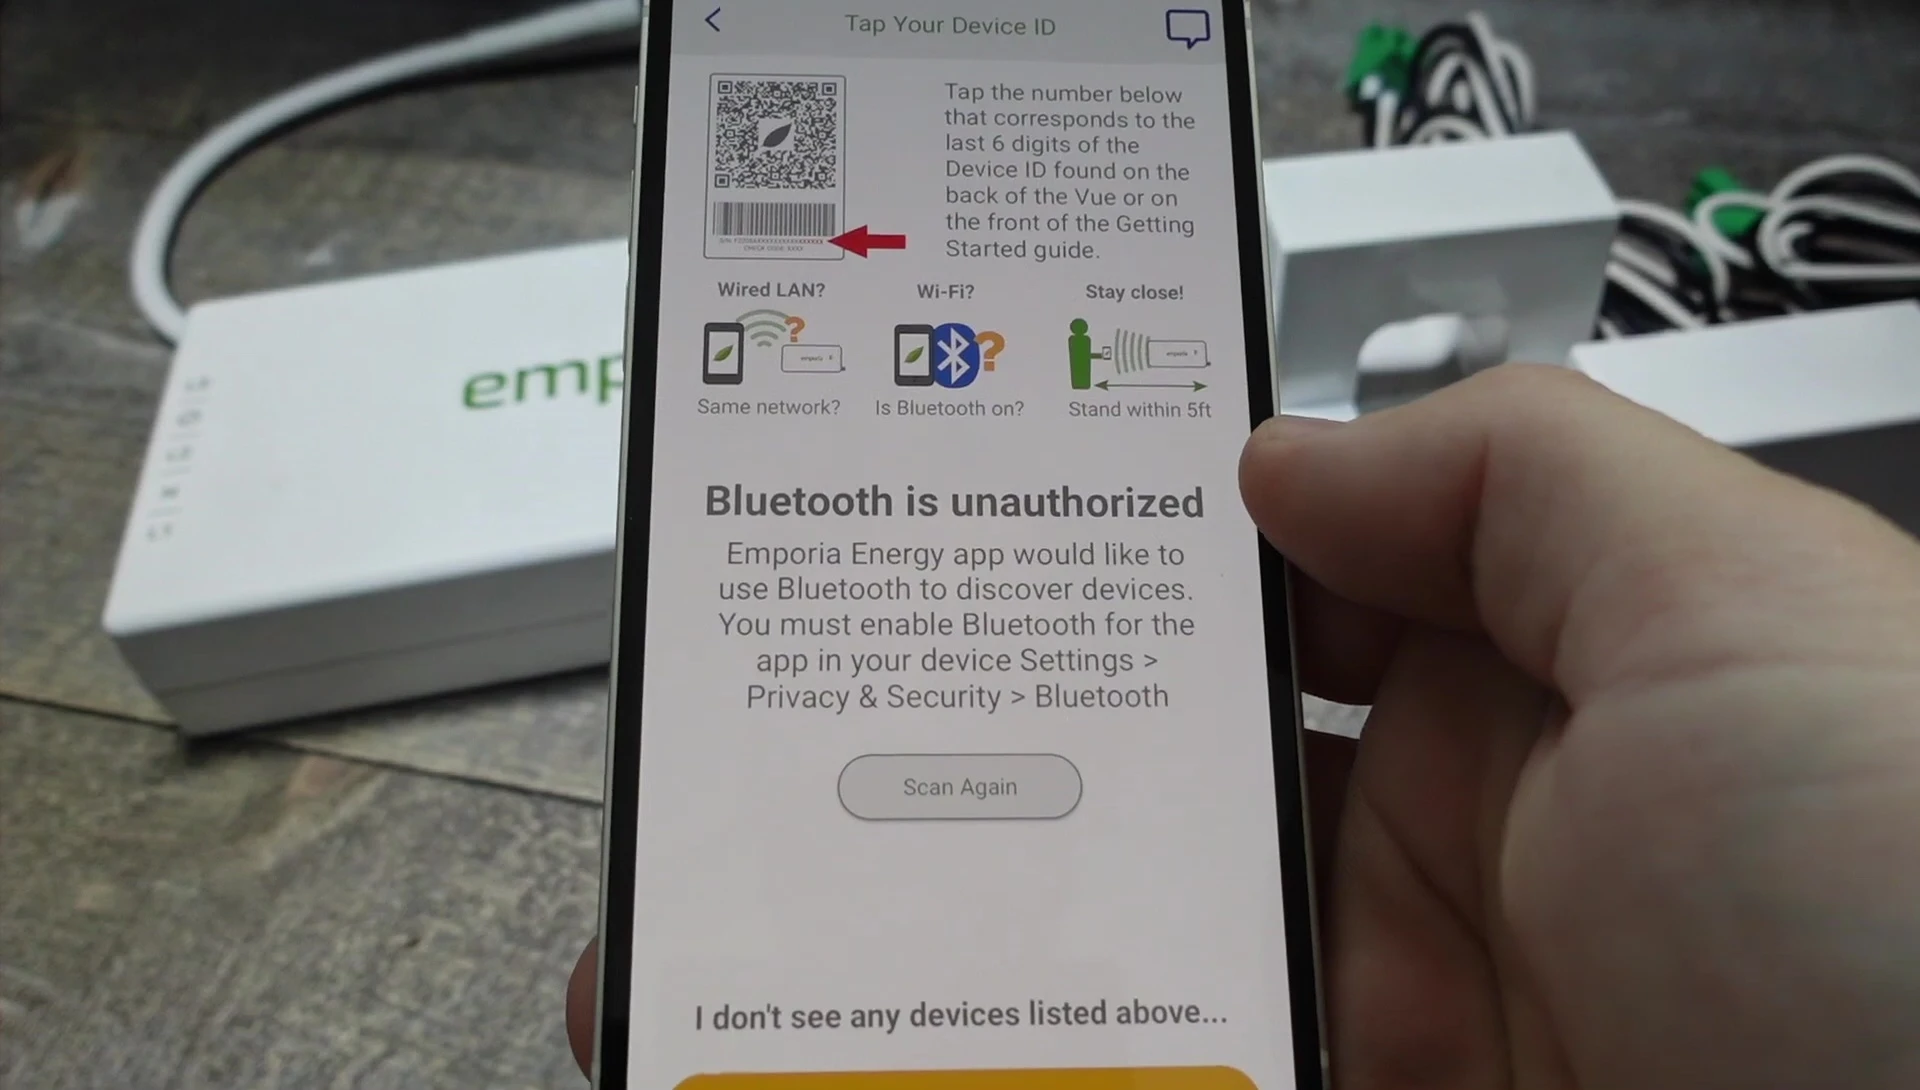
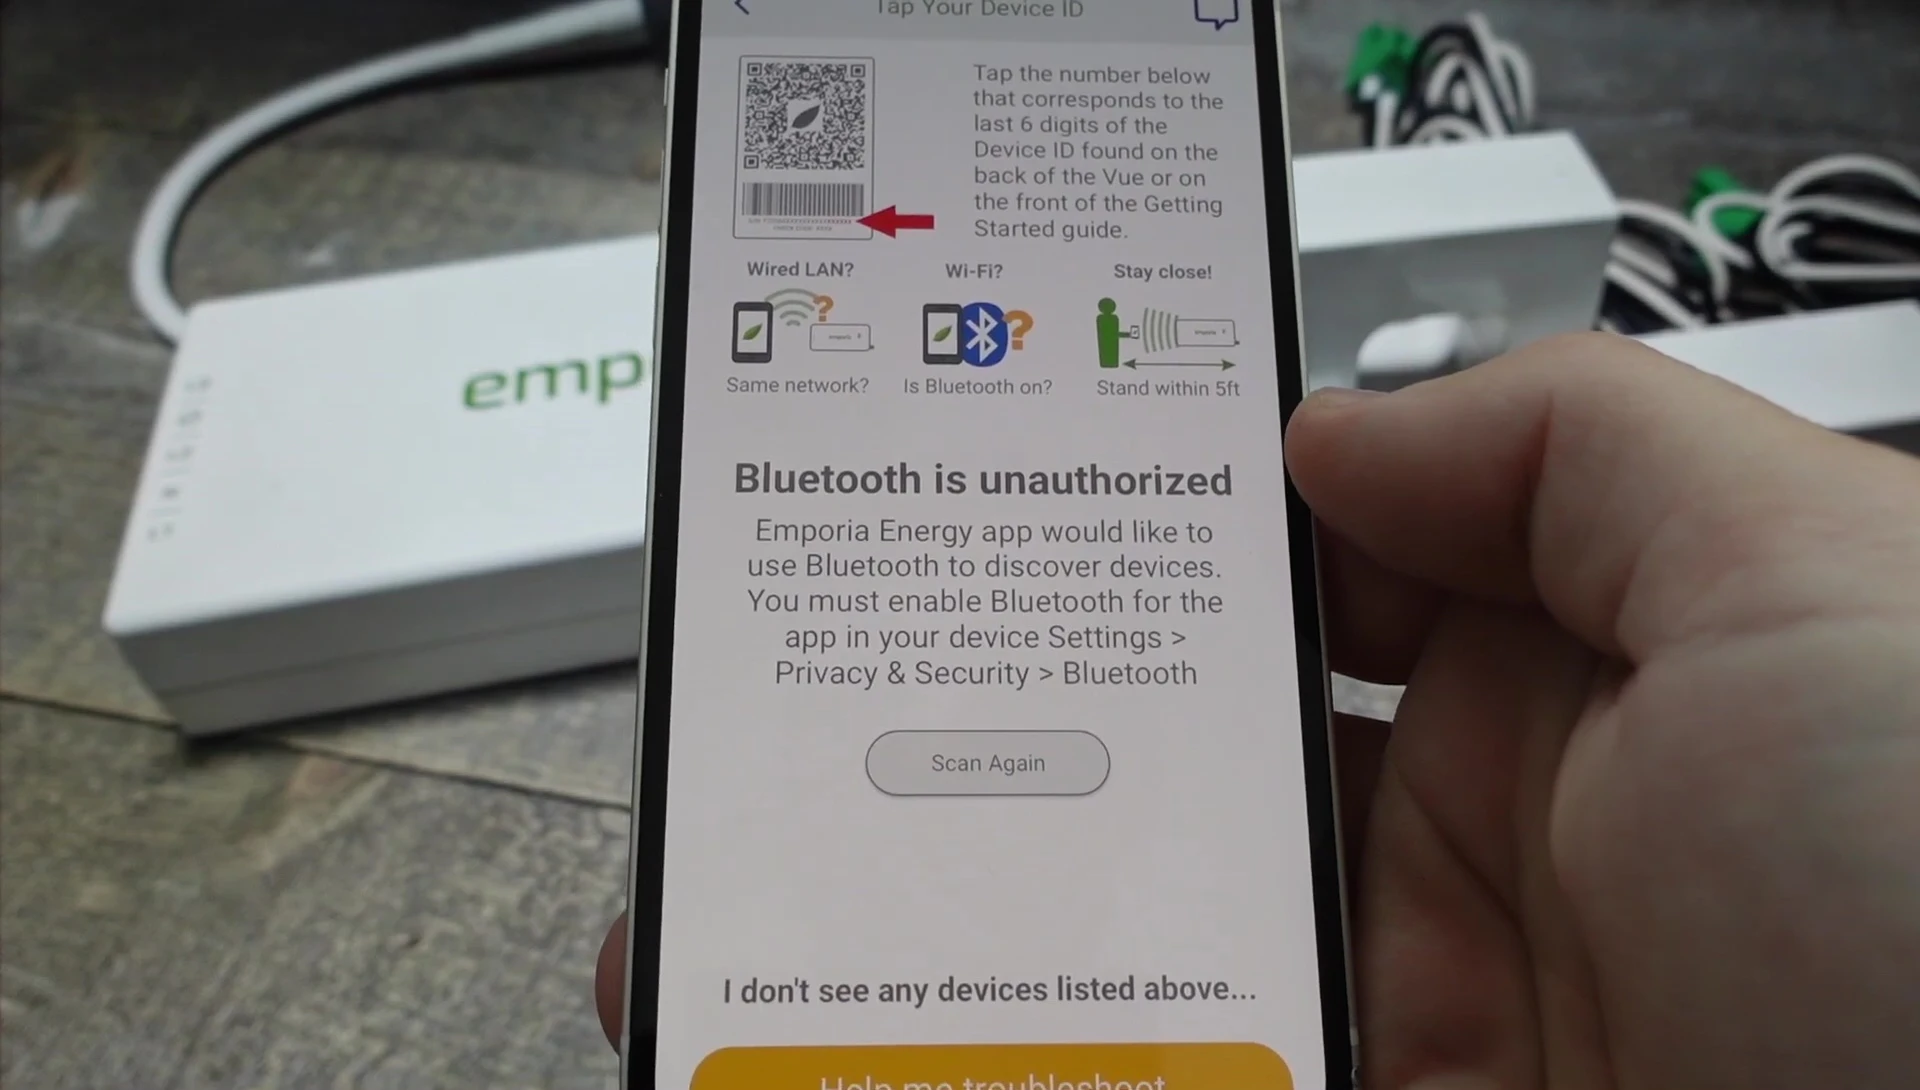
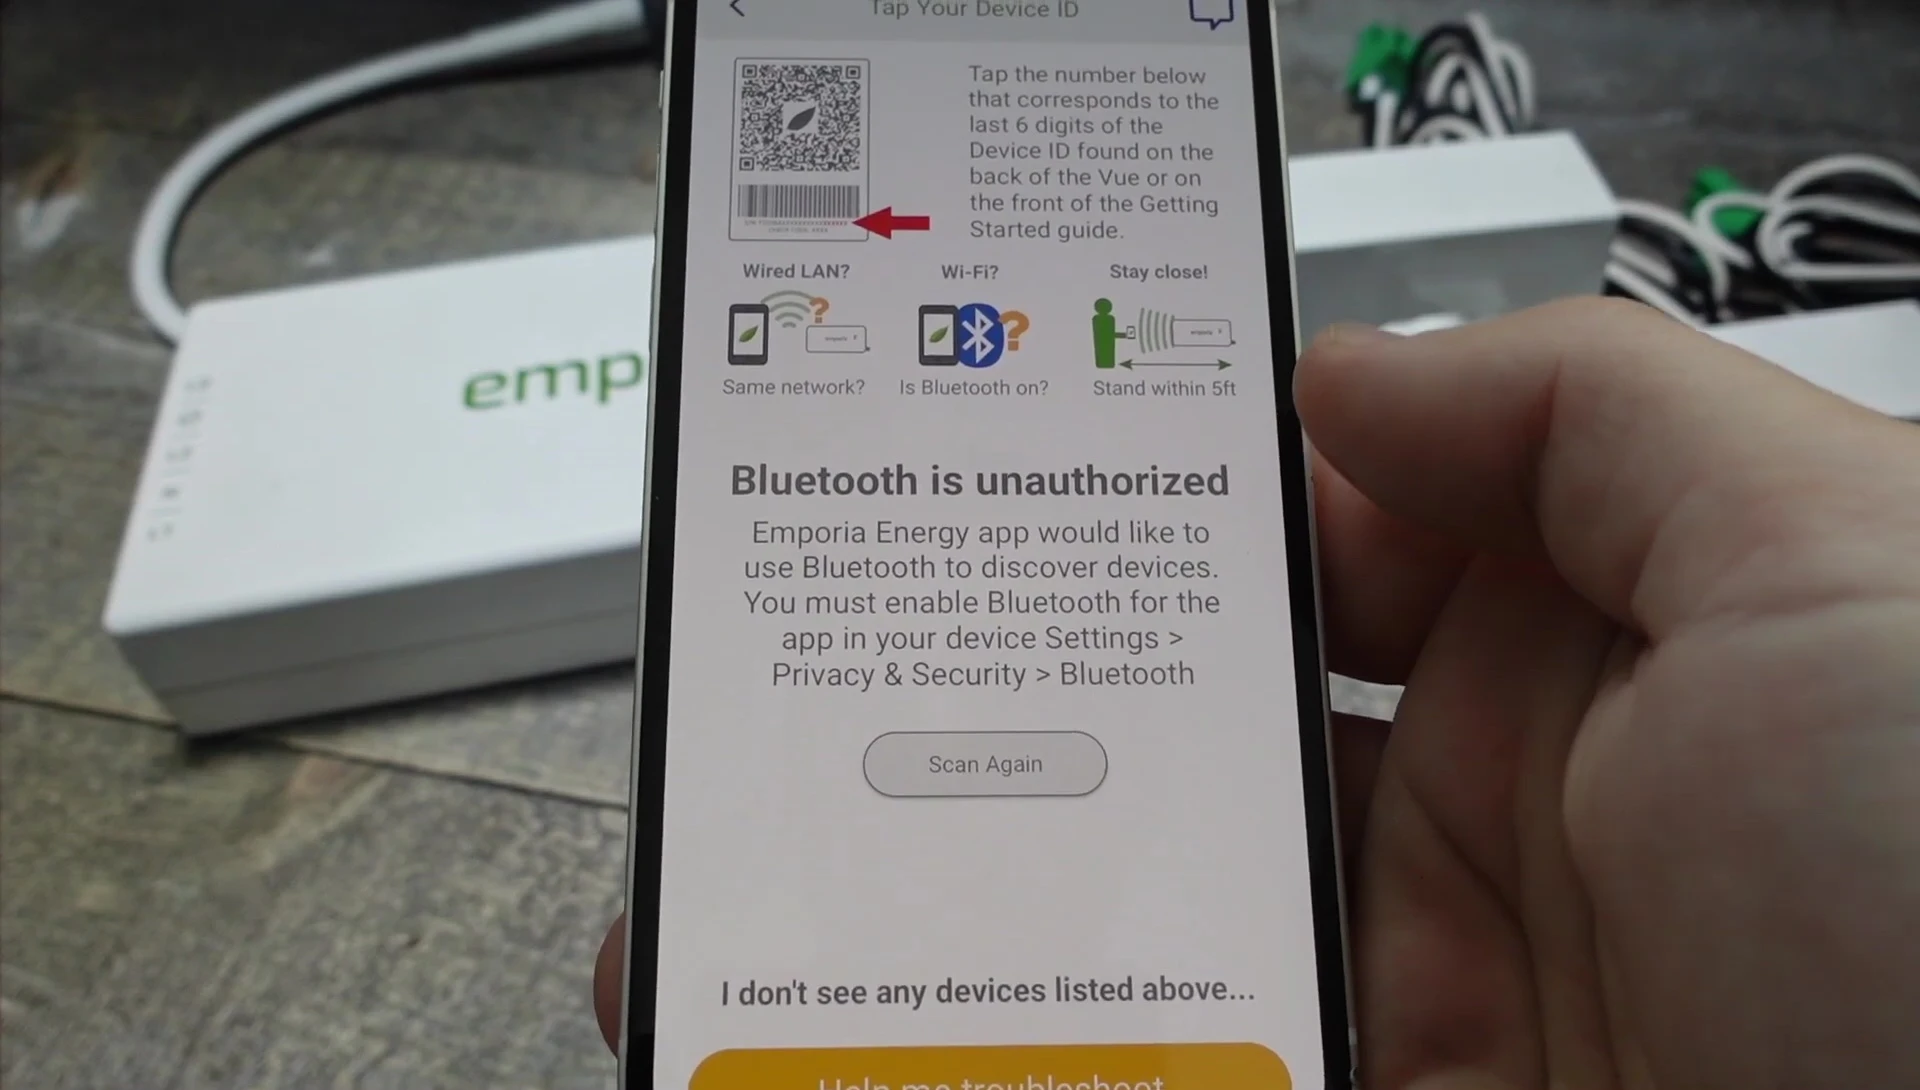
Alternatively, if the monitor is already physically installed, you can choose the second option to directly connect it to the app via Bluetooth. This path involves inputting the monitor's serial number, found on the back of the device.
Completing the Setup
You'll likely need to authorize the app to access your device's Bluetooth. Follow the on-screen prompts to complete the pairing and setup.
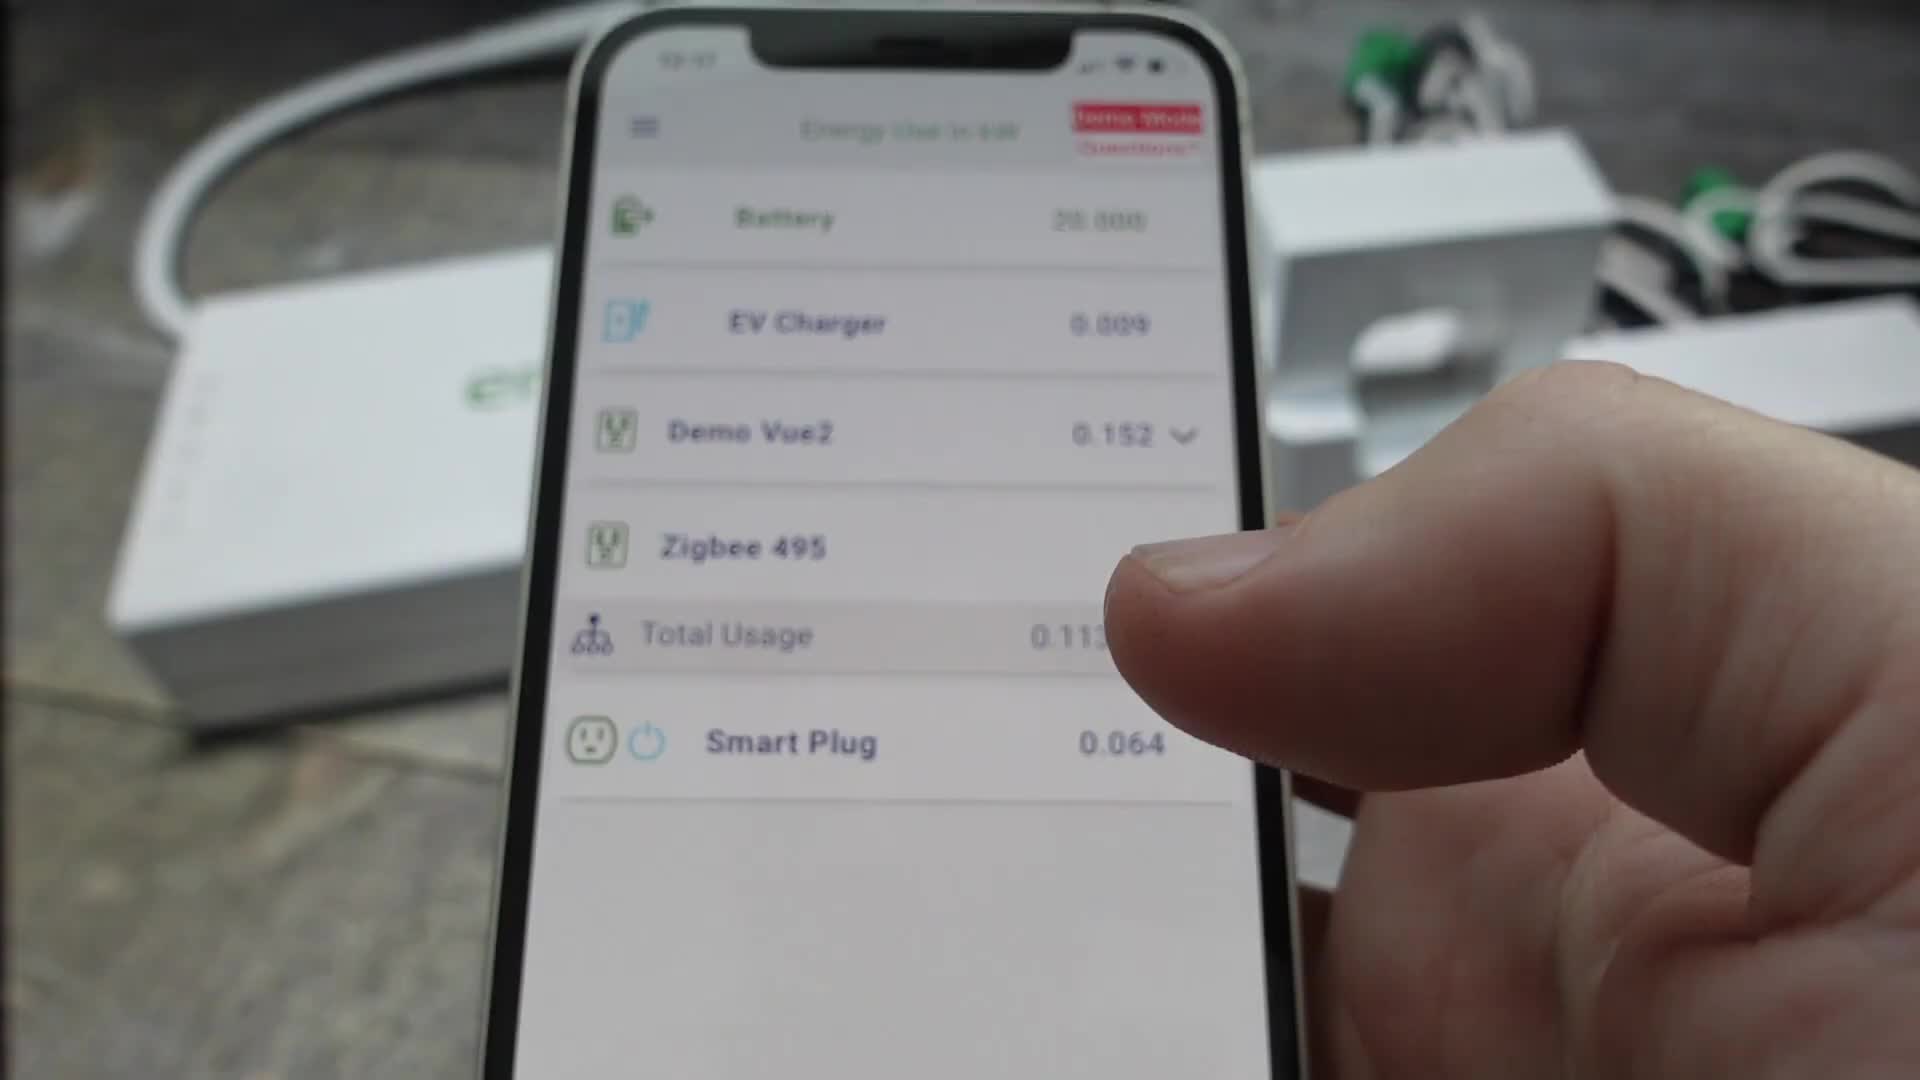
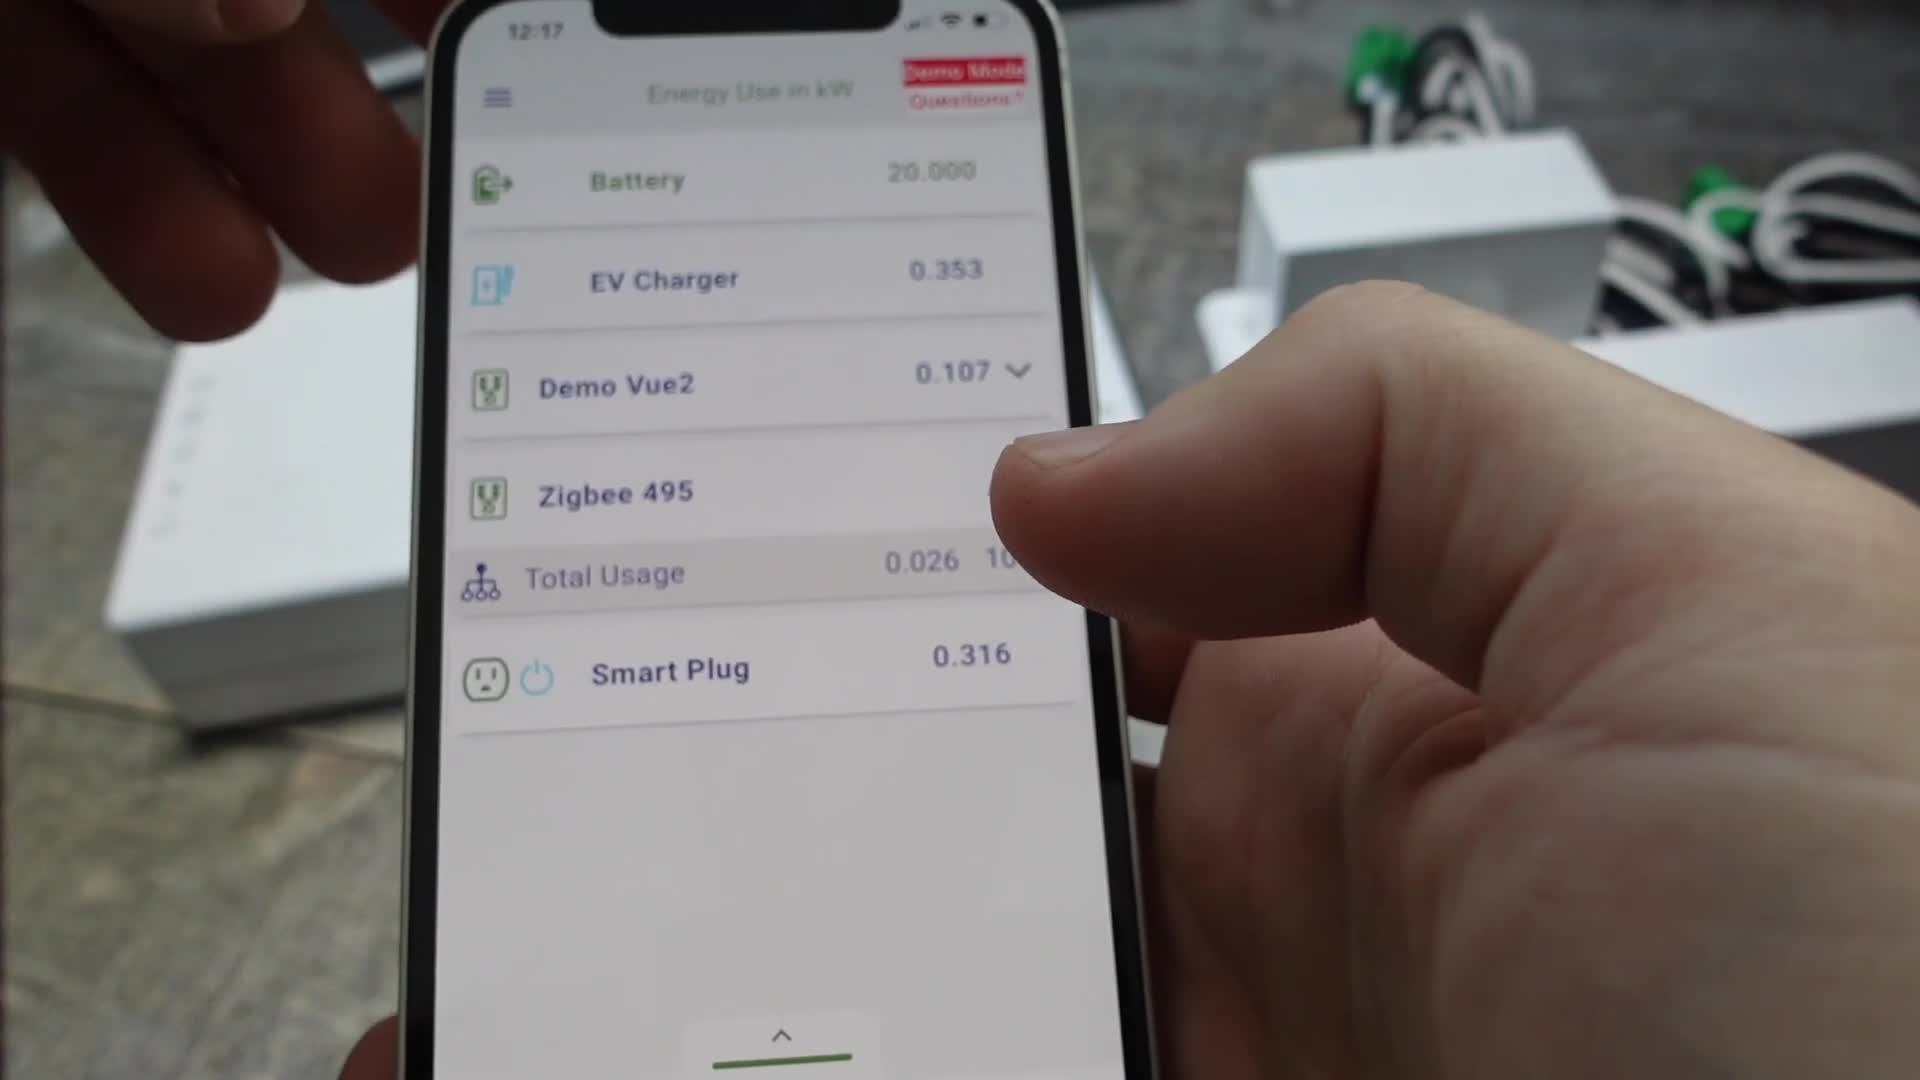
Finally, you'll name your individual circuits. Once this step is finished, your Emporia Gen 3 monitor will continuously track energy usage for each circuit, providing detailed insights into your home's energy consumption.
Conclusion: Is the Emporia Gen 3 Worth It?
Setting up the Emporia Gen 3 Energy Monitor via its app is remarkably user-friendly. The app's intuitive interface and clear instructions simplify the process, making it accessible even for users with minimal technical experience.
The ability to monitor energy consumption per circuit is incredibly valuable for understanding energy usage patterns and potentially identifying areas for conservation. This level of granularity sets the Emporia Gen 3 apart from simpler energy monitors. Overall, the ease of setup and comprehensive monitoring capabilities make the Emporia Gen 3 a worthwhile investment for those seeking detailed energy usage insights.