This article reviews a DIY smart energy meter project built using readily available components and the Blynk IoT platform. The project leverages an ESP32 microcontroller for its processing power and built-in Wi-Fi, coupled with an AC voltage module and a current sensor (likely an ACS712) for accurate energy consumption measurement. Two 16x2 LCD displays provide local real-time readings, while the Blynk app enables remote monitoring and control. The project's modular design makes it easy to replicate, and the detailed instructions, including wiring diagrams and readily available GitHub code, are highlighted.The ease of construction and use of common components, combined with the intuitive Blynk interface, makes this project ideal for both beginners and experienced hobbyists interested in exploring IoT applications in energy monitoring. The article covers the hardware setup, software configuration (including necessary libraries and authentication tokens), and the successful integration of the hardware, software, and cloud platform, culminating in a demonstration of real-time data consistency across the local LCD displays and the remote Blynk app. Future development possibilities, such as data logging and advanced analytics, are also briefly discussed.
Pros And Cons
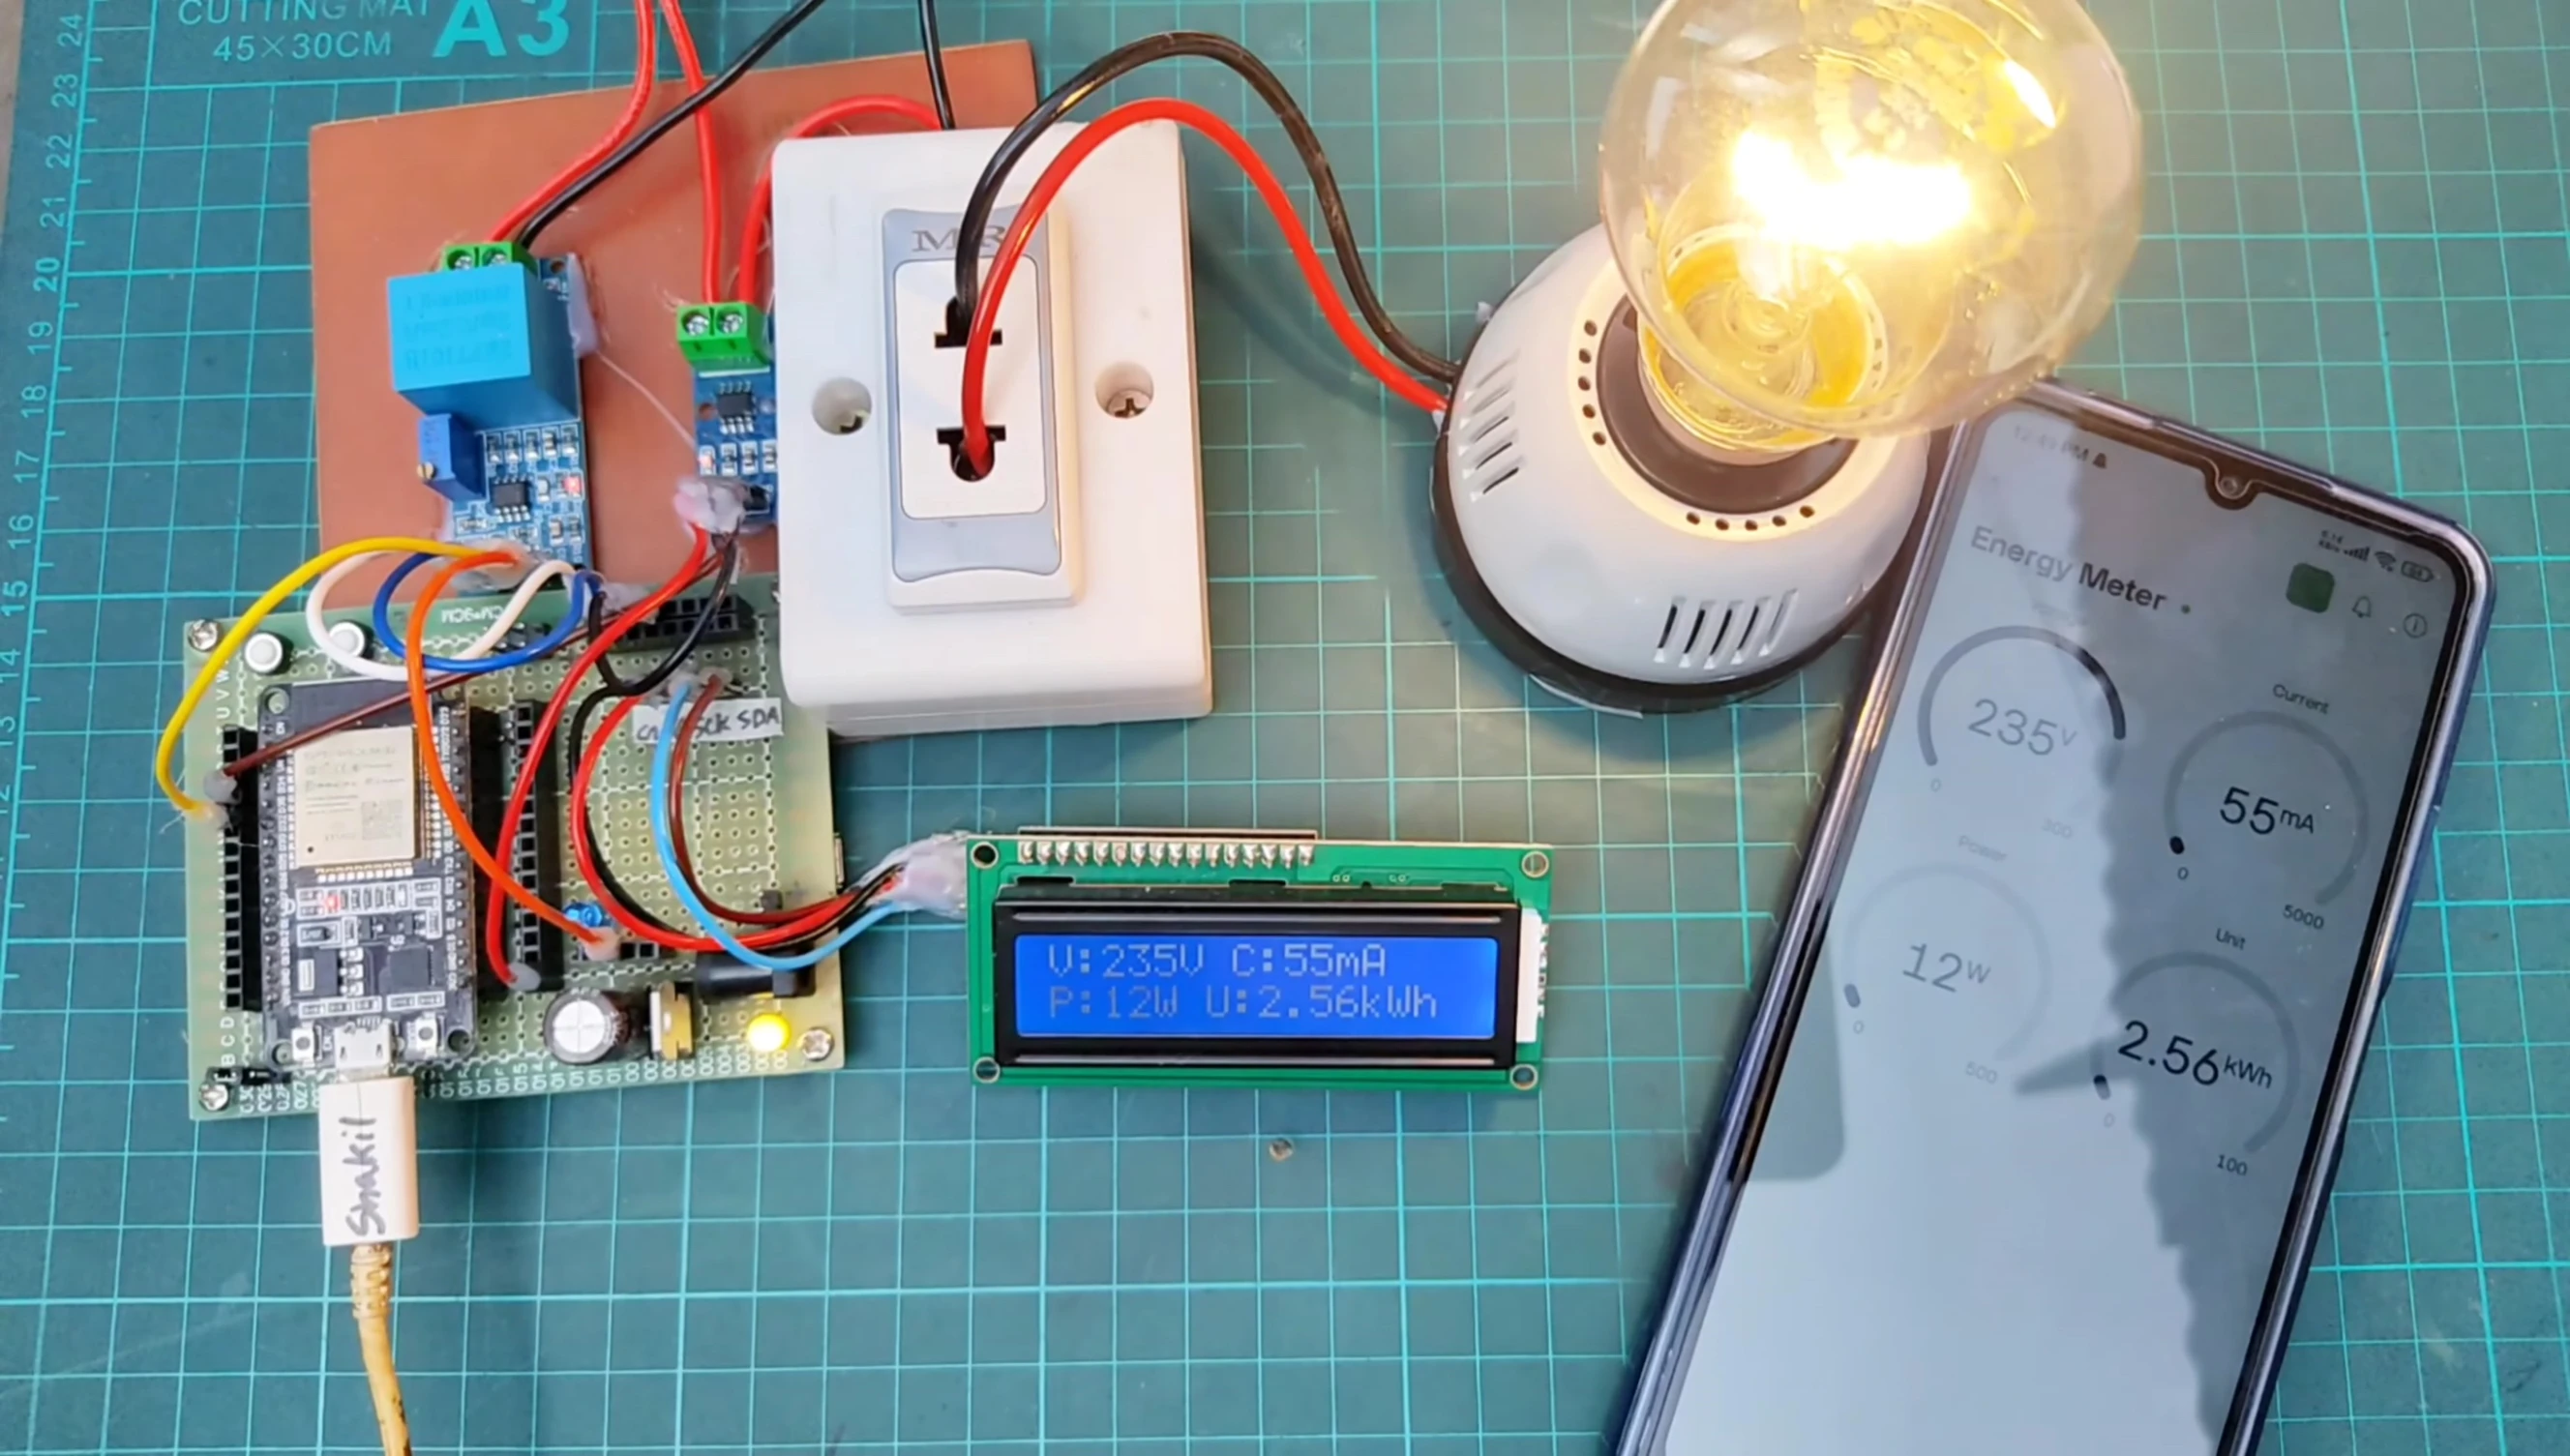
- Displays voltage, current, power, and unit value on LCD display and mobile app
- Uses ESP32 for control
Read more: AMI Meter Reading Guide: Understanding Your Smart Electricity Meter
Hardware Components
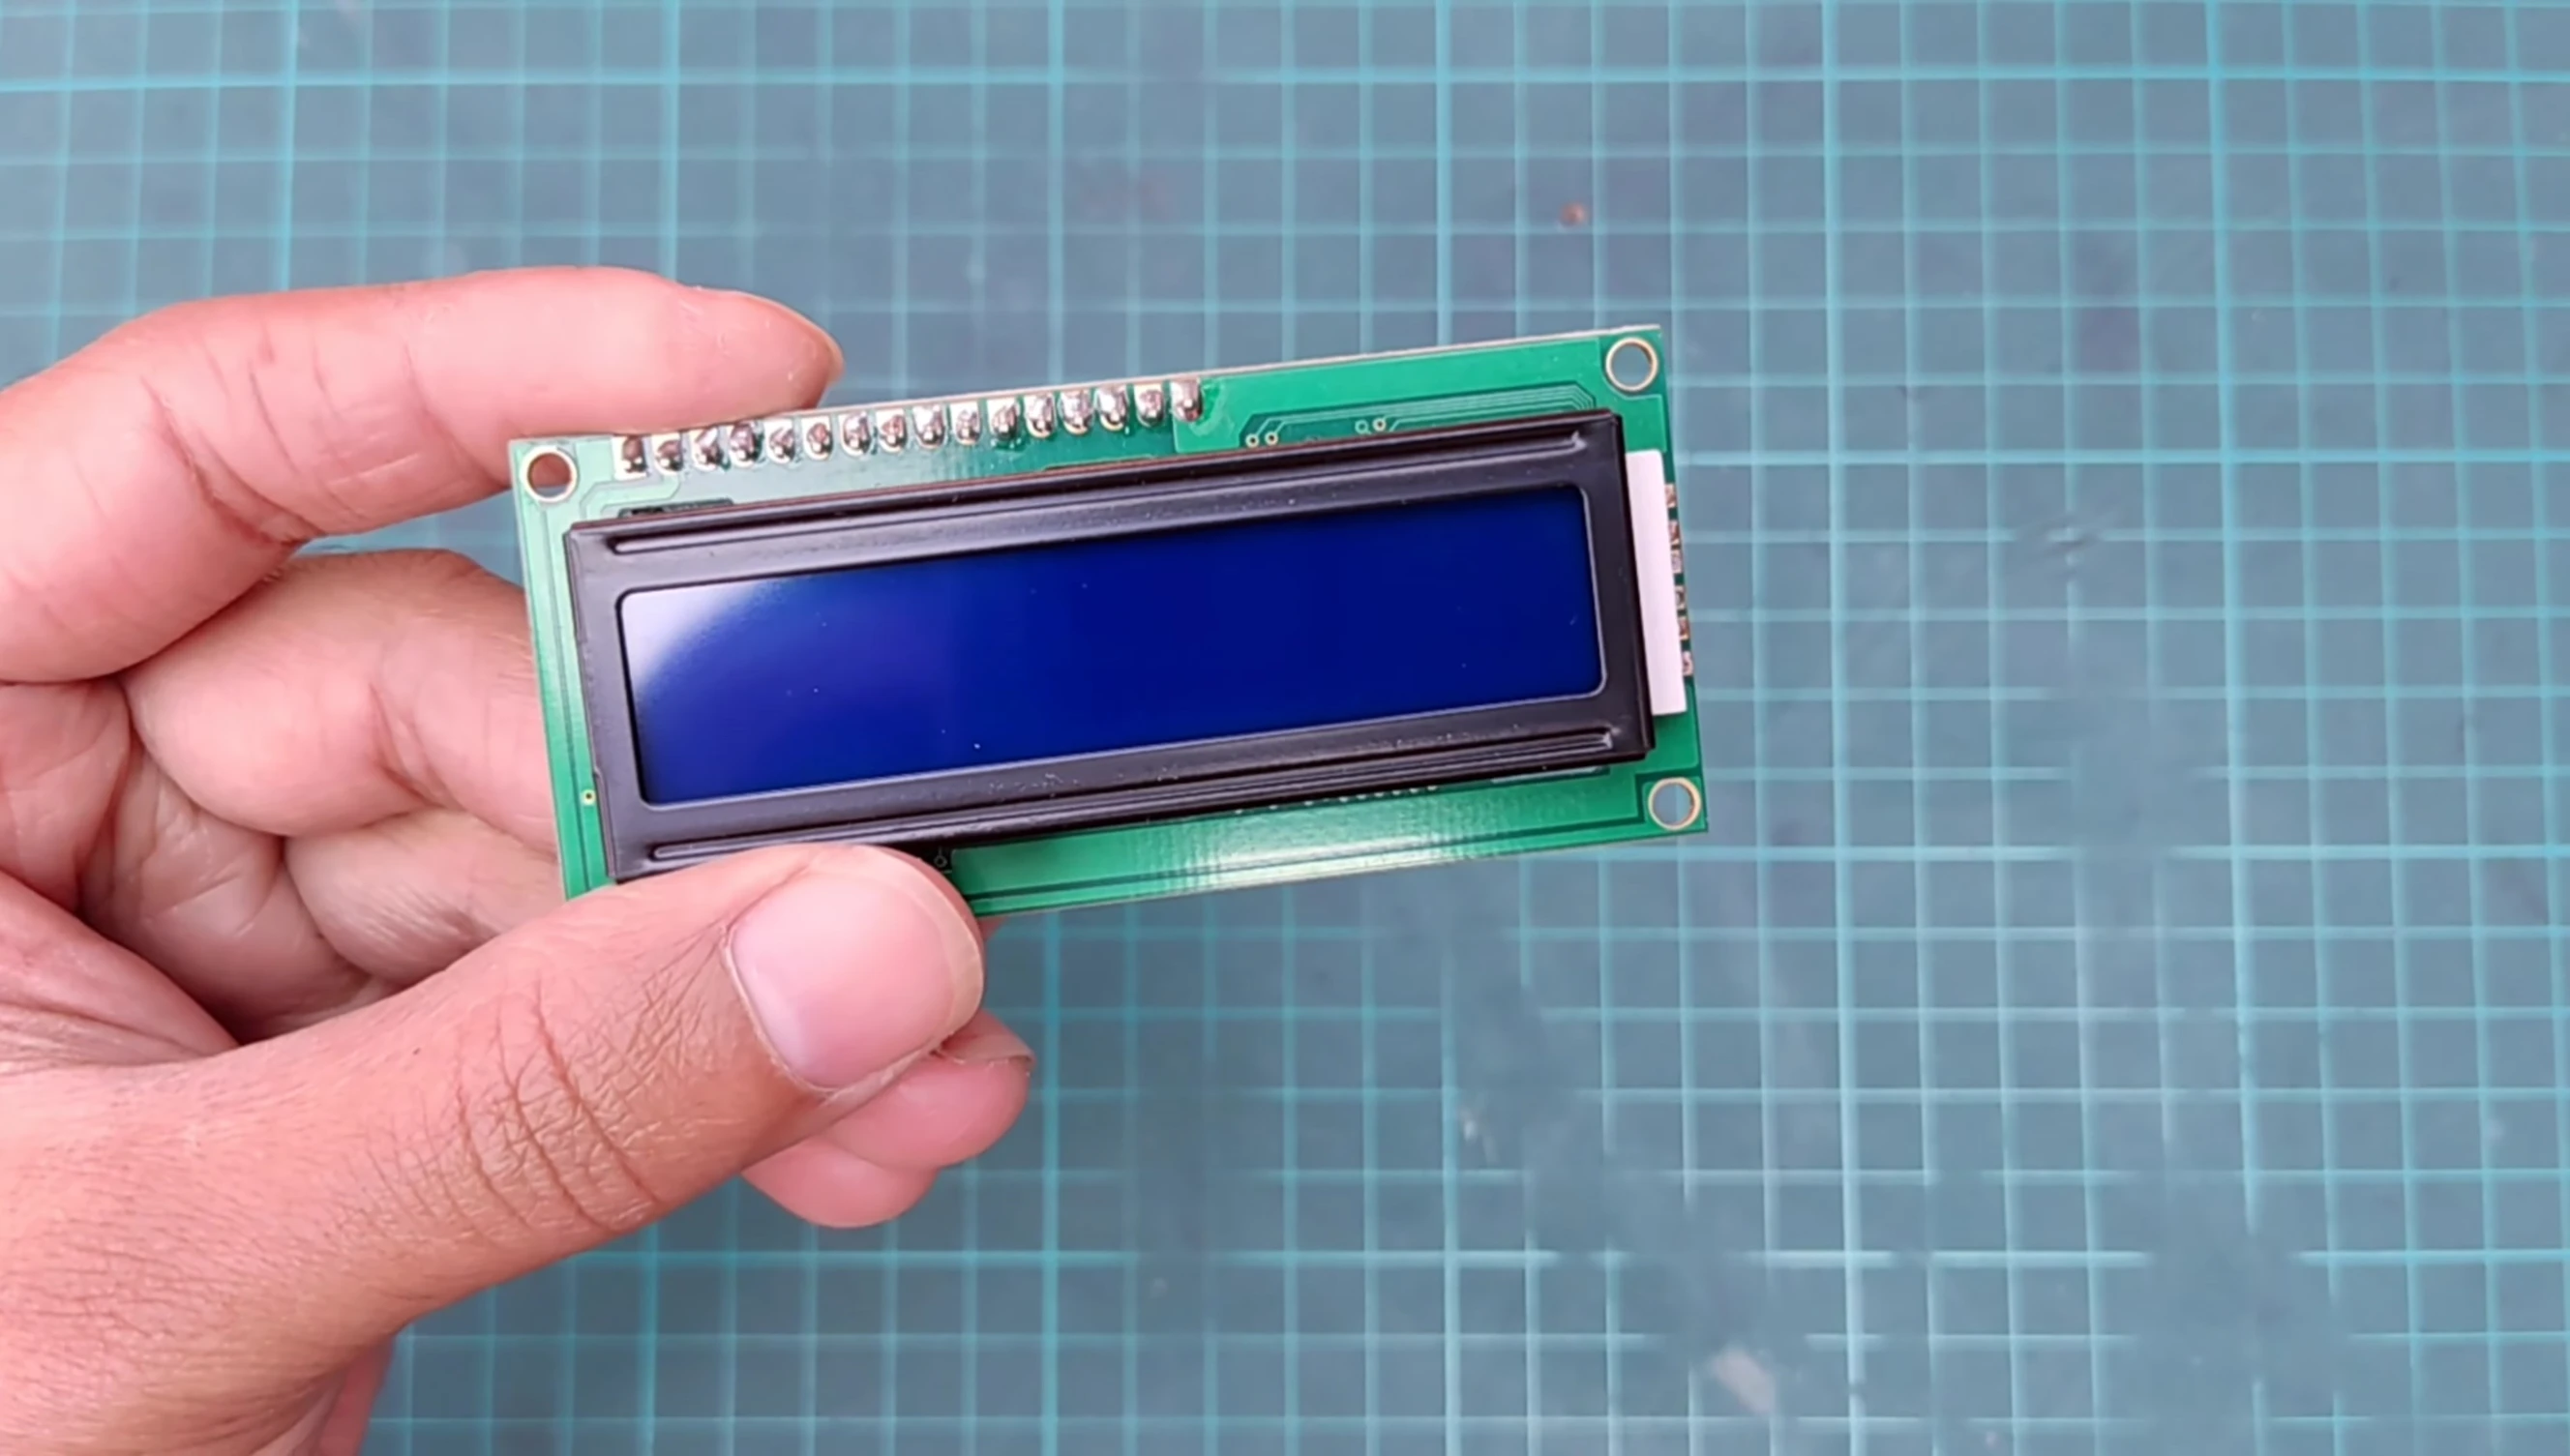
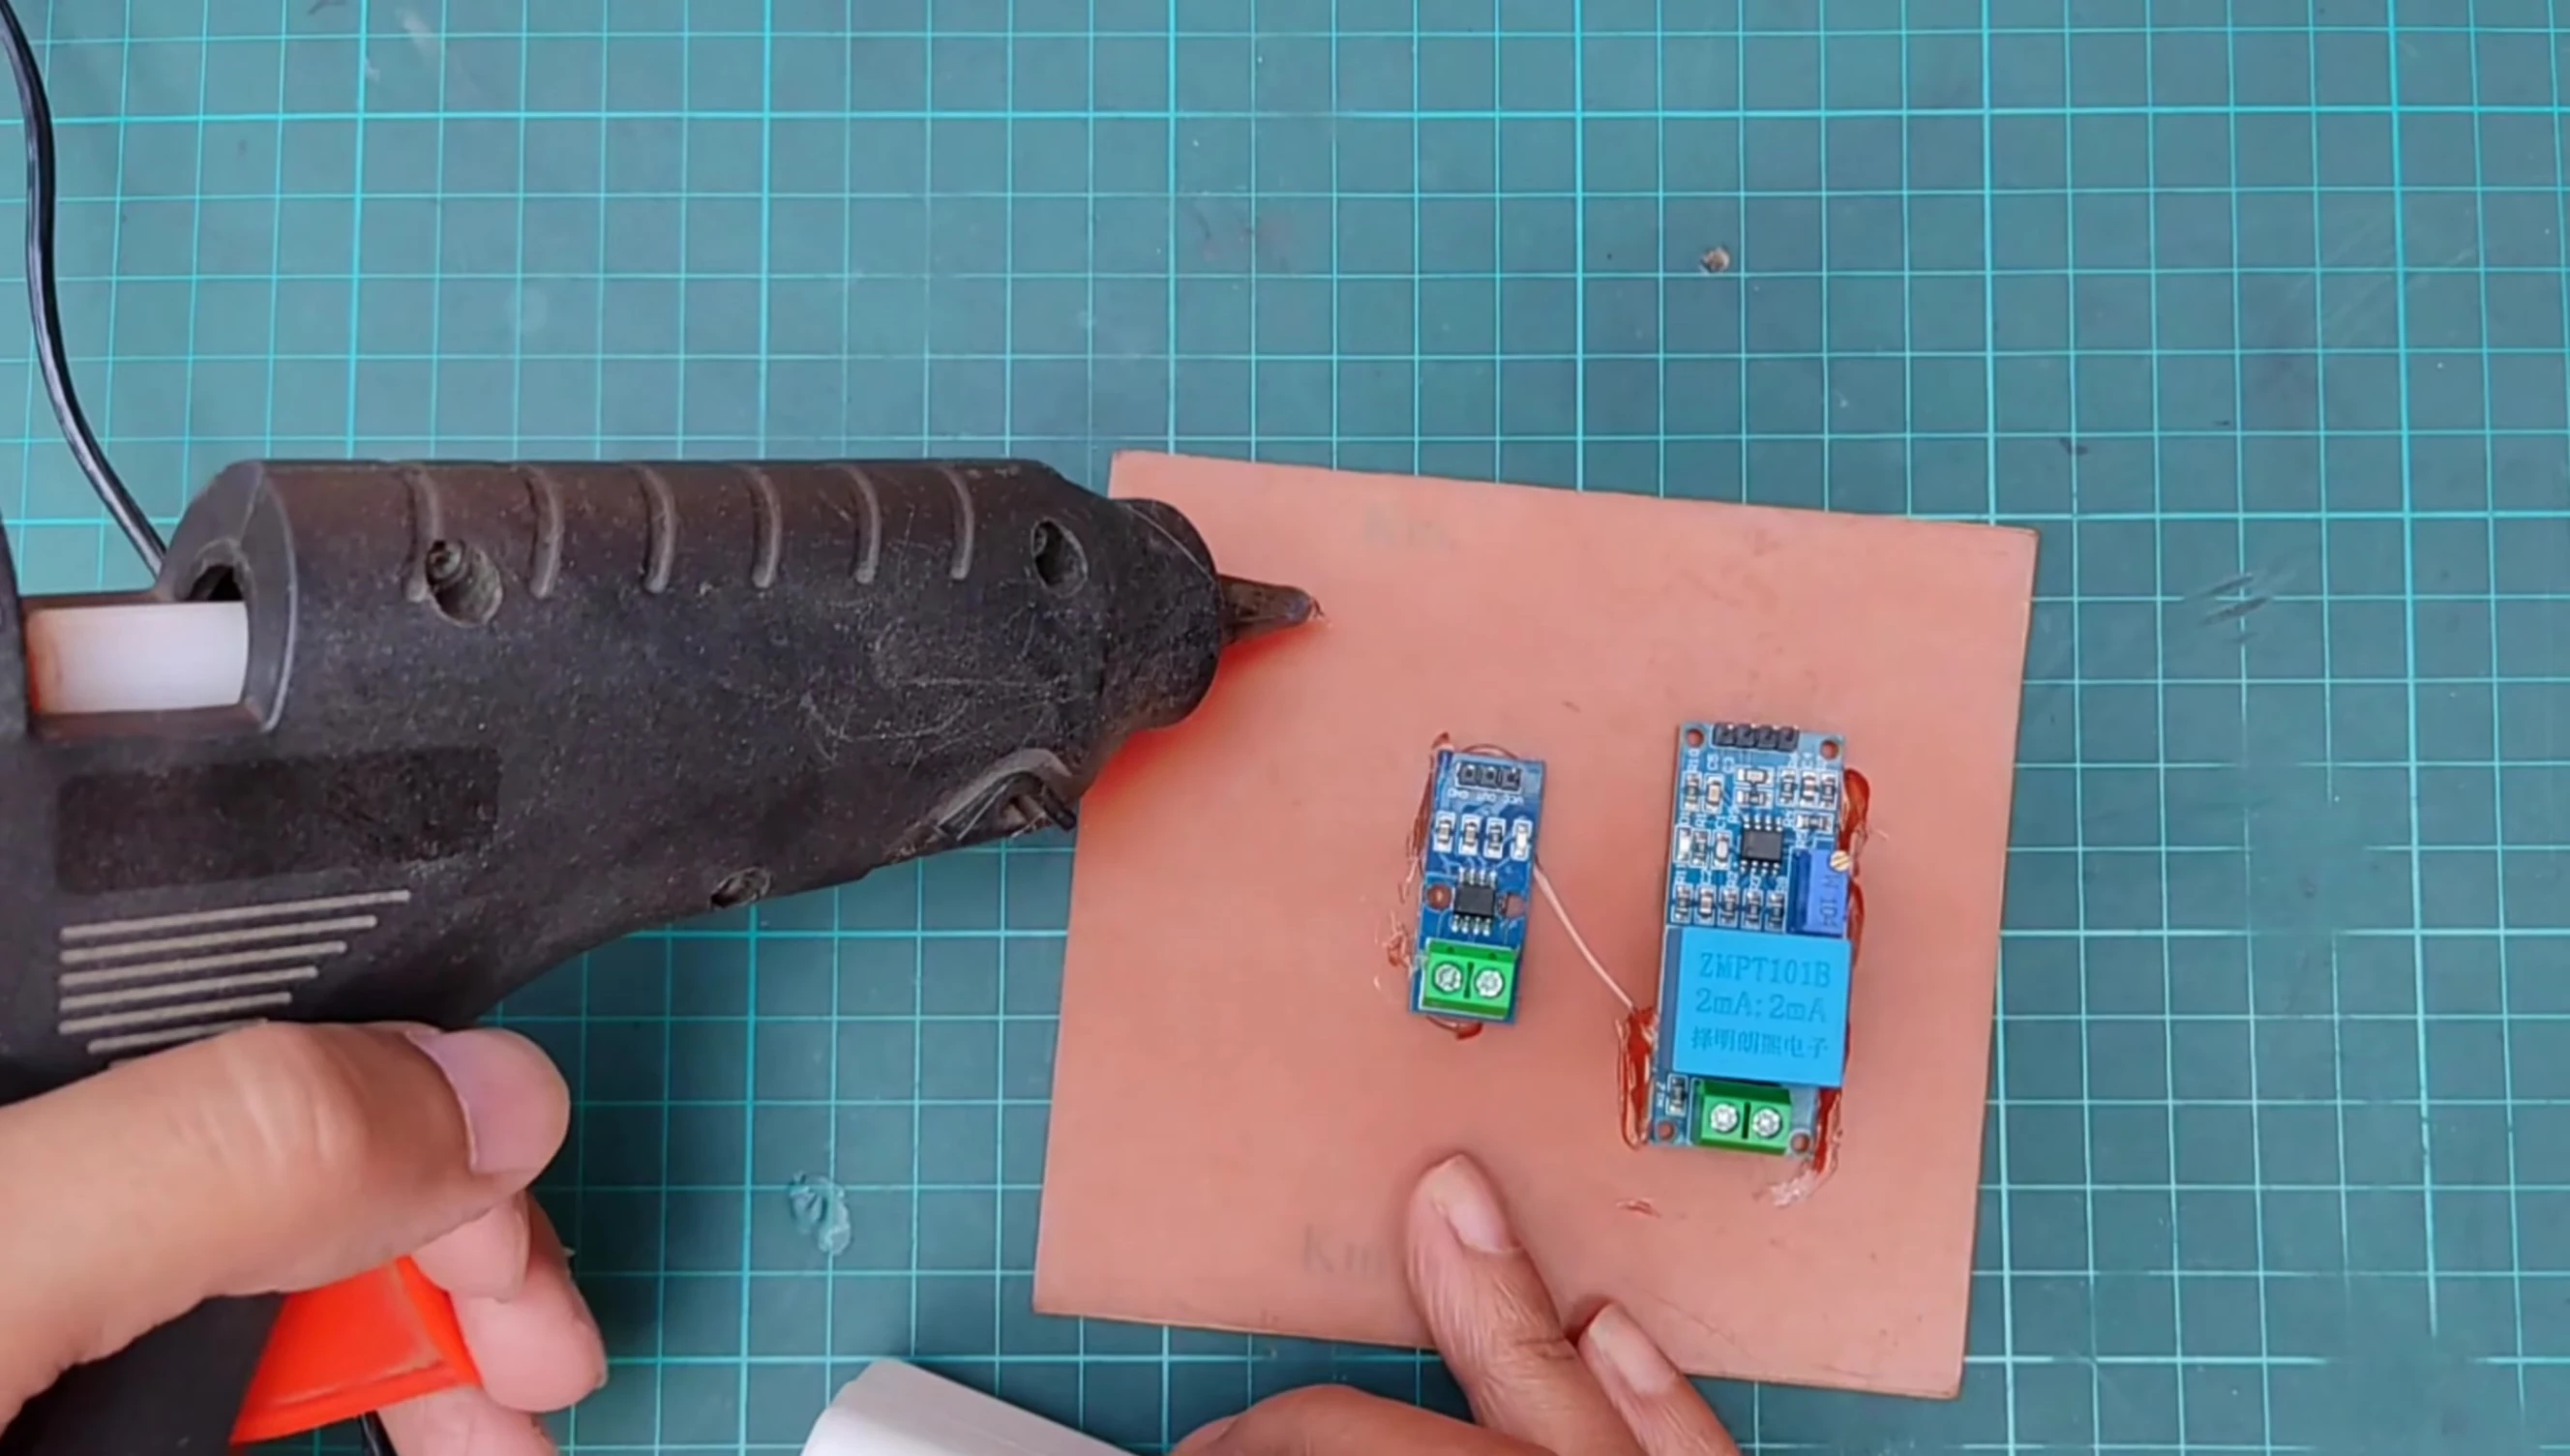
This project utilizes readily available components for ease of construction and replication. The core is an ESP32 microcontroller, chosen for its processing power and built-in Wi-Fi capabilities. Essential sensors include an AC voltage module for precise voltage measurement and a current sensor (likely an ACS712) to monitor current flow. Two 16x2 LCD displays provide a clear, local visual representation of the energy consumption data. Finally, a simple ESP32 development board serves as the central platform for interconnecting all these components.
The project also incorporates a load connection socket, allowing users to easily connect appliances or loads to measure their energy consumption. This simple design and modular components make the project easy to understand and replicate.
Circuit Connections and ESP32 Integration
Careful wiring is crucial for accurate readings. The AC voltage and current sensors are connected to the ESP32 according to a pin mapping table (presumably detailed in the provided code). Precise connections are essential to avoid errors and ensure the safety of the components and user. This connection methodology allows the ESP32 to receive real-time data from the sensors.
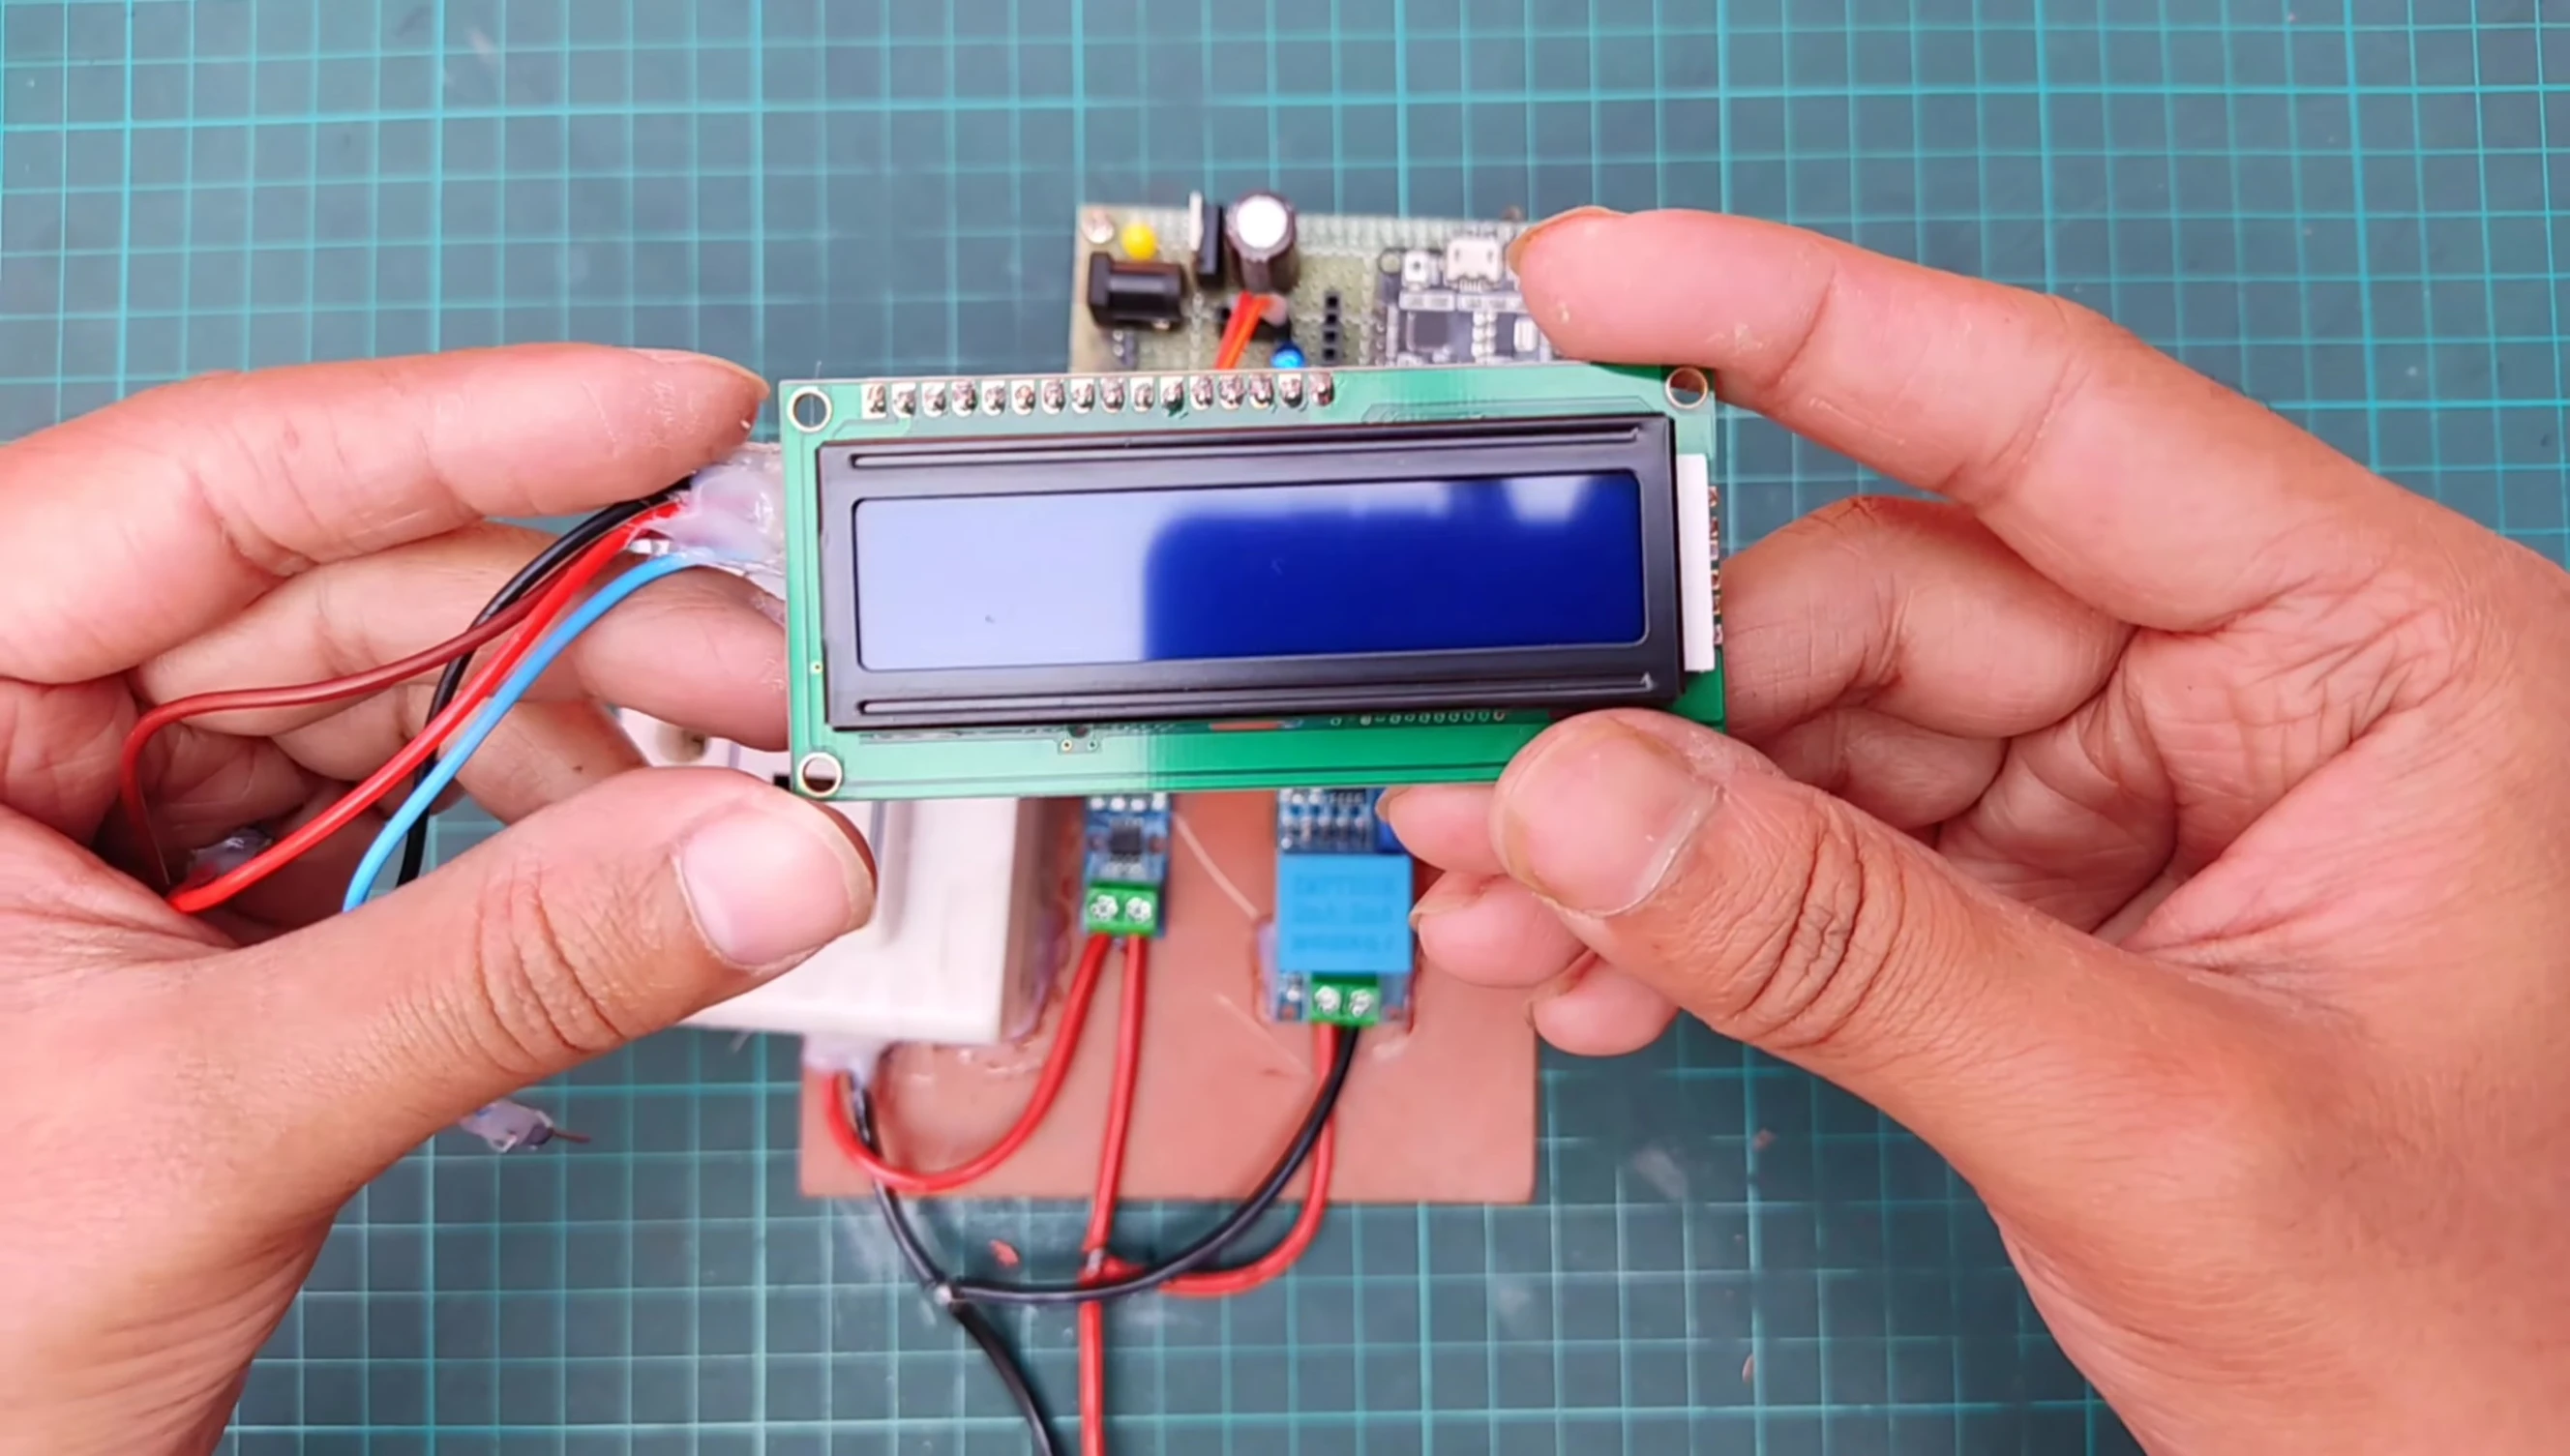
The 16x2 LCD displays are also wired to the ESP32 for direct display of the readings. This dual-display approach provides redundancy and allows for a clear overview of the energy usage parameters.
Blynk App Integration and Code Upload
The Blynk IoT platform facilitates remote monitoring and control. The video details setting up a Blynk dashboard and mobile app, emphasizing the need for consistent account login across both interfaces. This ensures seamless data synchronization and remote access to the energy meter readings.

The project code is available on GitHub and is uploaded to the ESP32 using the Arduino IDE. The necessary libraries (ACS712 and ZMPT101B) need to be installed within the Arduino IDE library manager. The code also requires the Blynk authentication token, which is generated within the Blynk platform itself.

Results and Conclusion
The final demonstration showcases real-time data on both LCD displays and the Blynk mobile app. The voltage, current, power, and energy unit values are consistent across all three display methods. This validation confirms the successful integration of the hardware, software, and cloud platform.

This project demonstrates a functional and versatile IoT-based smart energy meter. Its modular design, combined with the use of readily available components and the Blynk platform, makes it a valuable example for learning about IoT applications in energy monitoring. Future improvements could involve adding data logging and advanced analytics capabilities.