This project details the construction of a DIY smart energy meter using readily available components, offering a cost-effective solution for monitoring home electricity consumption. The initial challenge of accurately measuring AC power, considering the complexities of power factor, is addressed through the strategic use of a pre-built energy metering module, the JSY MK194G. This module simplifies the process significantly by internally calculating wattage, voltage, current, frequency, and power factor, delivering readily usable data via the Modbus protocol. The project leverages the capabilities of an ESP32 microcontroller and the user-friendly ESPHome framework for seamless data acquisition and transmission.The resulting smart meter integrates with Home Assistant for intuitive data visualization, providing real-time and historical energy usage trends. A 3D-printed enclosure houses the electronics, ensuring a professional and safe setup. The detailed guide walks you through the wiring, software configuration, and safe installation, culminating in a functional dashboard displaying energy consumption data, highlighting areas for potential energy savings. This project is perfect for electronics enthusiasts seeking a practical and impactful way to reduce energy bills and understand their consumption habits.
Pros And Cons
- Enables Wi-Fi connection to send measured data to Home Assistant.
- Supports Modbus protocol for communication with the energy meter.
- Accurately measures energy consumed in watt-hours, voltage, current, frequency, and power factor.
- Simple to use with an ESP32 for data transmission.
- Relatively inexpensive.
Read more: AMI Meter Reading Guide: Understanding Your Smart Electricity Meter
The Problem with Simple AC Energy Measurement
Measuring AC energy consumption accurately is more complex than DC. Simple current clamp methods won't provide accurate wattage readings without considering the power factor. The power factor varies depending on the type of load, significantly affecting the accuracy of your calculations. This initial challenge almost led me to abandon the project entirely.
Understanding power factor is crucial. It represents the ratio of real power used to apparent power supplied. A fully resistive load (like a filament bulb) has a power factor of 1, while inductive loads (motors) have a lower power factor, leading to less efficient energy usage.
To calculate the actual power consumption in watts, you need to factor in both voltage, current, and power factor.
Introducing the JSY MK194G Energy Meter Module
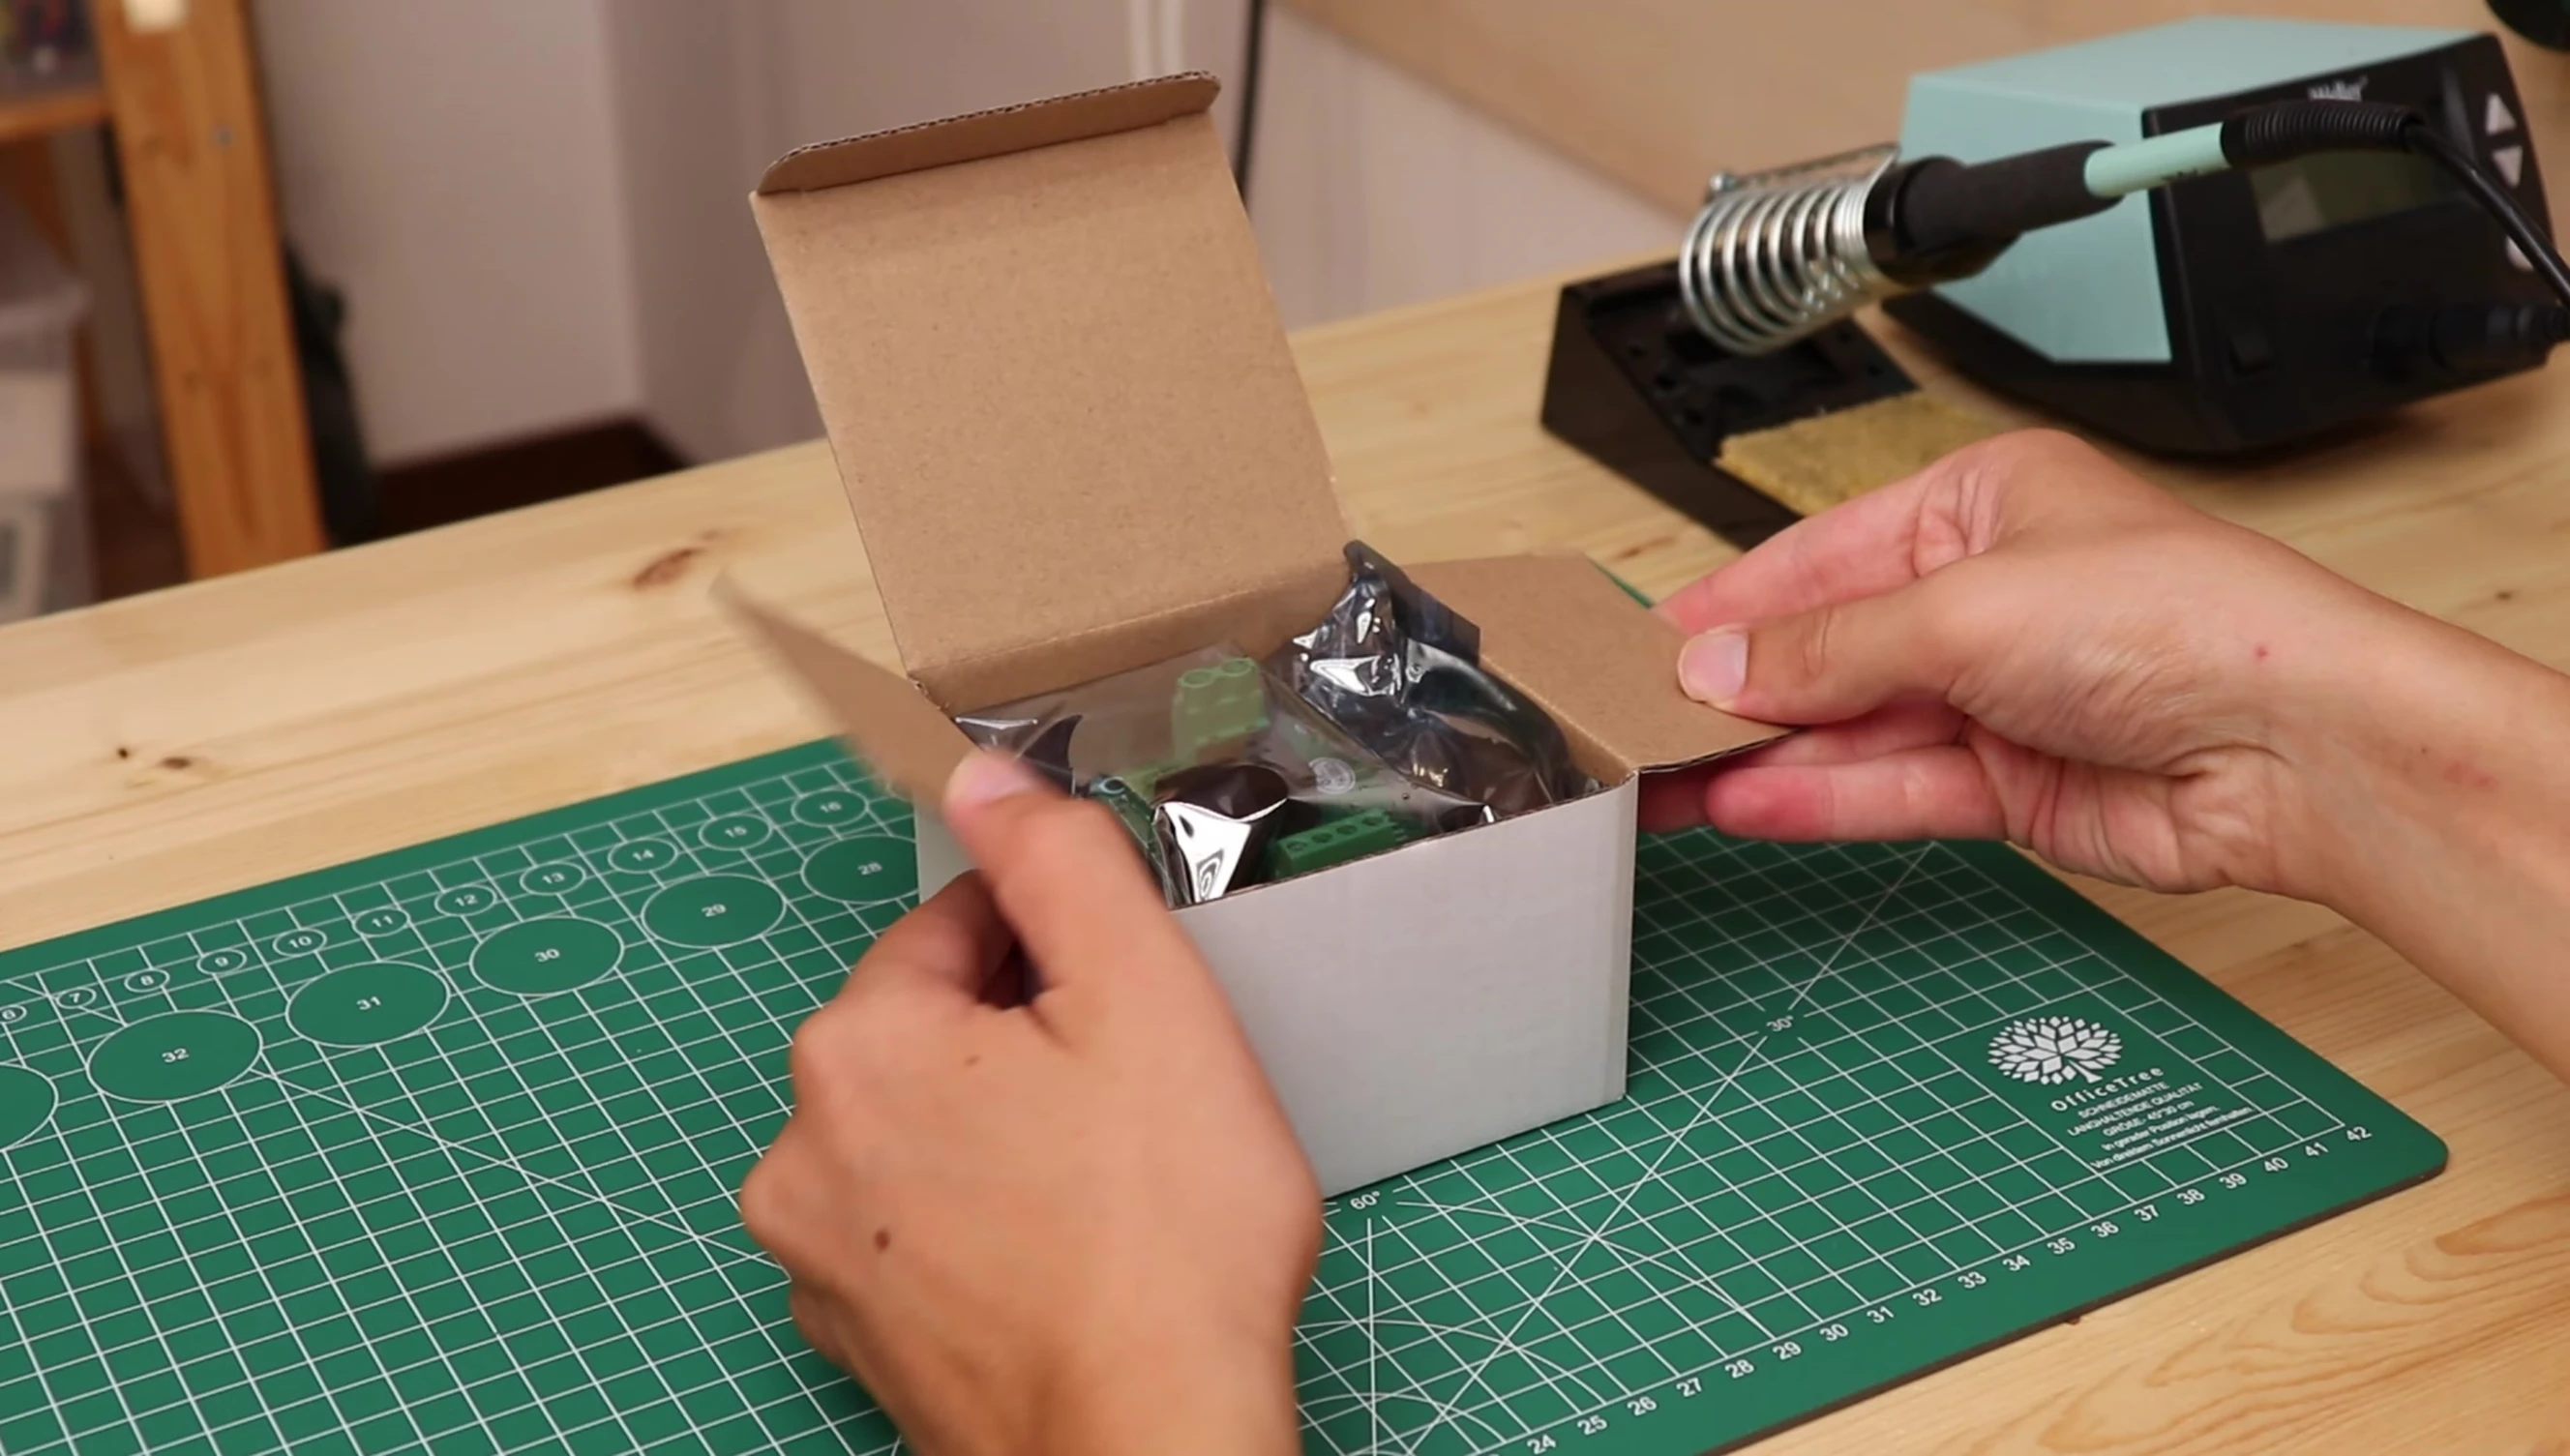
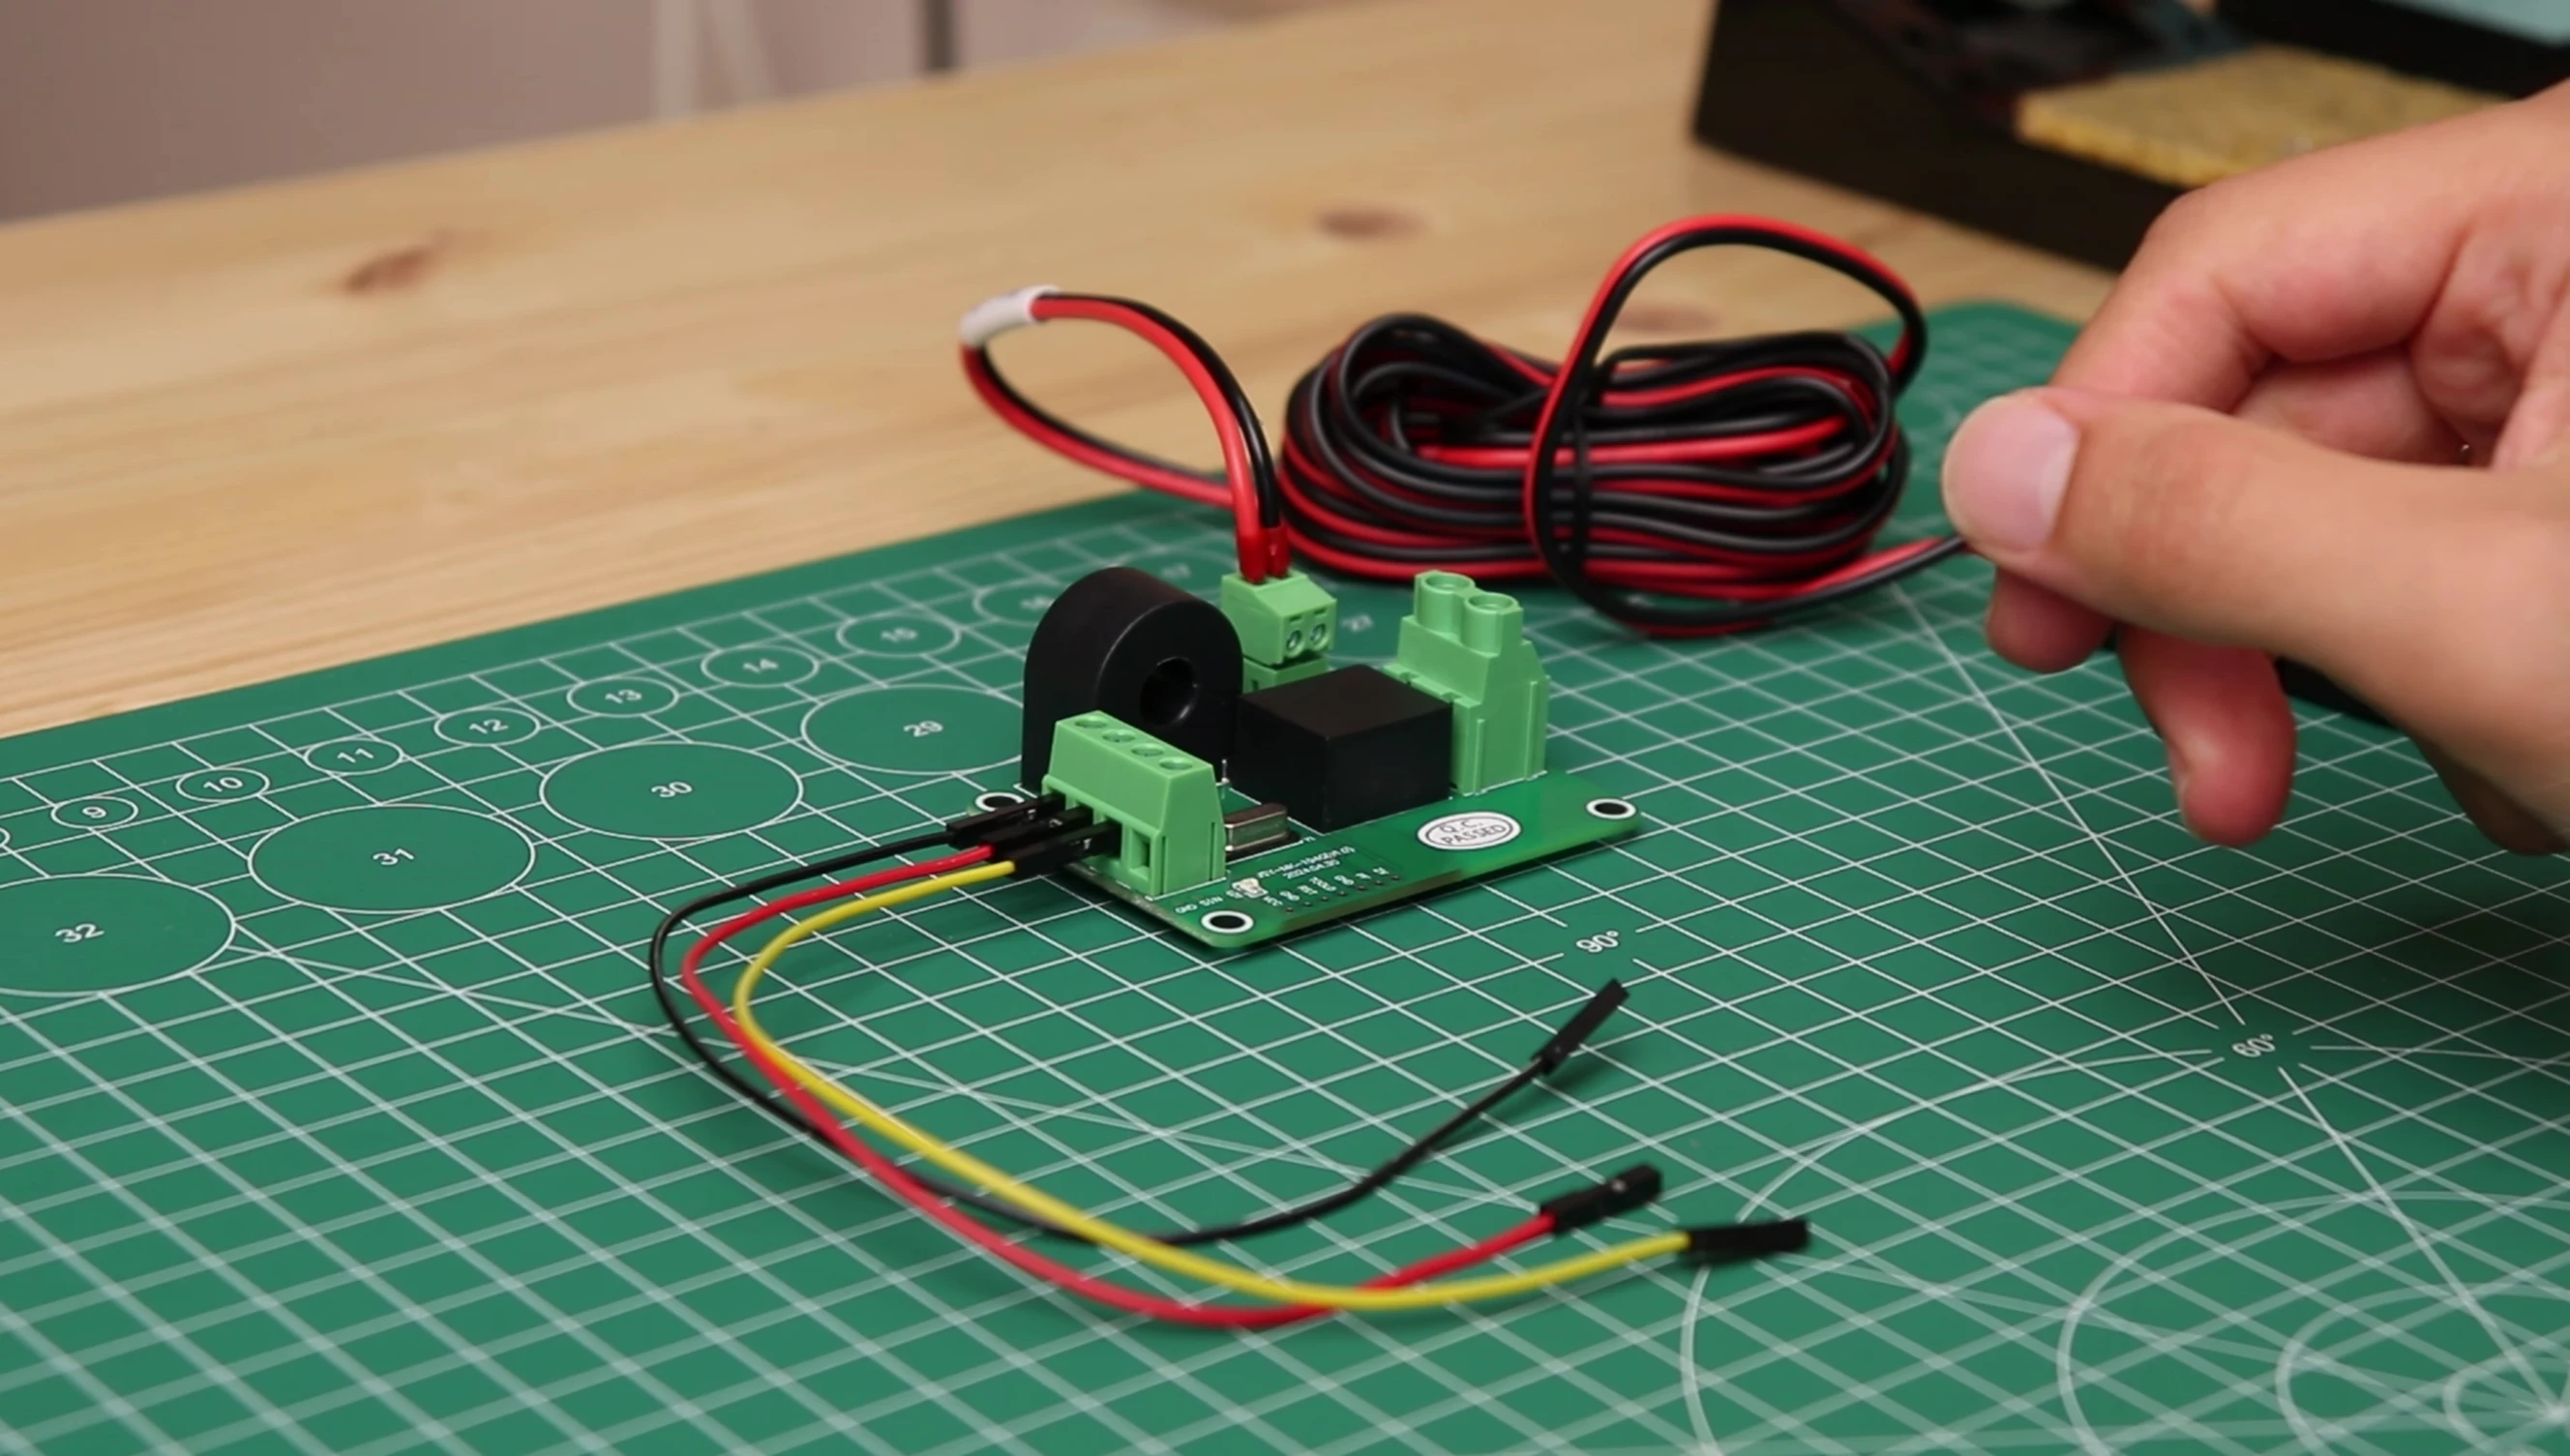
My solution came in the form of the JSY MK194G module from Yanan Meters. This module simplifies the process by performing the complex AC power calculations internally. It measures voltage, current, frequency, and power factor accurately and delivers ready-to-use data.
The module includes a current clamp for current measurement and a transformer for safely measuring AC voltage. This setup accurately calculates wattage, along with other important parameters. This significantly simplifies the process of getting energy usage details.
The module communicates using the Modbus protocol, which simplifies data transmission to a microcontroller.
ESP32 Integration and Home Assistant Setup
An ESP32 microcontroller serves as the brain of the system, acting as a bridge between the energy meter and Home Assistant. The ESP32 reads data from the energy meter module via the Modbus protocol.
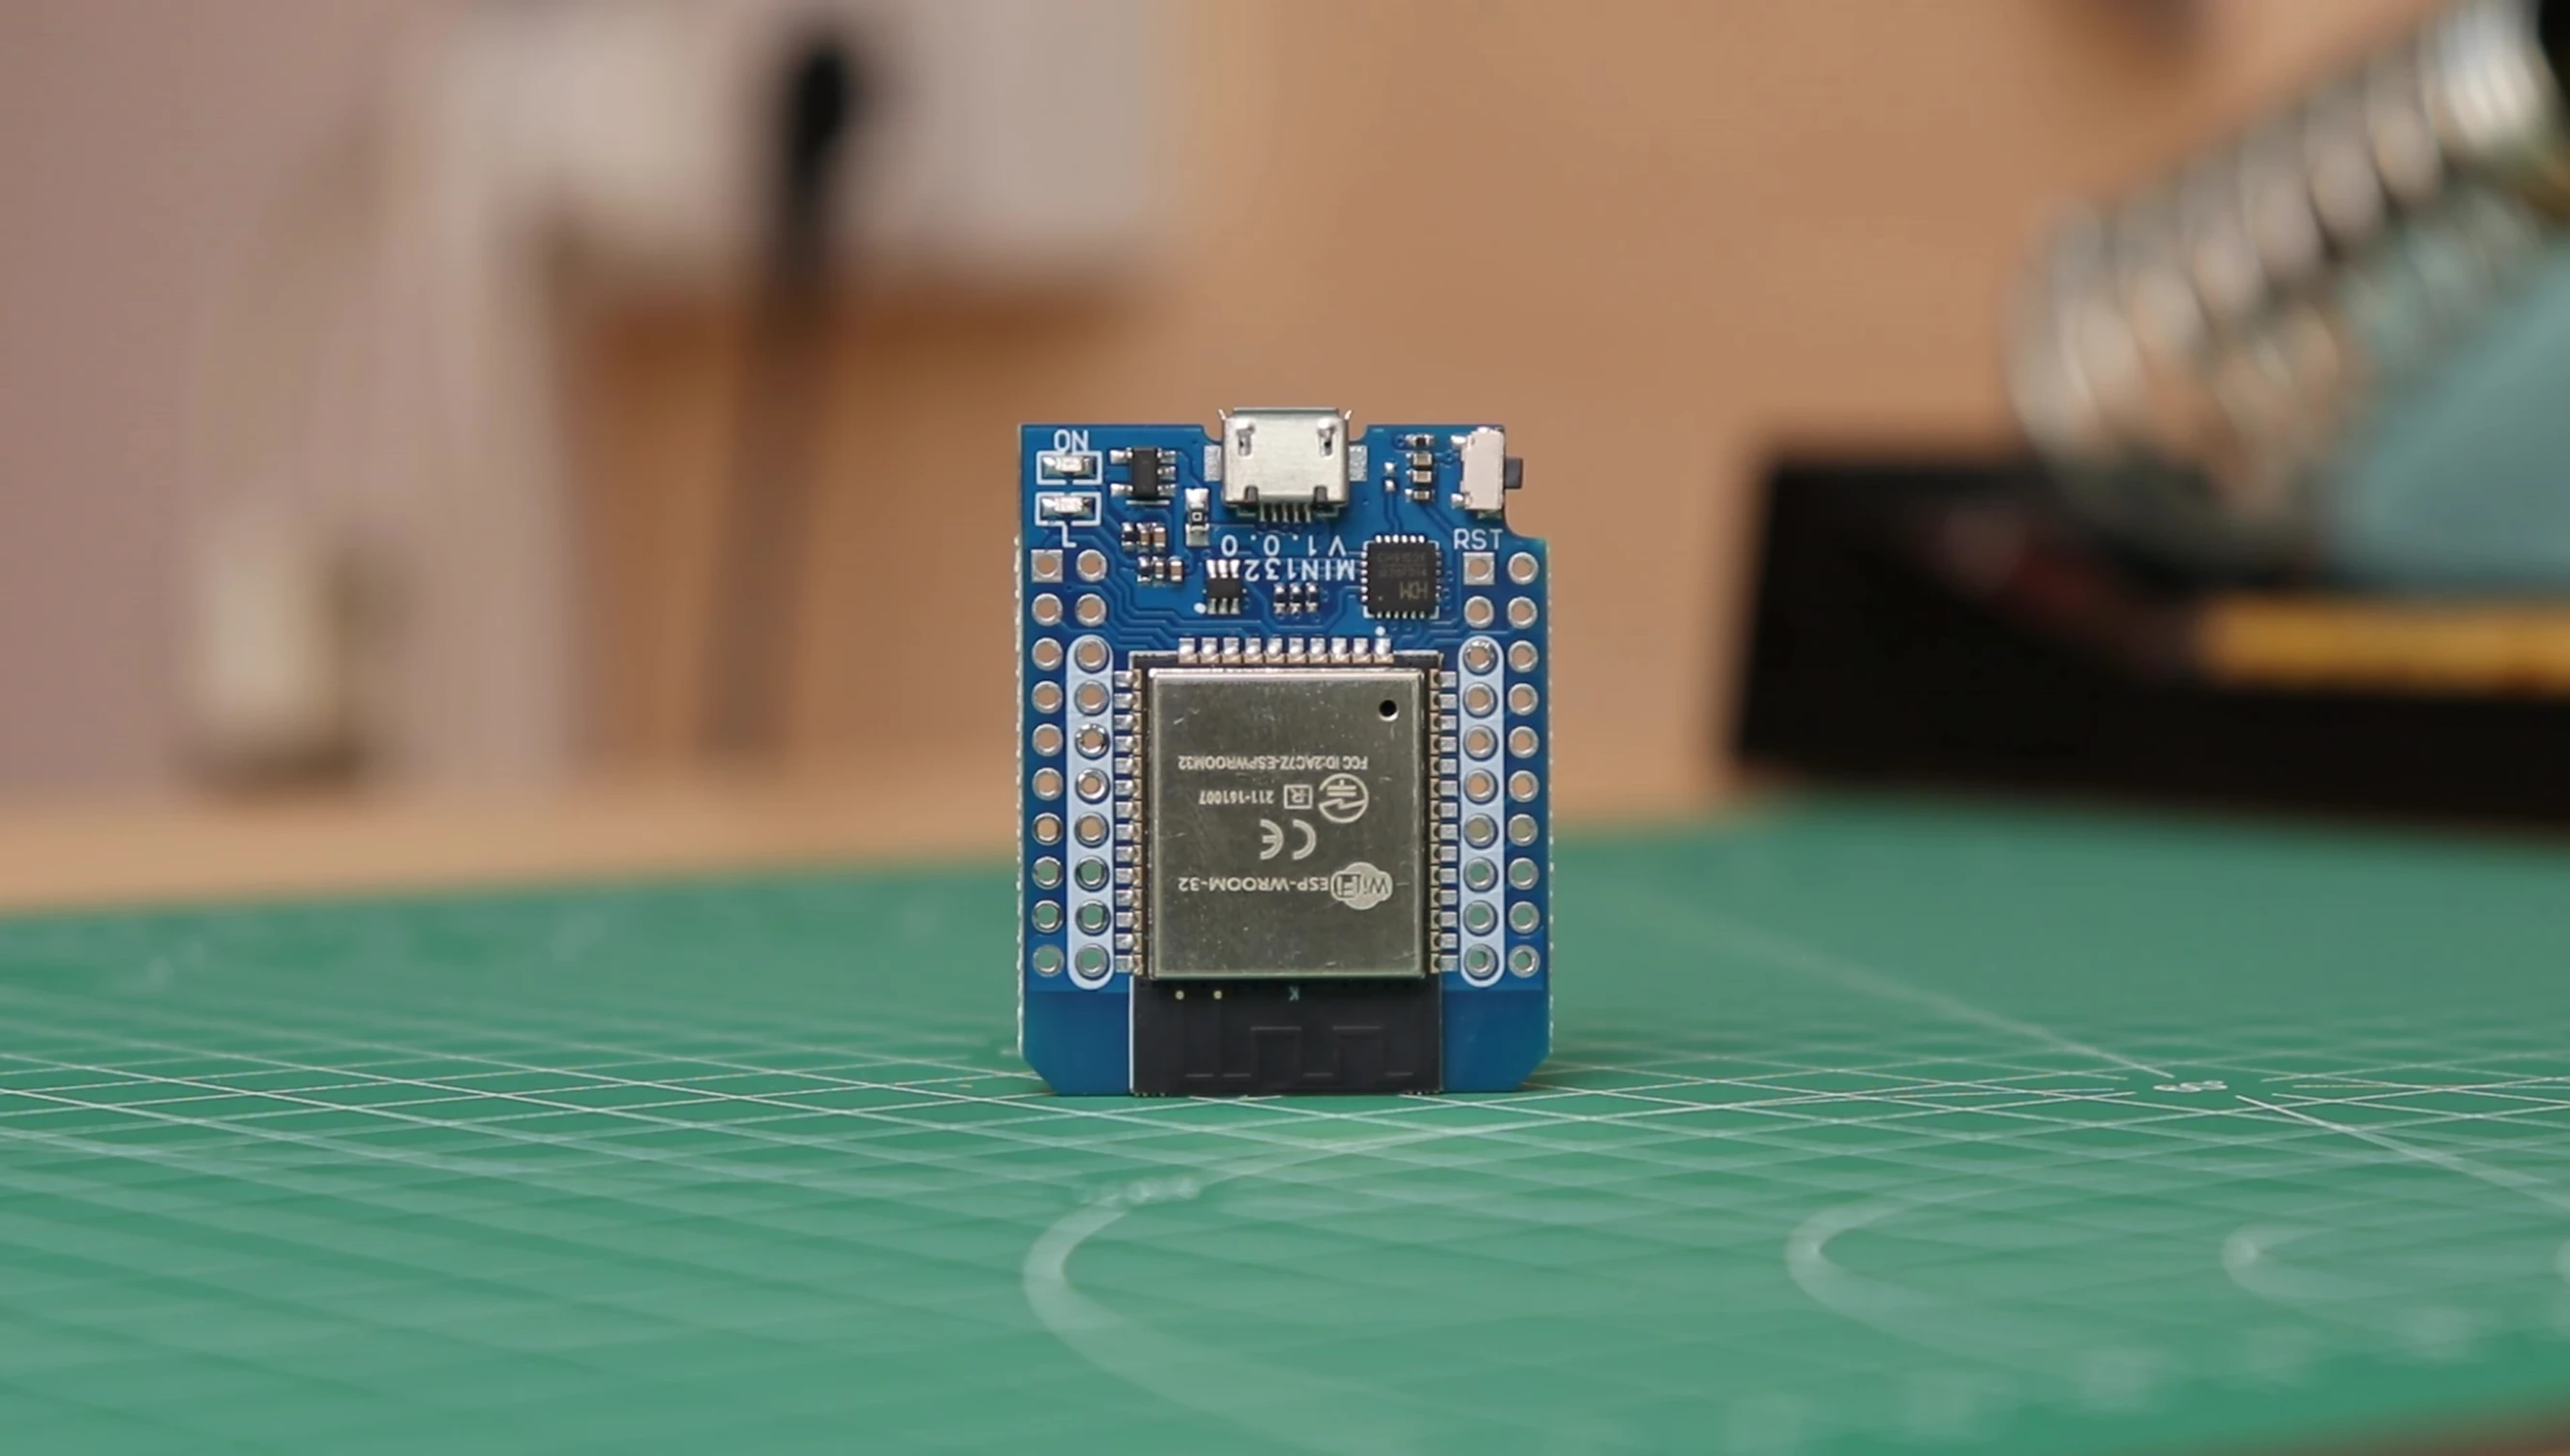
Using ESPHome, I configured the ESP32 to send data to Home Assistant. ESPHome simplifies this by directly supporting the Modbus protocol. The setup is relatively straightforward, even for those new to ESPHome.
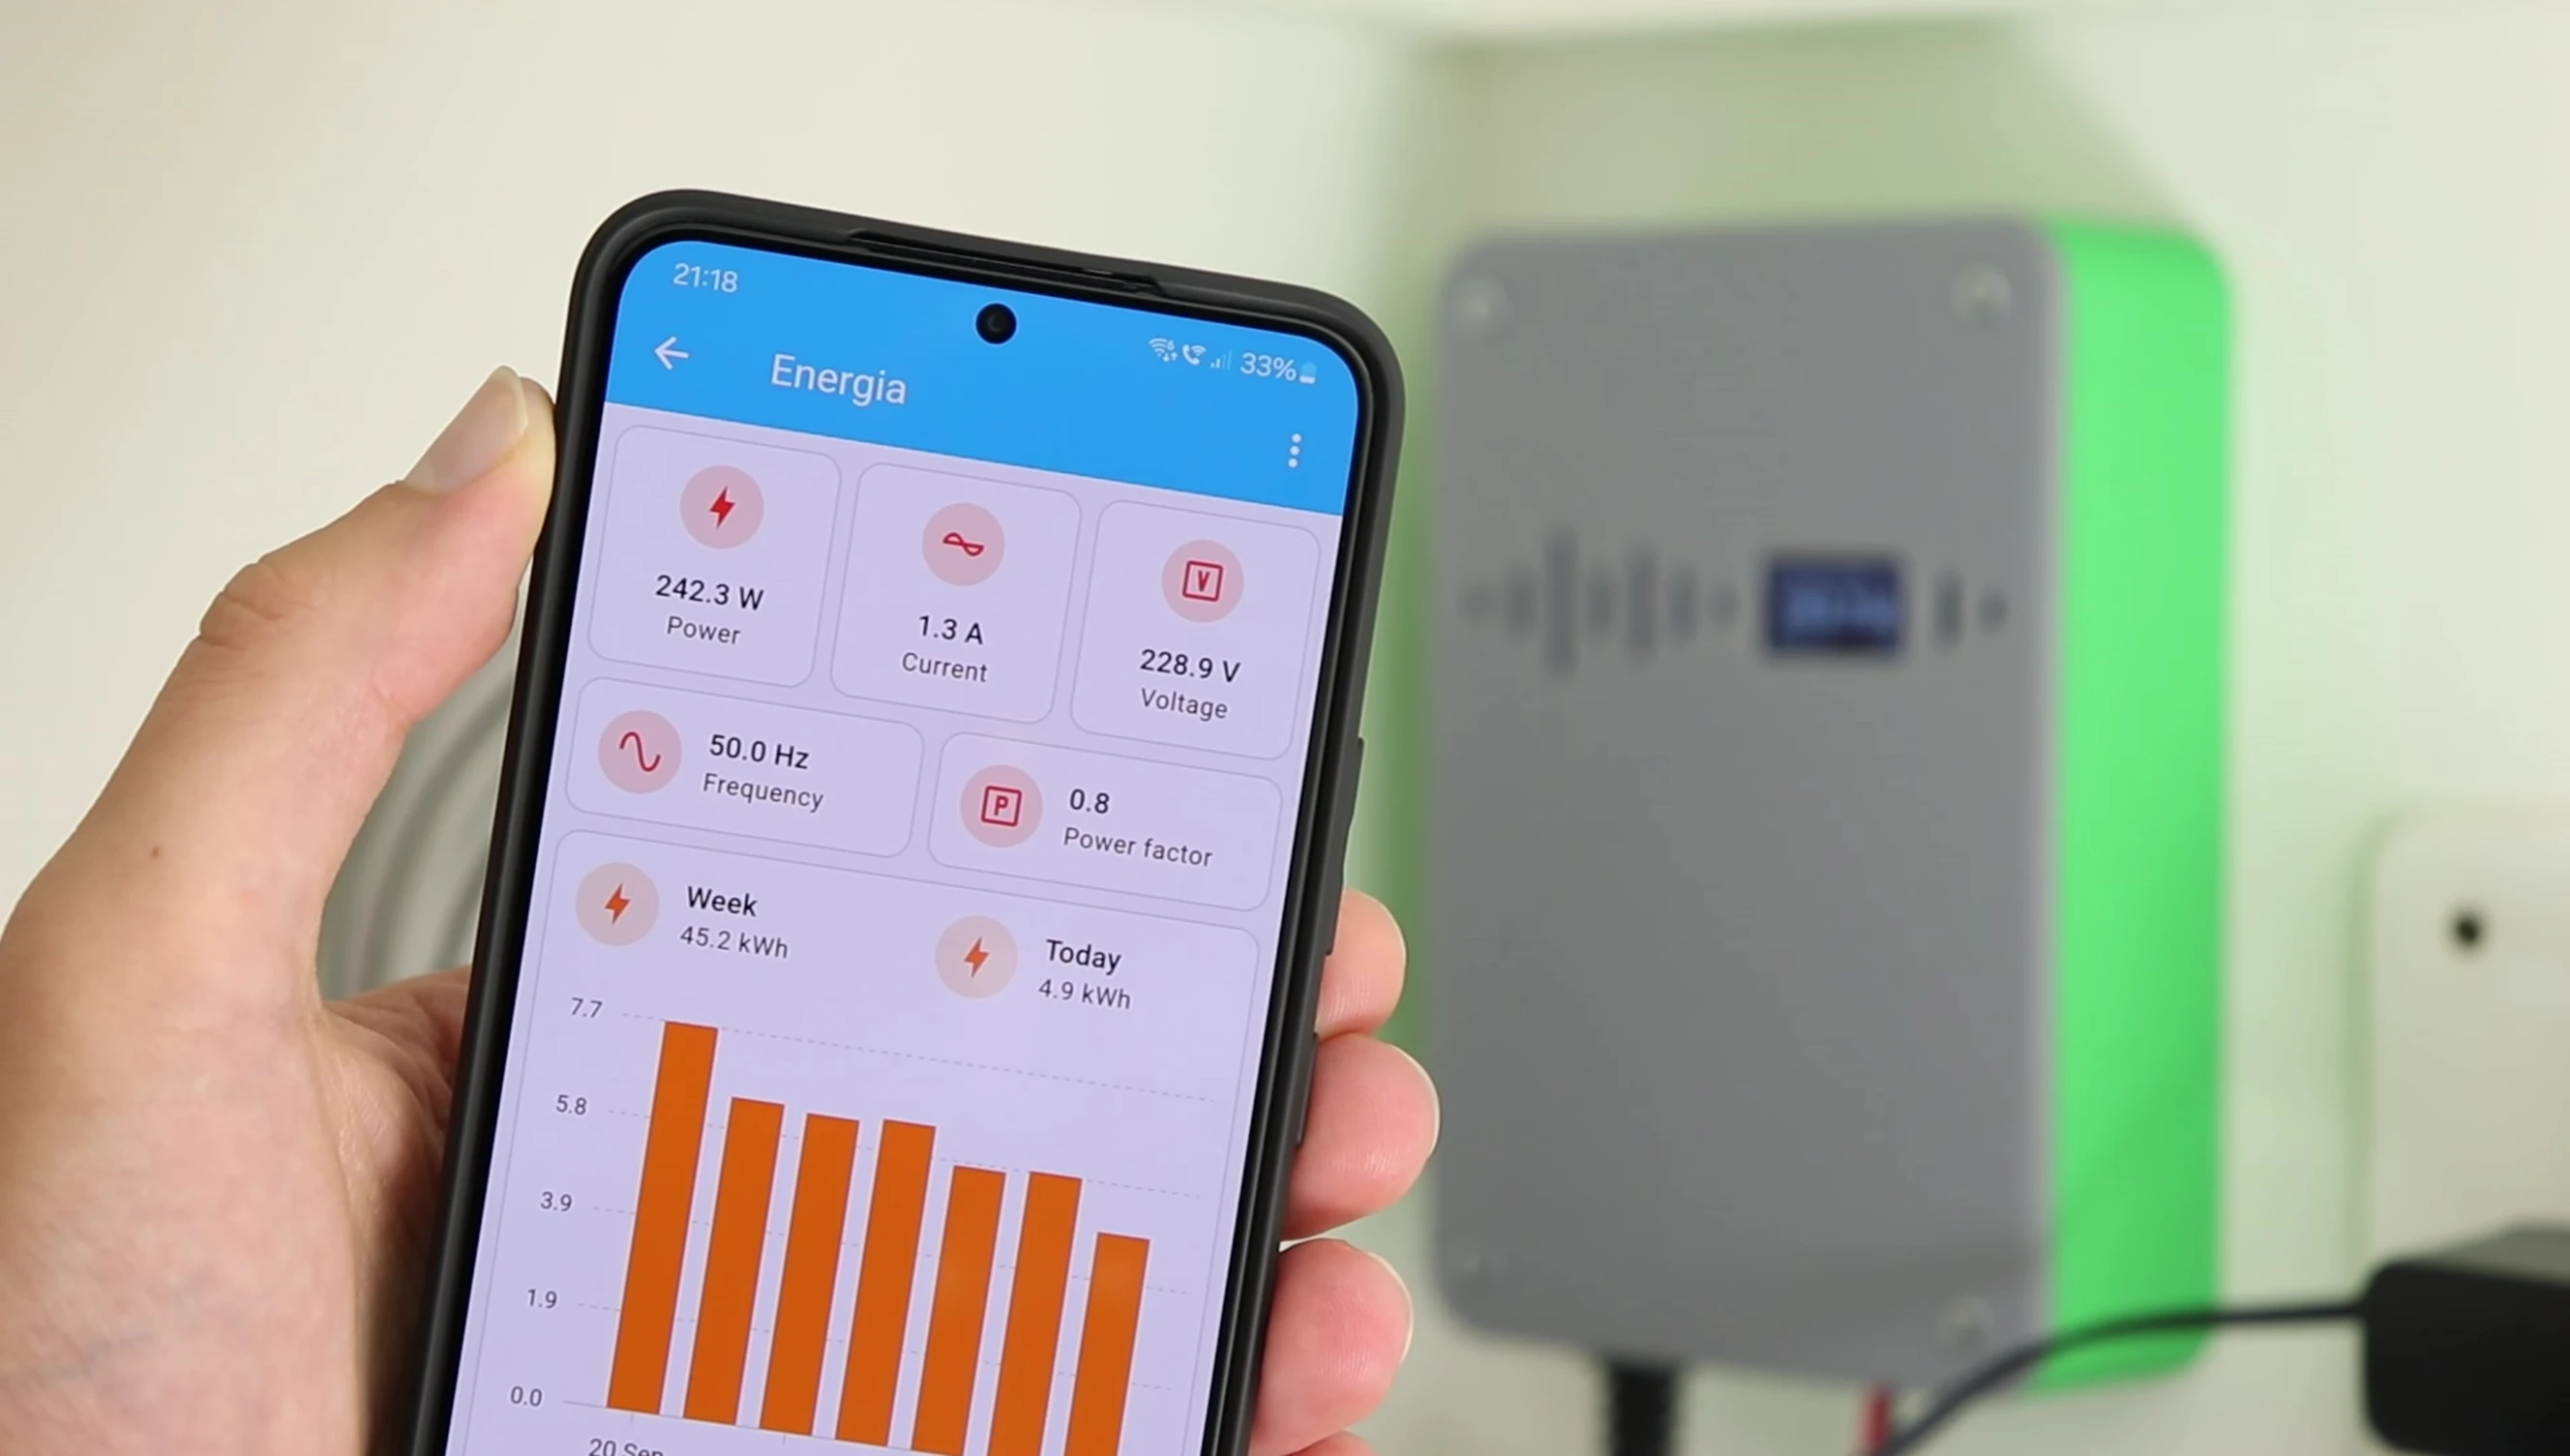
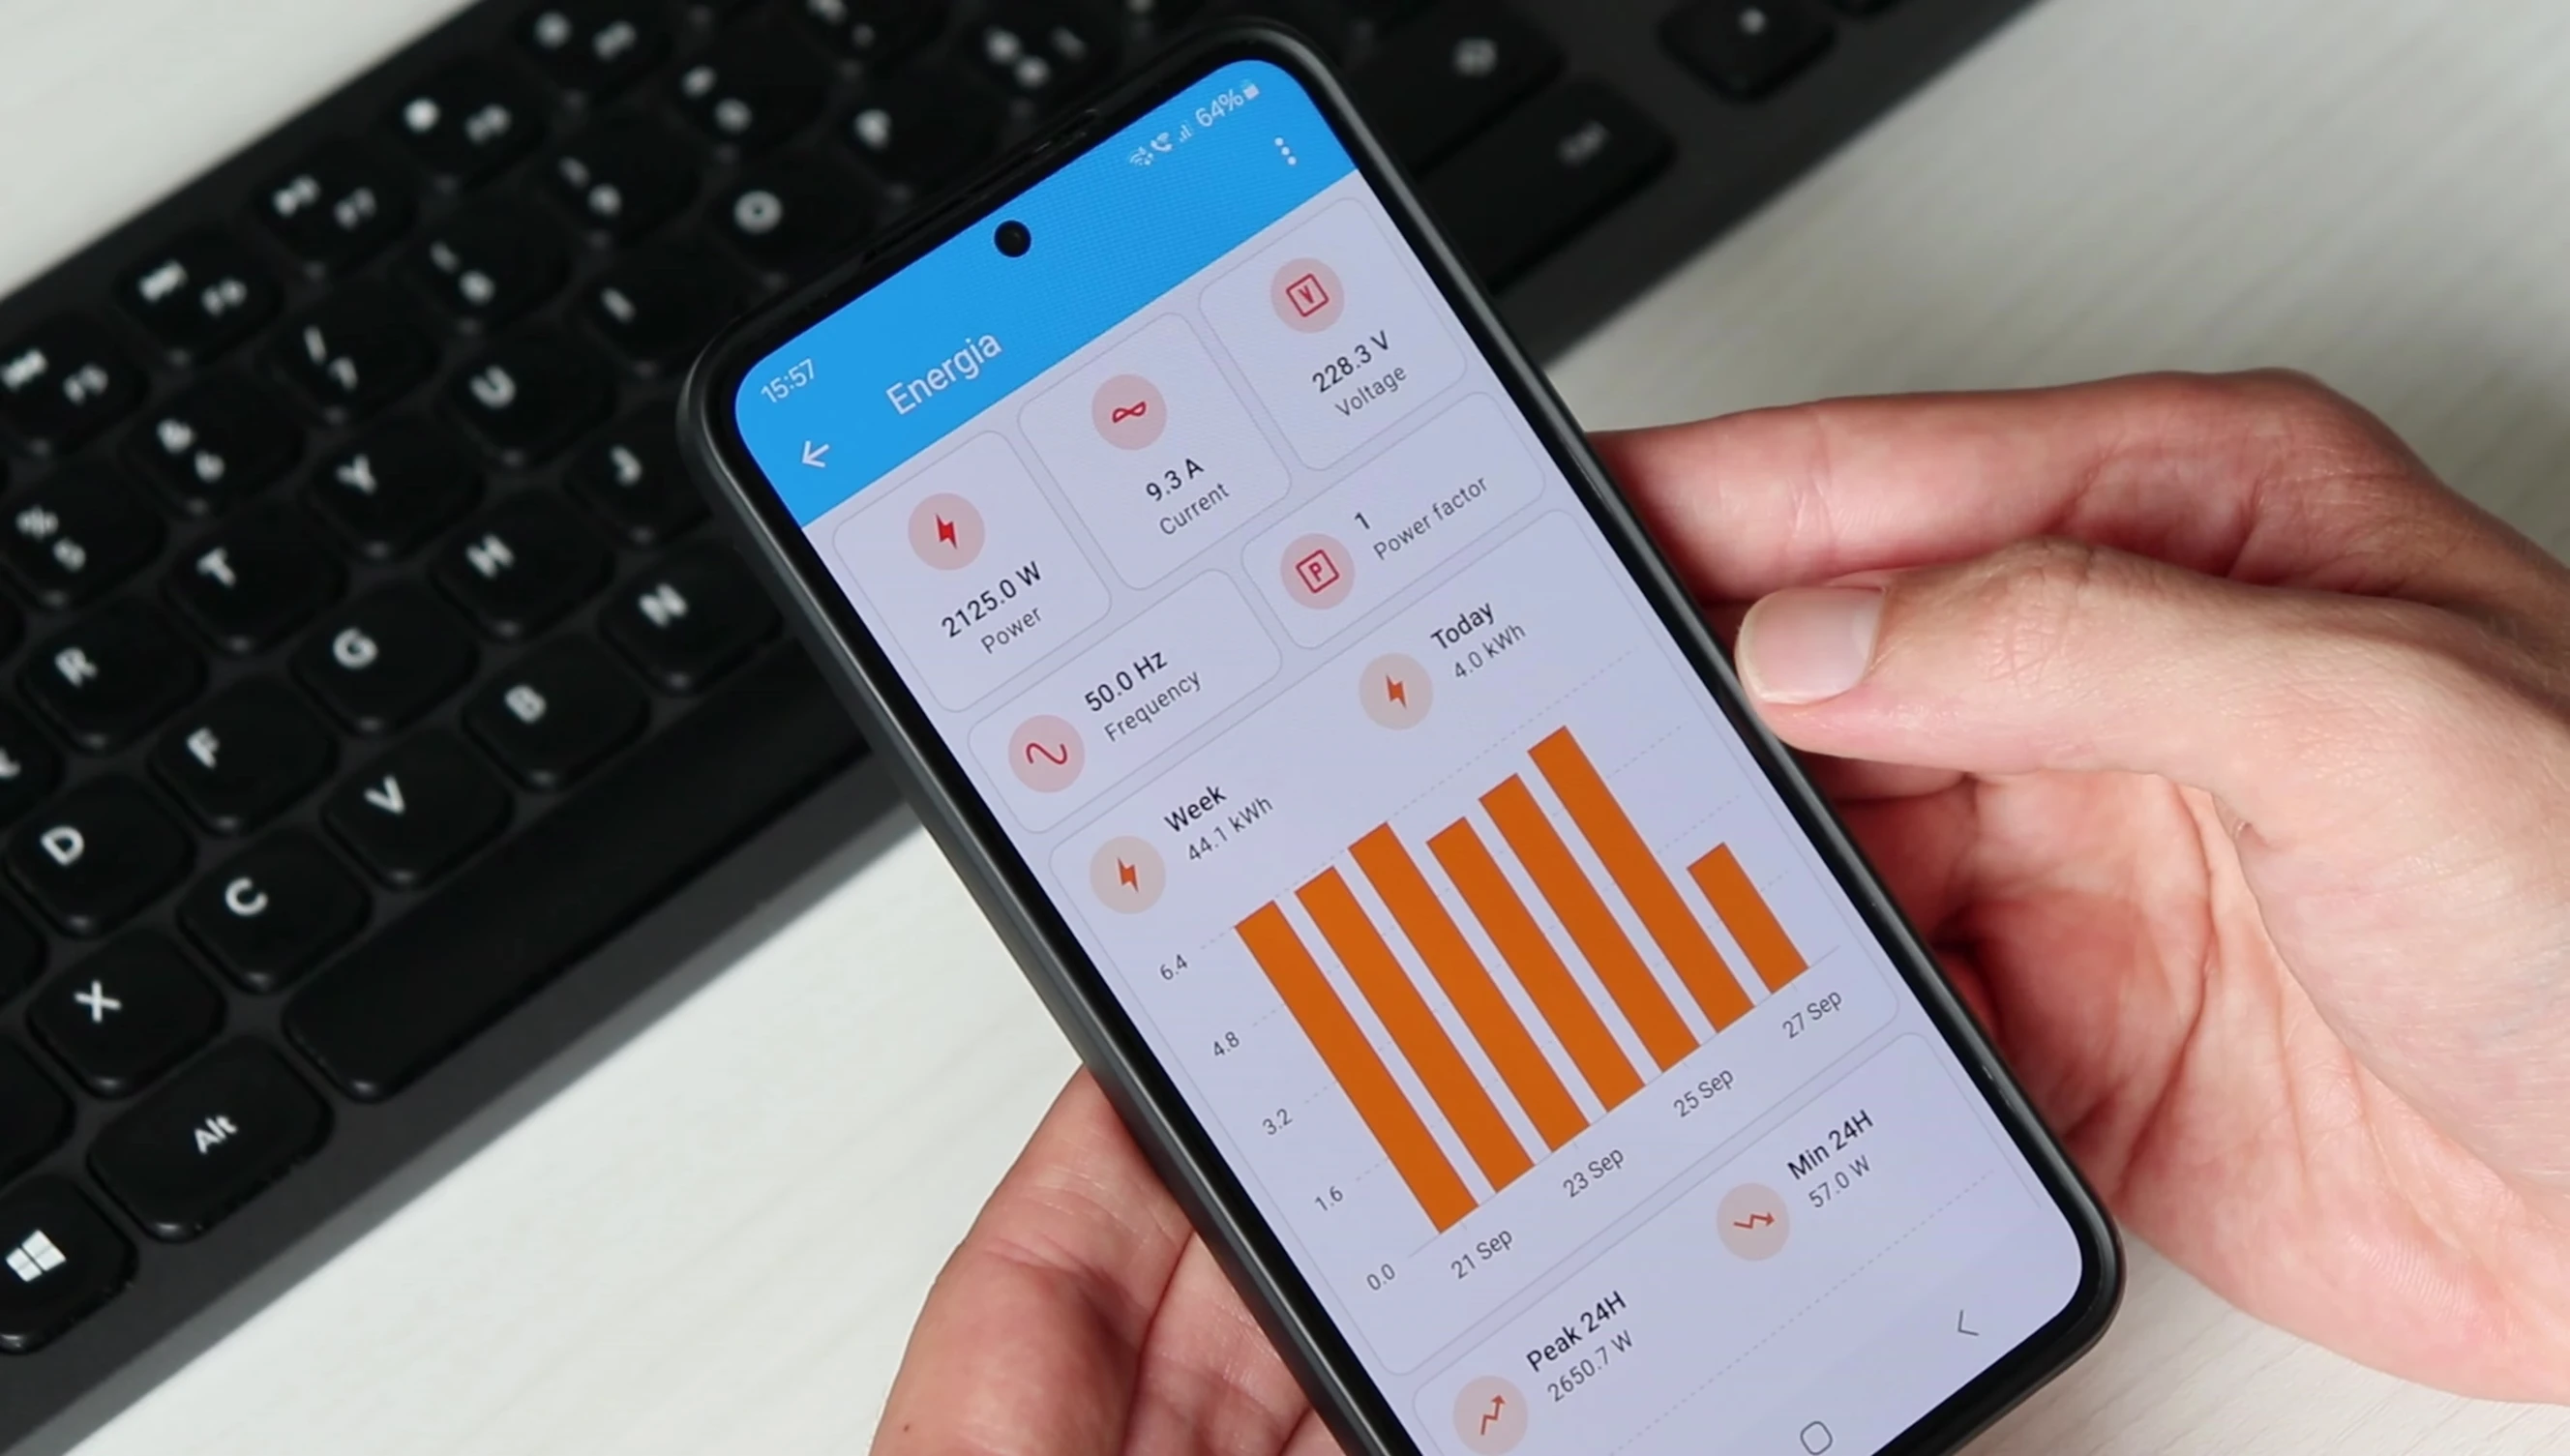
Home Assistant allows for visualization of the data through a user-friendly dashboard, showing real-time and historical energy consumption trends.
Hardware and Software Assembly
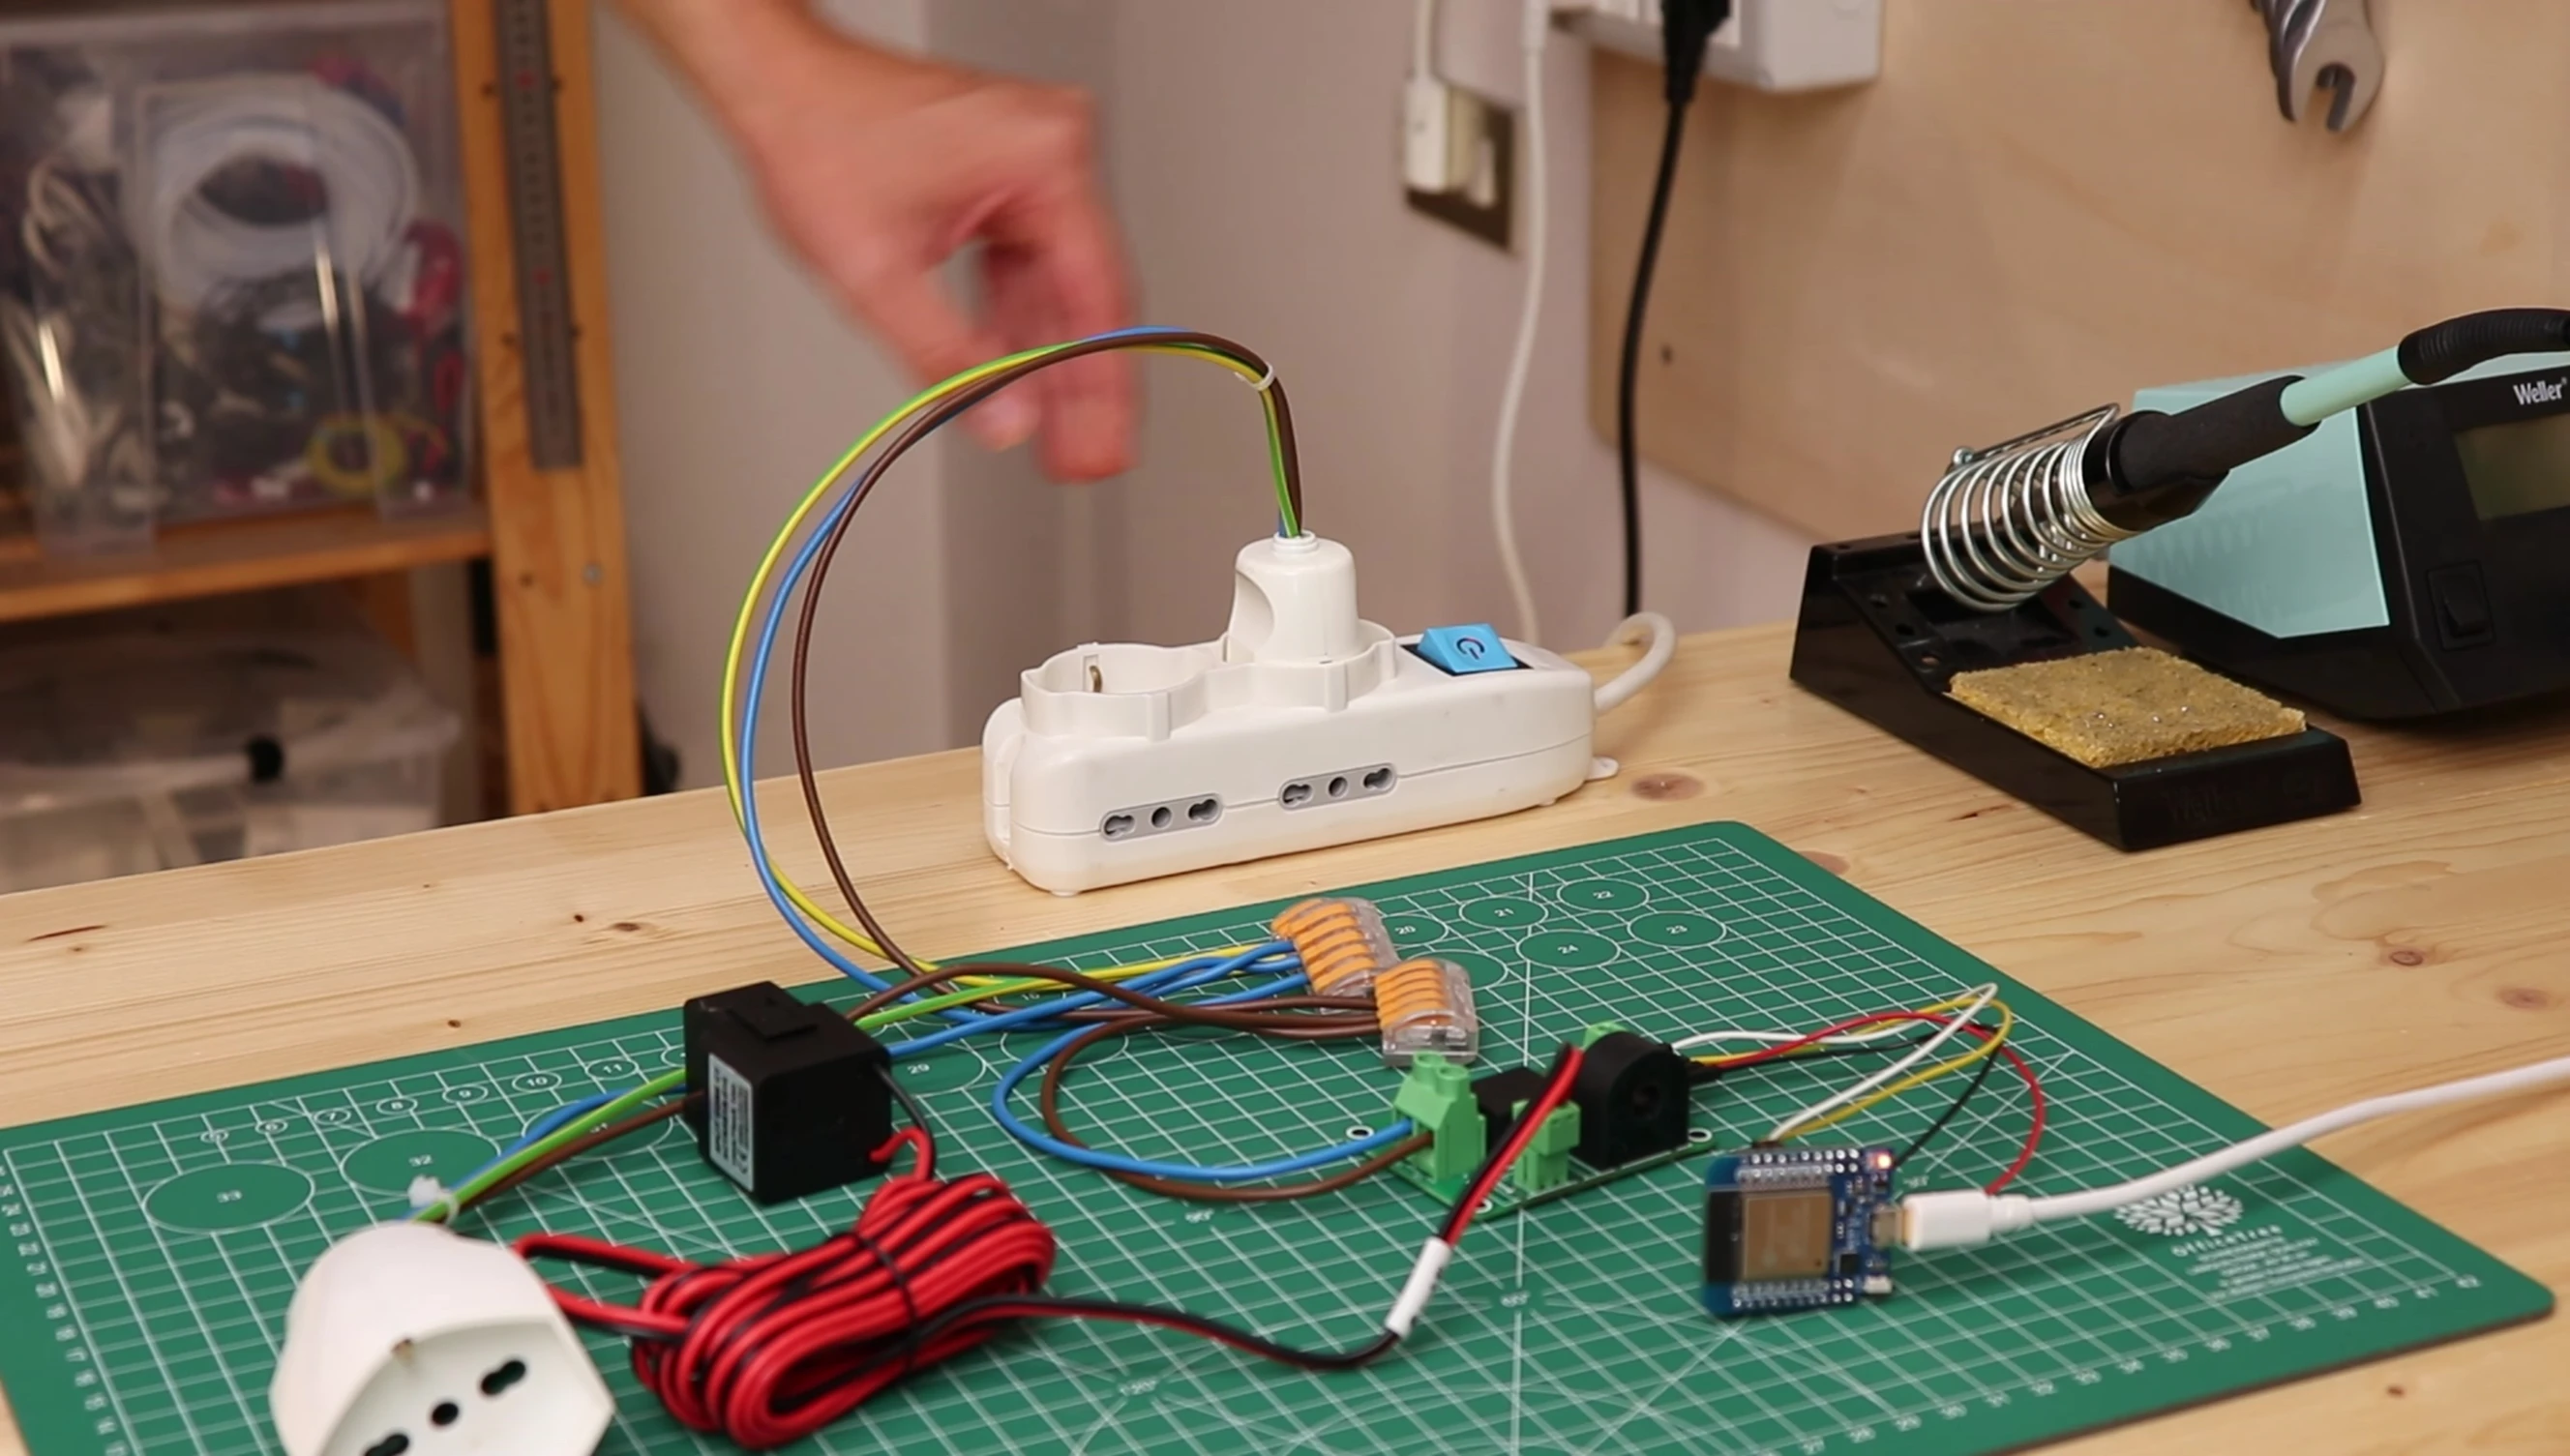
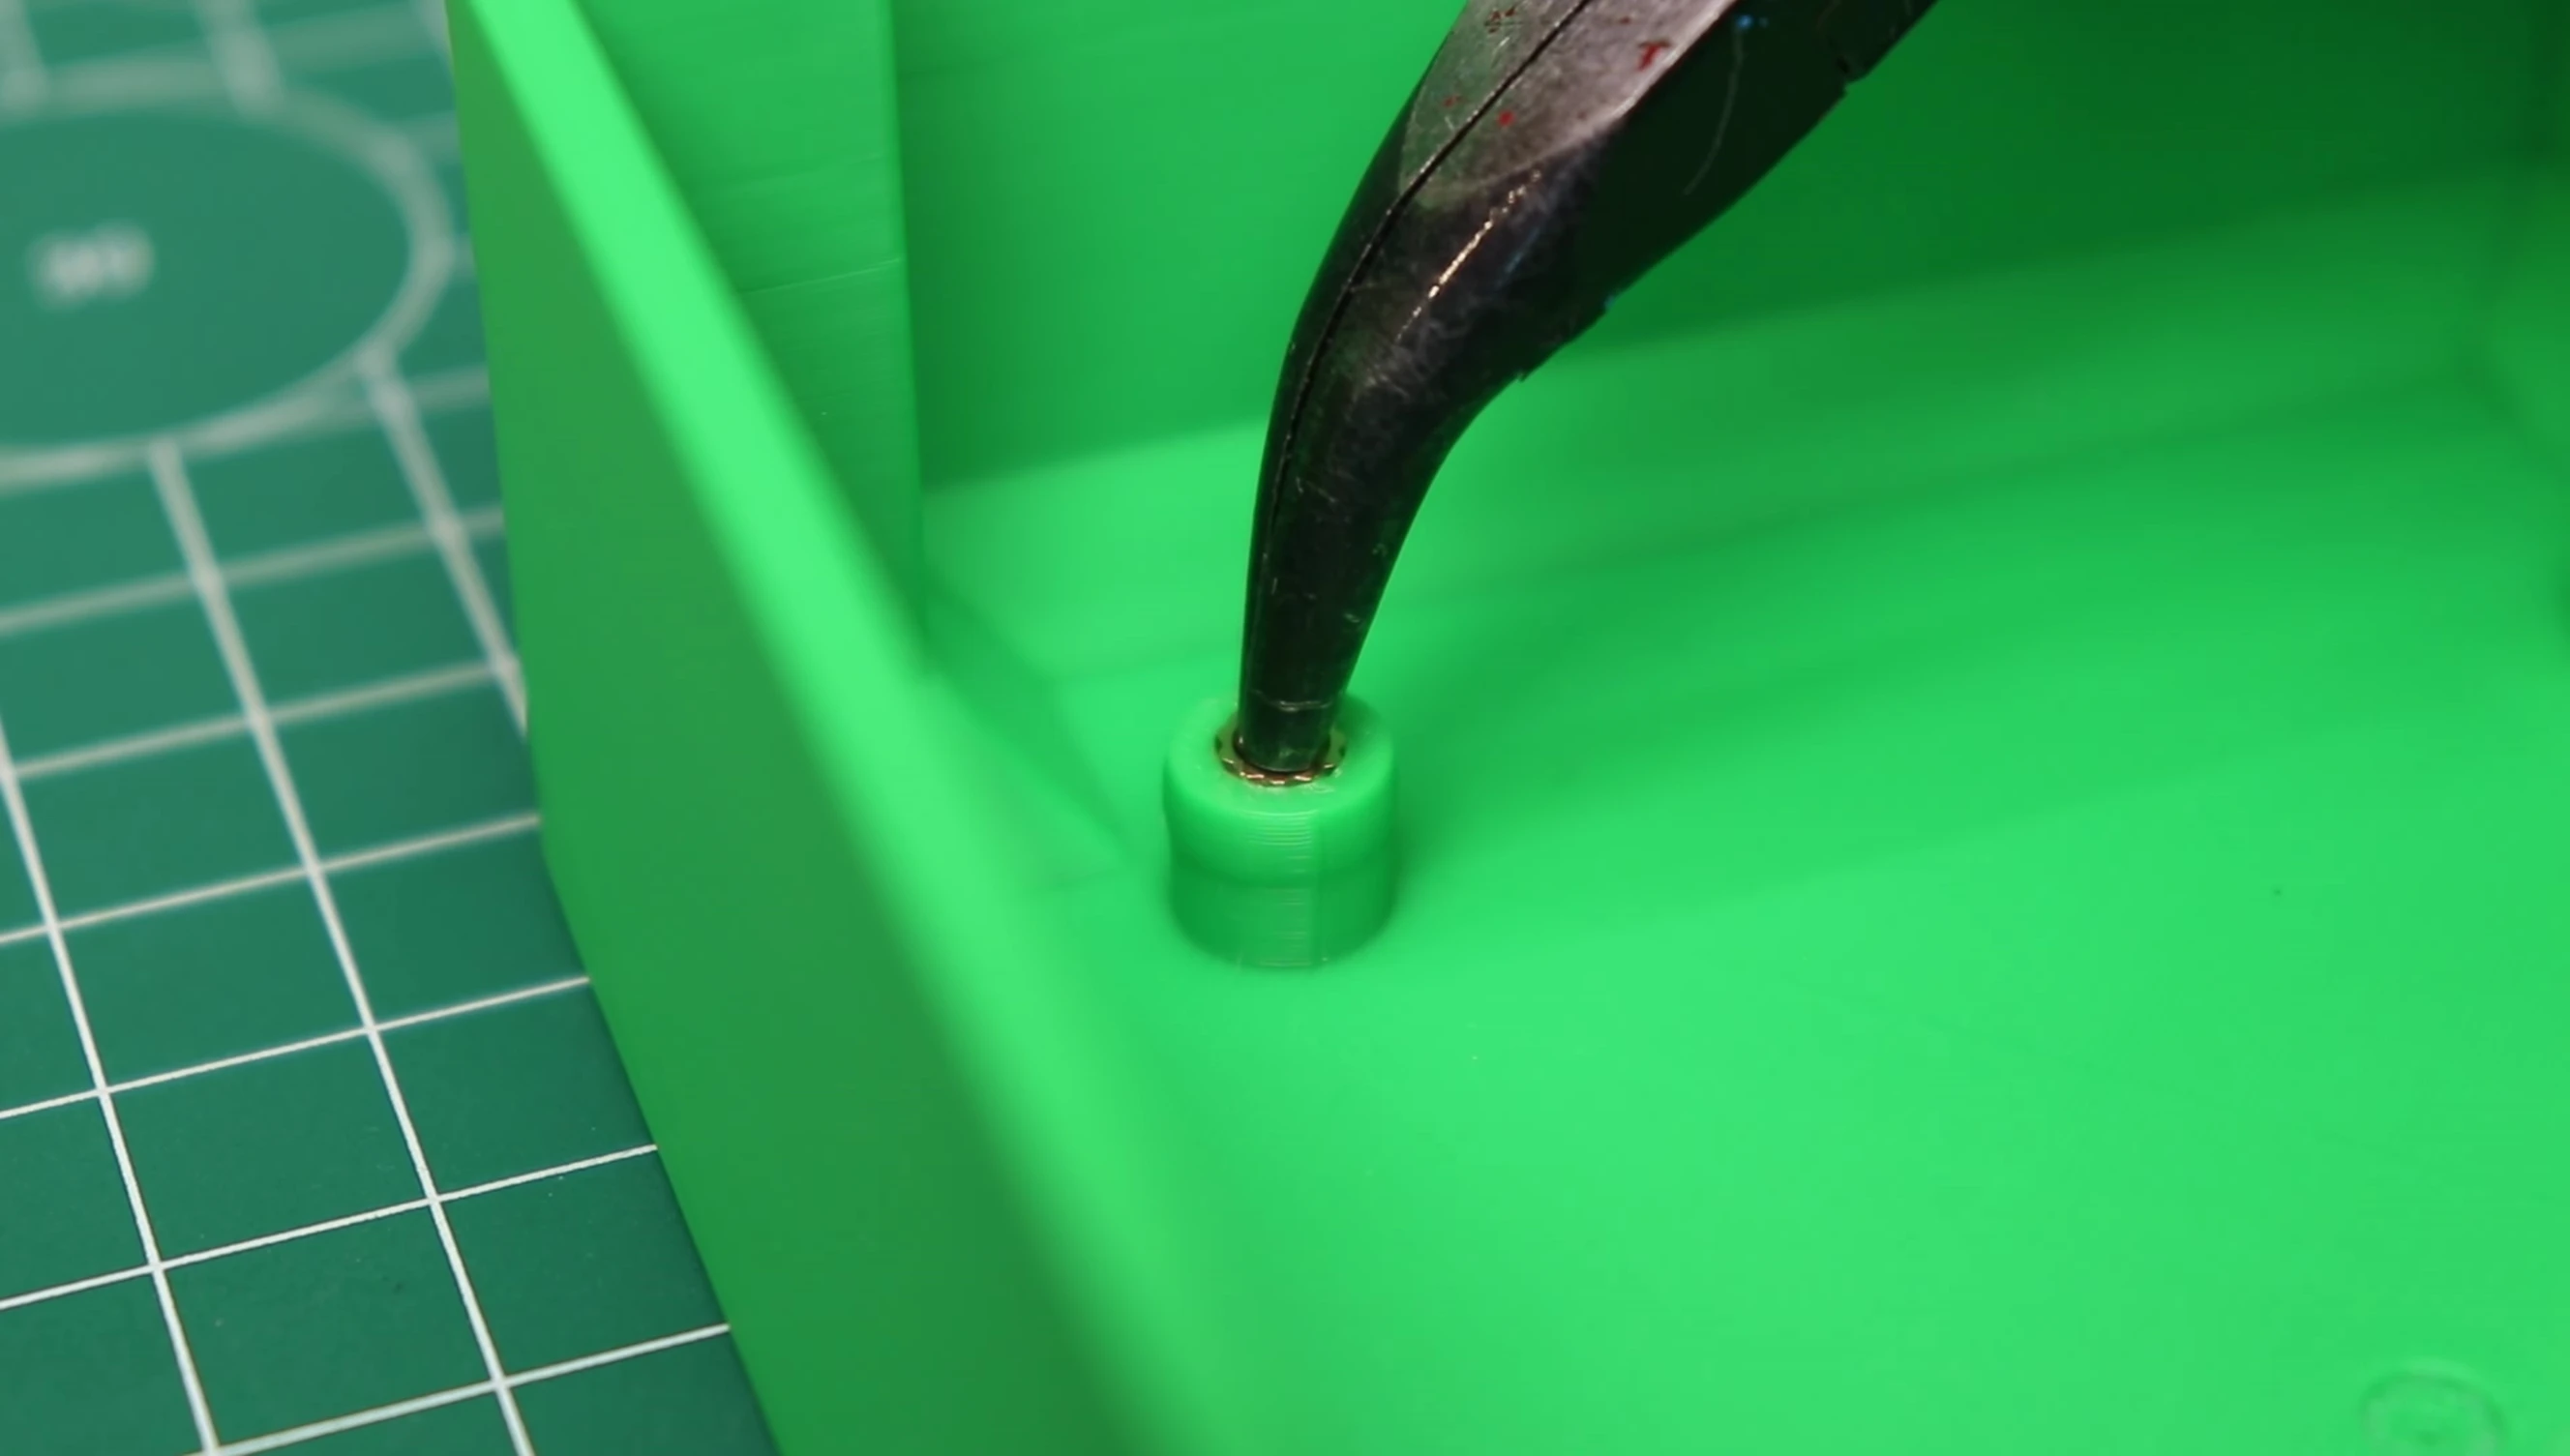
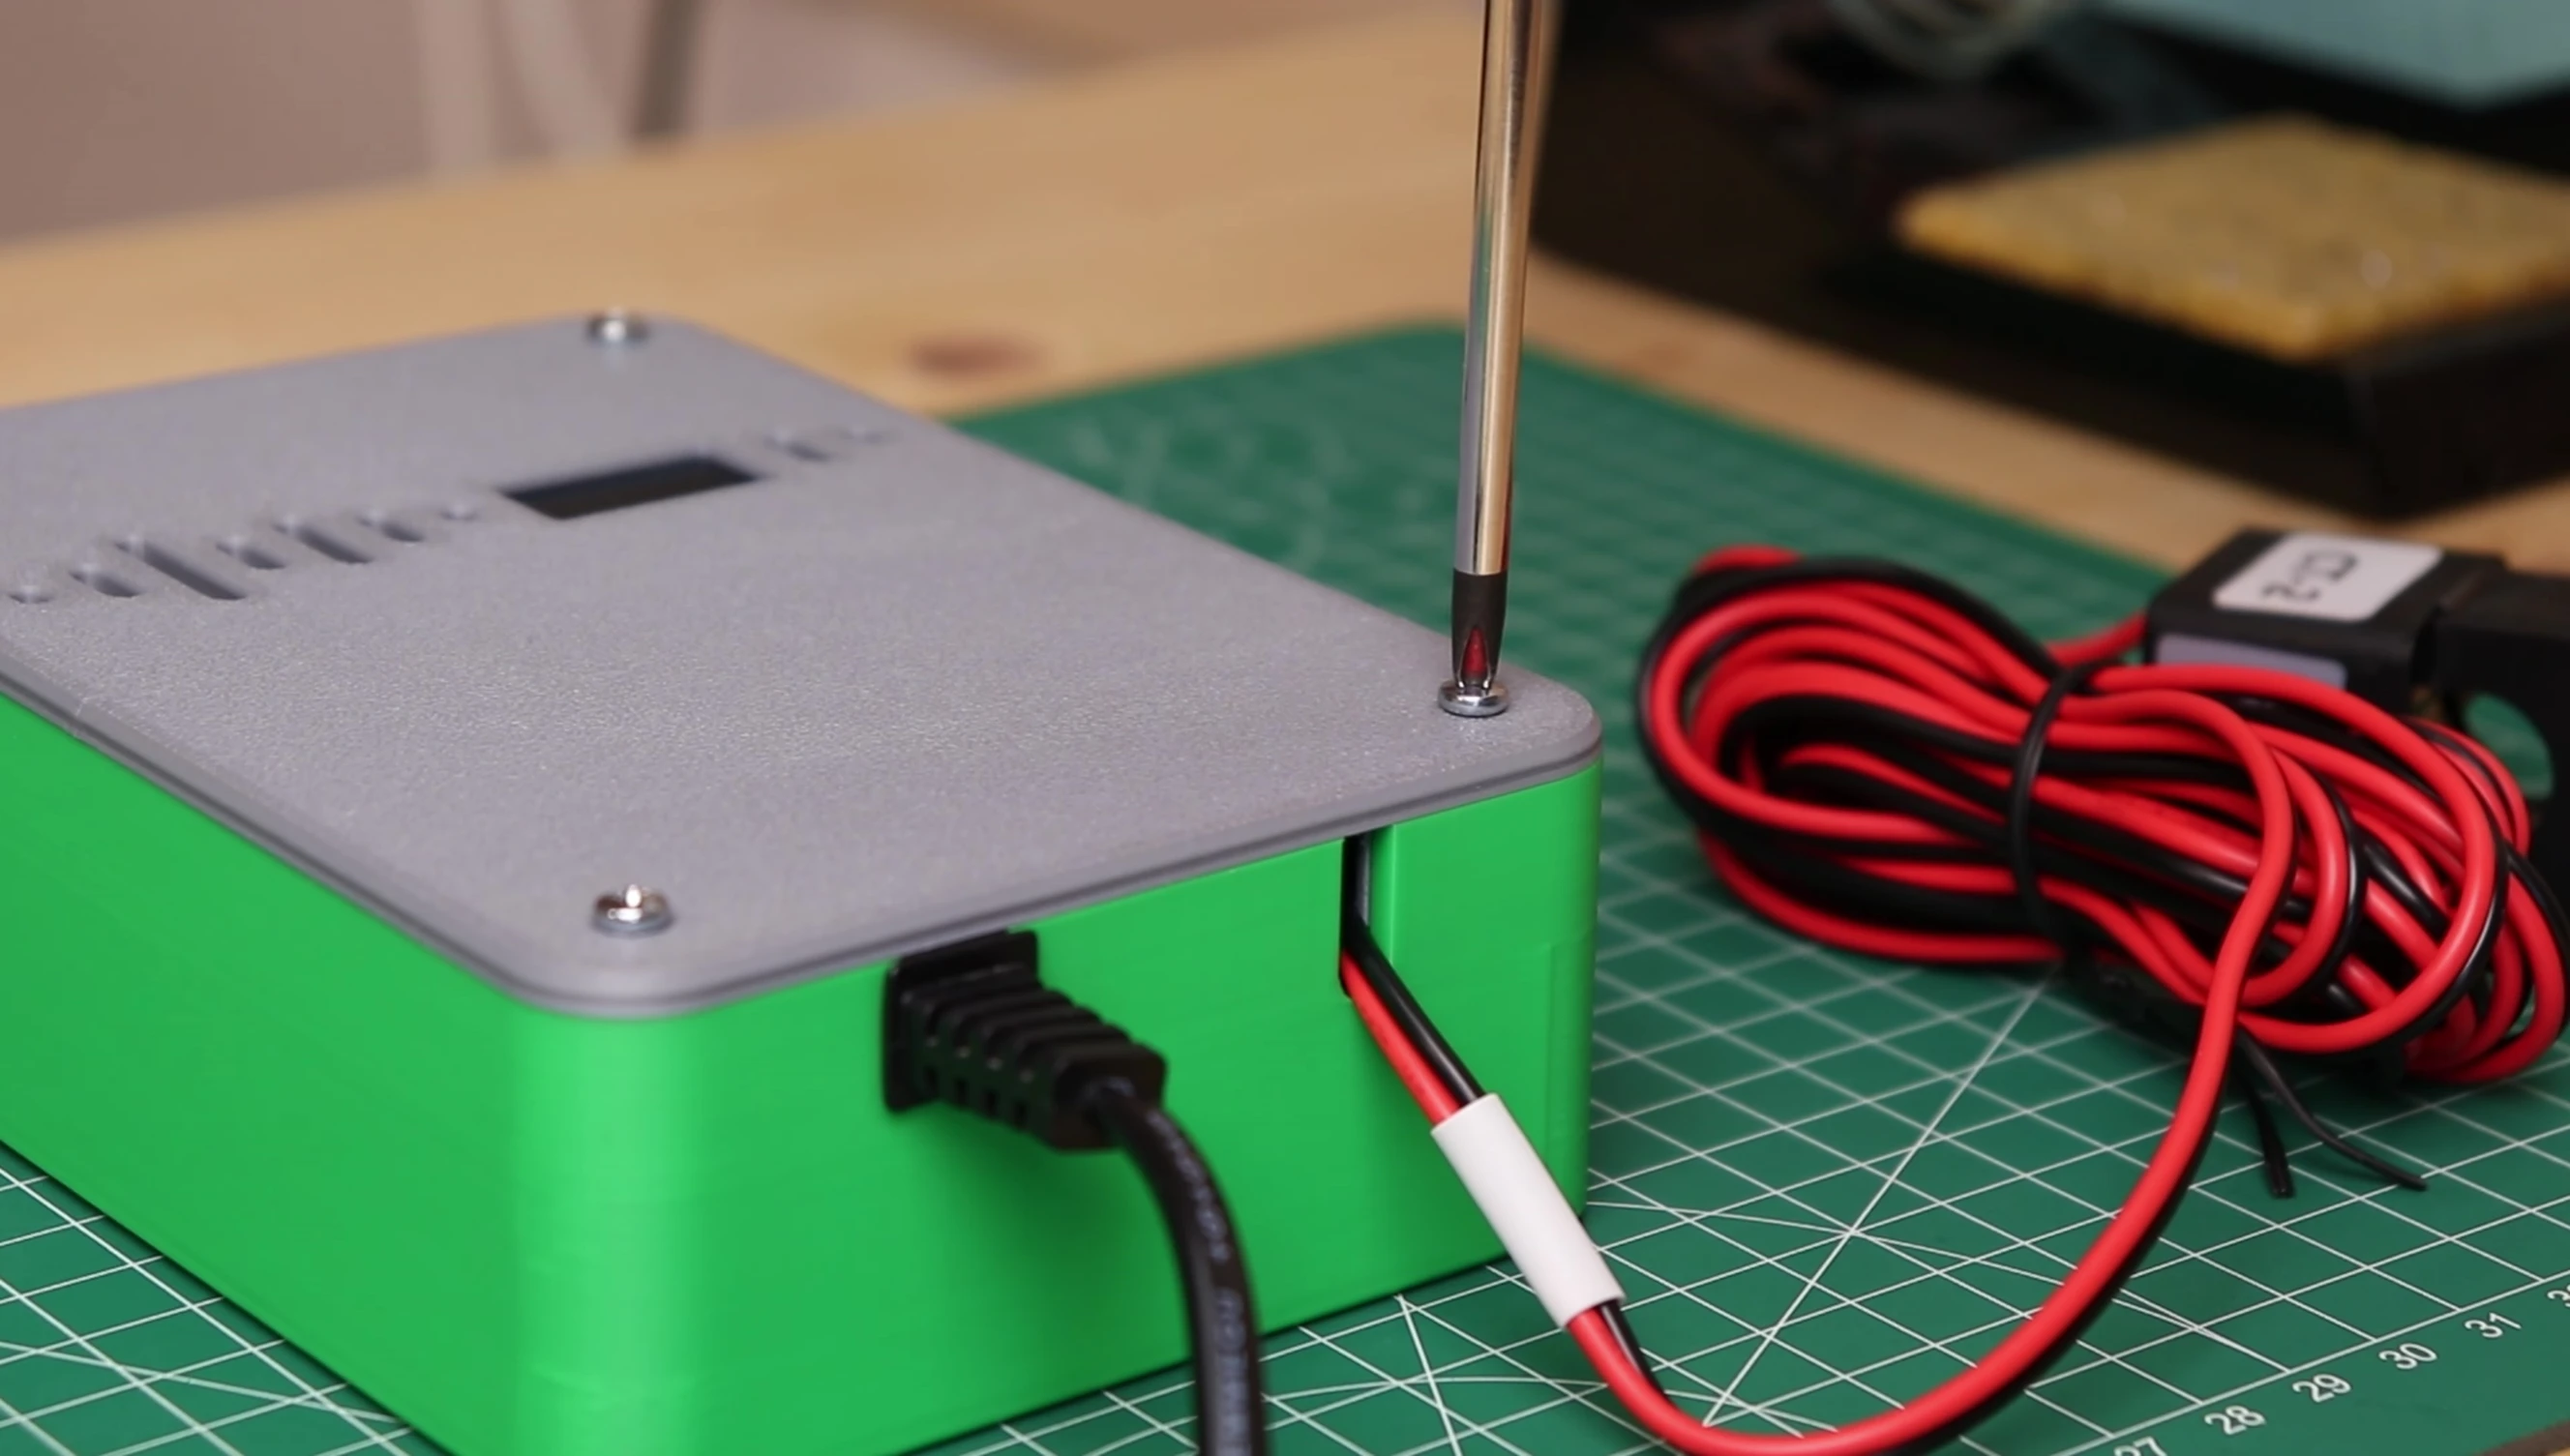
I designed a custom 3D-printed enclosure to house the ESP32, energy meter module, power supply, and an optional small screen for local data display. This provides a professional and aesthetically pleasing finish to the project.

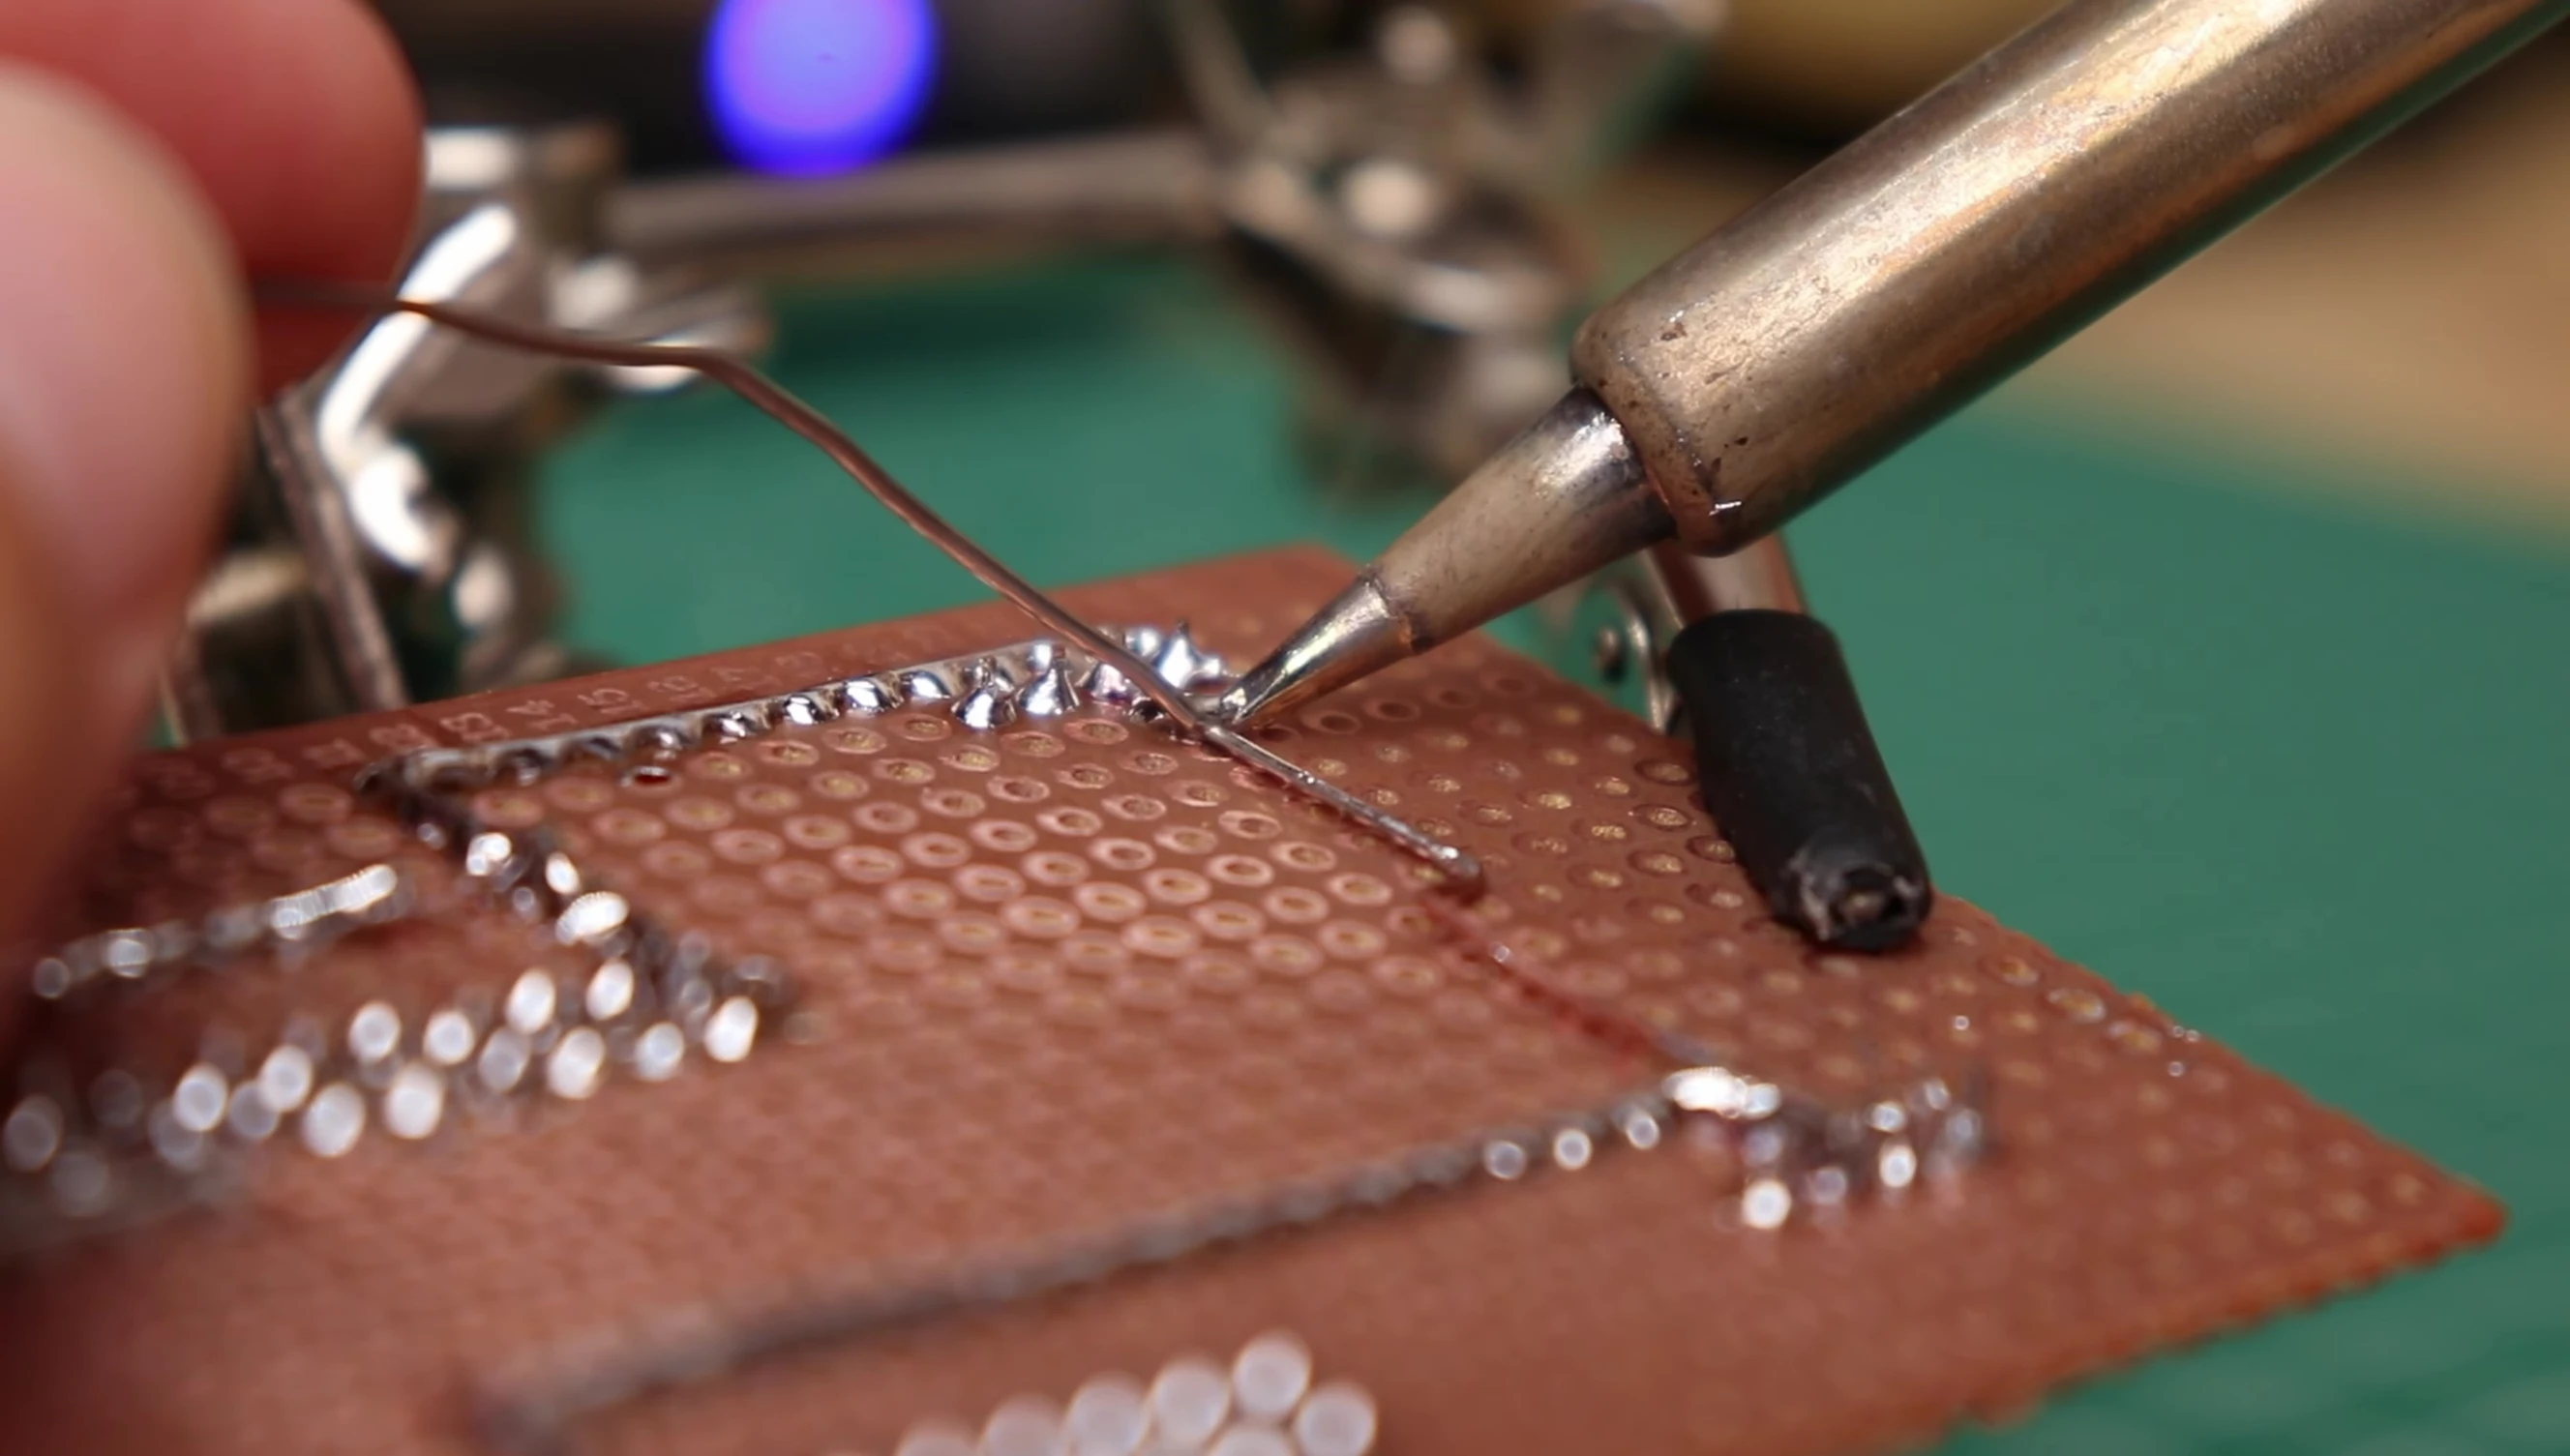
A detailed wiring diagram guided the assembly process, using jumper wires and high-quality copper wire for reliable connections. Careful soldering and clean wiring are essential for a functional and safe device.
The software aspect primarily involved configuring ESPHome for seamless Modbus communication with the energy meter and visualization in Home Assistant.
Installation and Data Analysis
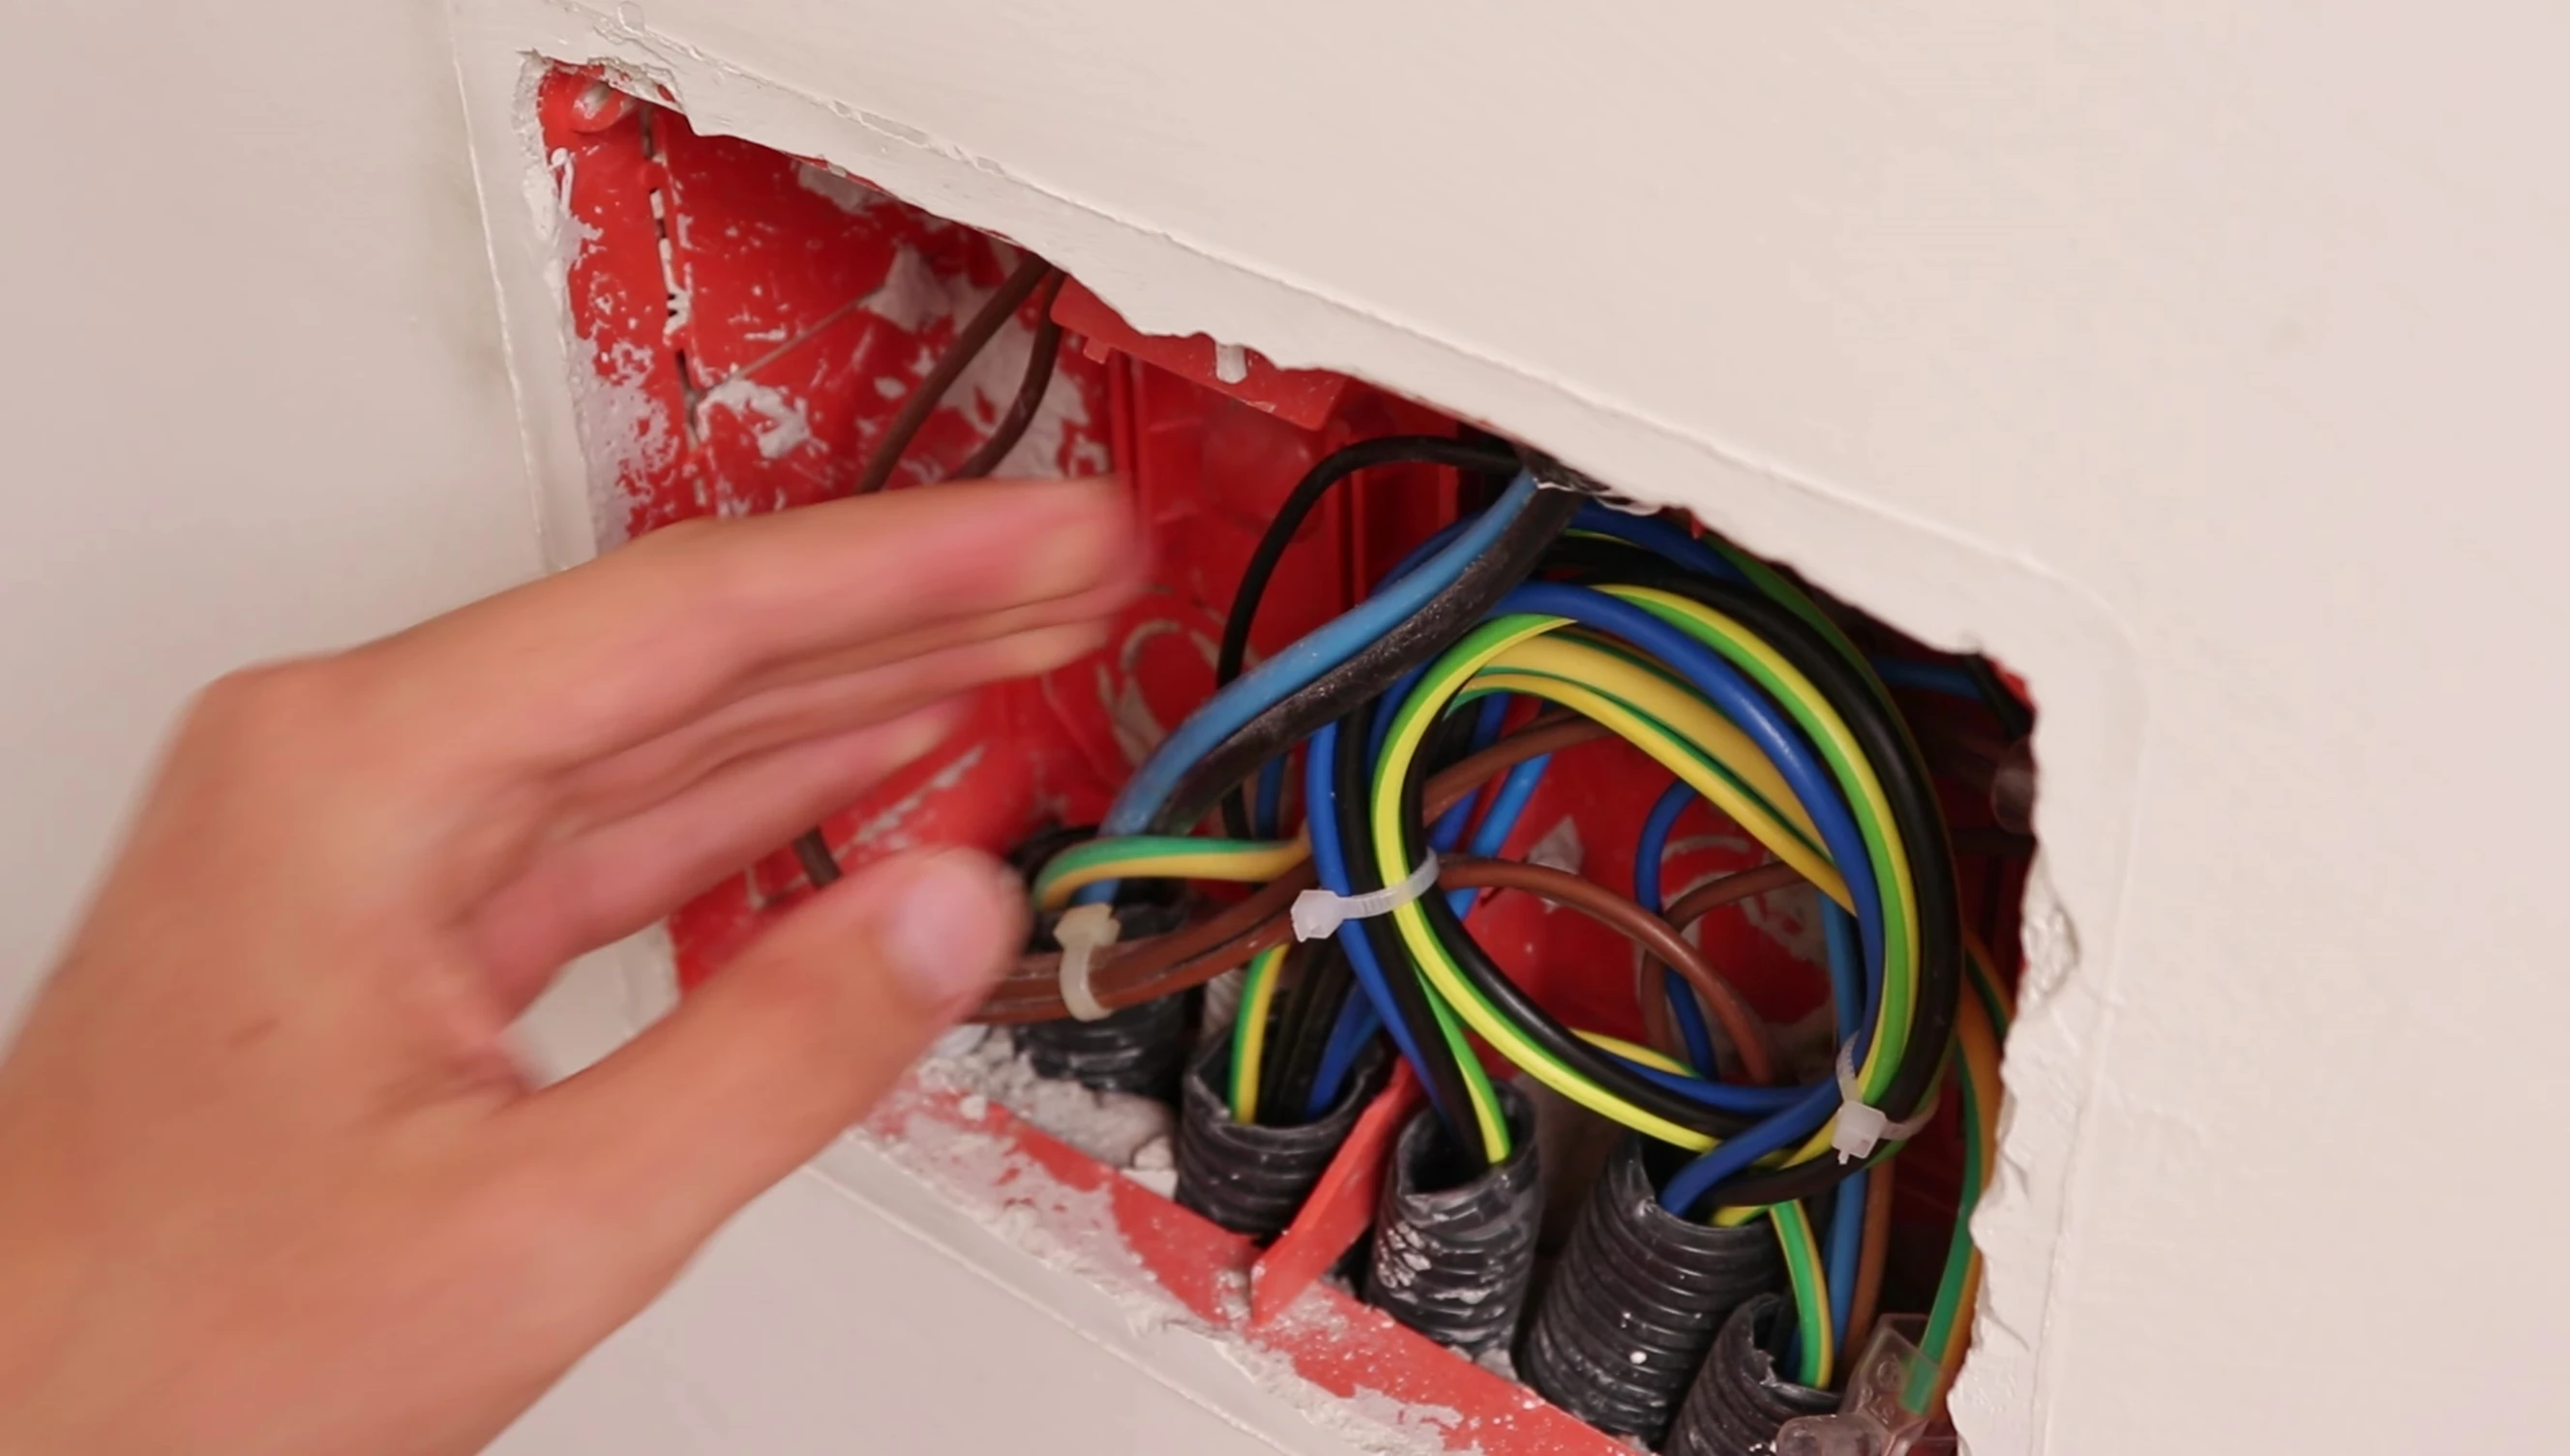
The installation involved carefully clamping the current sensor around the main power cable leading into the apartment, ensuring safety measures were followed. It is vital to work safely with mains voltage.
A detailed dashboard on Home Assistant shows real-time power consumption, daily charts, and yearly trends. This provides a comprehensive overview of energy usage patterns and allows for identification of energy-intensive appliances.

Analyzing data, I discovered considerable differences in daily average energy consumption and minimum consumption when everything is off. This data points to the constant, albeit low-level, power drain from constantly connected electronics.
Conclusion
This DIY smart energy meter, combining the JSY MK194G energy meter module, ESP32, and Home Assistant, offers a cost-effective way to monitor and understand your electricity consumption. The project, while initially challenging due to AC power measurement complexities, provides valuable insights into energy usage habits.
The readily available Home Assistant dashboard simplifies the interpretation of the complex energy data allowing for easier analysis and identification of areas for improvement. The setup is easily customizable to measure individual circuits, empowering effective energy management.
Overall, this is a recommended project for electronics enthusiasts and environmentally conscious individuals looking to take control of their energy spending.