This guide provides a step-by-step walkthrough for setting up your Gosund smart plug on a new Wi-Fi network. Connecting your smart plug is a simple process, but requires a few key steps to ensure a successful connection. This tutorial covers resetting your plug to factory settings, preparing your smartphone and Wi-Fi network, and utilizing the Smart Life app to complete the connection. We'll walk you through each stage, making the entire process easy to follow, even for first-time users.Whether you've just purchased your Gosund smart plug or are simply changing your home Wi-Fi network, this guide will help you effortlessly connect your device. We'll cover essential pre-setup checks, such as ensuring your phone's Bluetooth and the correct Wi-Fi frequency (2.4 GHz) are enabled. By following these instructions carefully, you'll be able to control your smart plug remotely and seamlessly integrate it into your smart home ecosystem in no time.
Read more: AMI Meter Reading Guide: Understanding Your Smart Electricity Meter
Resetting Your Gosund Smart Plug
Before you can connect your Gosund smart plug to a new Wi-Fi network, you need to reset it to factory settings. This clears any previous network configurations.
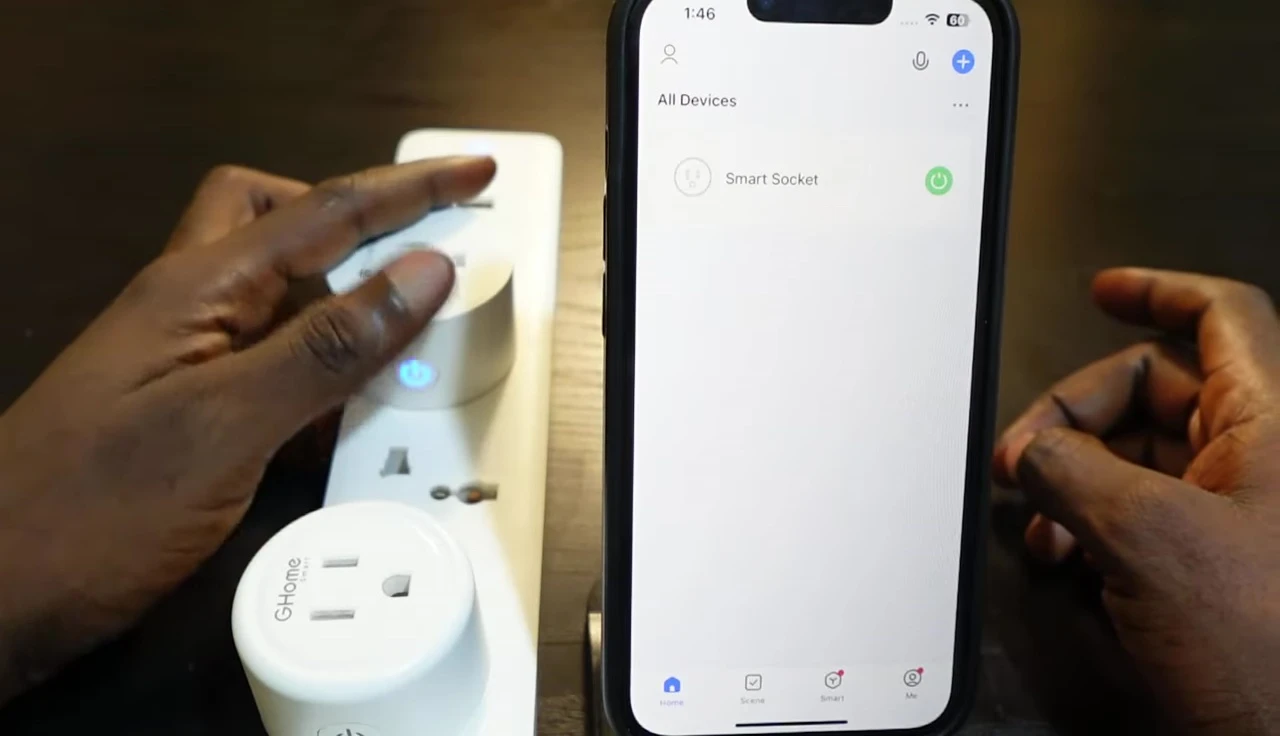
Locate the power button on your Gosund smart plug. Press and hold this button for approximately 5 seconds. You'll hear a click sound indicating the reset is complete.
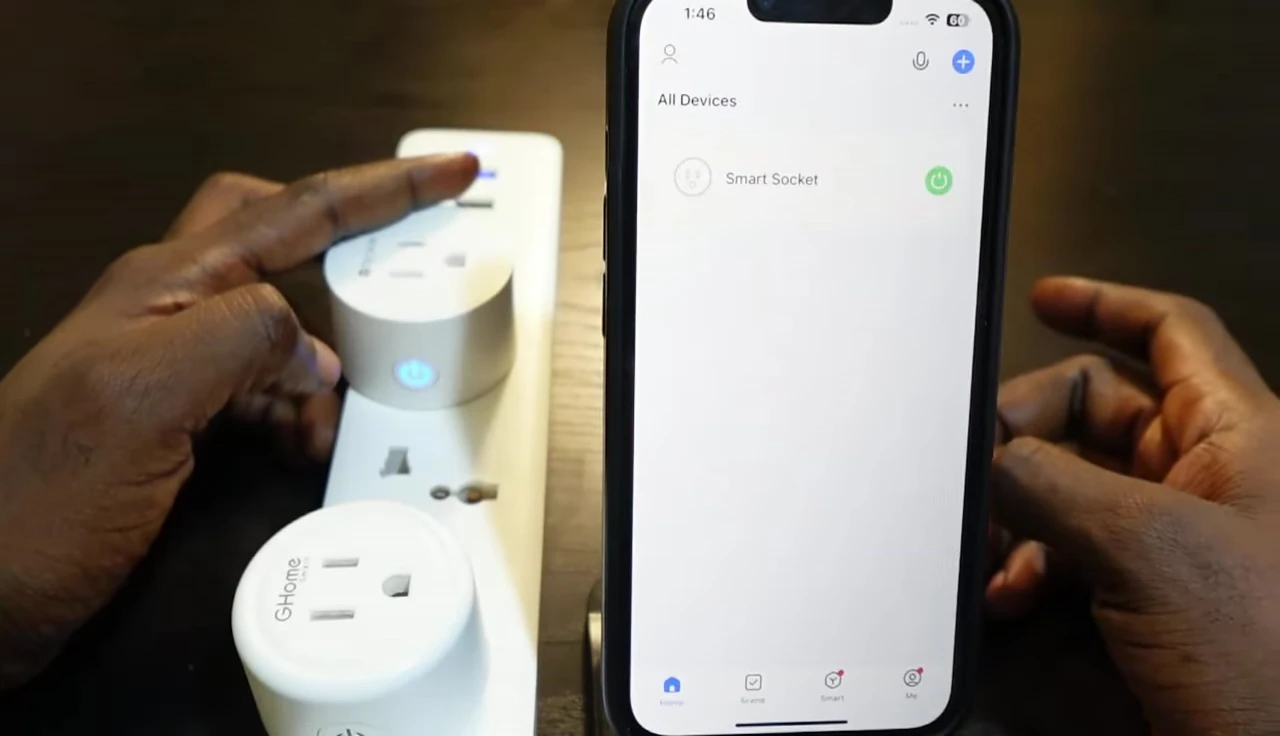
Once you hear the click, release the button. Your smart plug is now ready to be reconnected to your new Wi-Fi network.
Preparing Your Phone and Wi-Fi Network
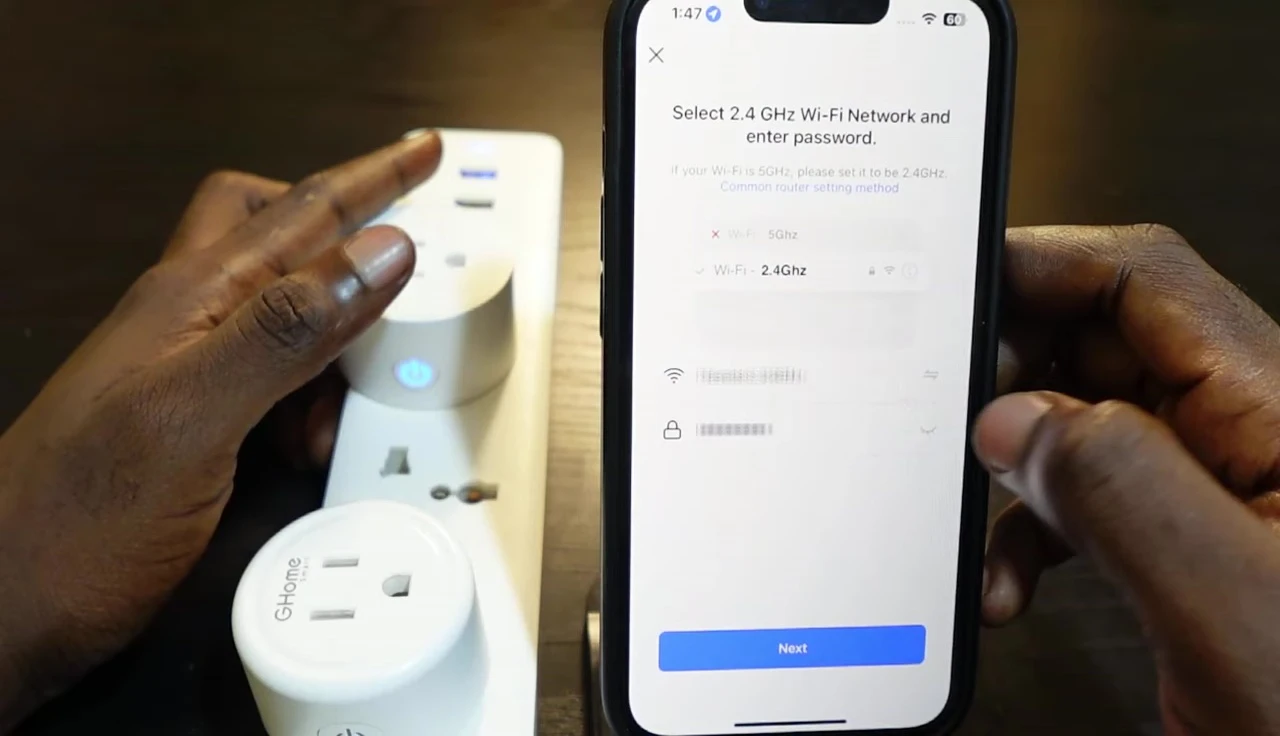
Before setting up the smart plug again, ensure your smartphone is connected to the new 2.4 GHz Wi-Fi network you want the plug to use. The smart plug may not be compatible with 5 GHz networks.
Also, double check that Bluetooth is enabled on your phone. This is often required for the initial pairing process with the Smart Life app.
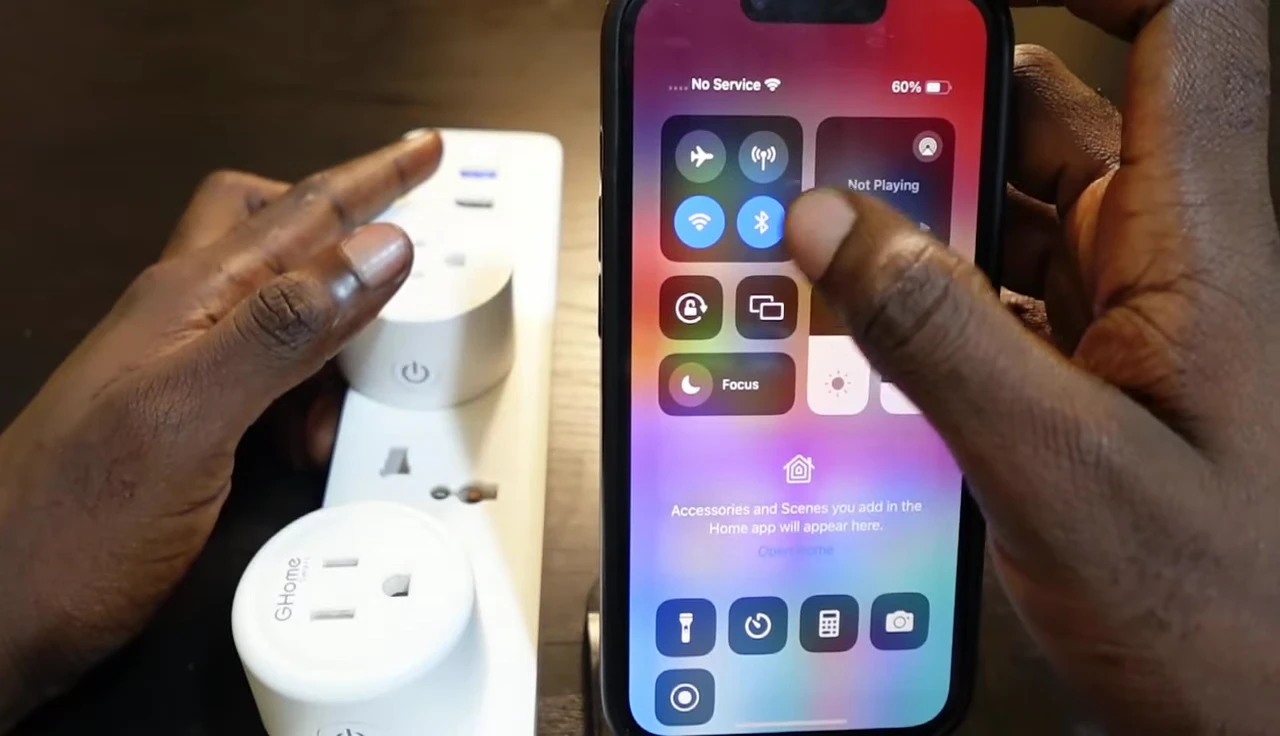
Once you've verified these settings, you're ready to proceed with the reconnection process.
Reconnecting to the Smart Life App
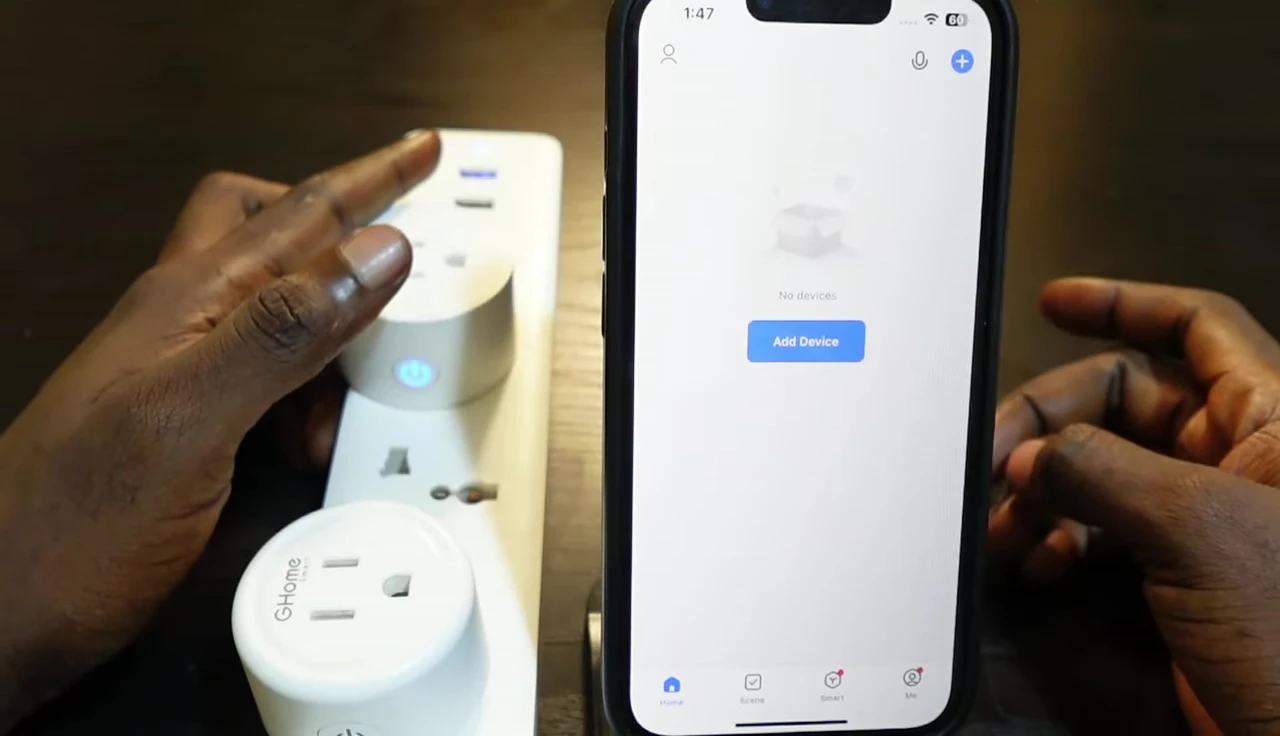
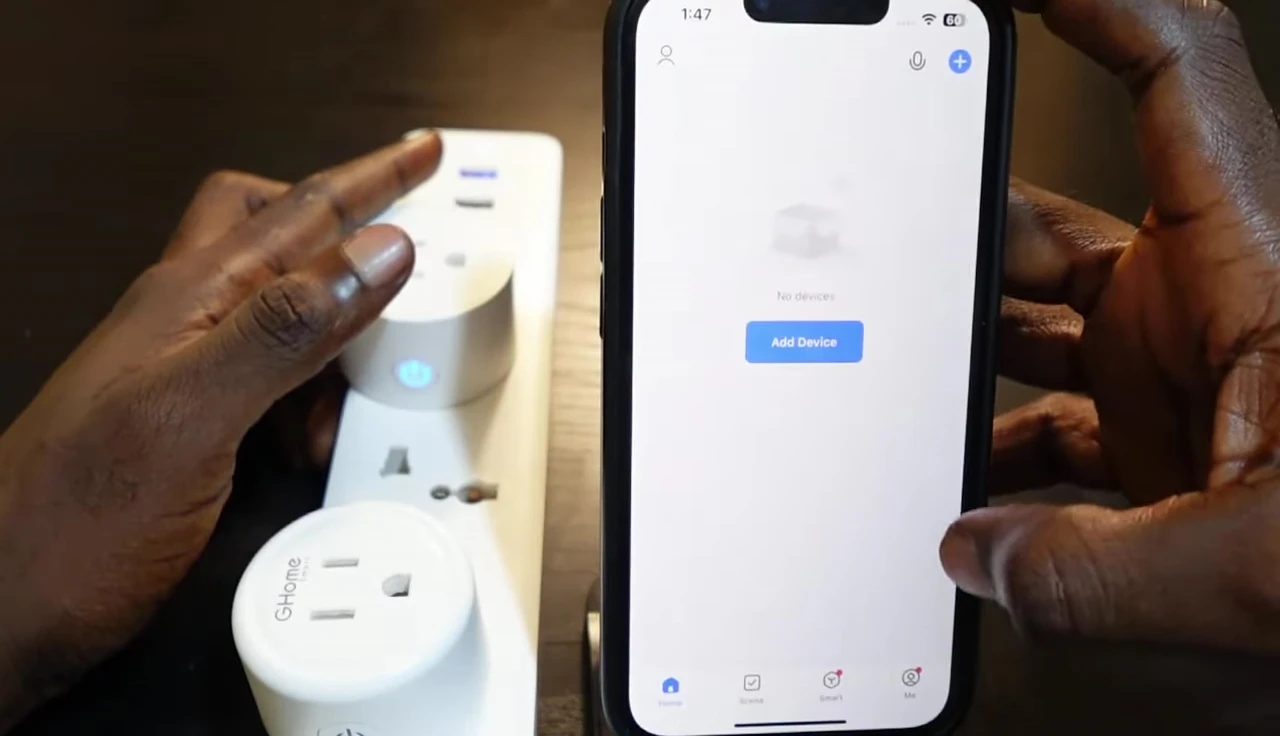
Open the Smart Life app on your smartphone. Tap the "Add Device" button to begin the setup process.
Select "Circuit WiFi" and follow the on-screen prompts. You will be asked to enter the password for your new Wi-Fi network.
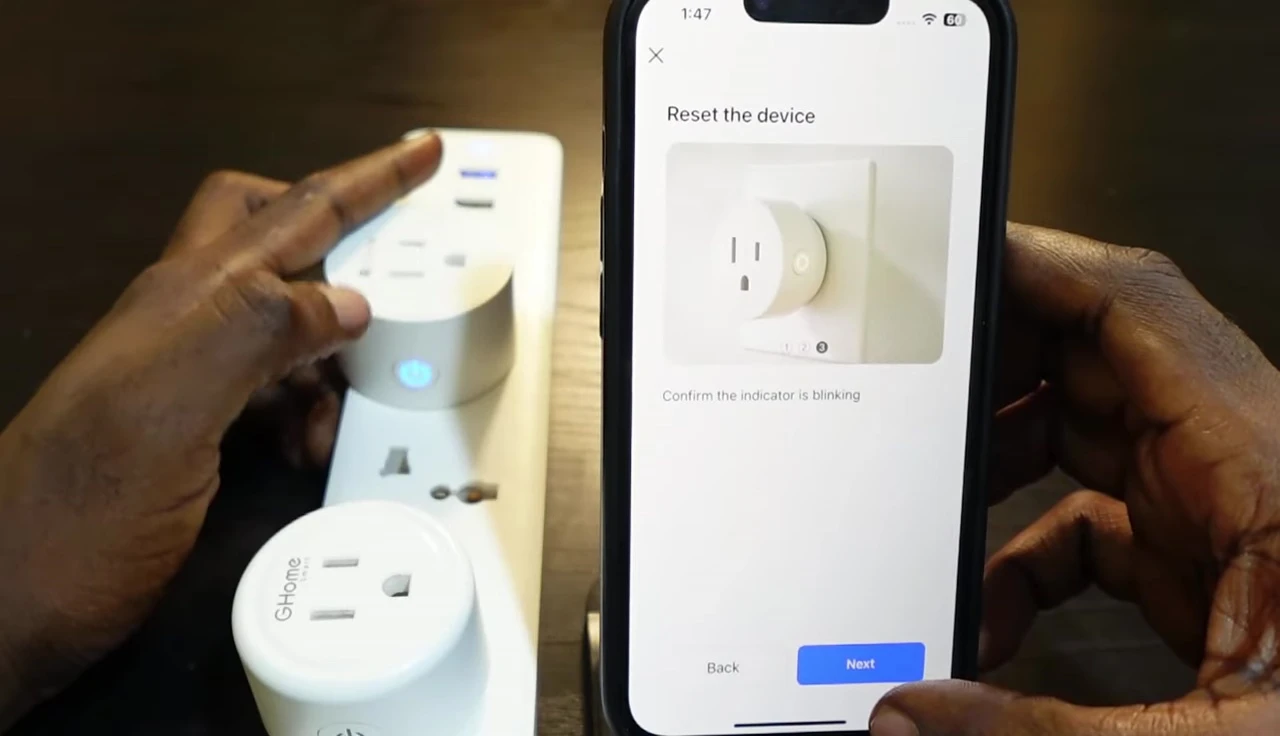
The app will guide you through the process of confirming the indicator light is blinking on your smart plug, indicating it's ready to connect.
Finalizing the Setup
Once the connection is successful, you'll see a confirmation message in the app. You can then rename your device for easier identification within the Smart Life app.
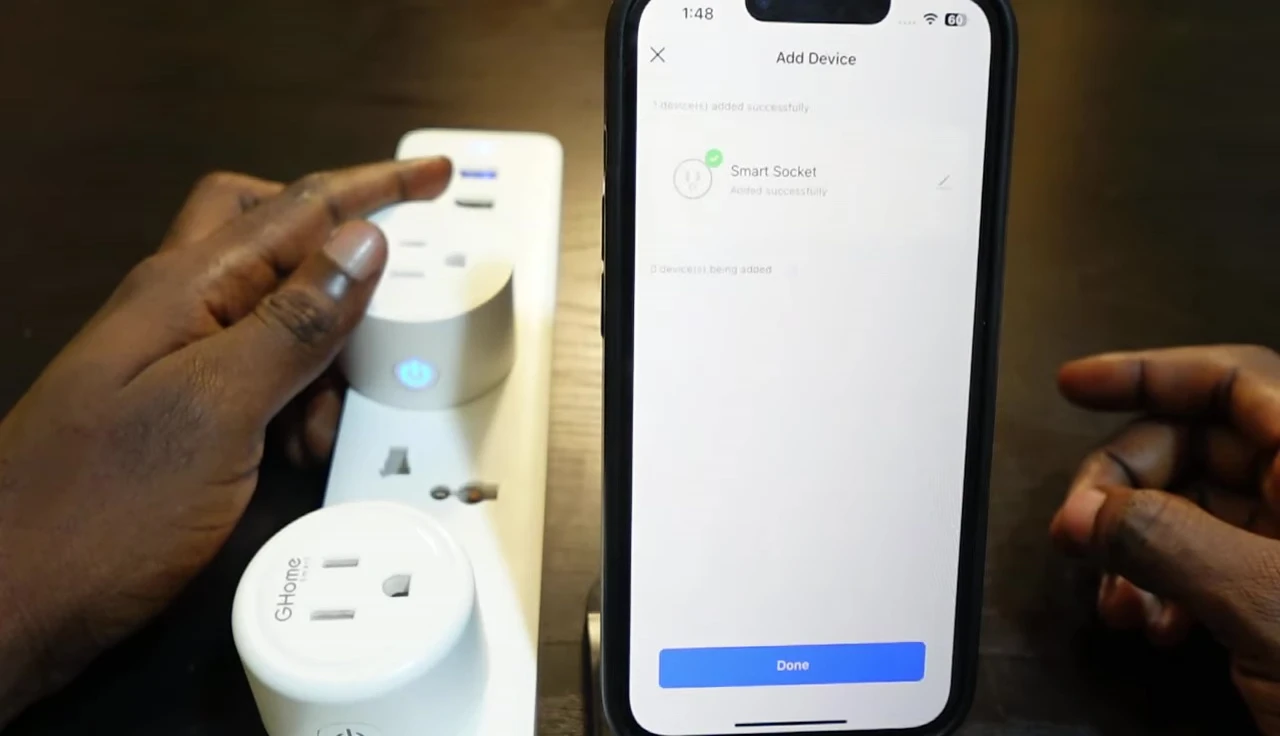
After renaming, tap "Finish" and "Done" to complete the process. Your Gosund smart plug is now connected to your new Wi-Fi network.
You can now control your smart plug through the Smart Life app as usual.
Conclusion
Changing the Wi-Fi network on your Gosund smart plug is a straightforward process. The key steps are resetting the plug, preparing your phone and network, and then using the Smart Life app to reconnect it.
Remember to use the 2.4 GHz network and ensure Bluetooth is enabled on your phone for optimal results.
With this guide, you should be able to easily connect your smart plug to any Wi-Fi network you choose.