This comprehensive guide provides a step-by-step walkthrough of installing the OpenEnergyMonitor electricity monitoring system, focusing on the popular DIY kit. Learn how to effectively monitor your home's energy consumption, gaining granular insights into individual circuits, from your main grid to EV charging and specific appliances. We'll cover the essential components, including the emonPi2 base station, emonTx5 transmitter, current transformers (CT clamps), and optional temperature sensors, detailing their setup and configuration.This guide covers crucial aspects of installation, emphasizing the correct placement and orientation of CT clamps for accurate readings. We'll explain the system's wireless communication, data logging capabilities, and versatile data visualization tools. Discover how to leverage the emonPi2's web interface for easy configuration and data analysis, and explore advanced features like input processing for creating custom energy consumption reports. Whether you're a DIY enthusiast or simply looking for better energy management, this guide will empower you to take control of your electricity usage.
Pros And Cons
- Easy to clip around meter tails
- Pre-calibrated if ordered with specifications
- Requires electrician for installation inside consumer units
- Incorrect placement leads to inverted values
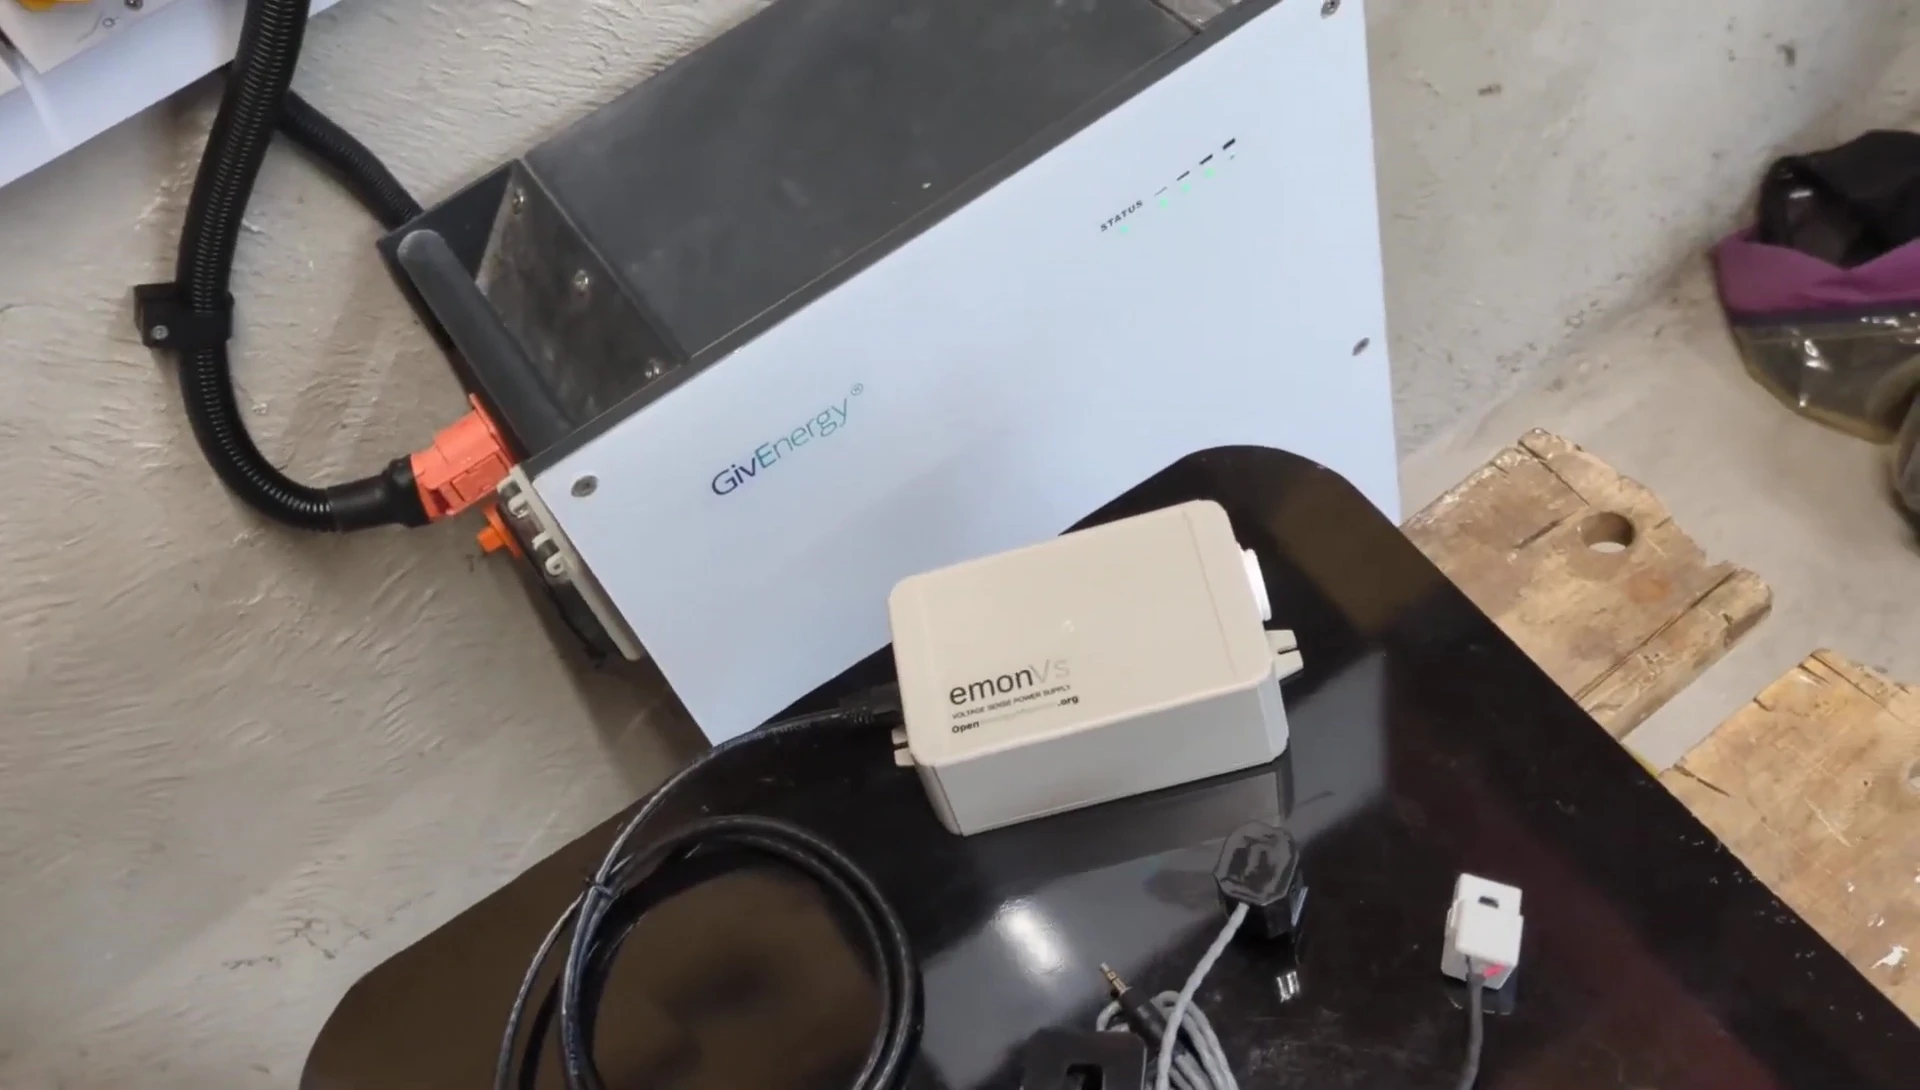
- Energy monitor, transmits data wirelessly
- Doesn't have base station or Ethernet socket
- No screen
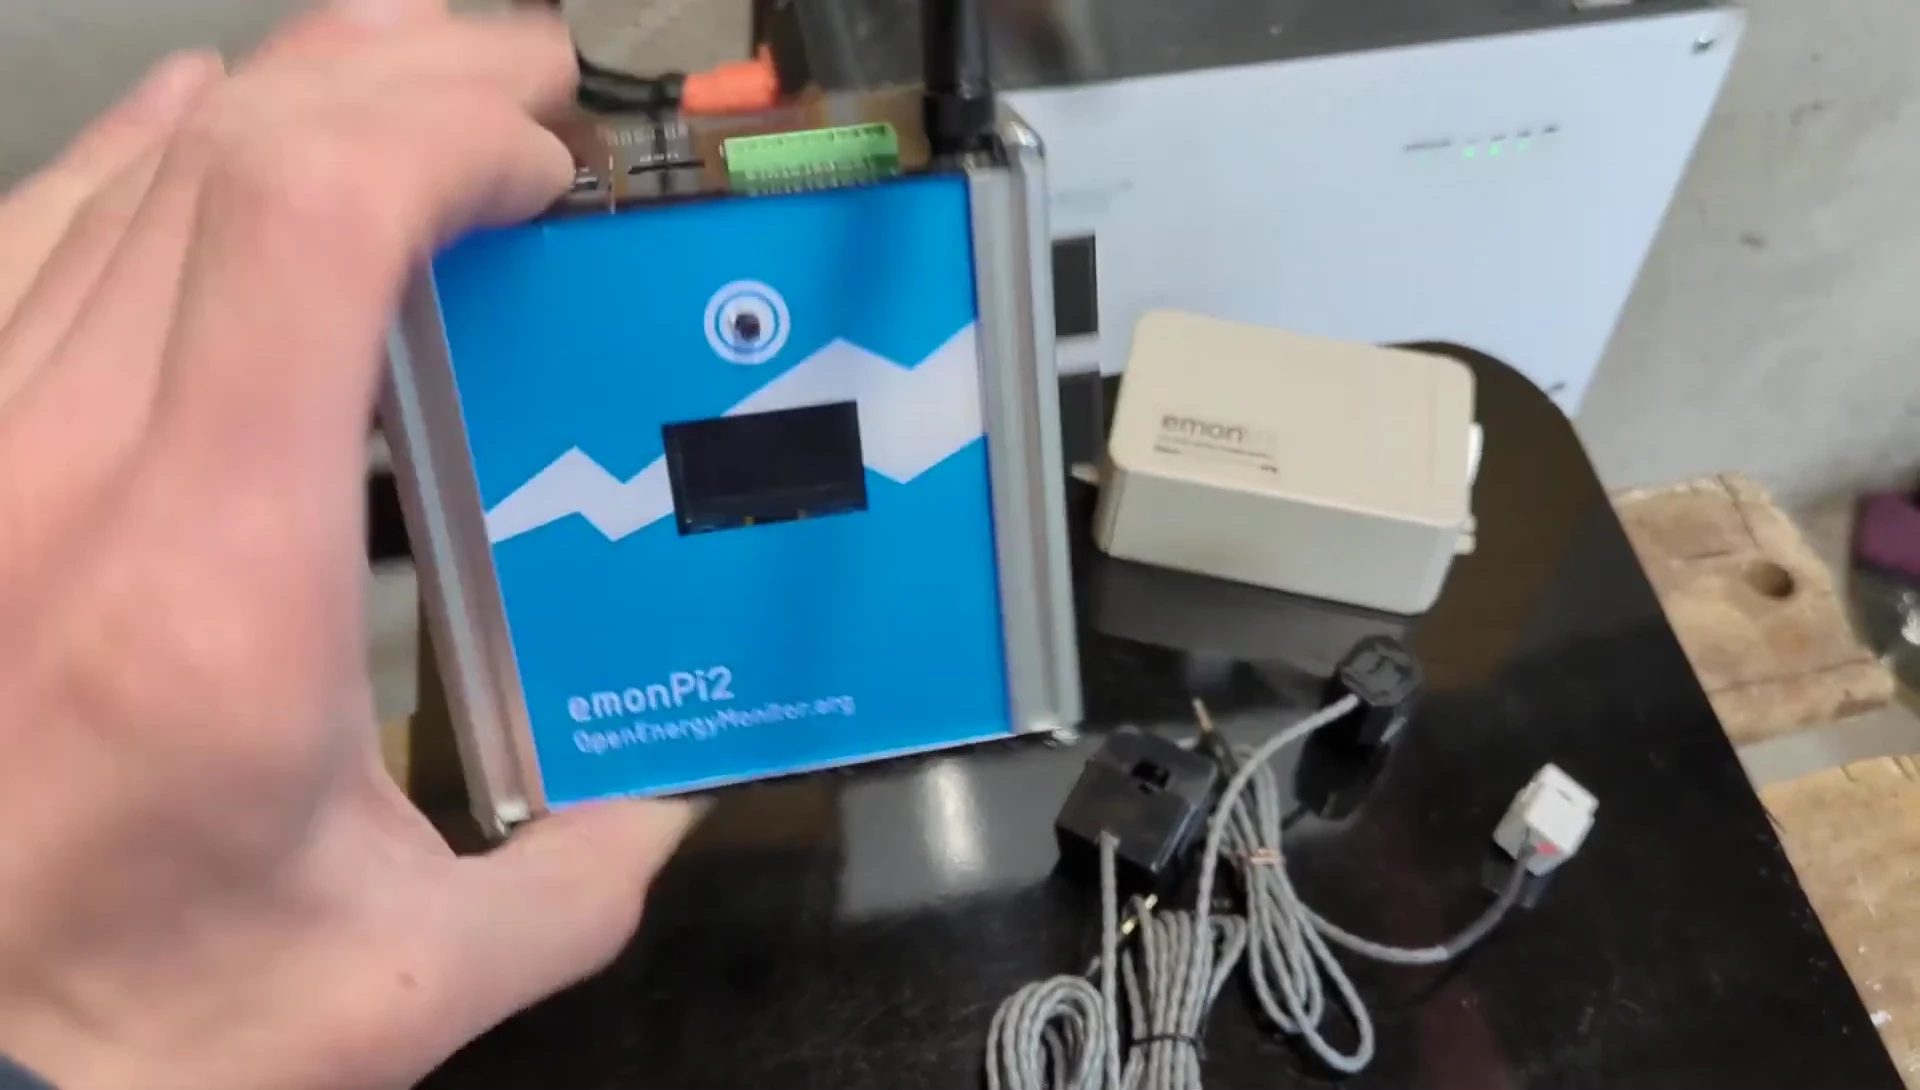
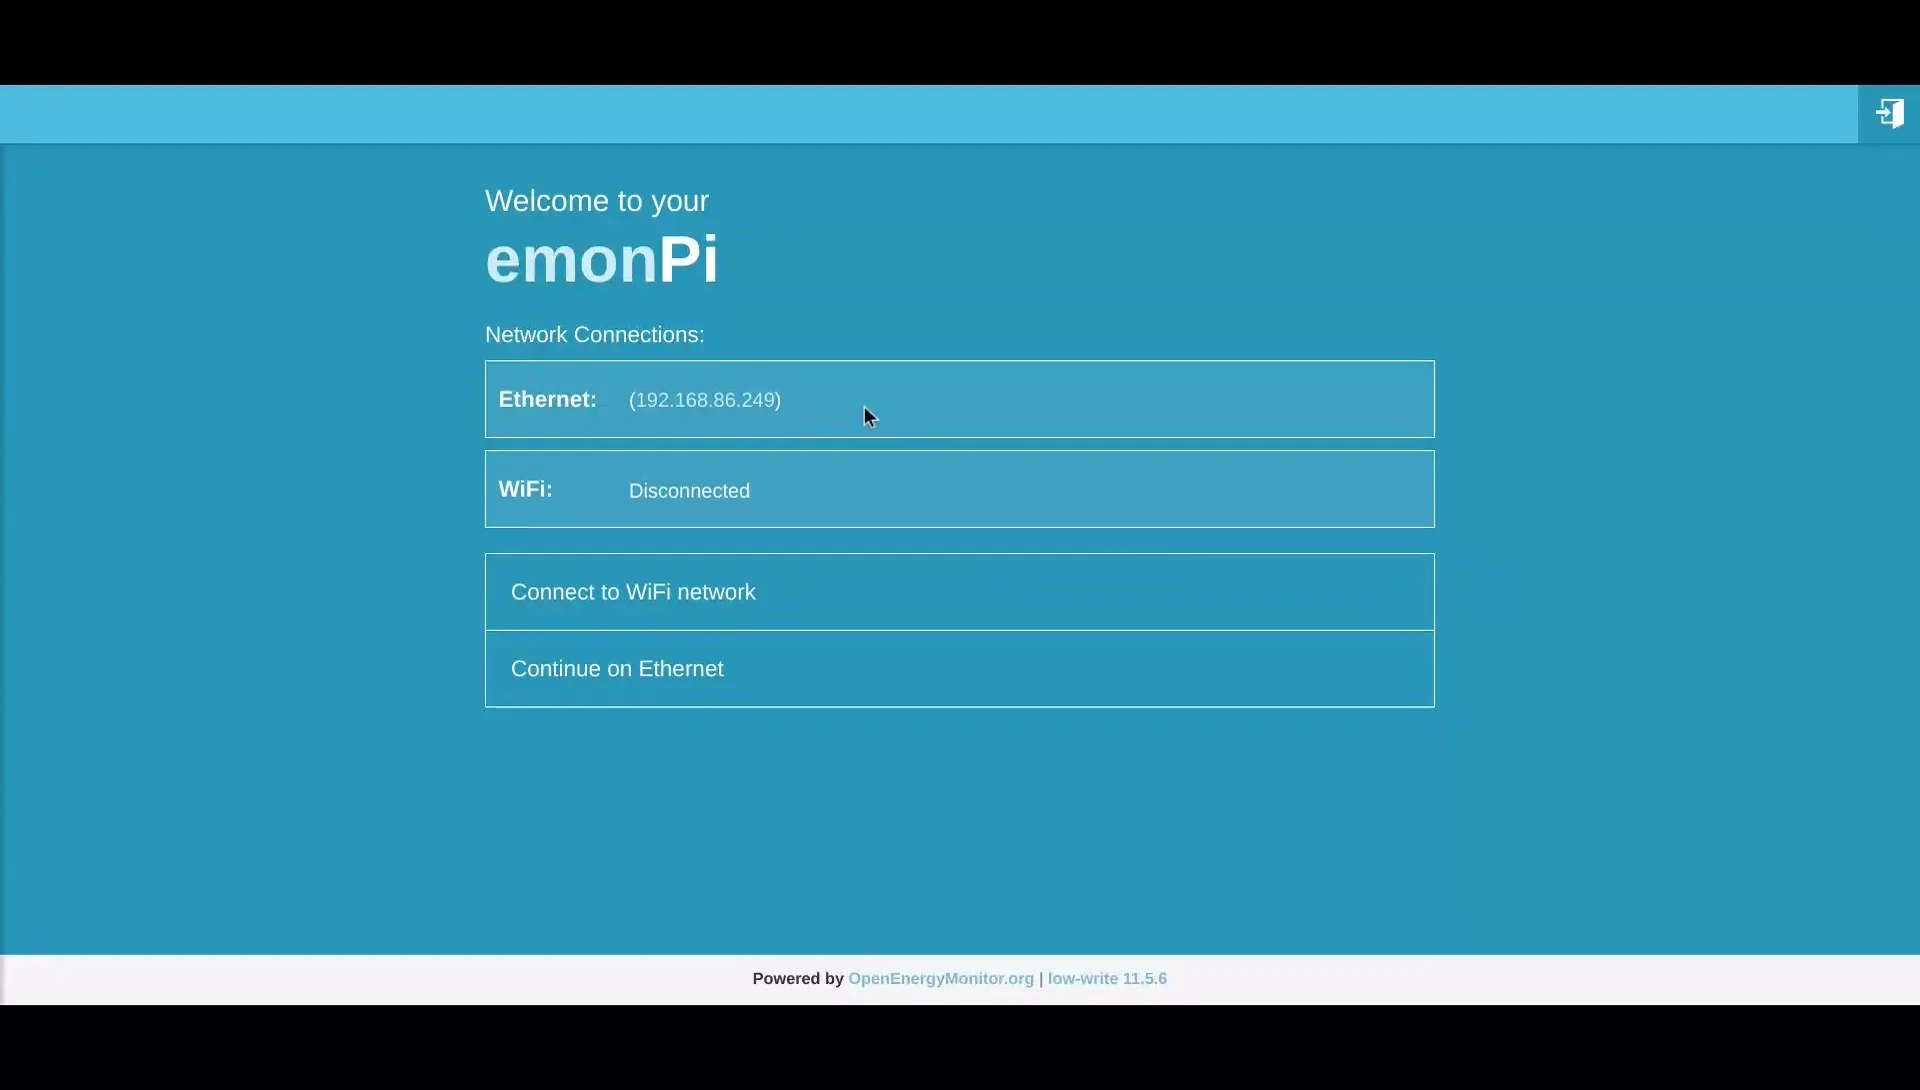
- All-in-one energy monitoring and base station
- Connects via Wi-Fi or Ethernet
- Requires Wi-Fi signal or Ethernet connection in location
Read more: AMI Meter Reading Guide: Understanding Your Smart Electricity Meter
System Overview and Components
The OpenEnergyMonitor system, specifically the DIY kit, provides a detailed view of your home's electricity consumption. This installation involves monitoring various circuits, including the main grid, electric vehicle (EV) charging, and individual circuits within your consumer unit.
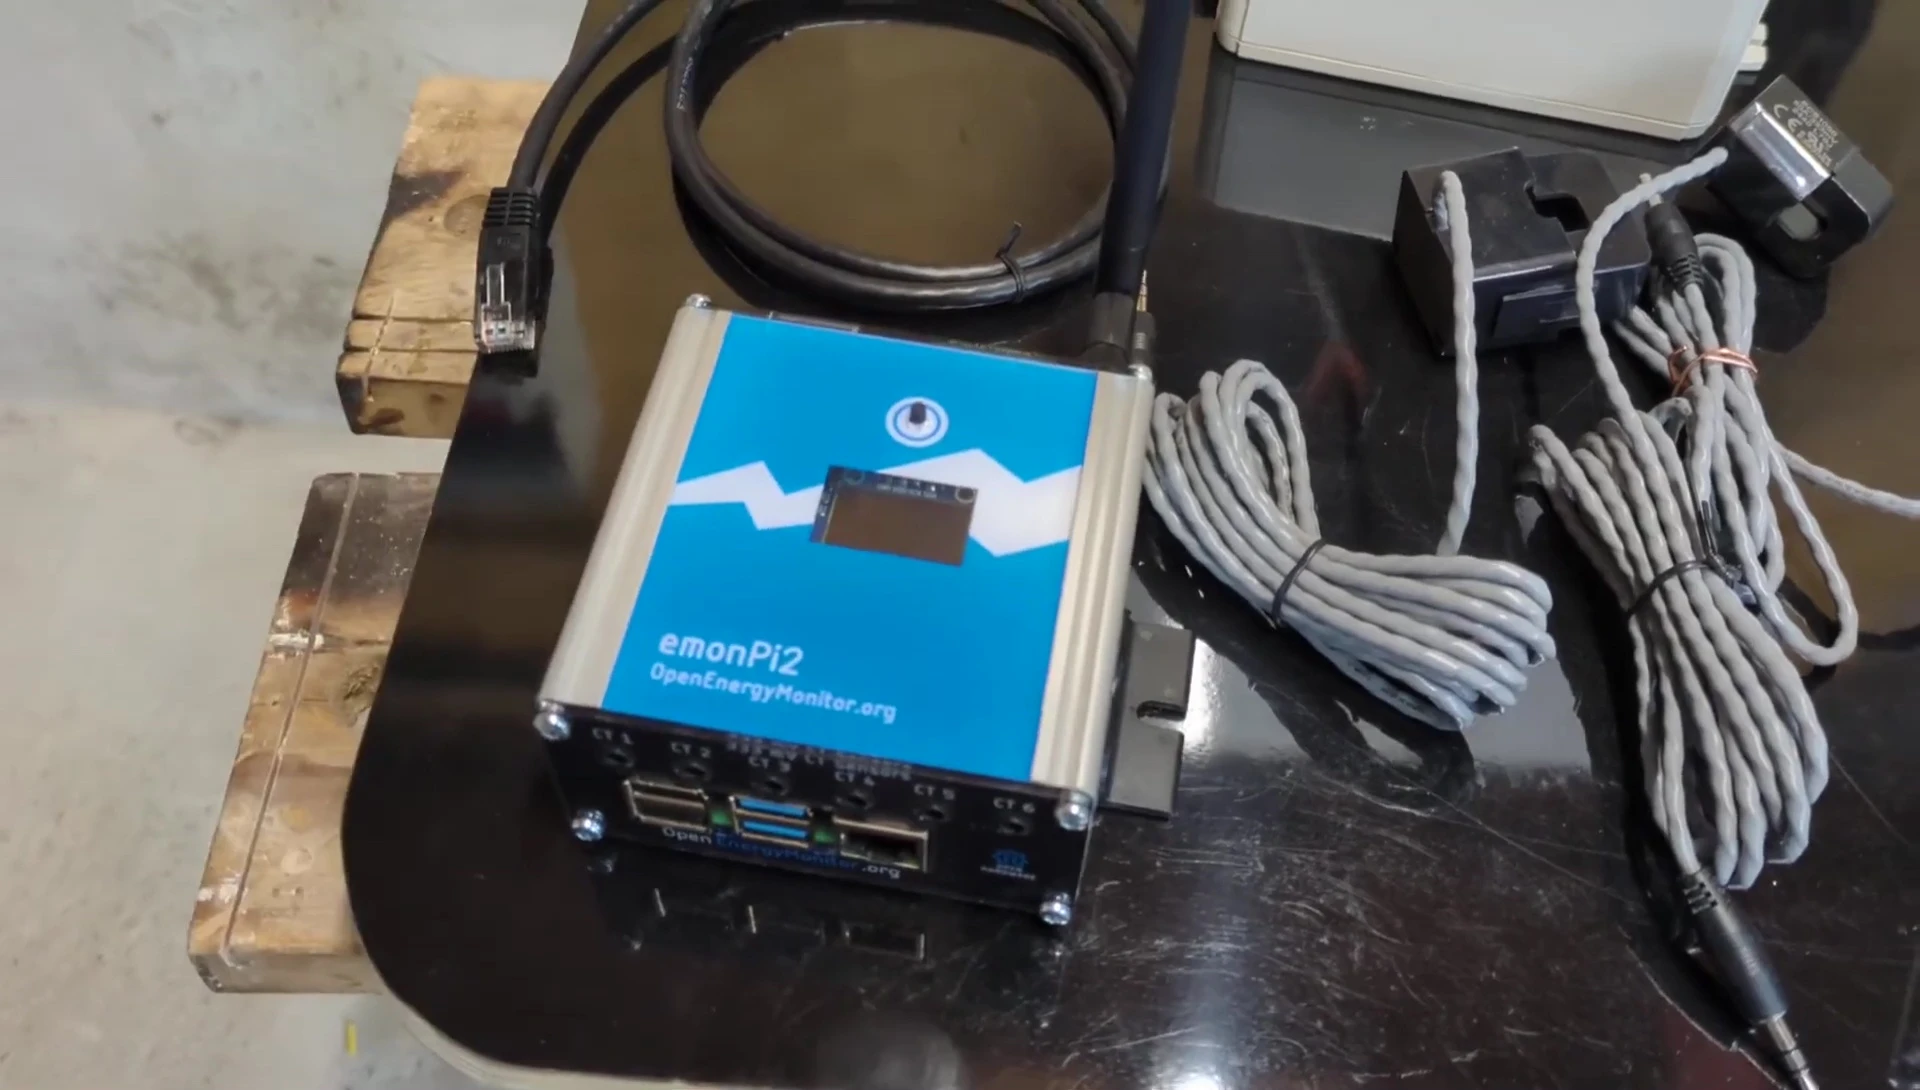
The core components include the emonPi2 (base station and energy monitor), emonTx5 (transmitter node), CT clamps (current transformers) for measuring current, and optionally, temperature sensors. The emonPi2 connects to your network via Wi-Fi or Ethernet, while the emonTx5 communicates with the emonPi2 wirelessly.
The system allows for granular monitoring of electricity usage, providing insights into individual appliances and circuits. This level of detail goes beyond a standard electricity meter and enables users to understand their energy usage patterns with precision.
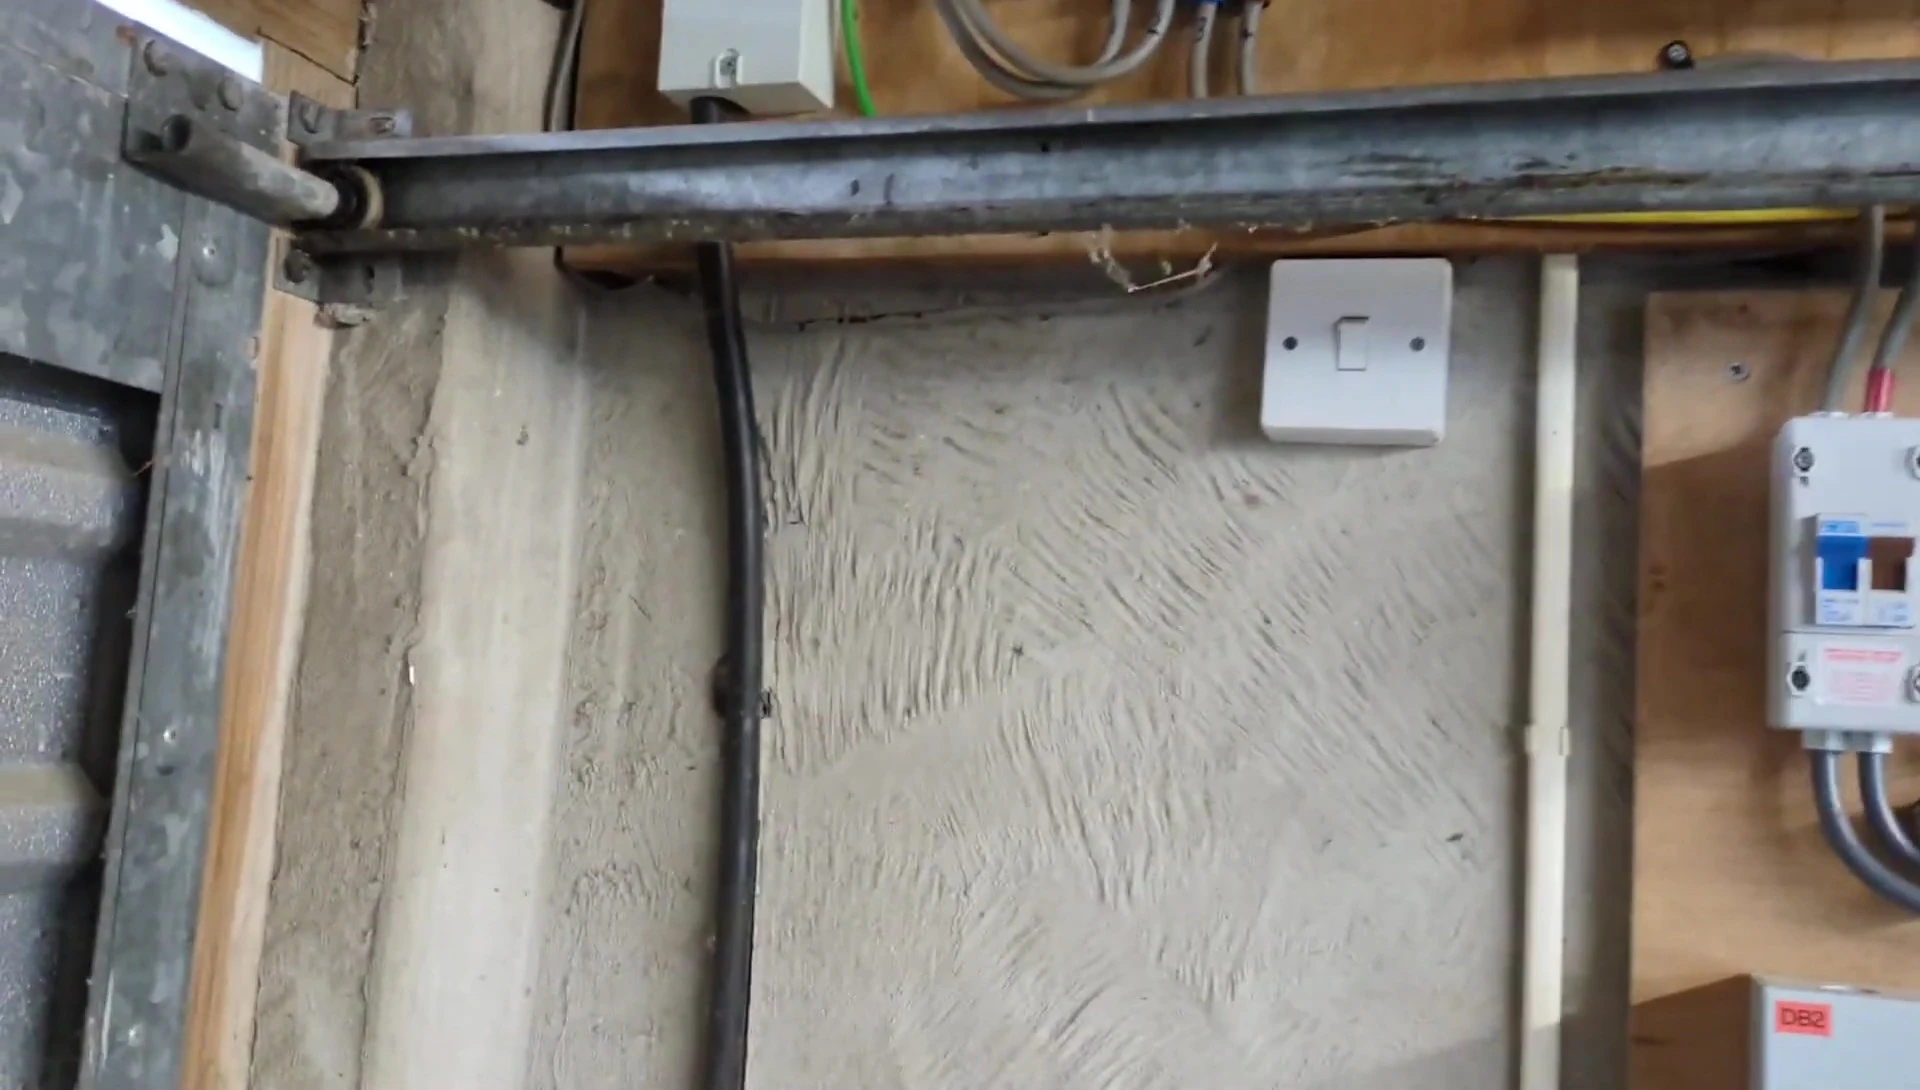
CT Clamp Placement and Calibration
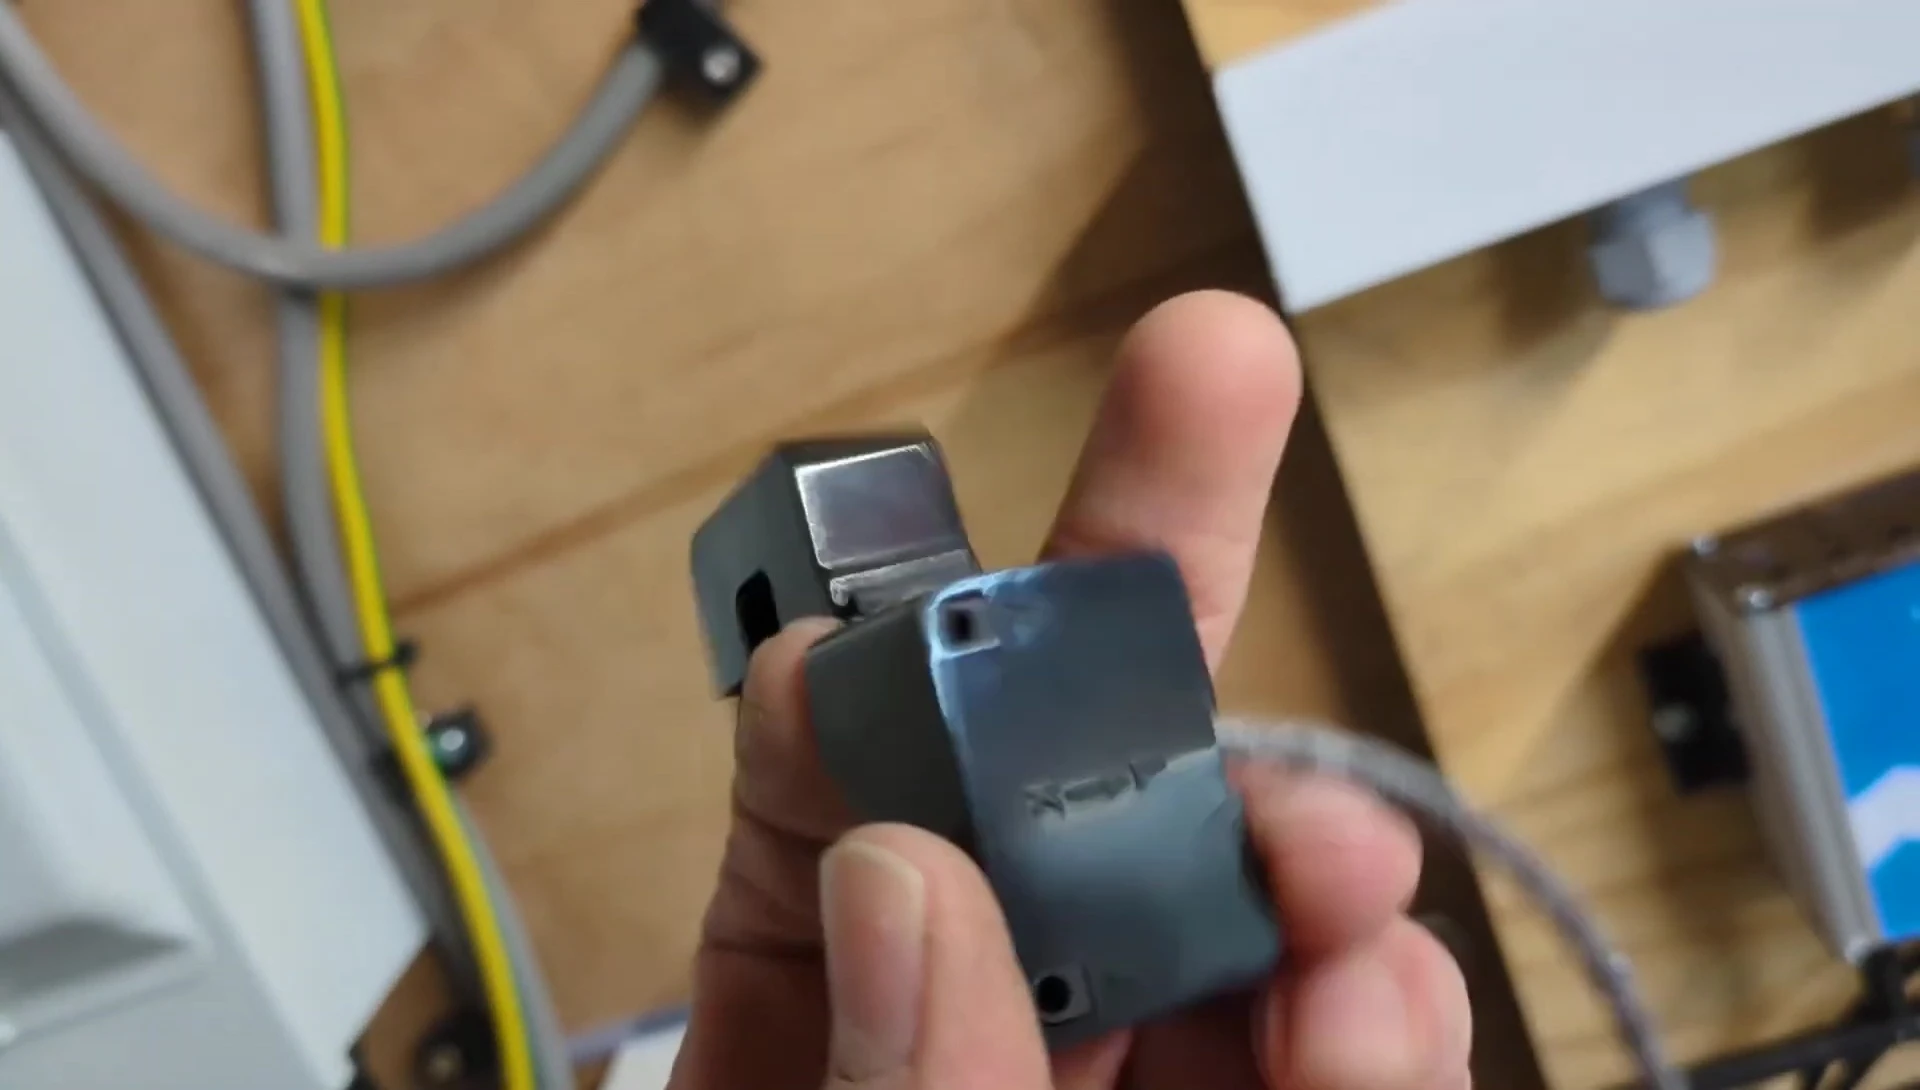
Careful placement of the CT clamps is crucial for accurate readings. Each clamp must be correctly oriented, with the arrow indicating the direction of current flow (load side). Incorrect placement will result in inverted readings.
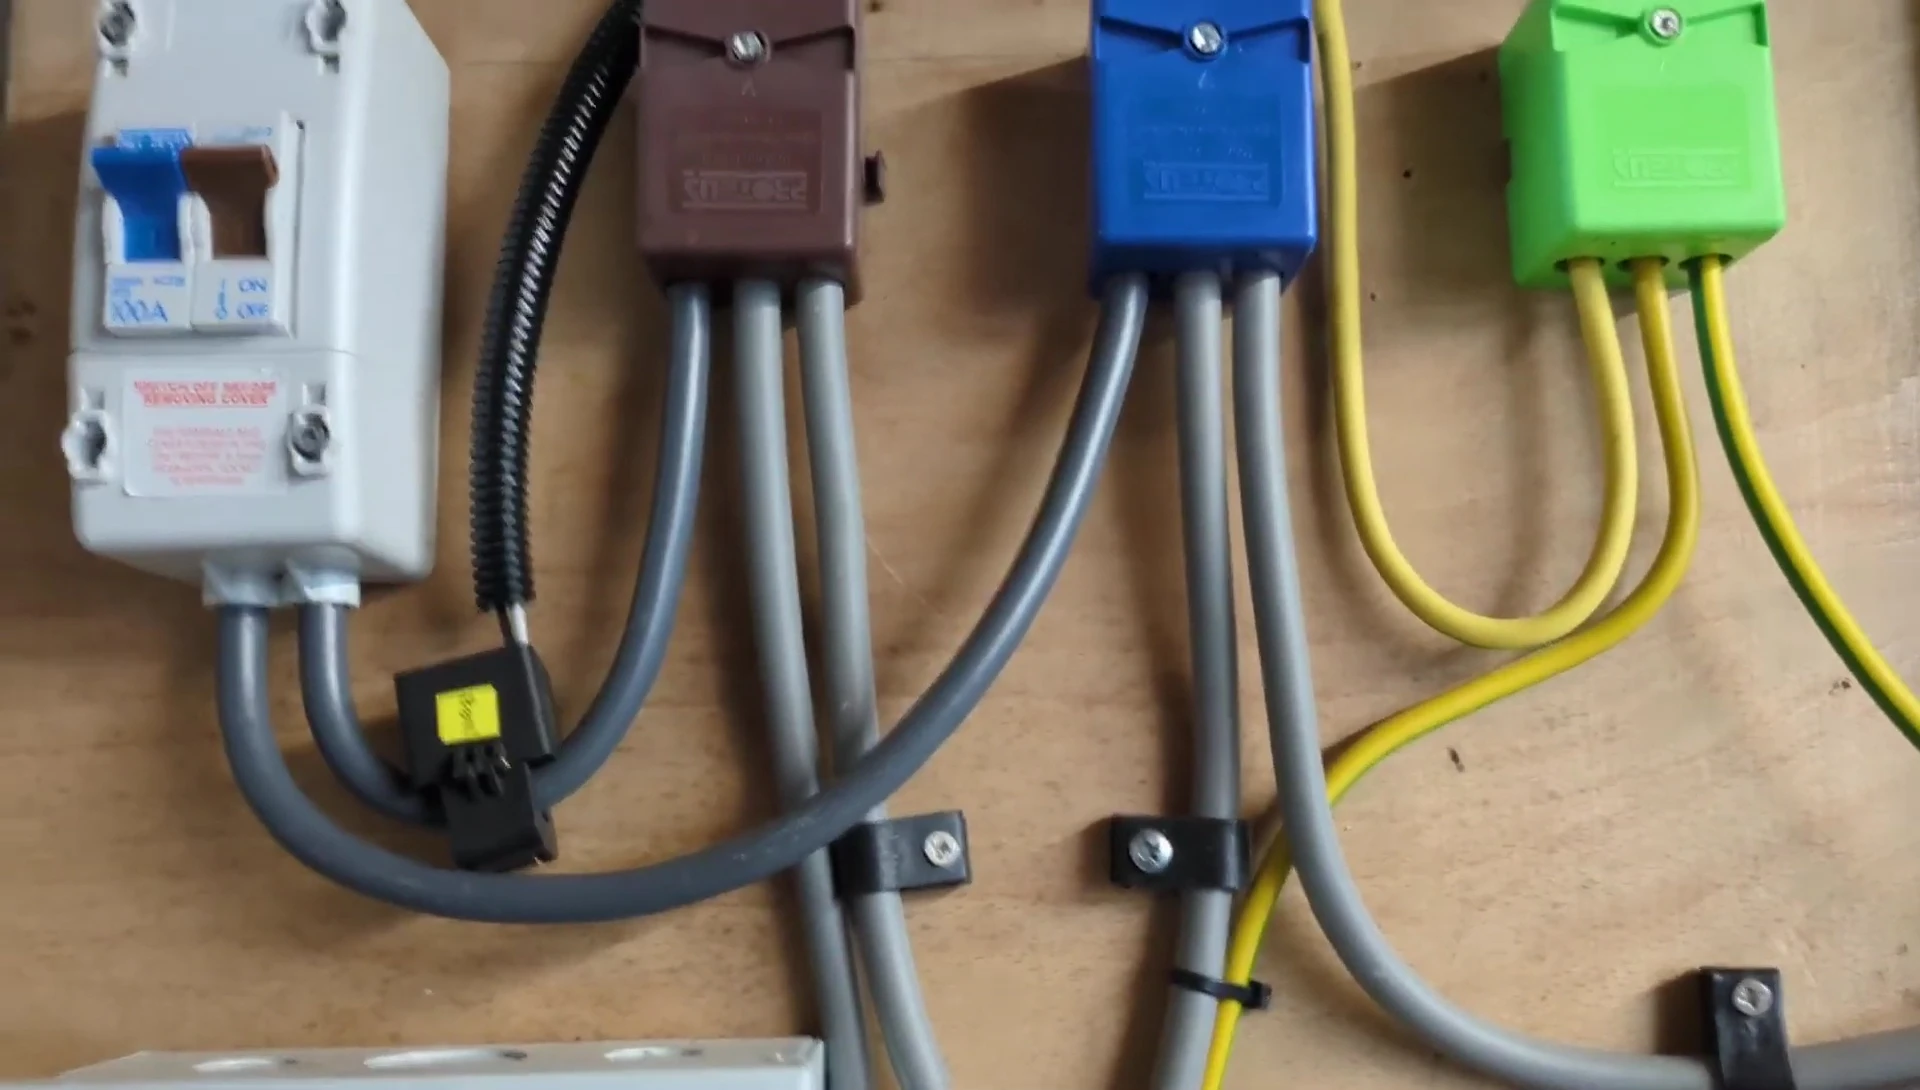
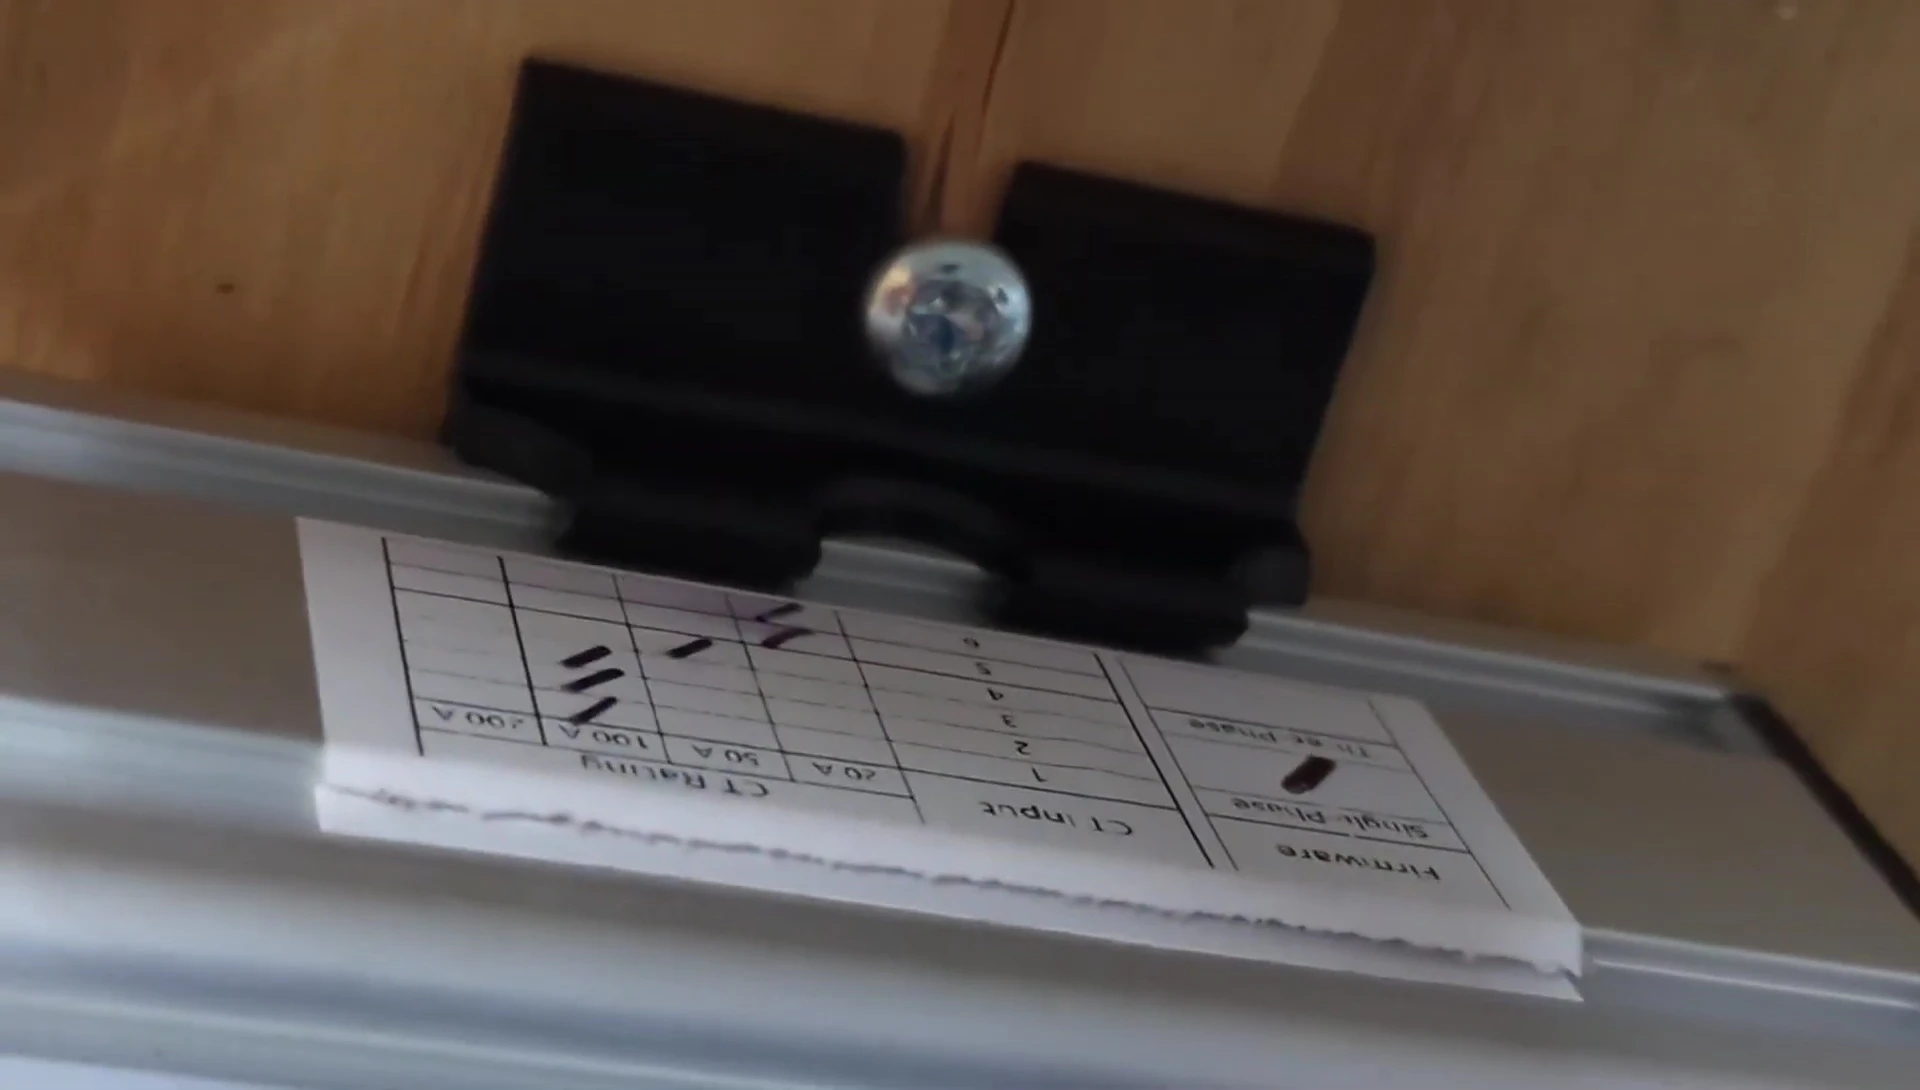
The system supports various CT clamp sizes (20A, 50A, 100A), allowing for the monitoring of different circuits. Proper calibration is essential; the system should be configured to match the amperage rating of each installed CT clamp.
For the DIY kit, the user needs to ensure proper installation of the CT sensors around the cables. This may require opening the consumer unit, hence professional help is recommended.
emonPi2 and emonTx5 Setup and Configuration
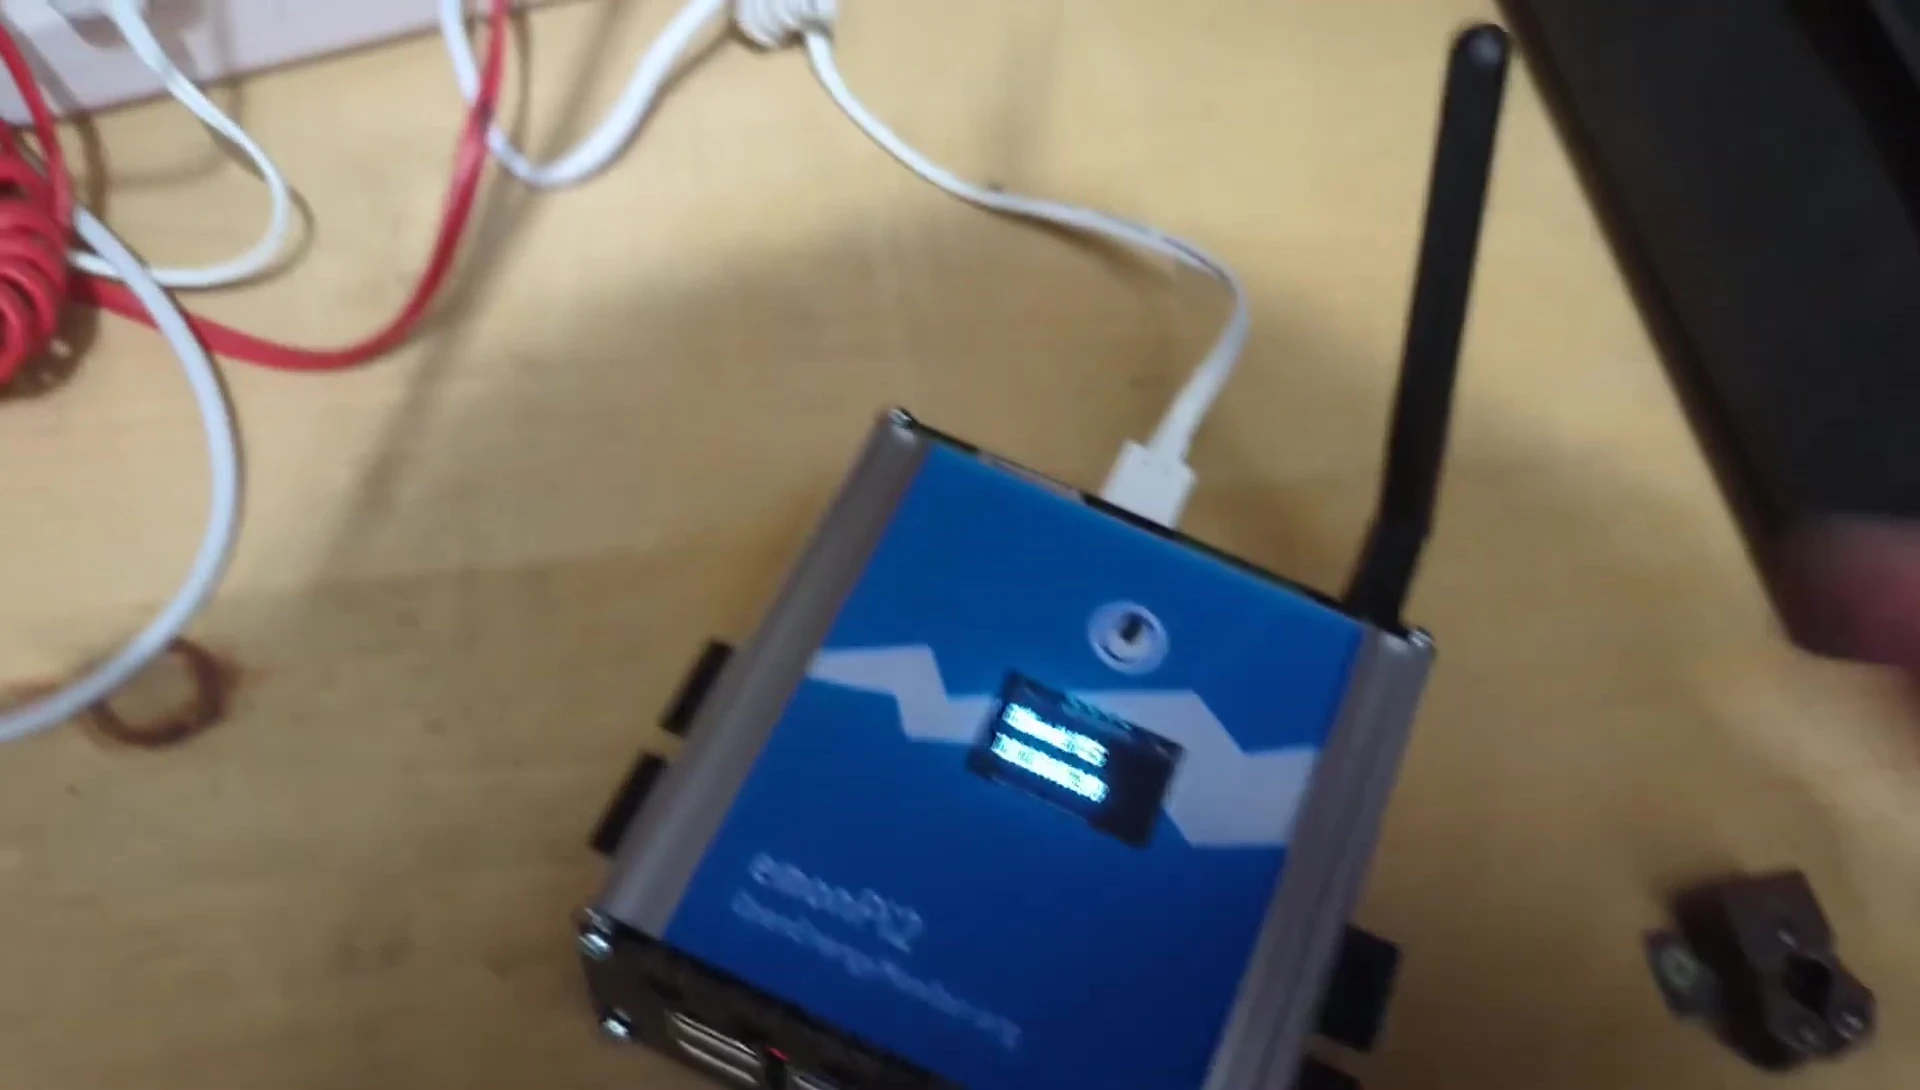
The emonPi2 serves as the base station, connecting to the network via Ethernet or Wi-Fi. The emonTx5, located remotely, transmits data wirelessly to the emonPi2 using a 433MHz RF link. This setup allows for flexible placement of the monitoring unit.
The emonPi2's web interface simplifies the configuration process. Users can access the input/output settings, view data, and configure data logging and input processing.
The choice between using emonPi2 and emonTx5 depends on the user's network infrastructure and desired location of the energy monitor. If the area has poor Wi-Fi or no ethernet connection, the emonTx5 can be installed near the consumer unit and use the wireless 433MHz RF link to send data to the base station.
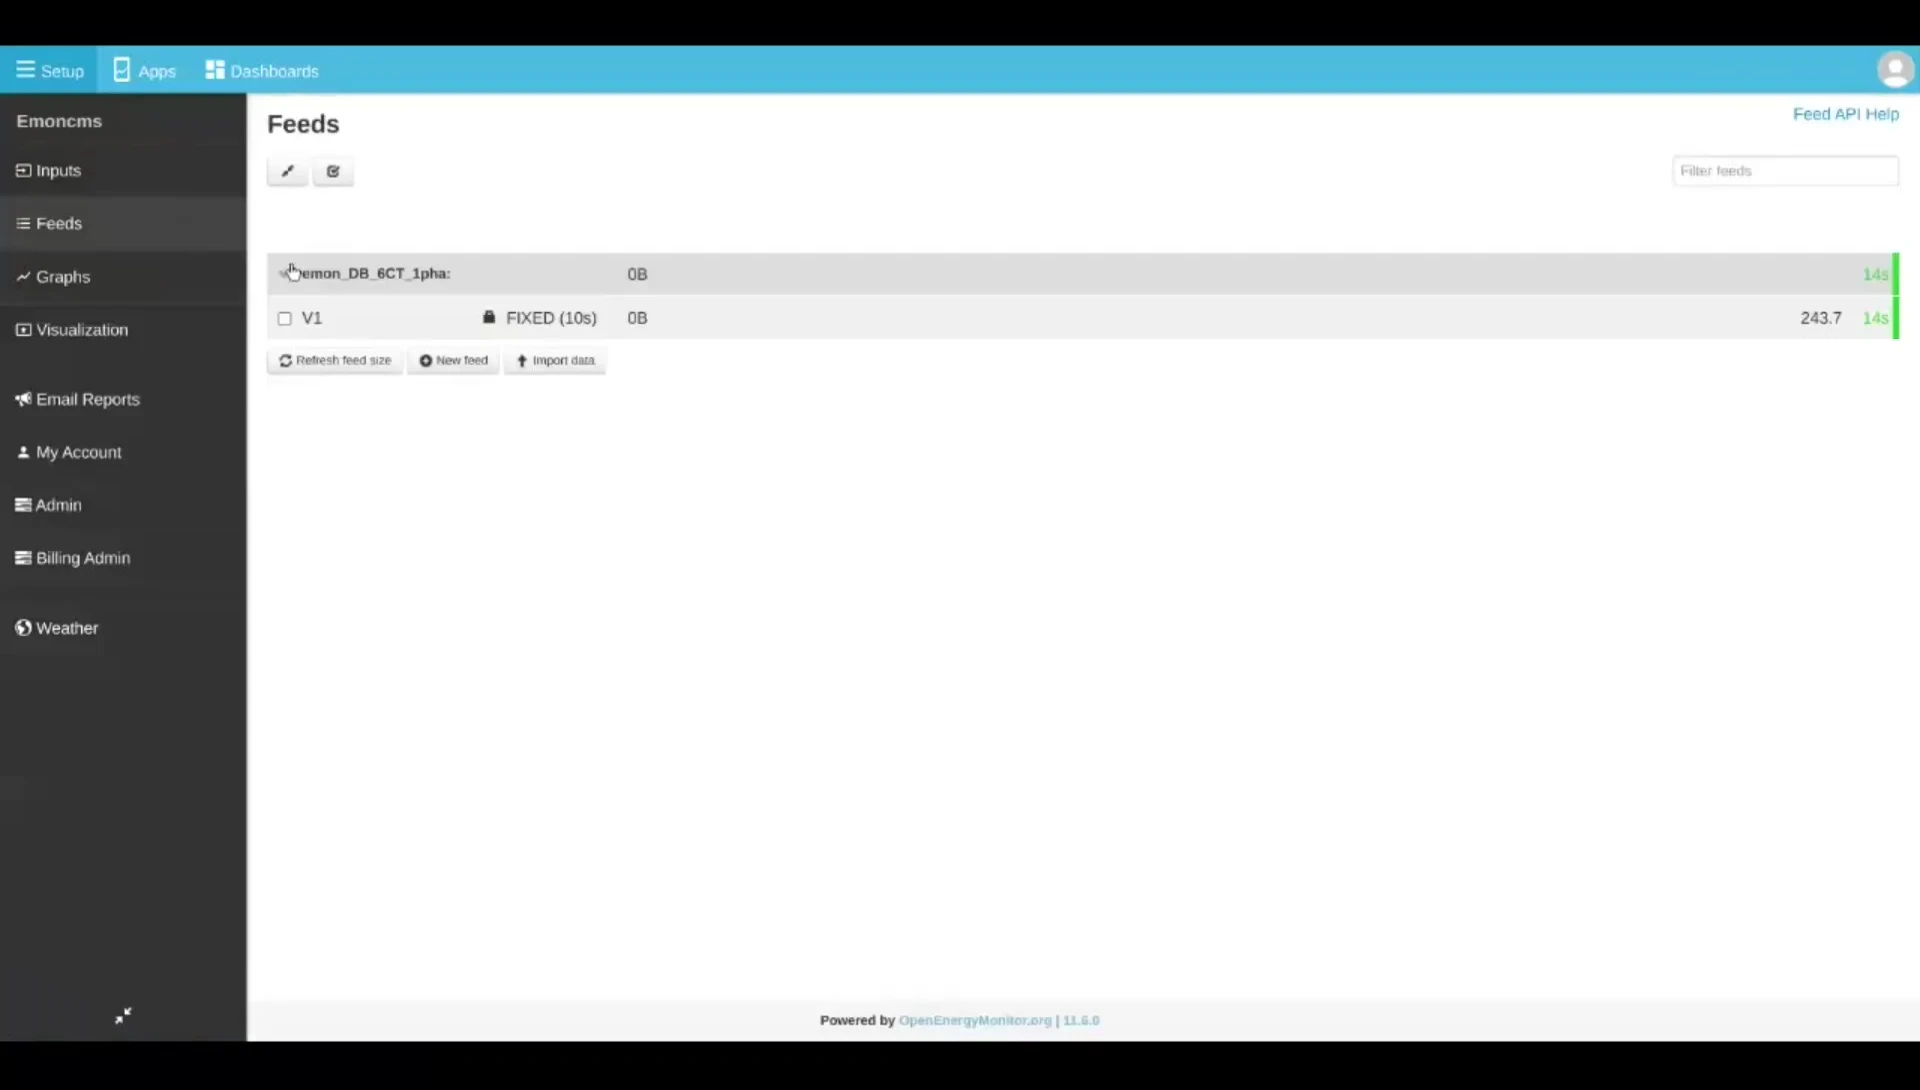
Data Logging, Visualization, and Analysis
The system supports various data logging intervals, allowing users to adjust data collection frequency. The web interface provides tools for visualizing the data, with options for various chart types (e.g., bar charts, line graphs).
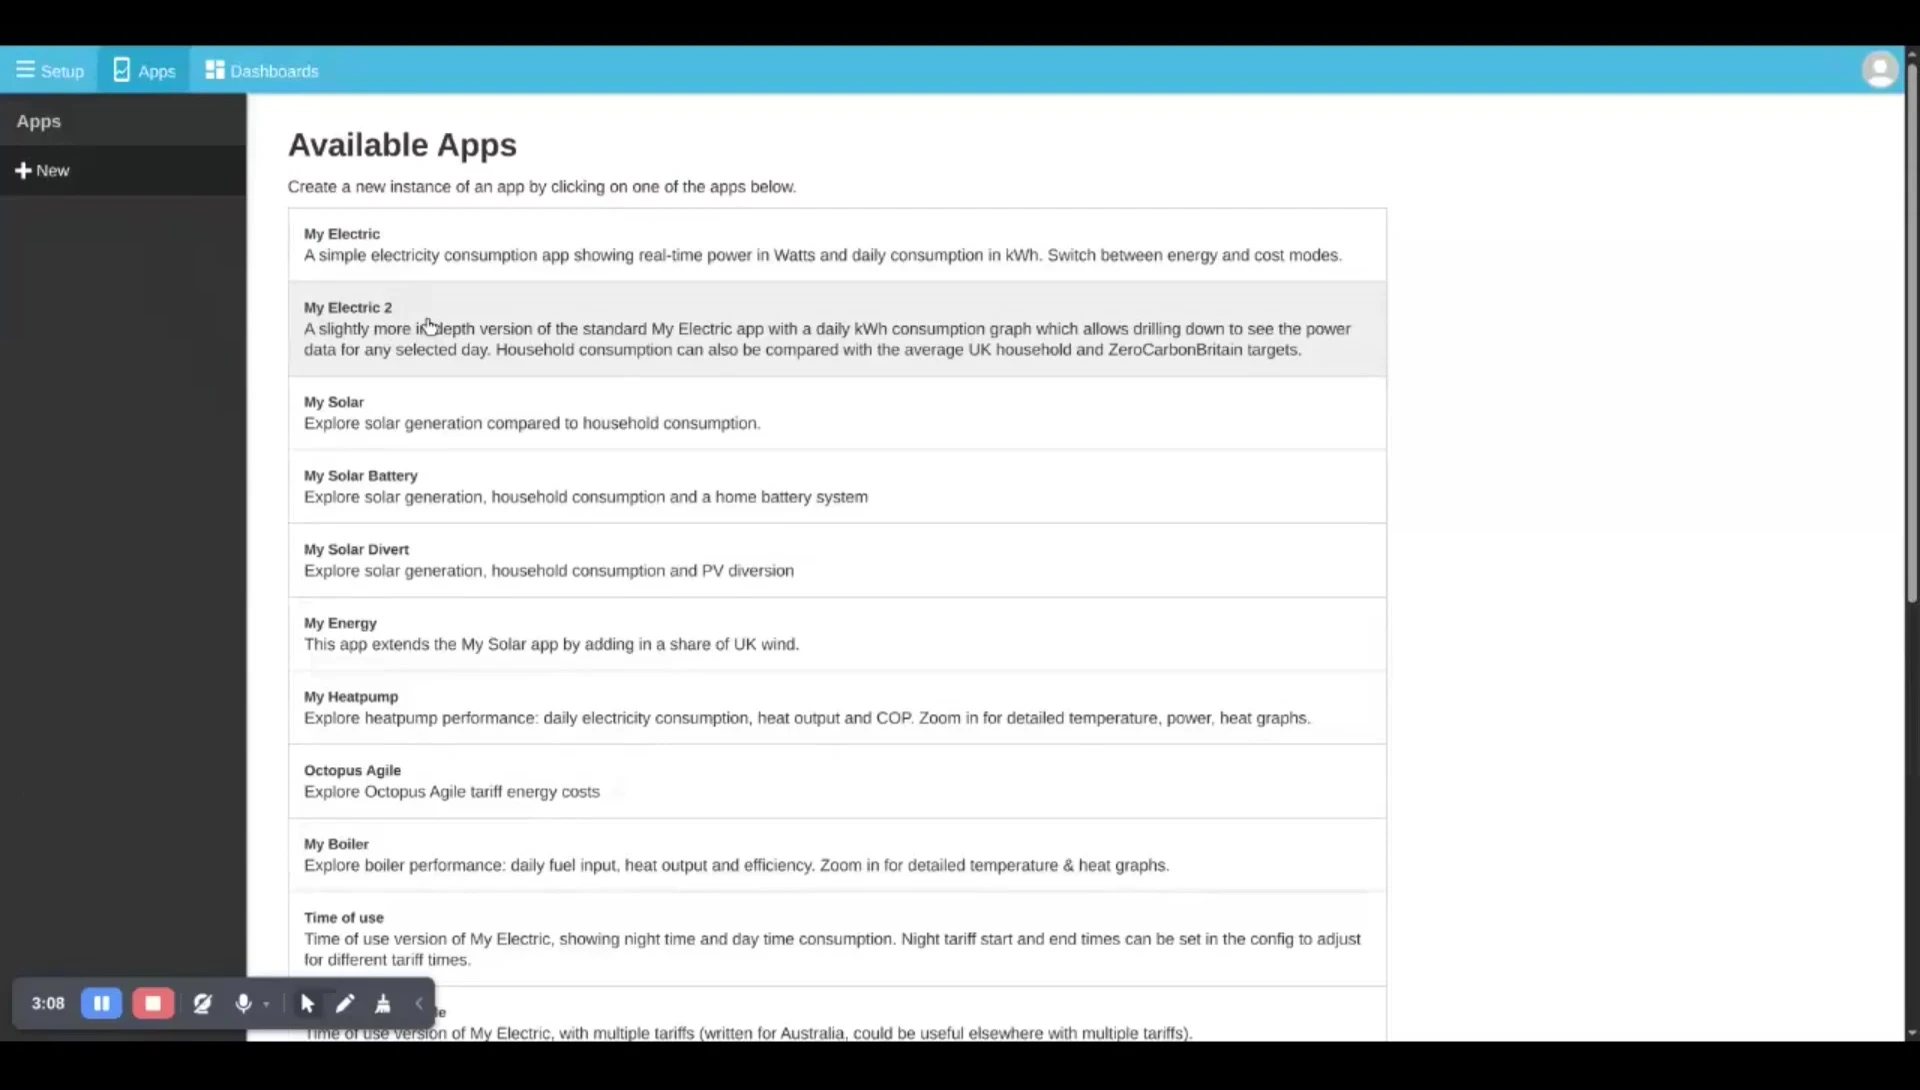
Advanced features, such as input processing, enable users to filter and manipulate data, allowing for the creation of custom feeds (e.g., separating grid import and export). Pre-built apps, like the MyElectric2 app, simplify the analysis process.
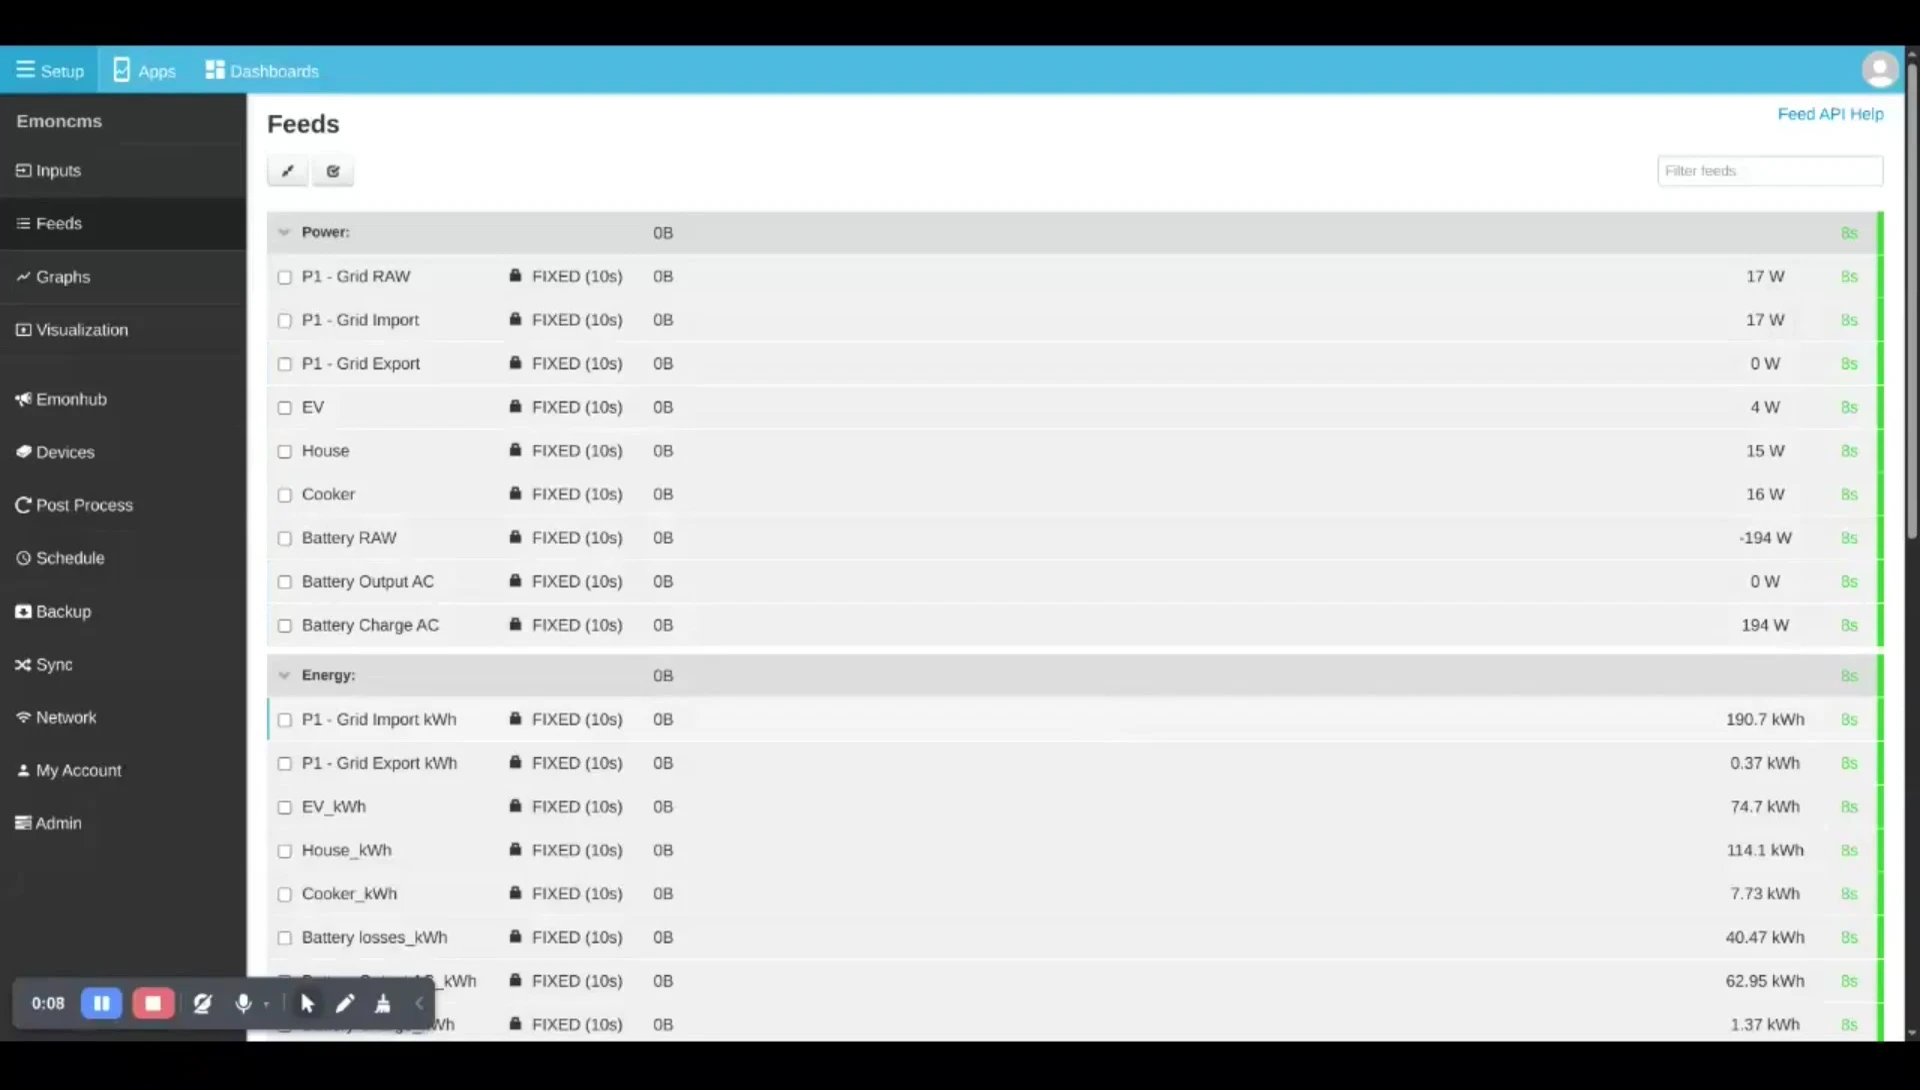
Data can be presented in multiple views. Users can see minute-by-minute power data, daily energy consumption, or even create customized dashboards and graphs to track power usage.
Conclusion
The OpenEnergyMonitor system offers a comprehensive and versatile solution for detailed electricity monitoring. The DIY kit provides a powerful tool for understanding energy consumption patterns, enabling users to identify areas for improvement and potential savings.
The system's granular monitoring capabilities, flexible configuration options, and user-friendly interface make it a strong choice for both homeowners and DIY enthusiasts interested in energy management.
The ability to combine the emonPi2 and emonTx5 provides flexibility in installation, making it suitable for diverse network setups.