This review dives into the INNR SP242 smart plug, focusing on its seamless integration with Home Assistant for comprehensive power monitoring. We'll guide you through the straightforward setup process, from enabling "Permit Join" in your Home Assistant Zigbee configuration to the initial pairing and factory reset of the plug. Learn how to easily rename the device, update its firmware for optimal performance, and add a custom dashboard card to visualize real-time power consumption data. We'll also explore how to customize the data update frequency for precise energy monitoring.This detailed guide covers adding the smart plug to your Home Assistant setup, configuring its settings for accurate energy readings, and effectively using the collected data to analyze your device's power usage. Discover how to utilize the collected kilowatt-hour data to estimate electricity costs, allowing for better budgeting and energy management. We'll conclude by assessing the INNR SP242's reliability, user-friendliness, and overall value as a solution for home energy monitoring within the Home Assistant ecosystem.
Pros And Cons
- Provides power monitoring in Home Assistant.
- Can be easily added to a Zigbee network.
- Firmware can be updated to improve functionality.
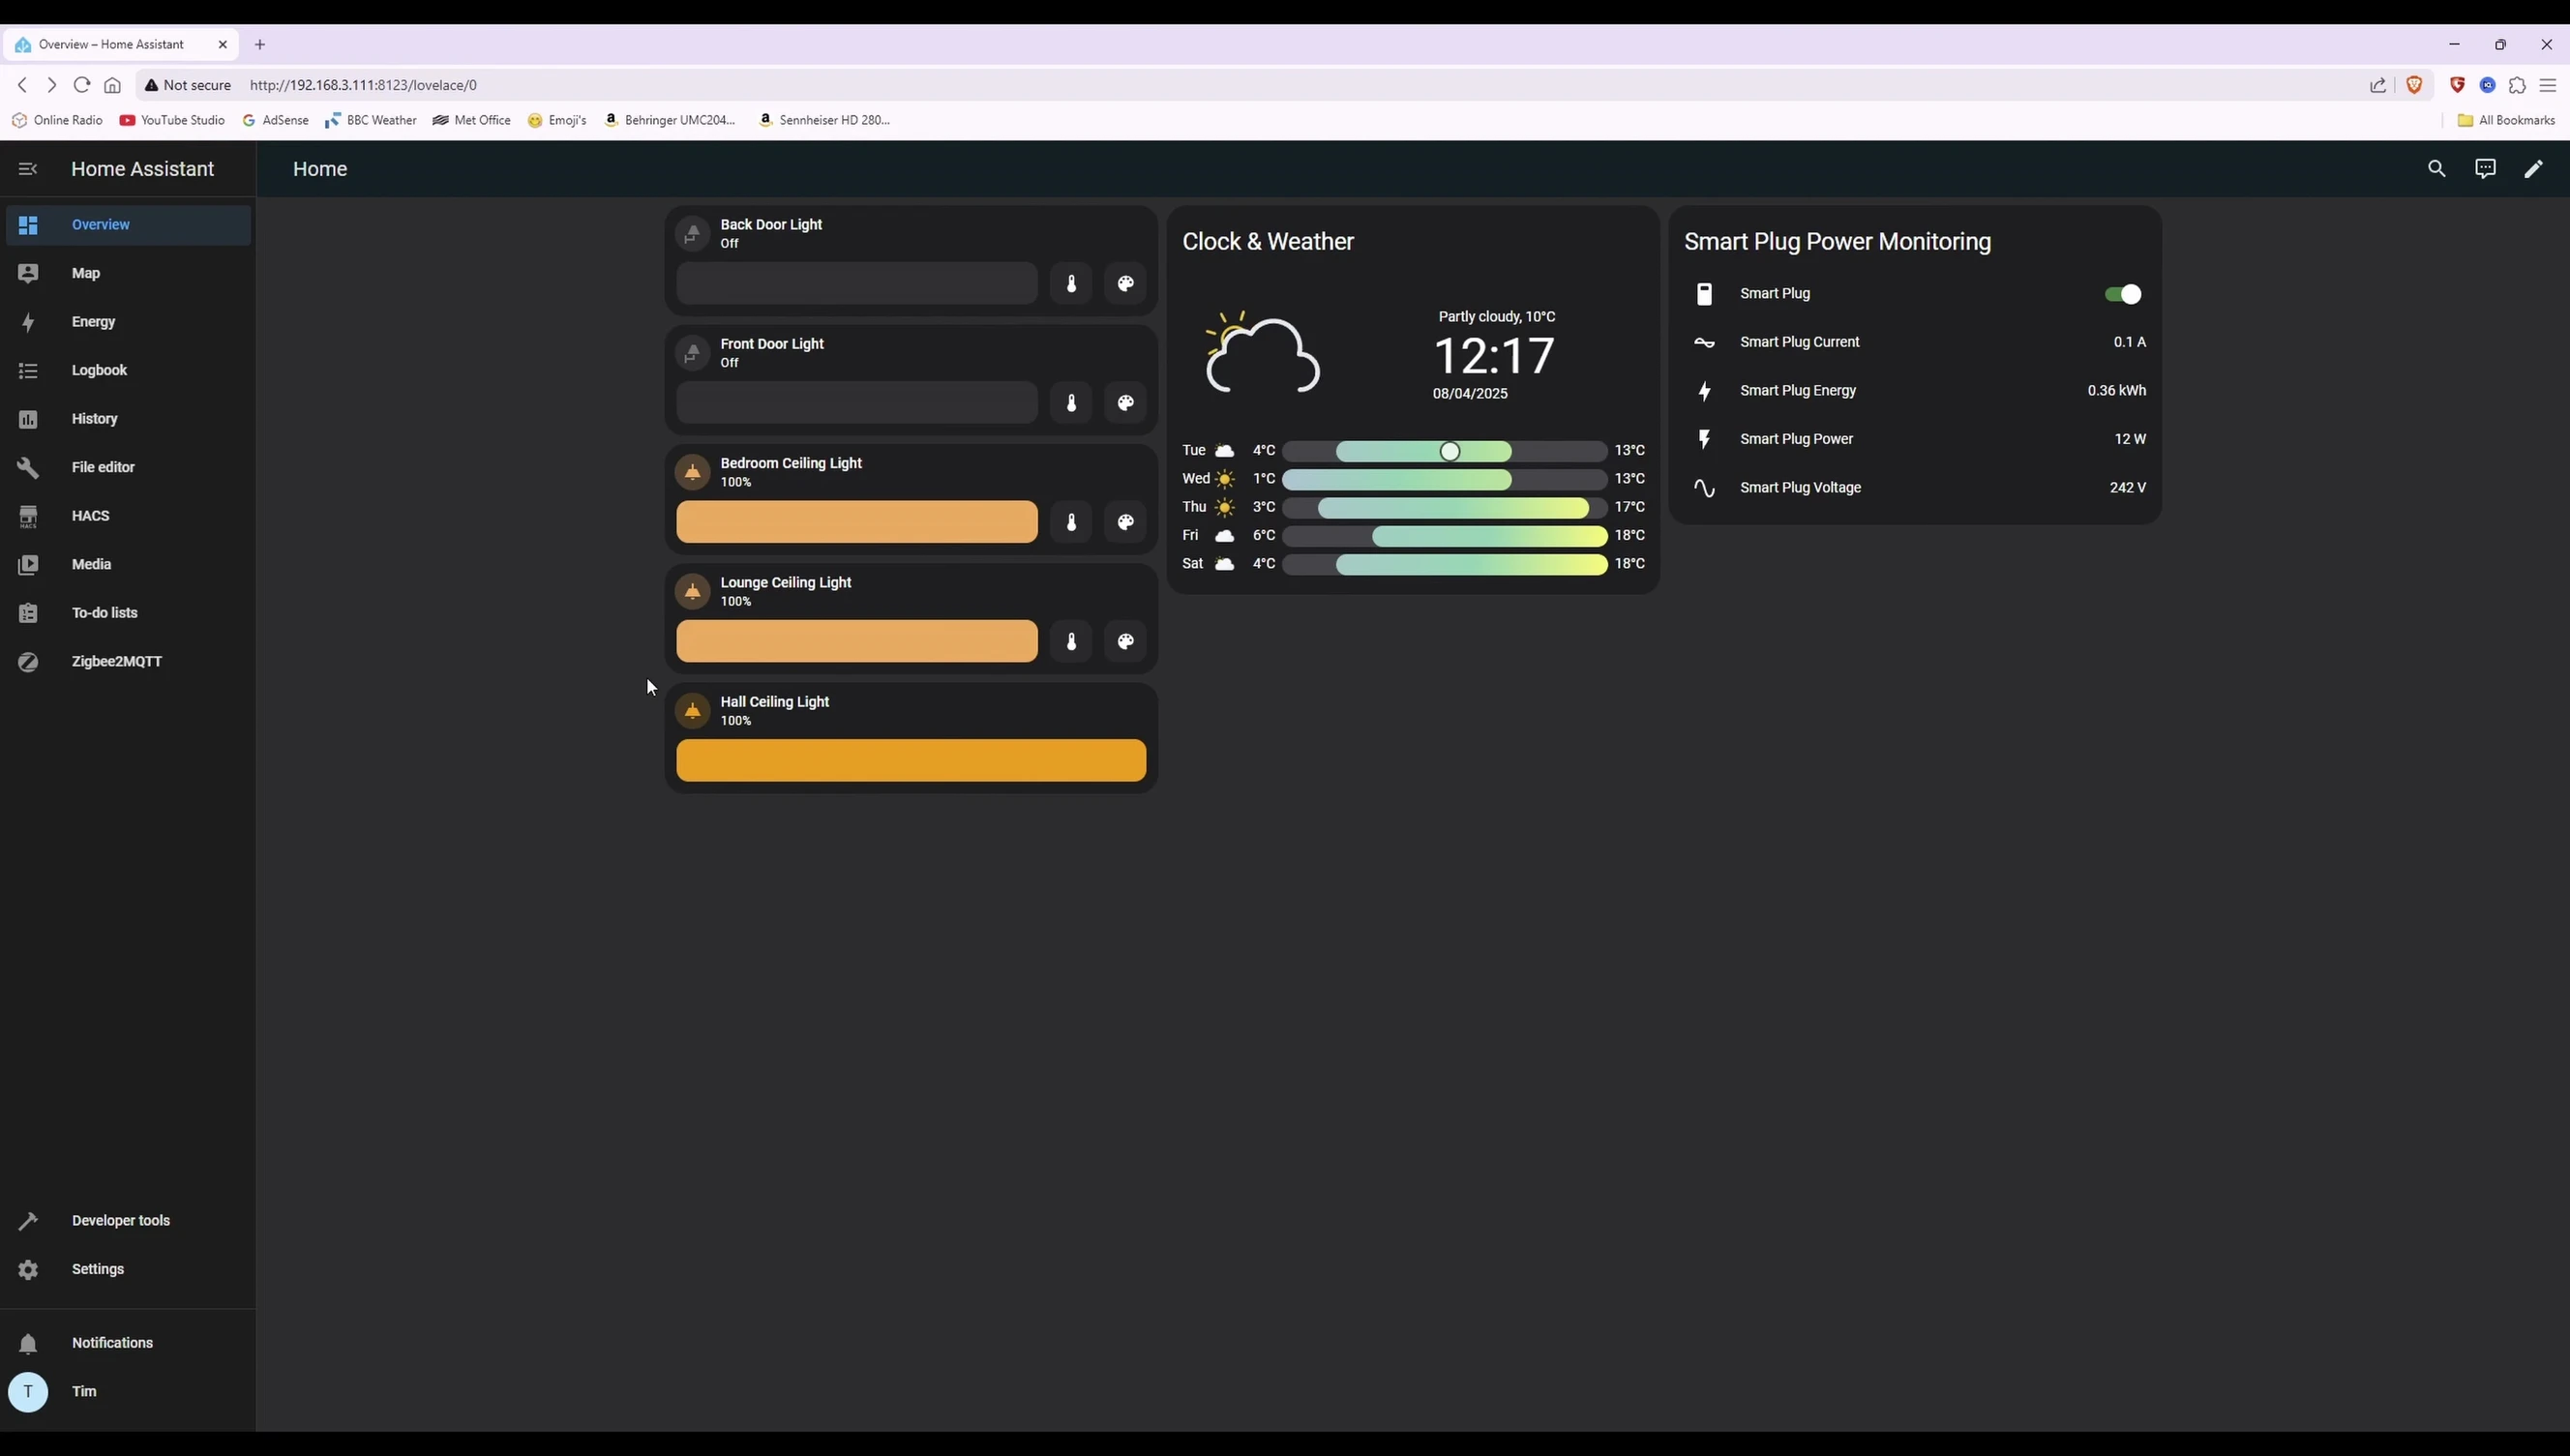
- Provides detailed energy usage data including current, energy, power, and voltage.
- Firmware update can take approximately 30 minutes.
- Requires initial setup and configuration within Home Assistant.
Read more: AMI Meter Reading Guide: Understanding Your Smart Electricity Meter
Adding the INNR SP242 Smart Plug to Home Assistant
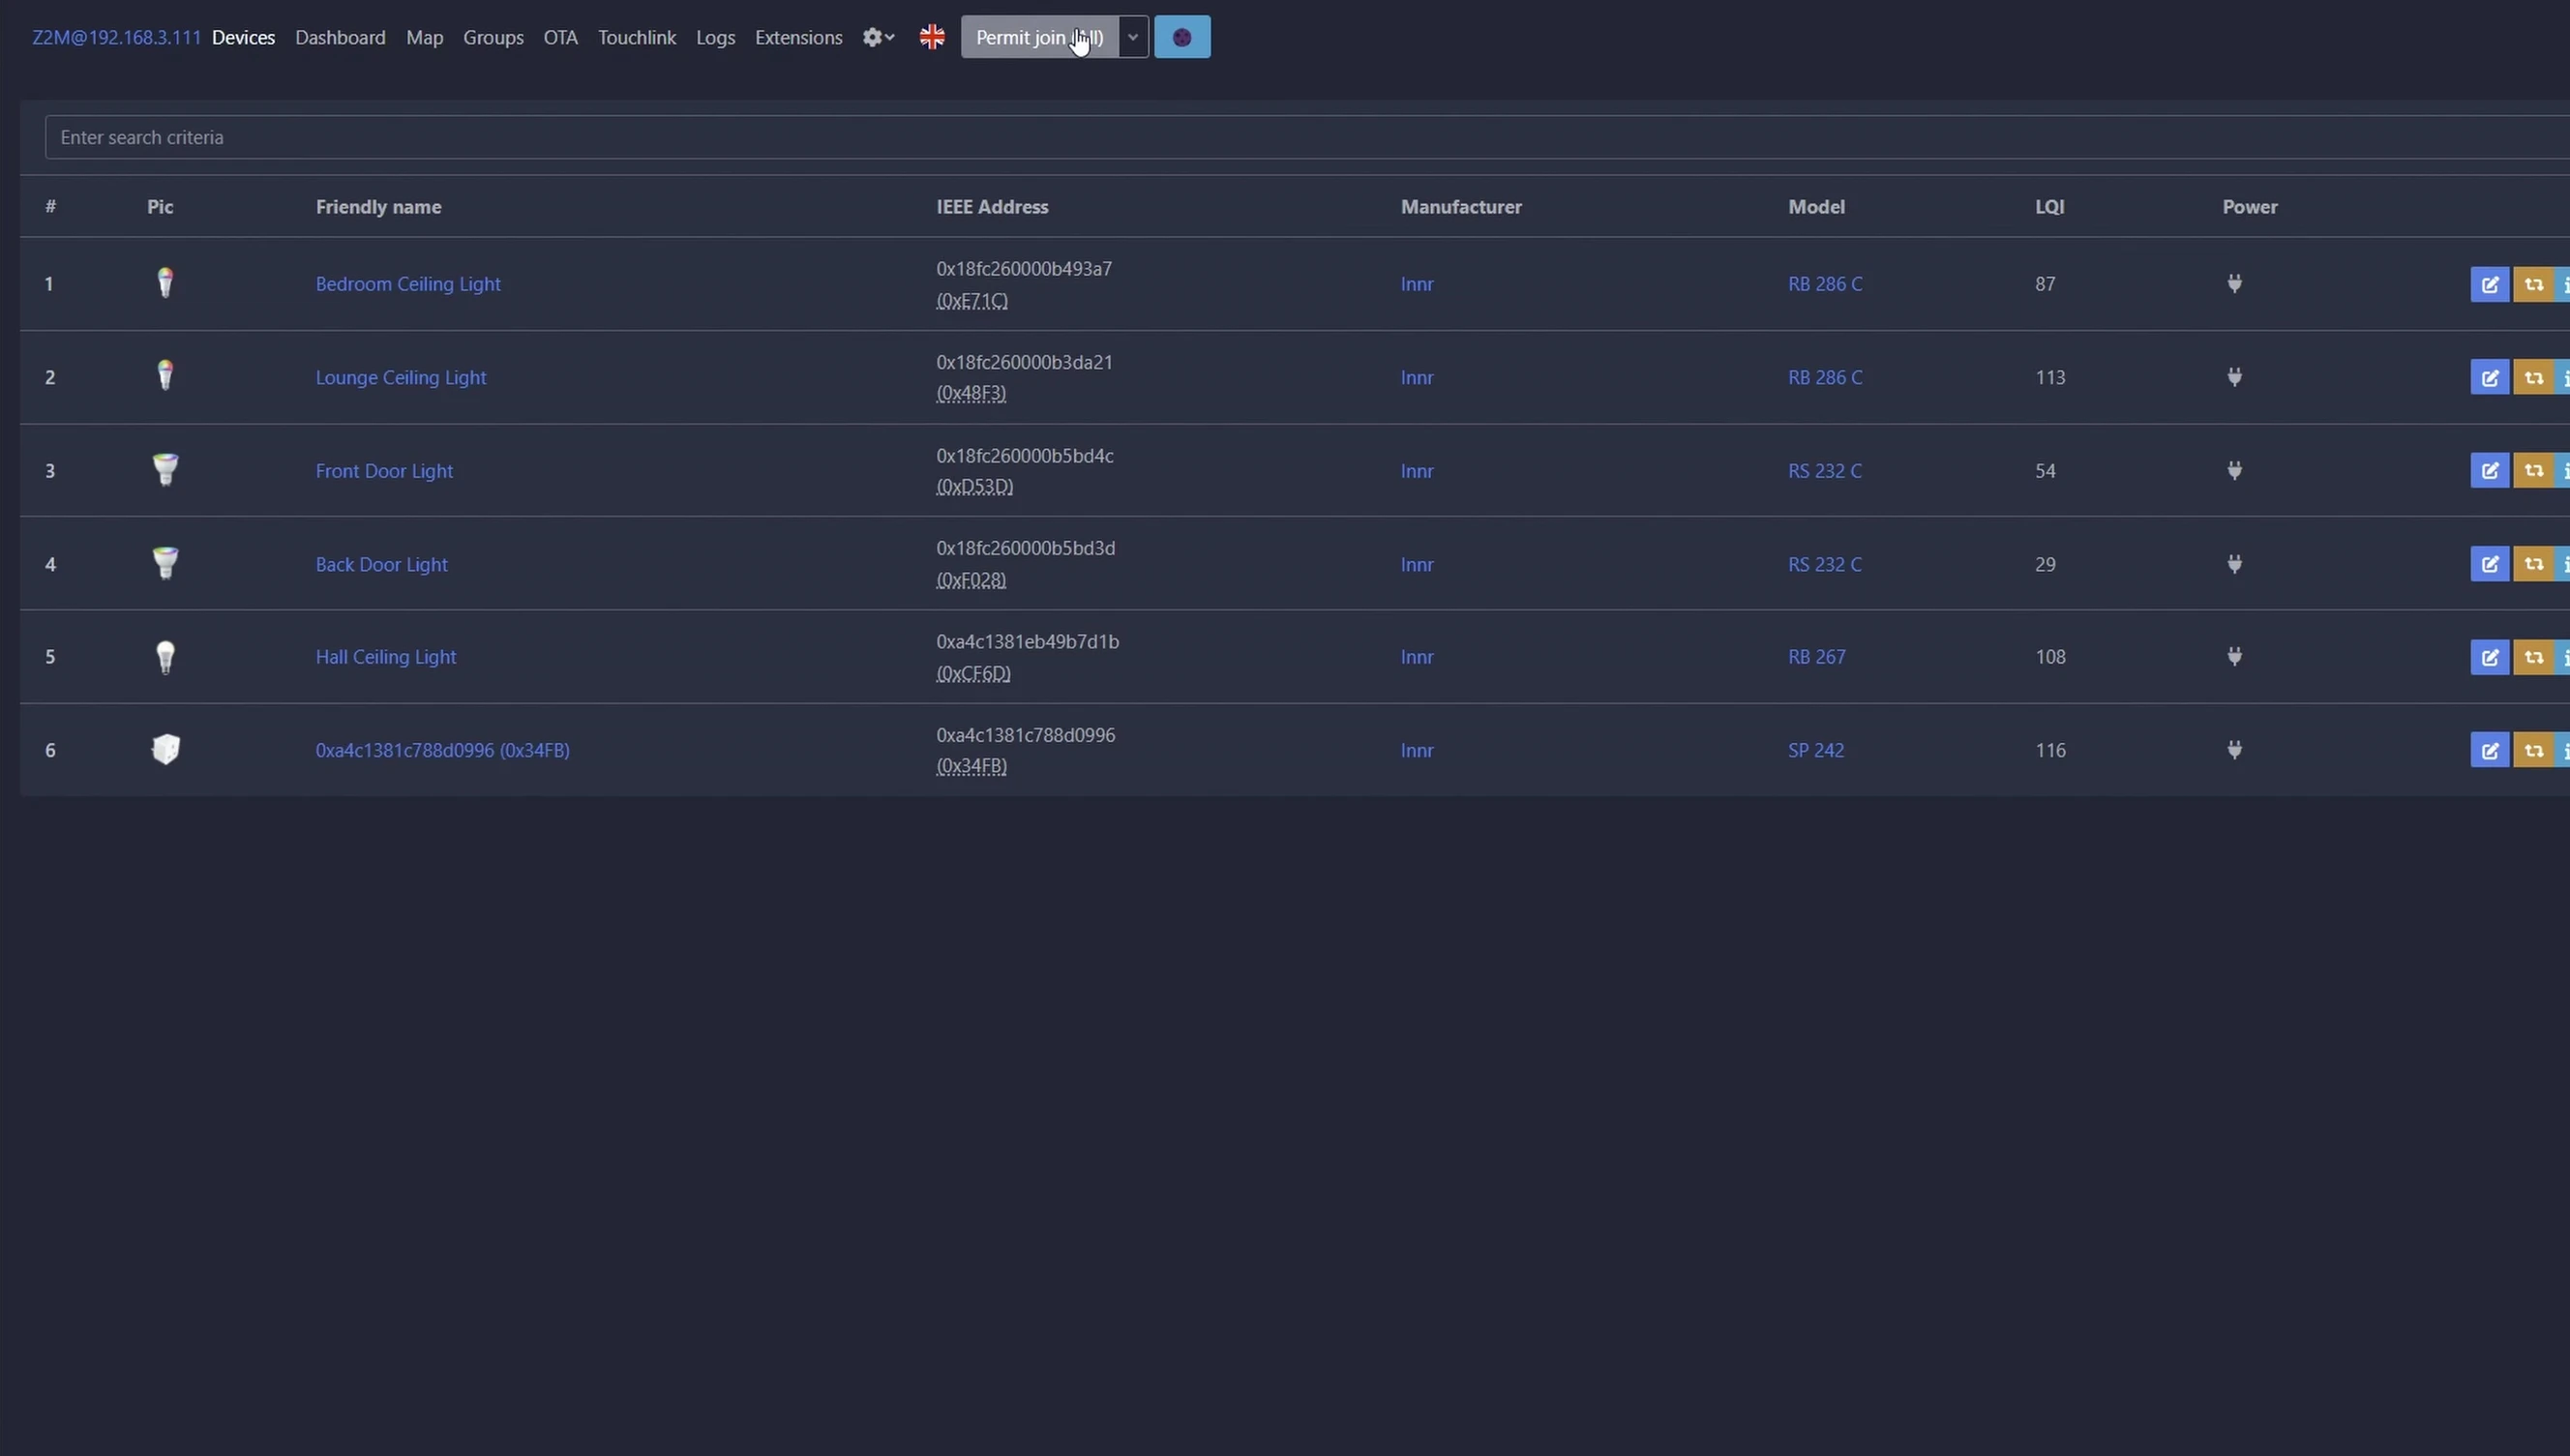
The INNR SP242 smart plug integrates seamlessly with Home Assistant via Zigbee. Before adding it, ensure 'Permit Join' is enabled in your Home Assistant Zigbee configuration. This initiates a pairing window, typically lasting around four minutes.
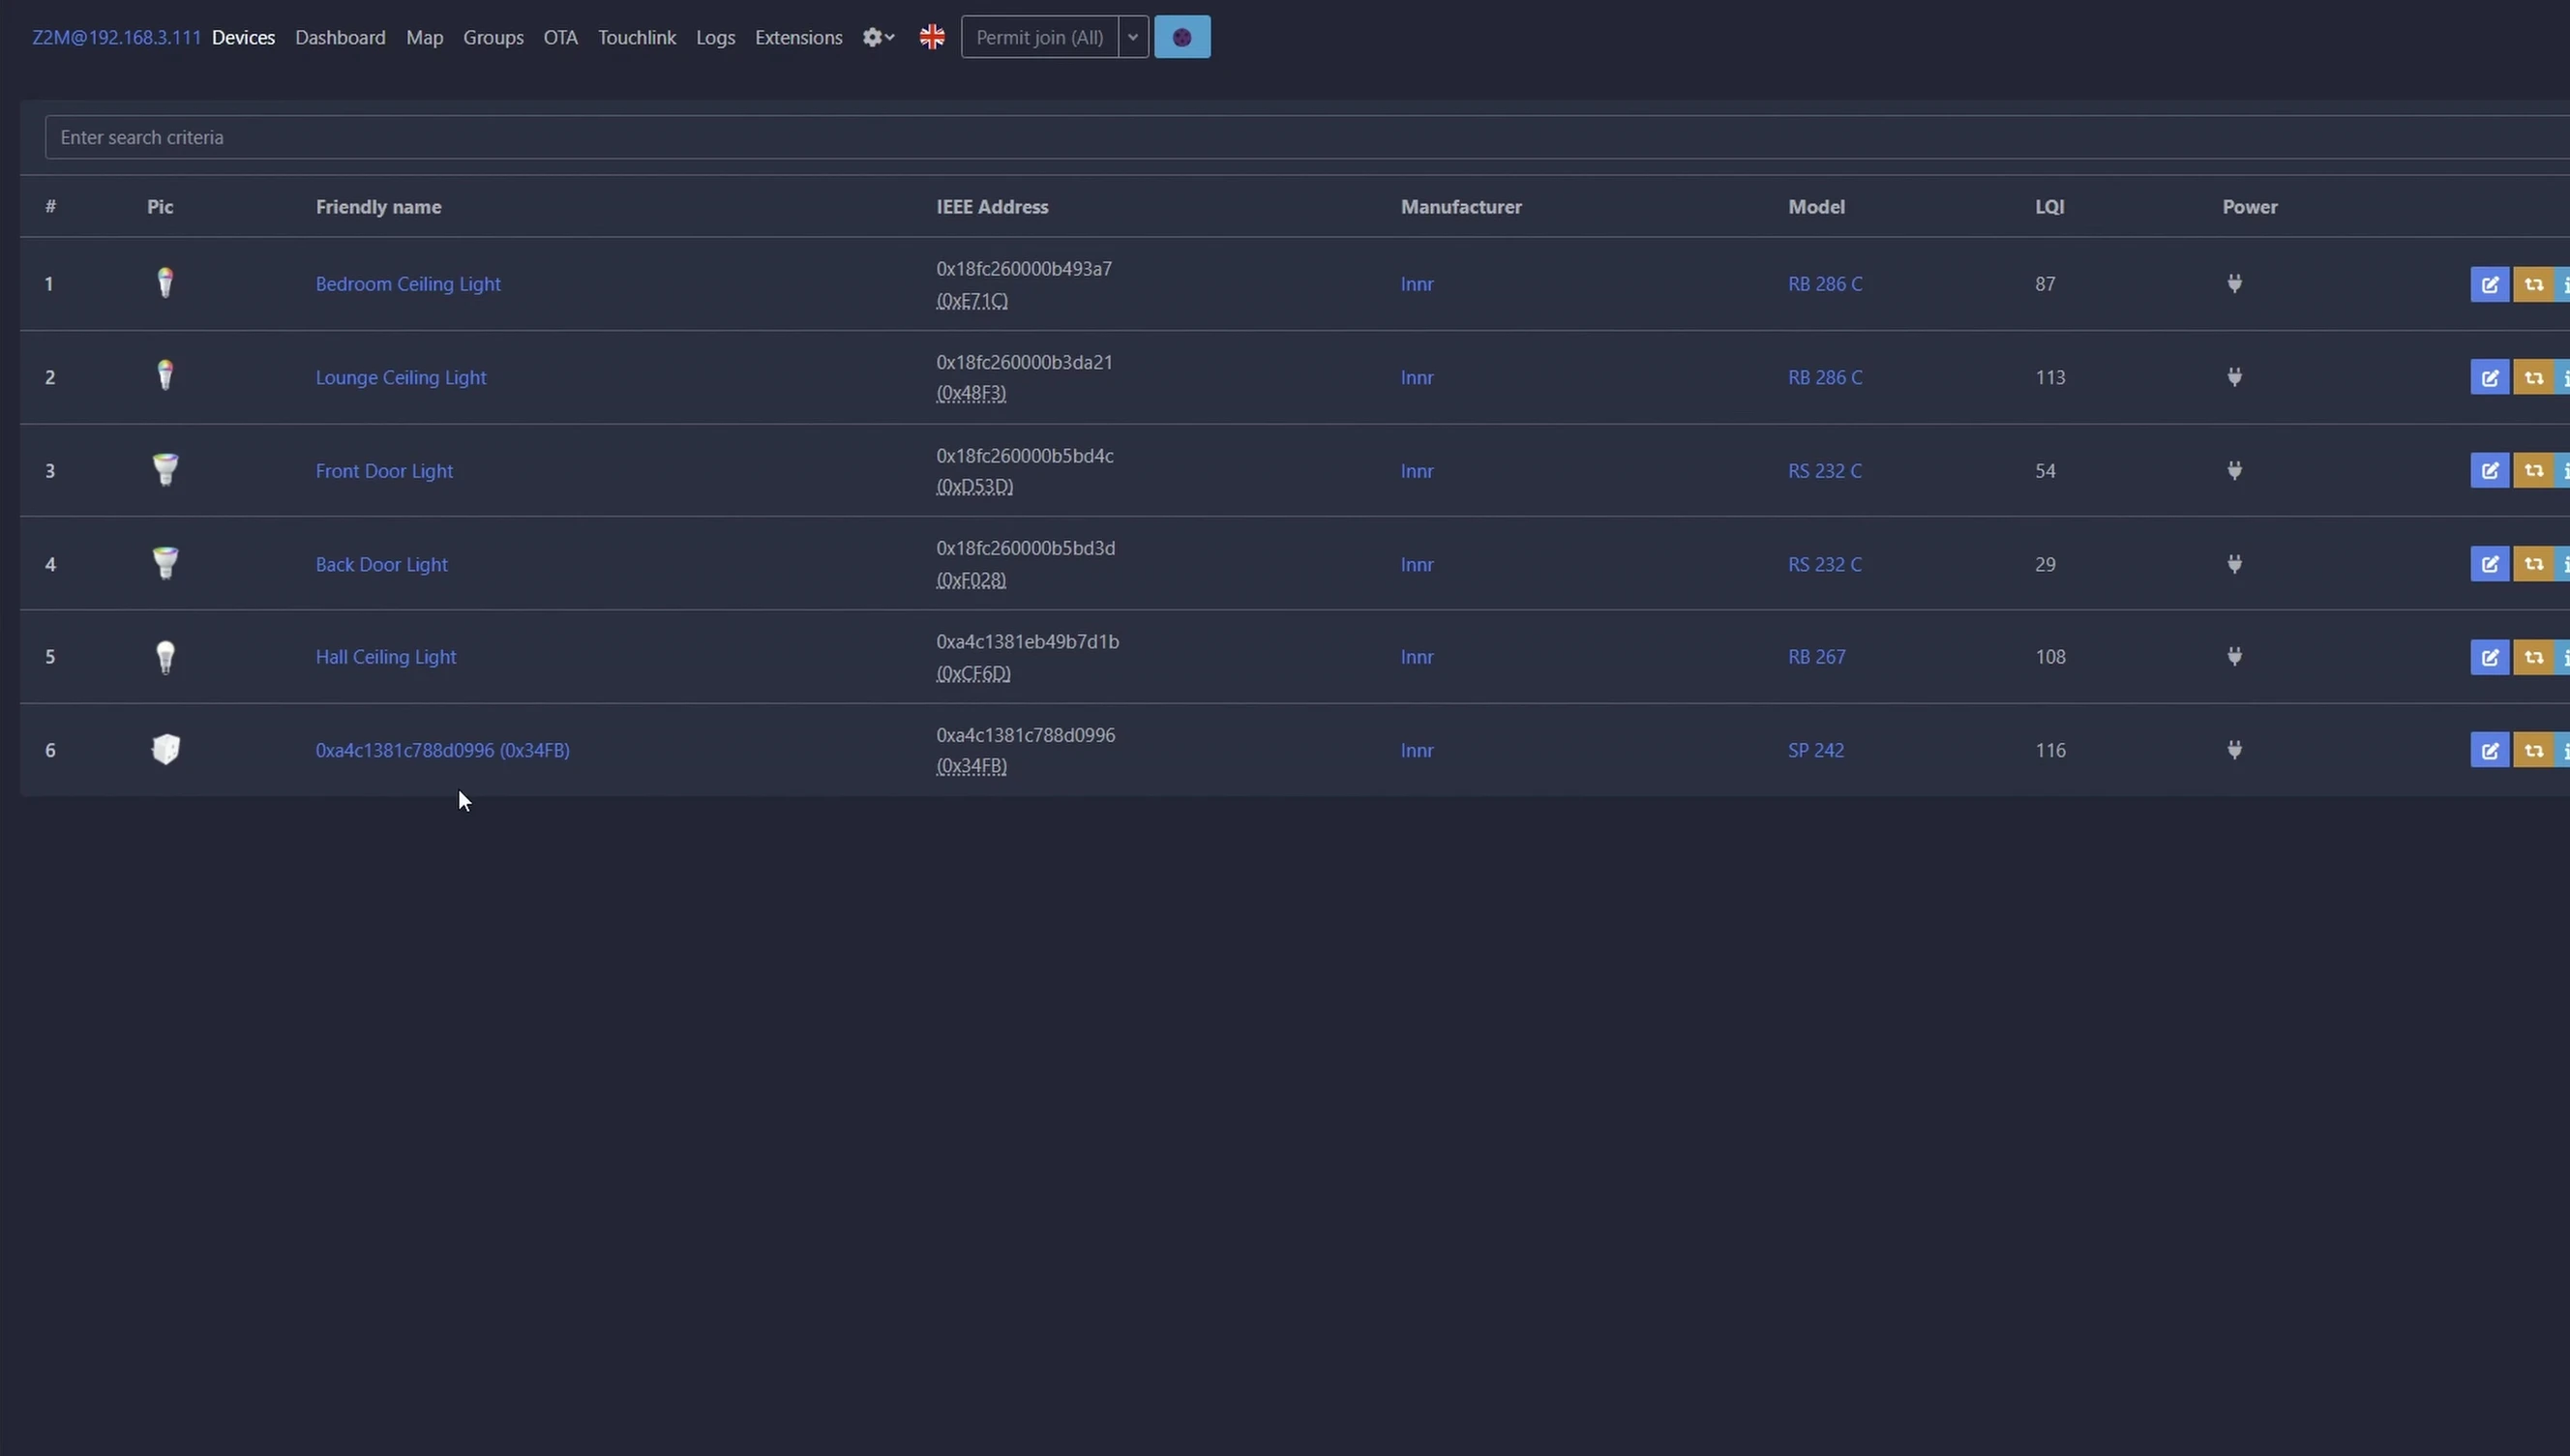
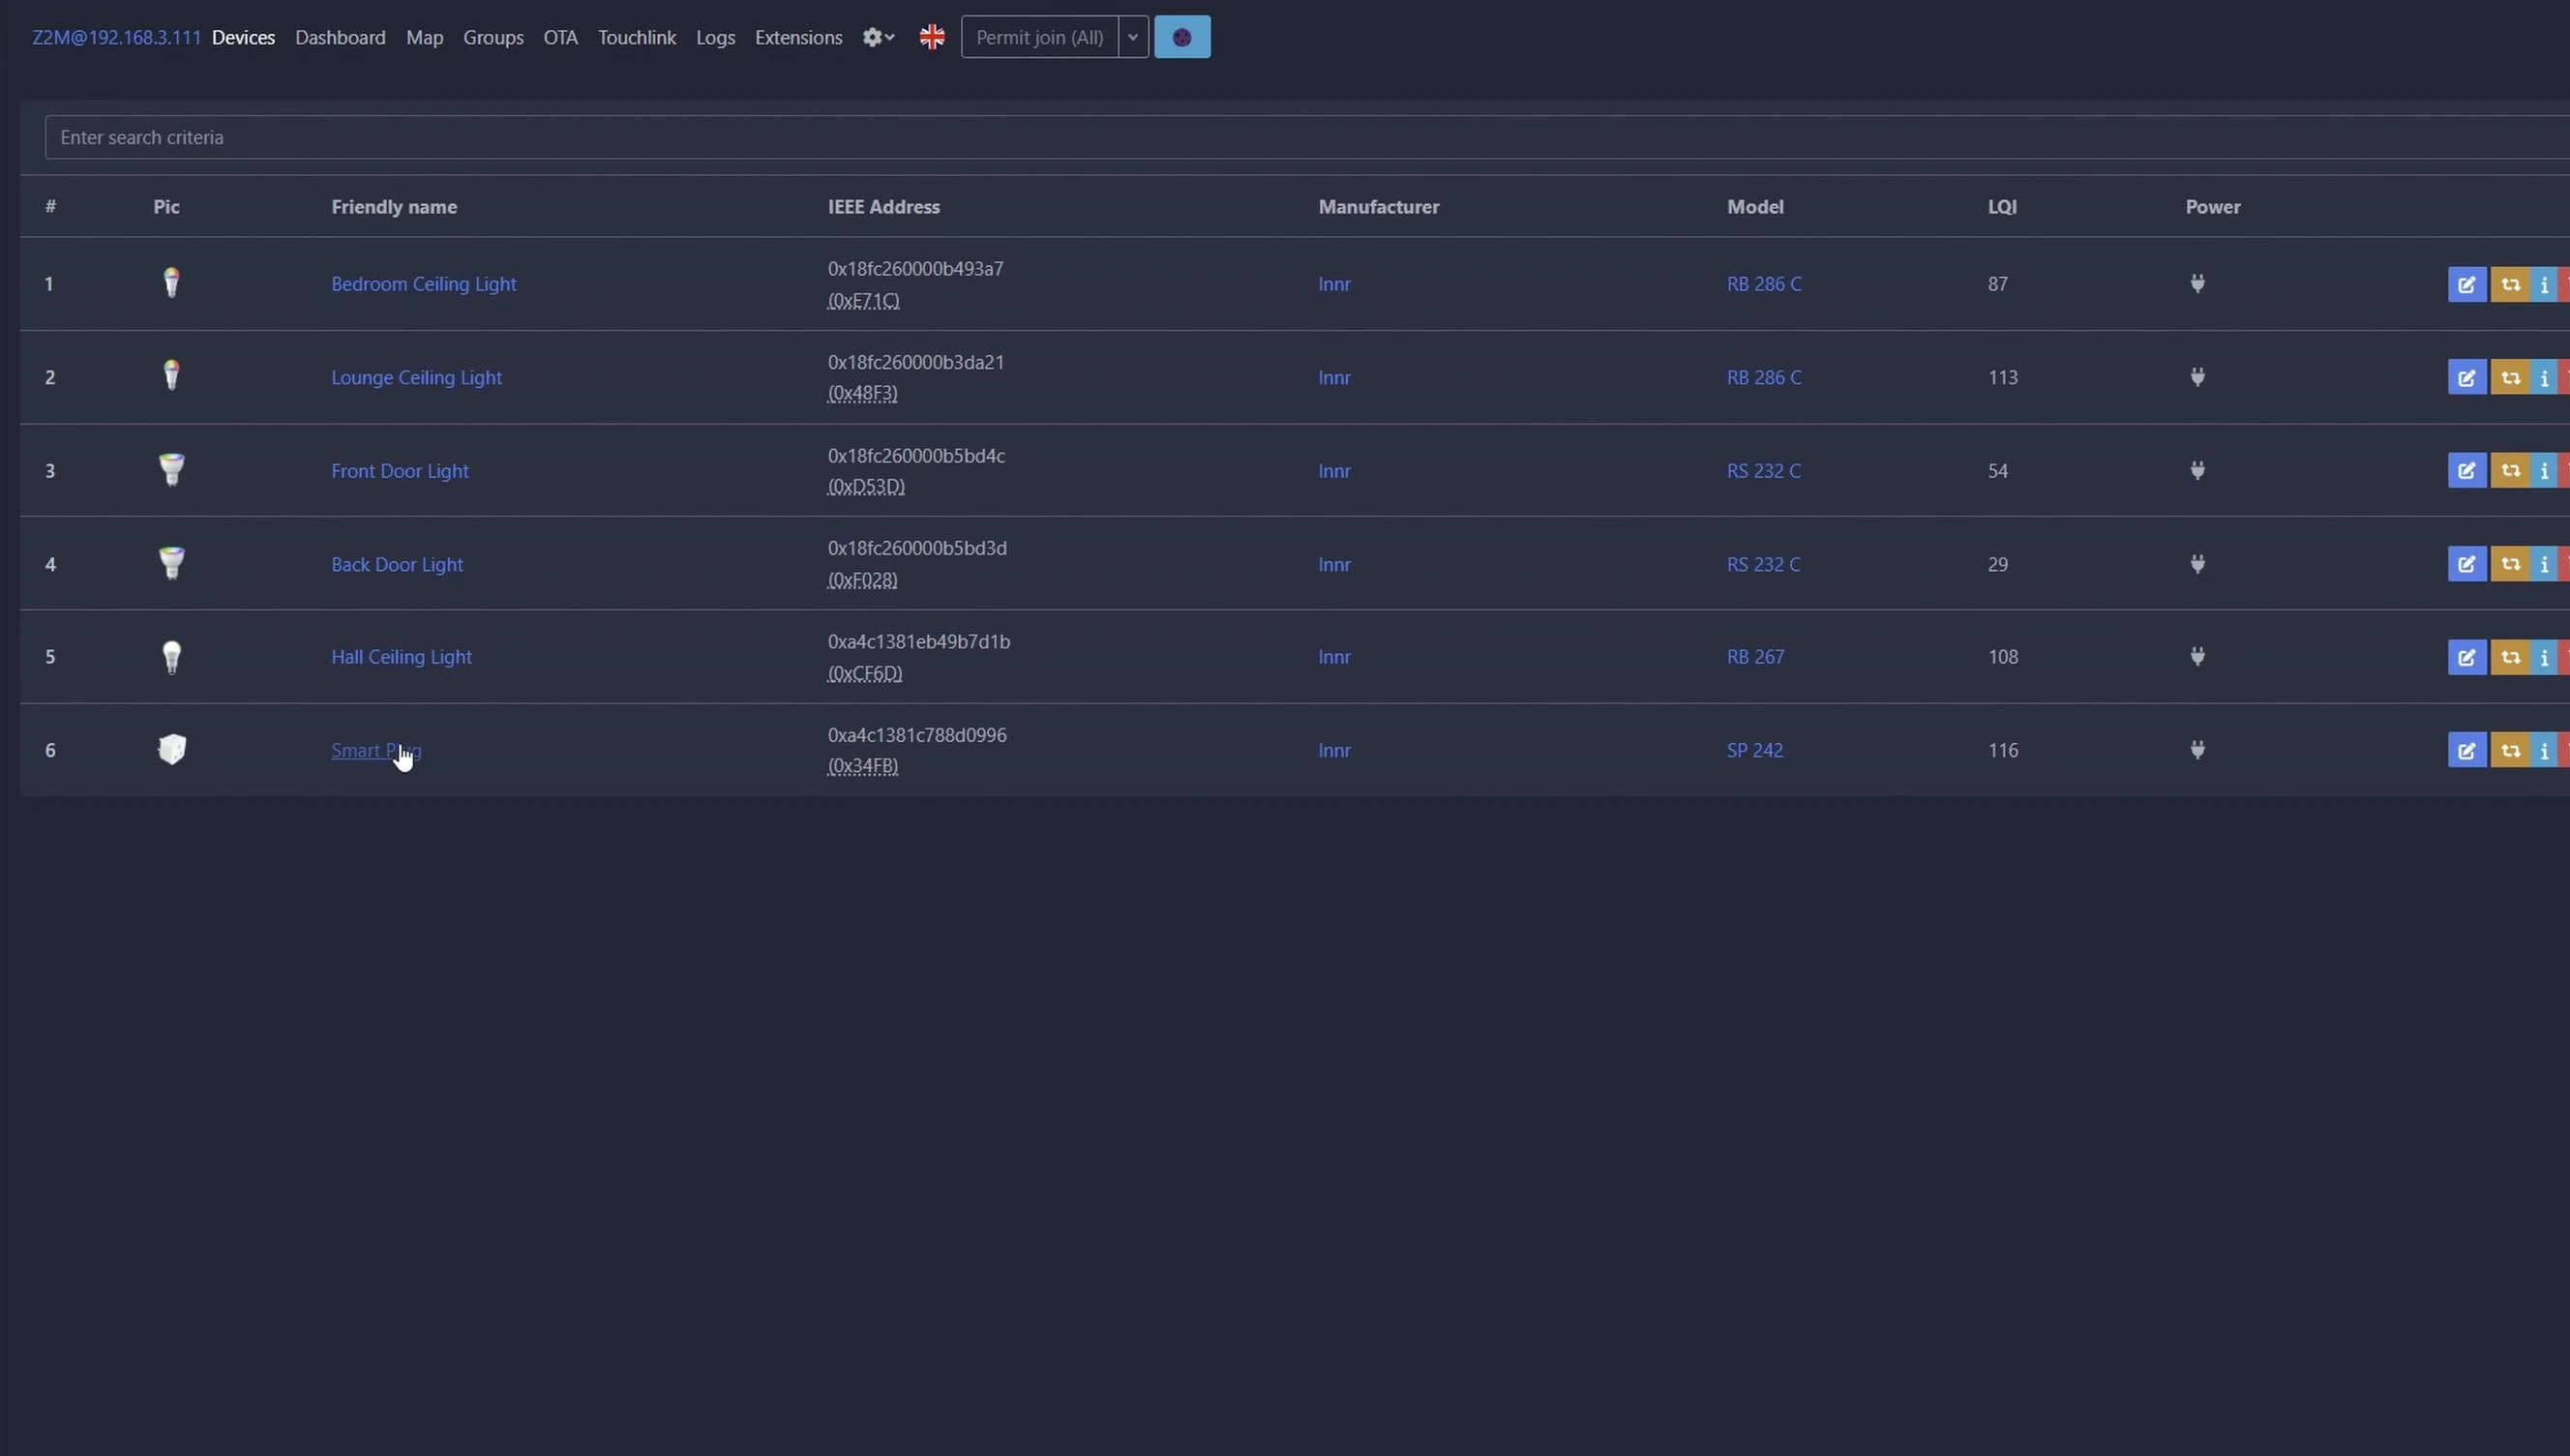
Once 'Permit Join' is active, power on the smart plug. Press and hold the button on the side for five seconds to reset it to factory settings. Home Assistant will then automatically detect and add the plug to your device list.
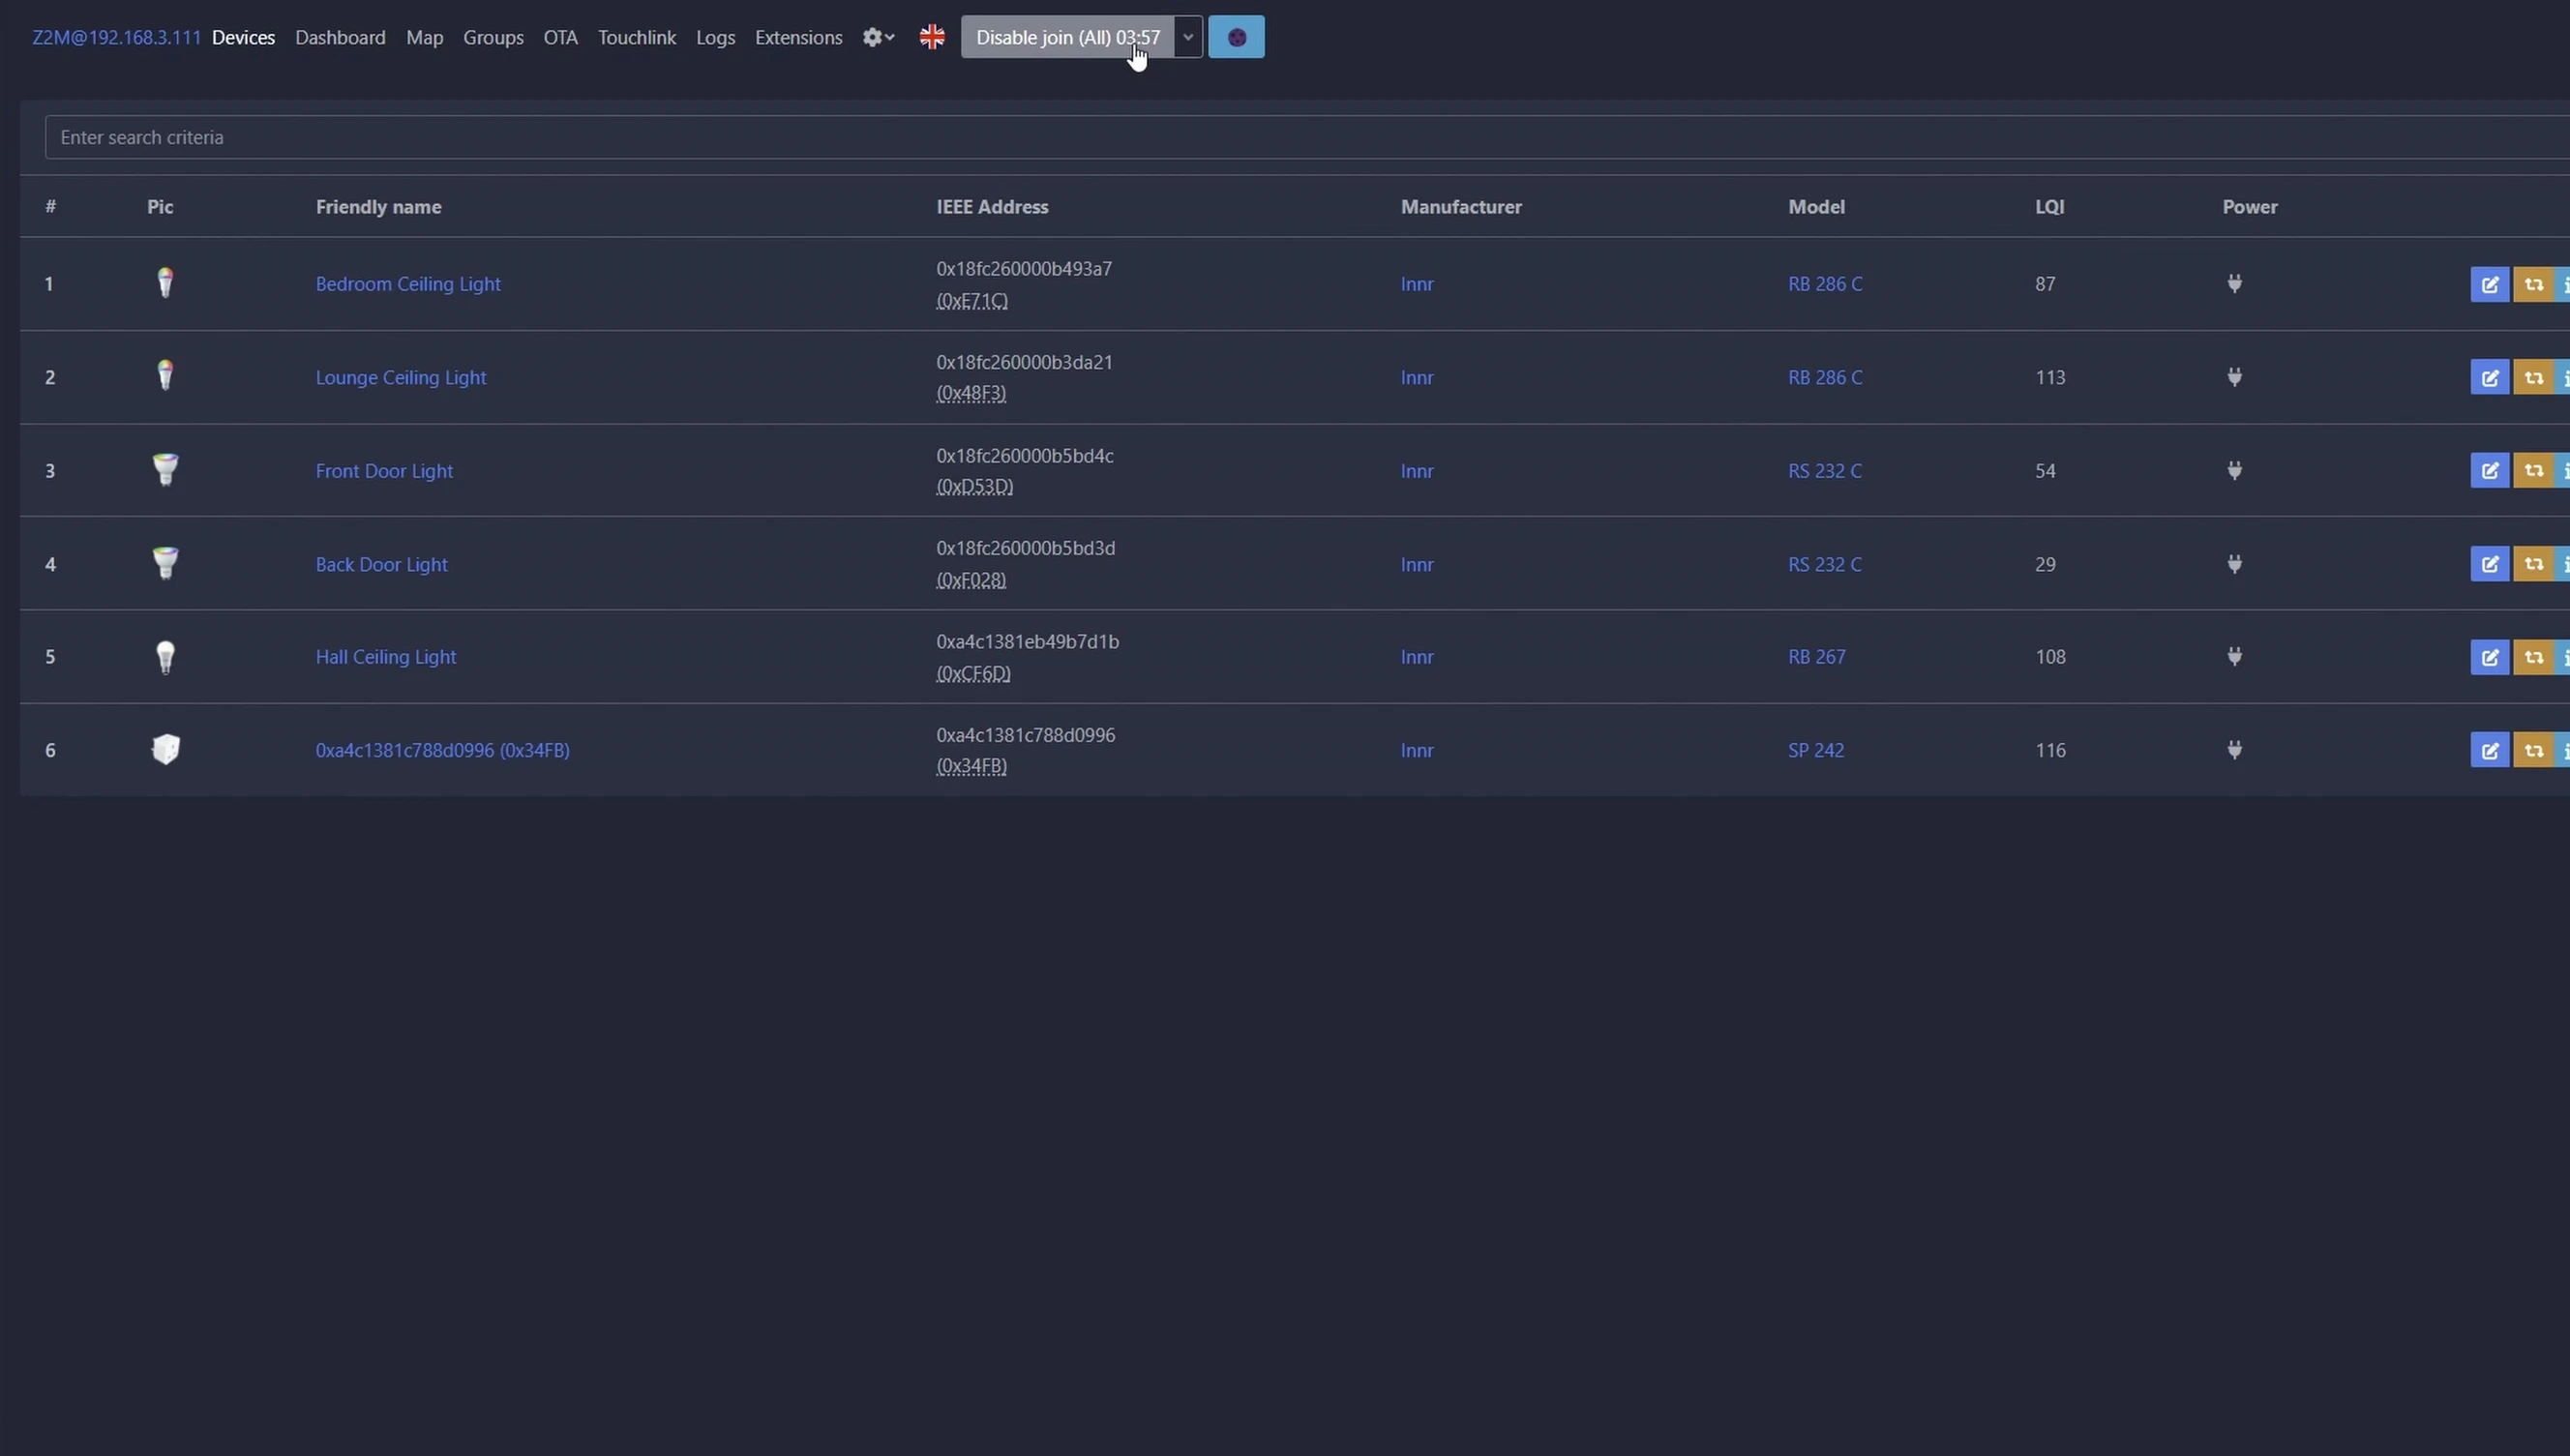
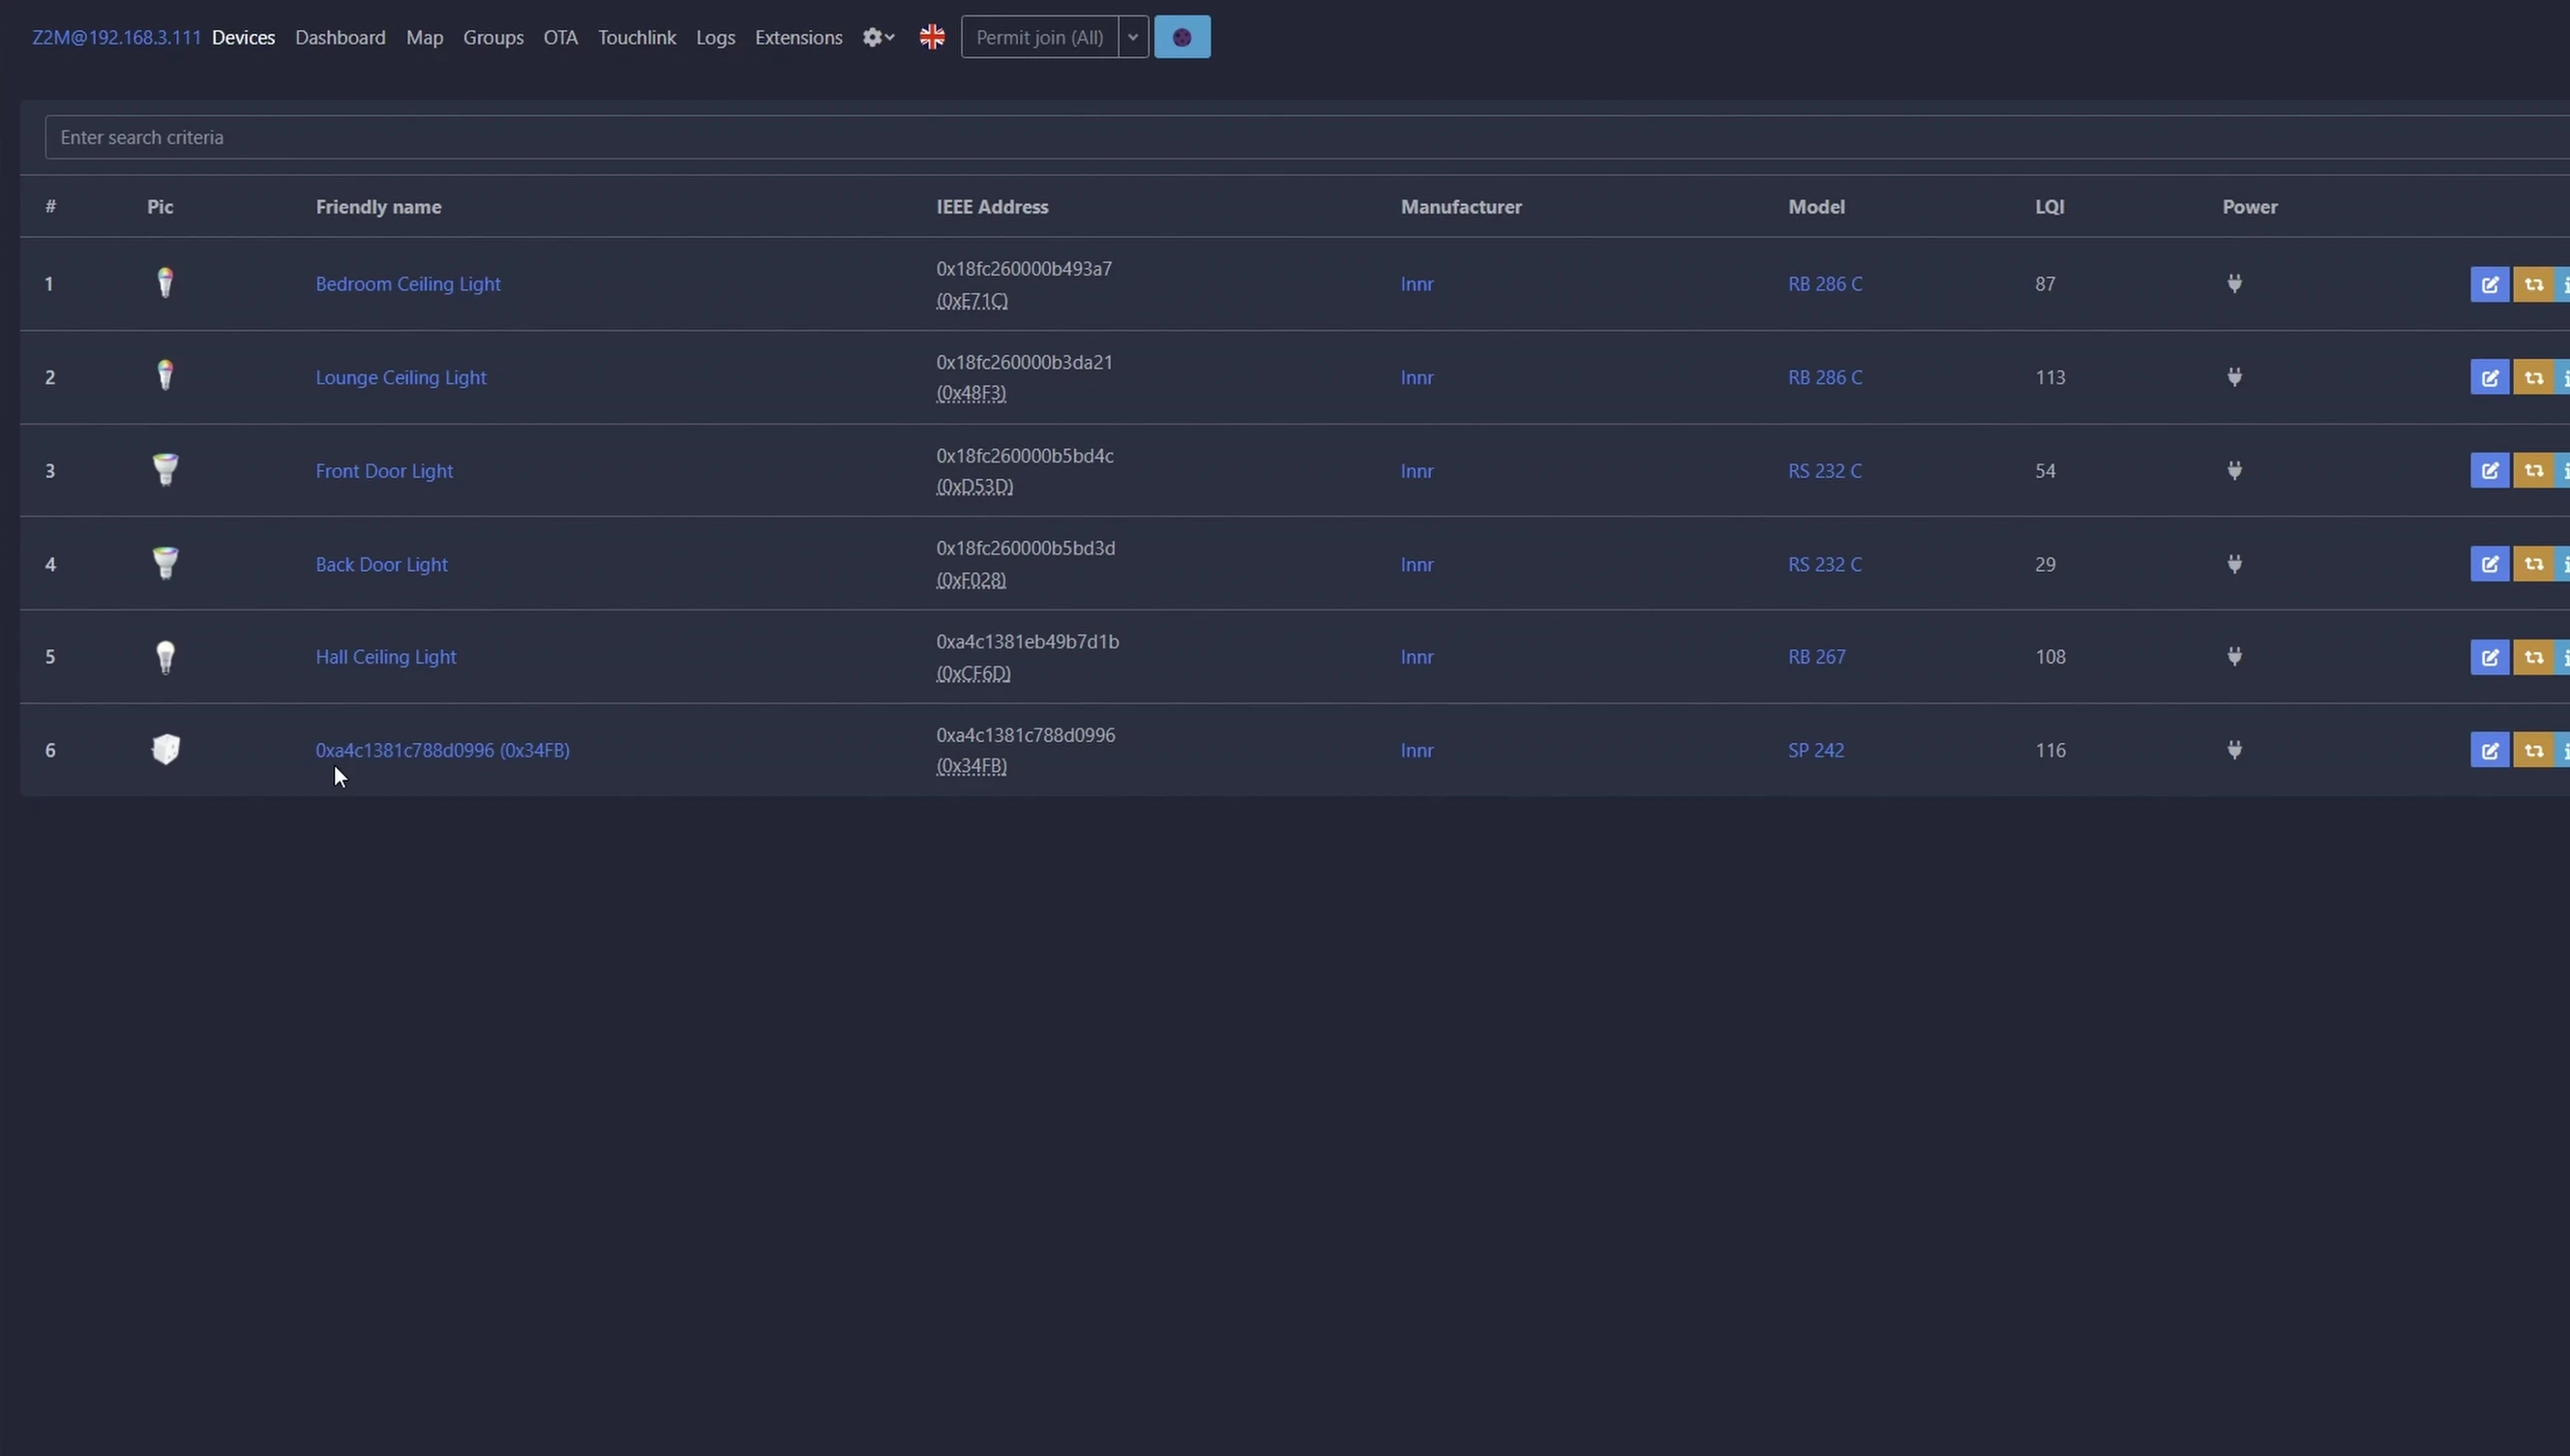
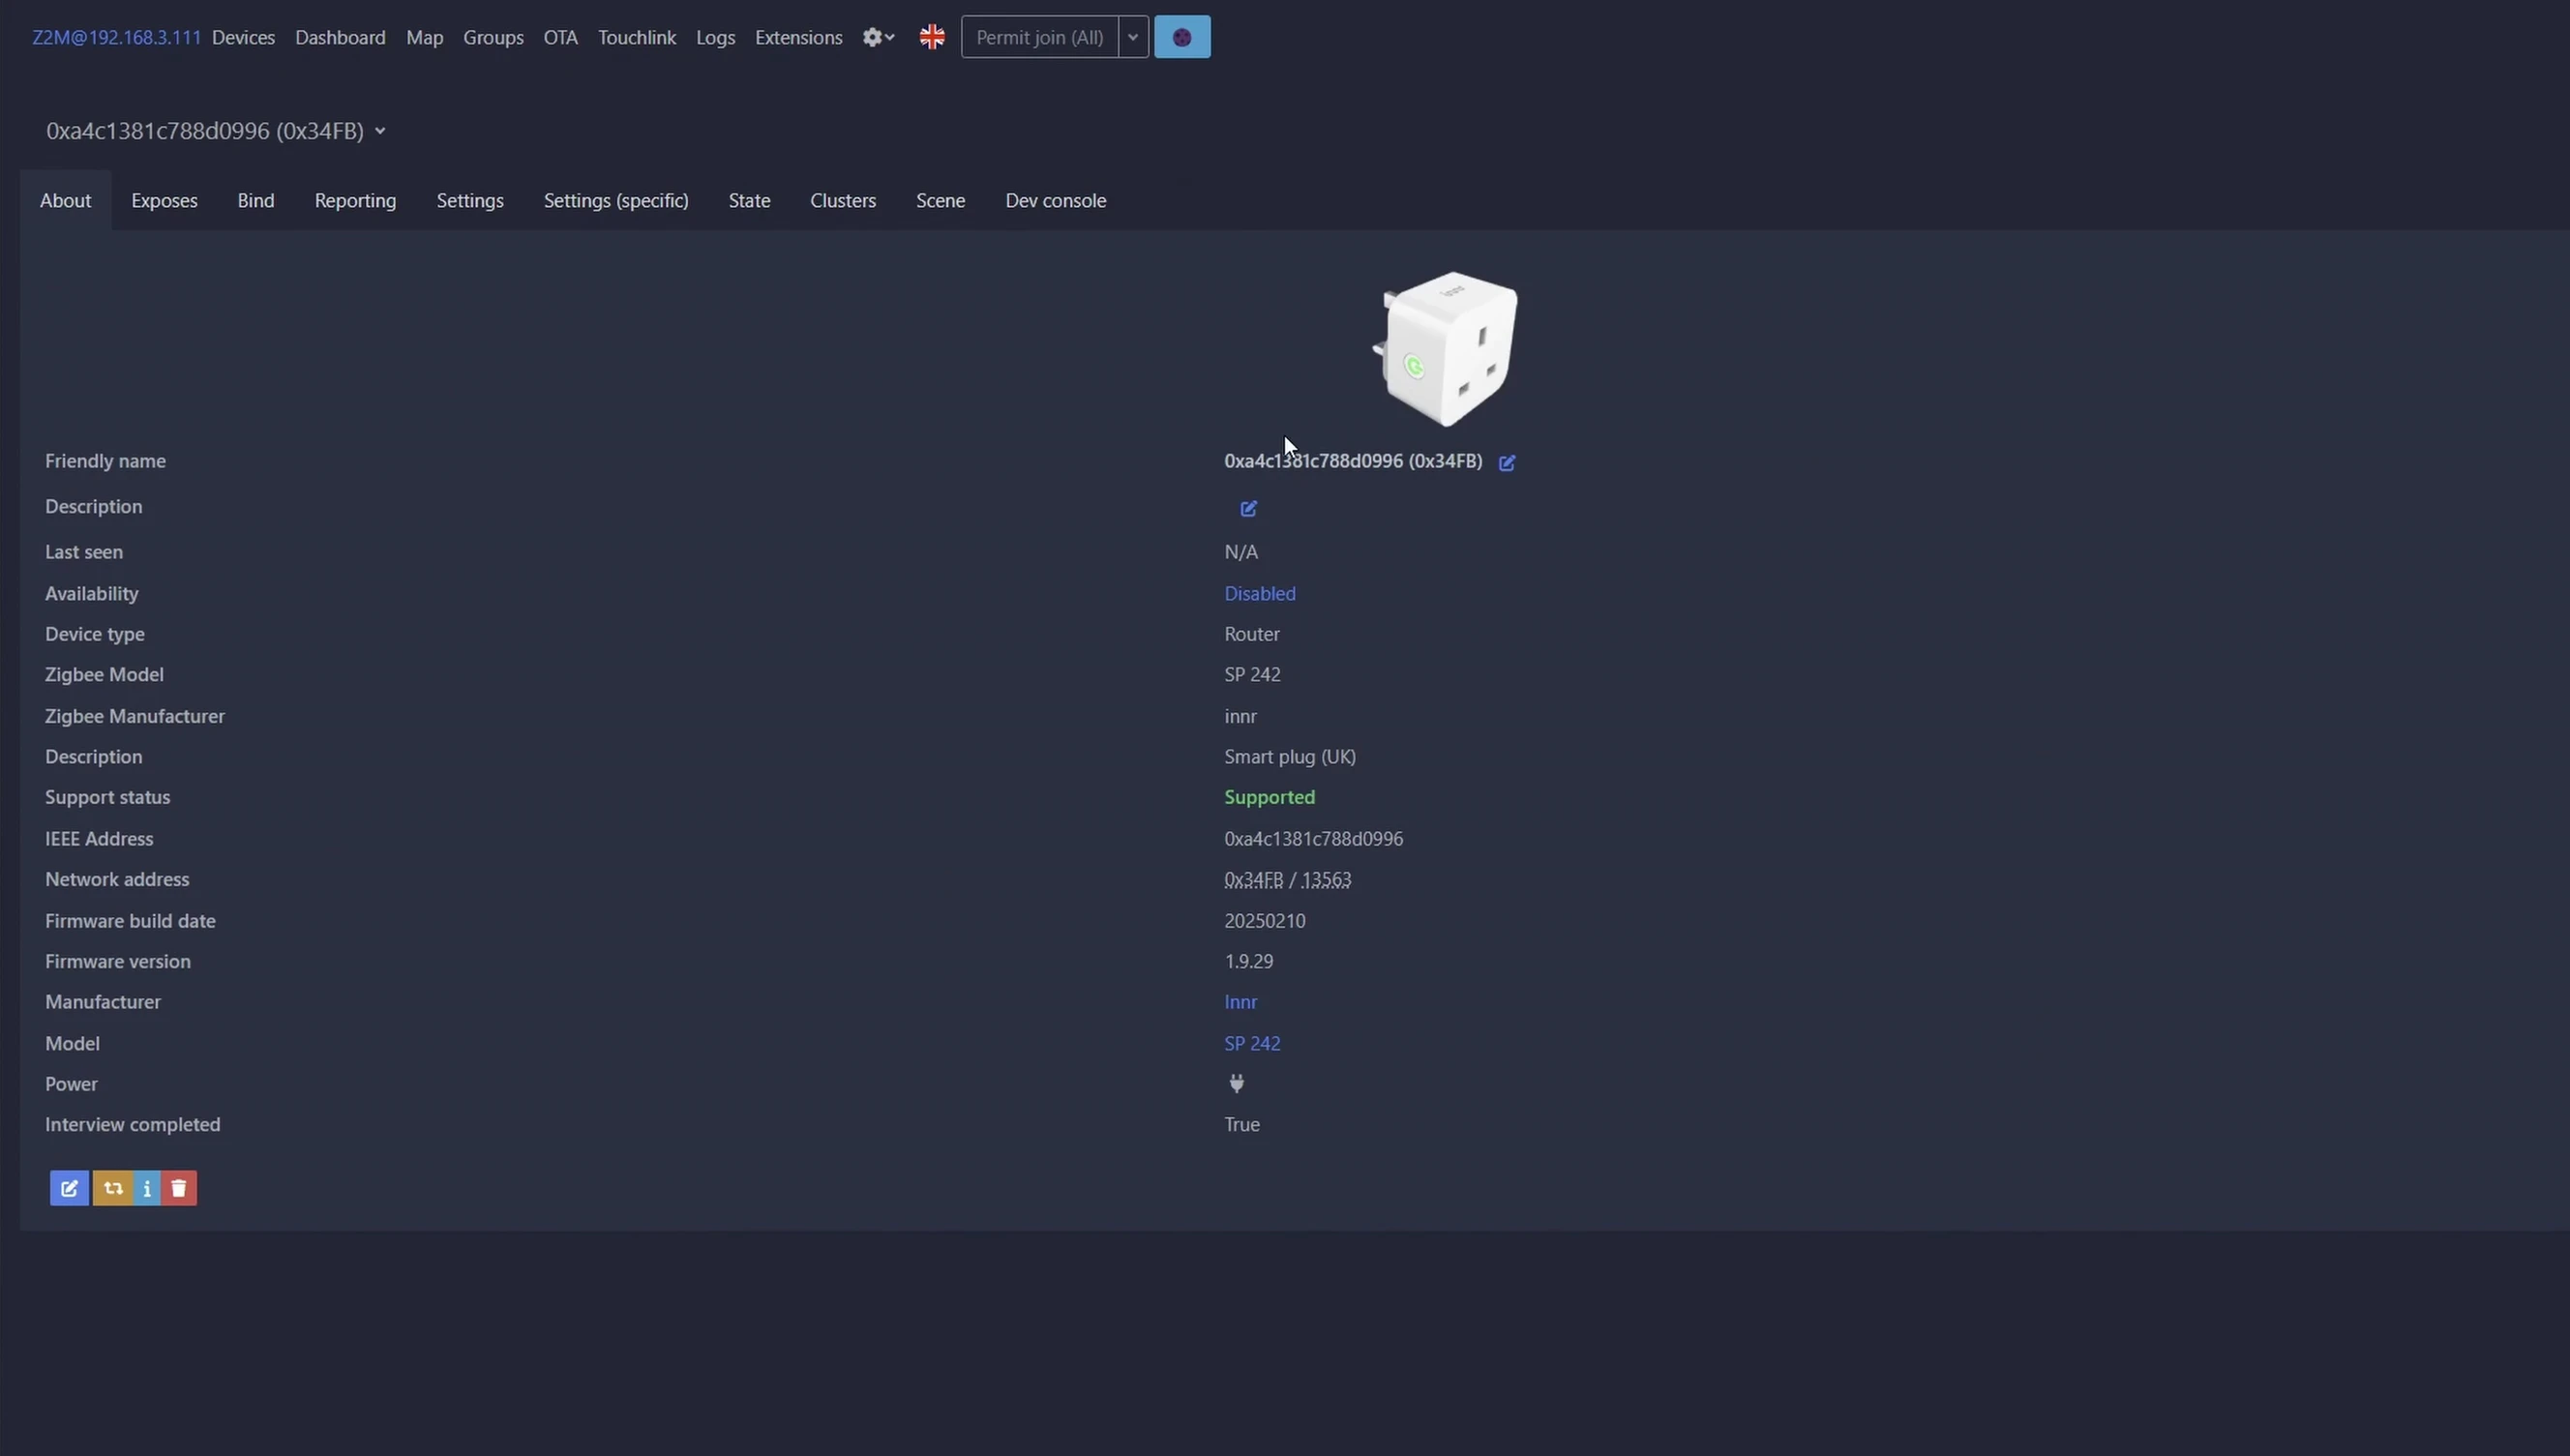
After successful pairing, you'll see the plug listed with a unique identifier and a plug icon. Disable 'Permit Join' to prevent unwanted devices from connecting.
Configuring the Smart Plug in Home Assistant
Rename your smart plug for easier identification within Home Assistant. Click on the random character identifier, then click the pen icon to edit the 'Friendly Name'. Update the Home Assistant entity ID by toggling the slider.
Click 'Rename Device' to save the changes. Ensure the firmware is up-to-date by selecting 'OTAA' from the menu, then checking for updates using the icon on the right side.
Firmware updates are essential for accurate energy monitoring and can take approximately 30 minutes. It's recommended to do this when you have some free time.
Monitoring Power Usage on the Home Assistant Dashboard
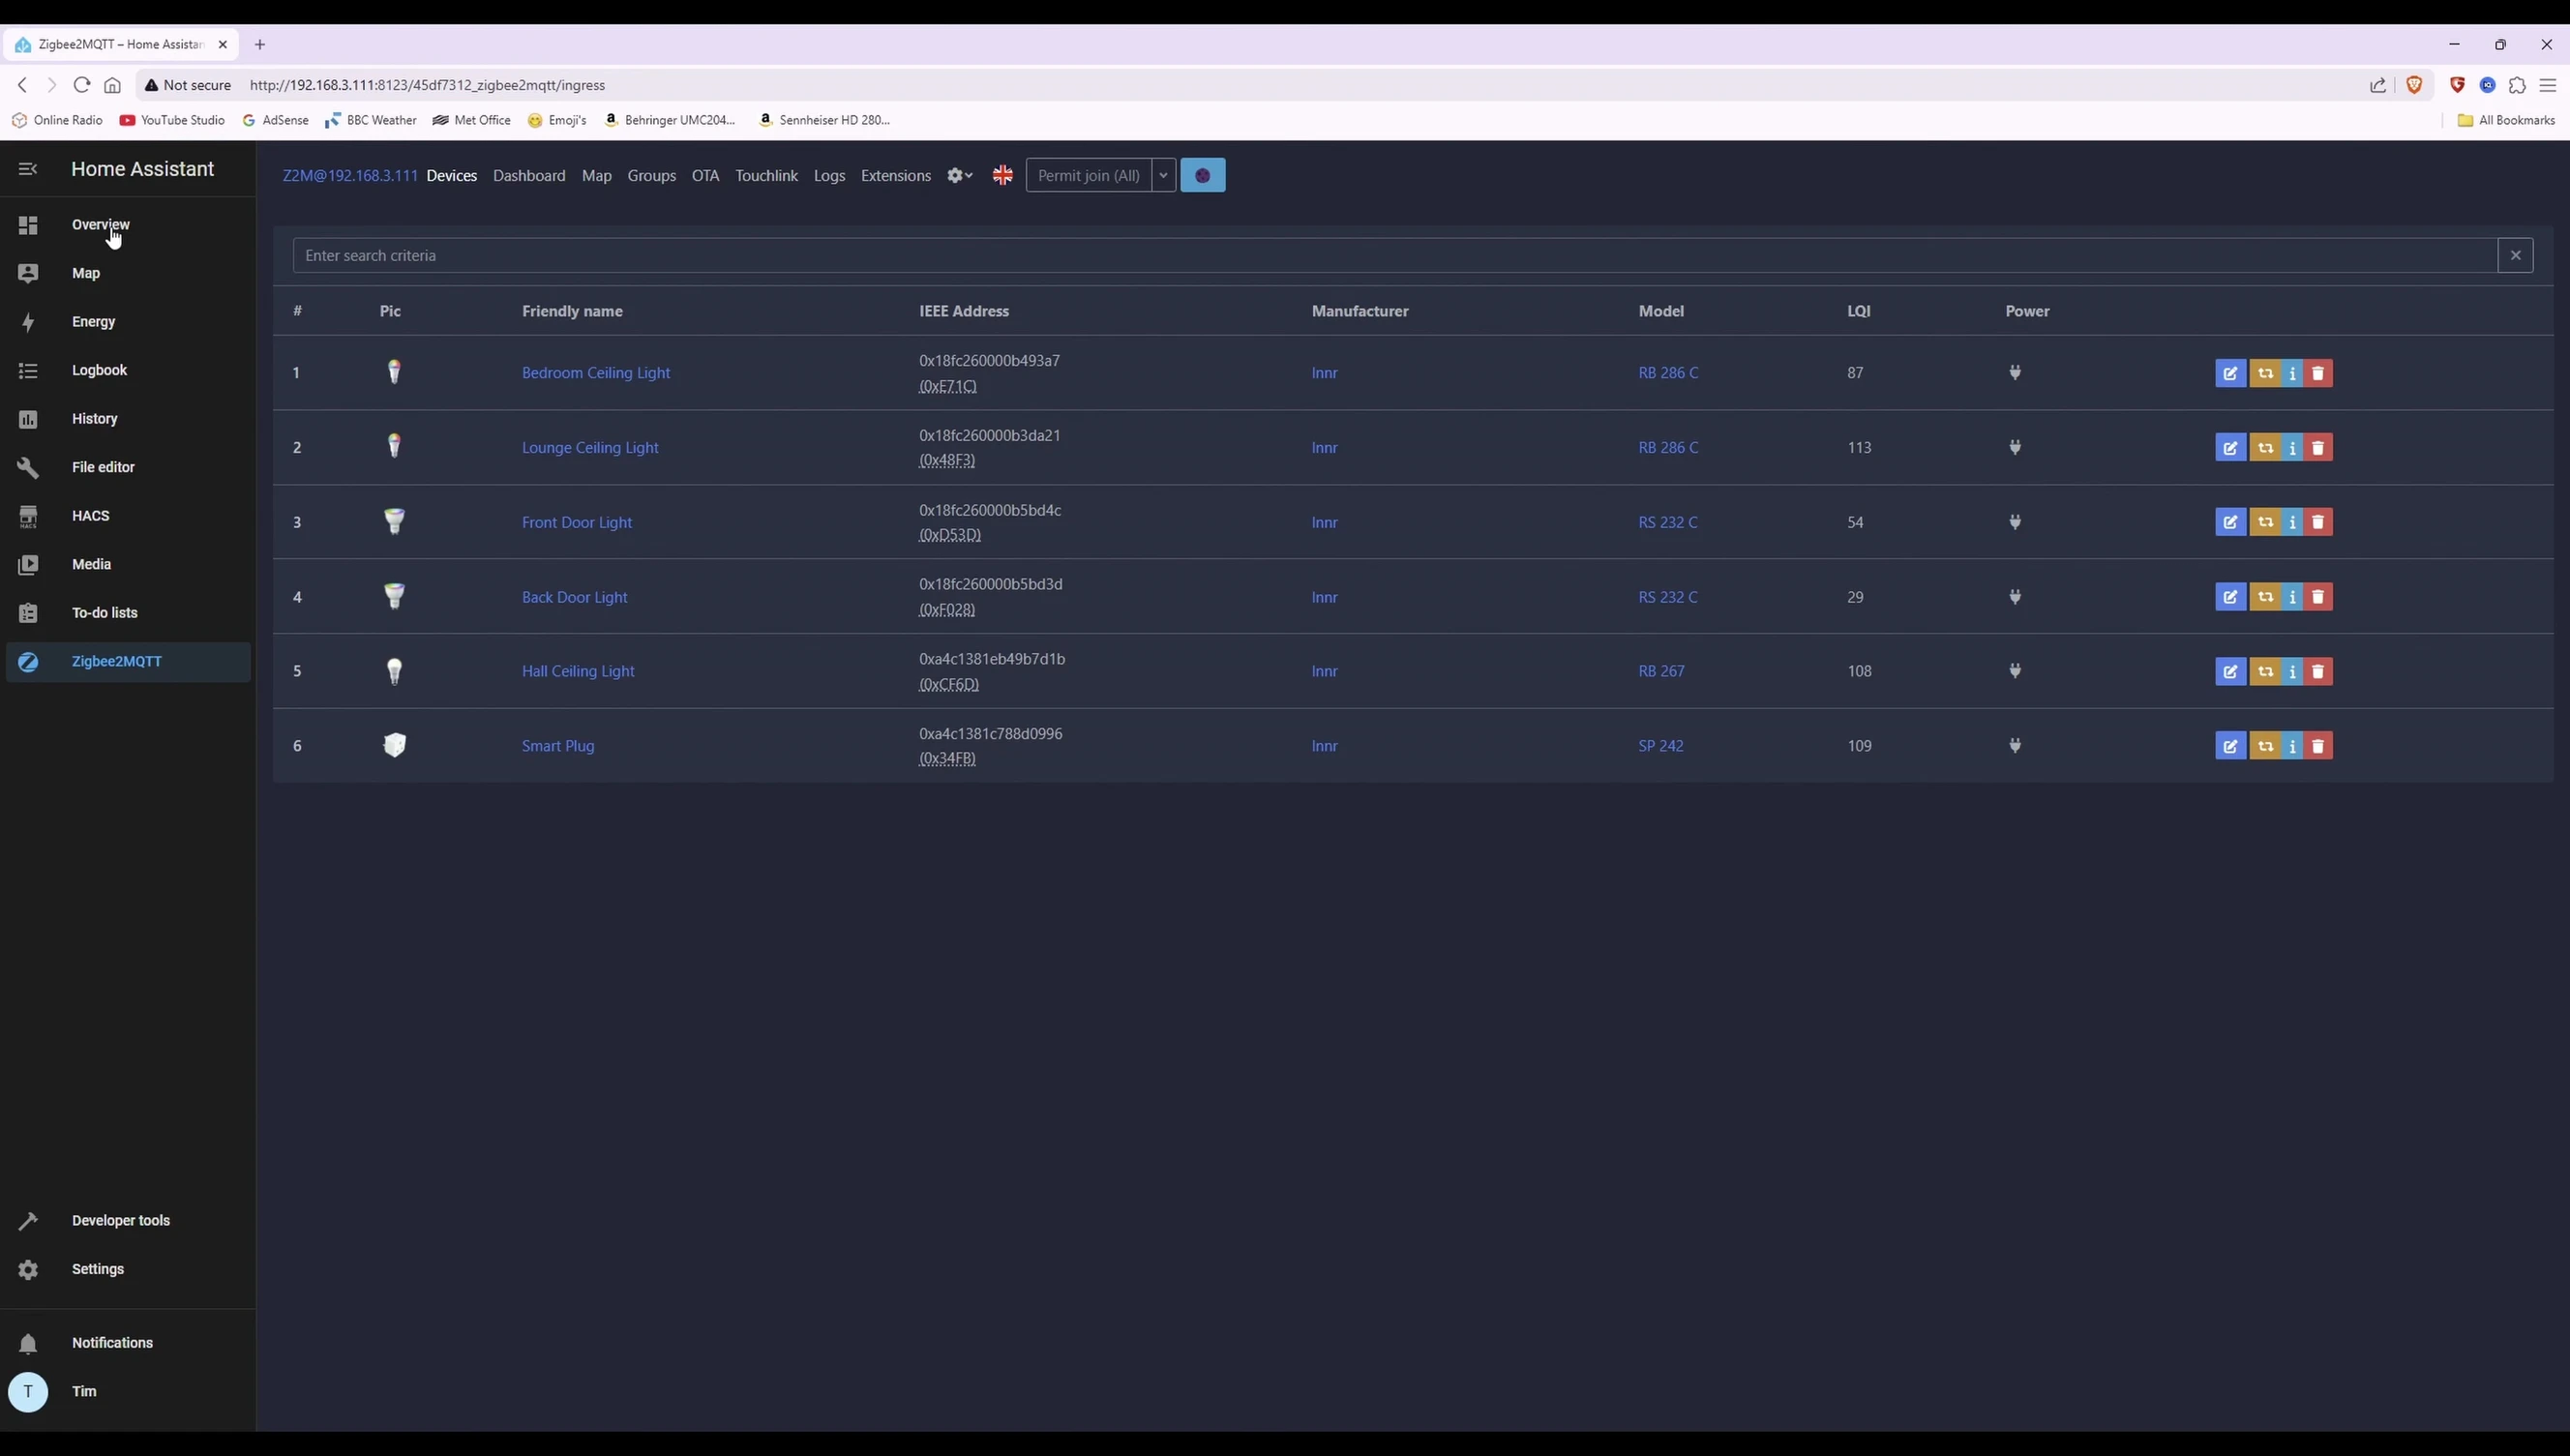
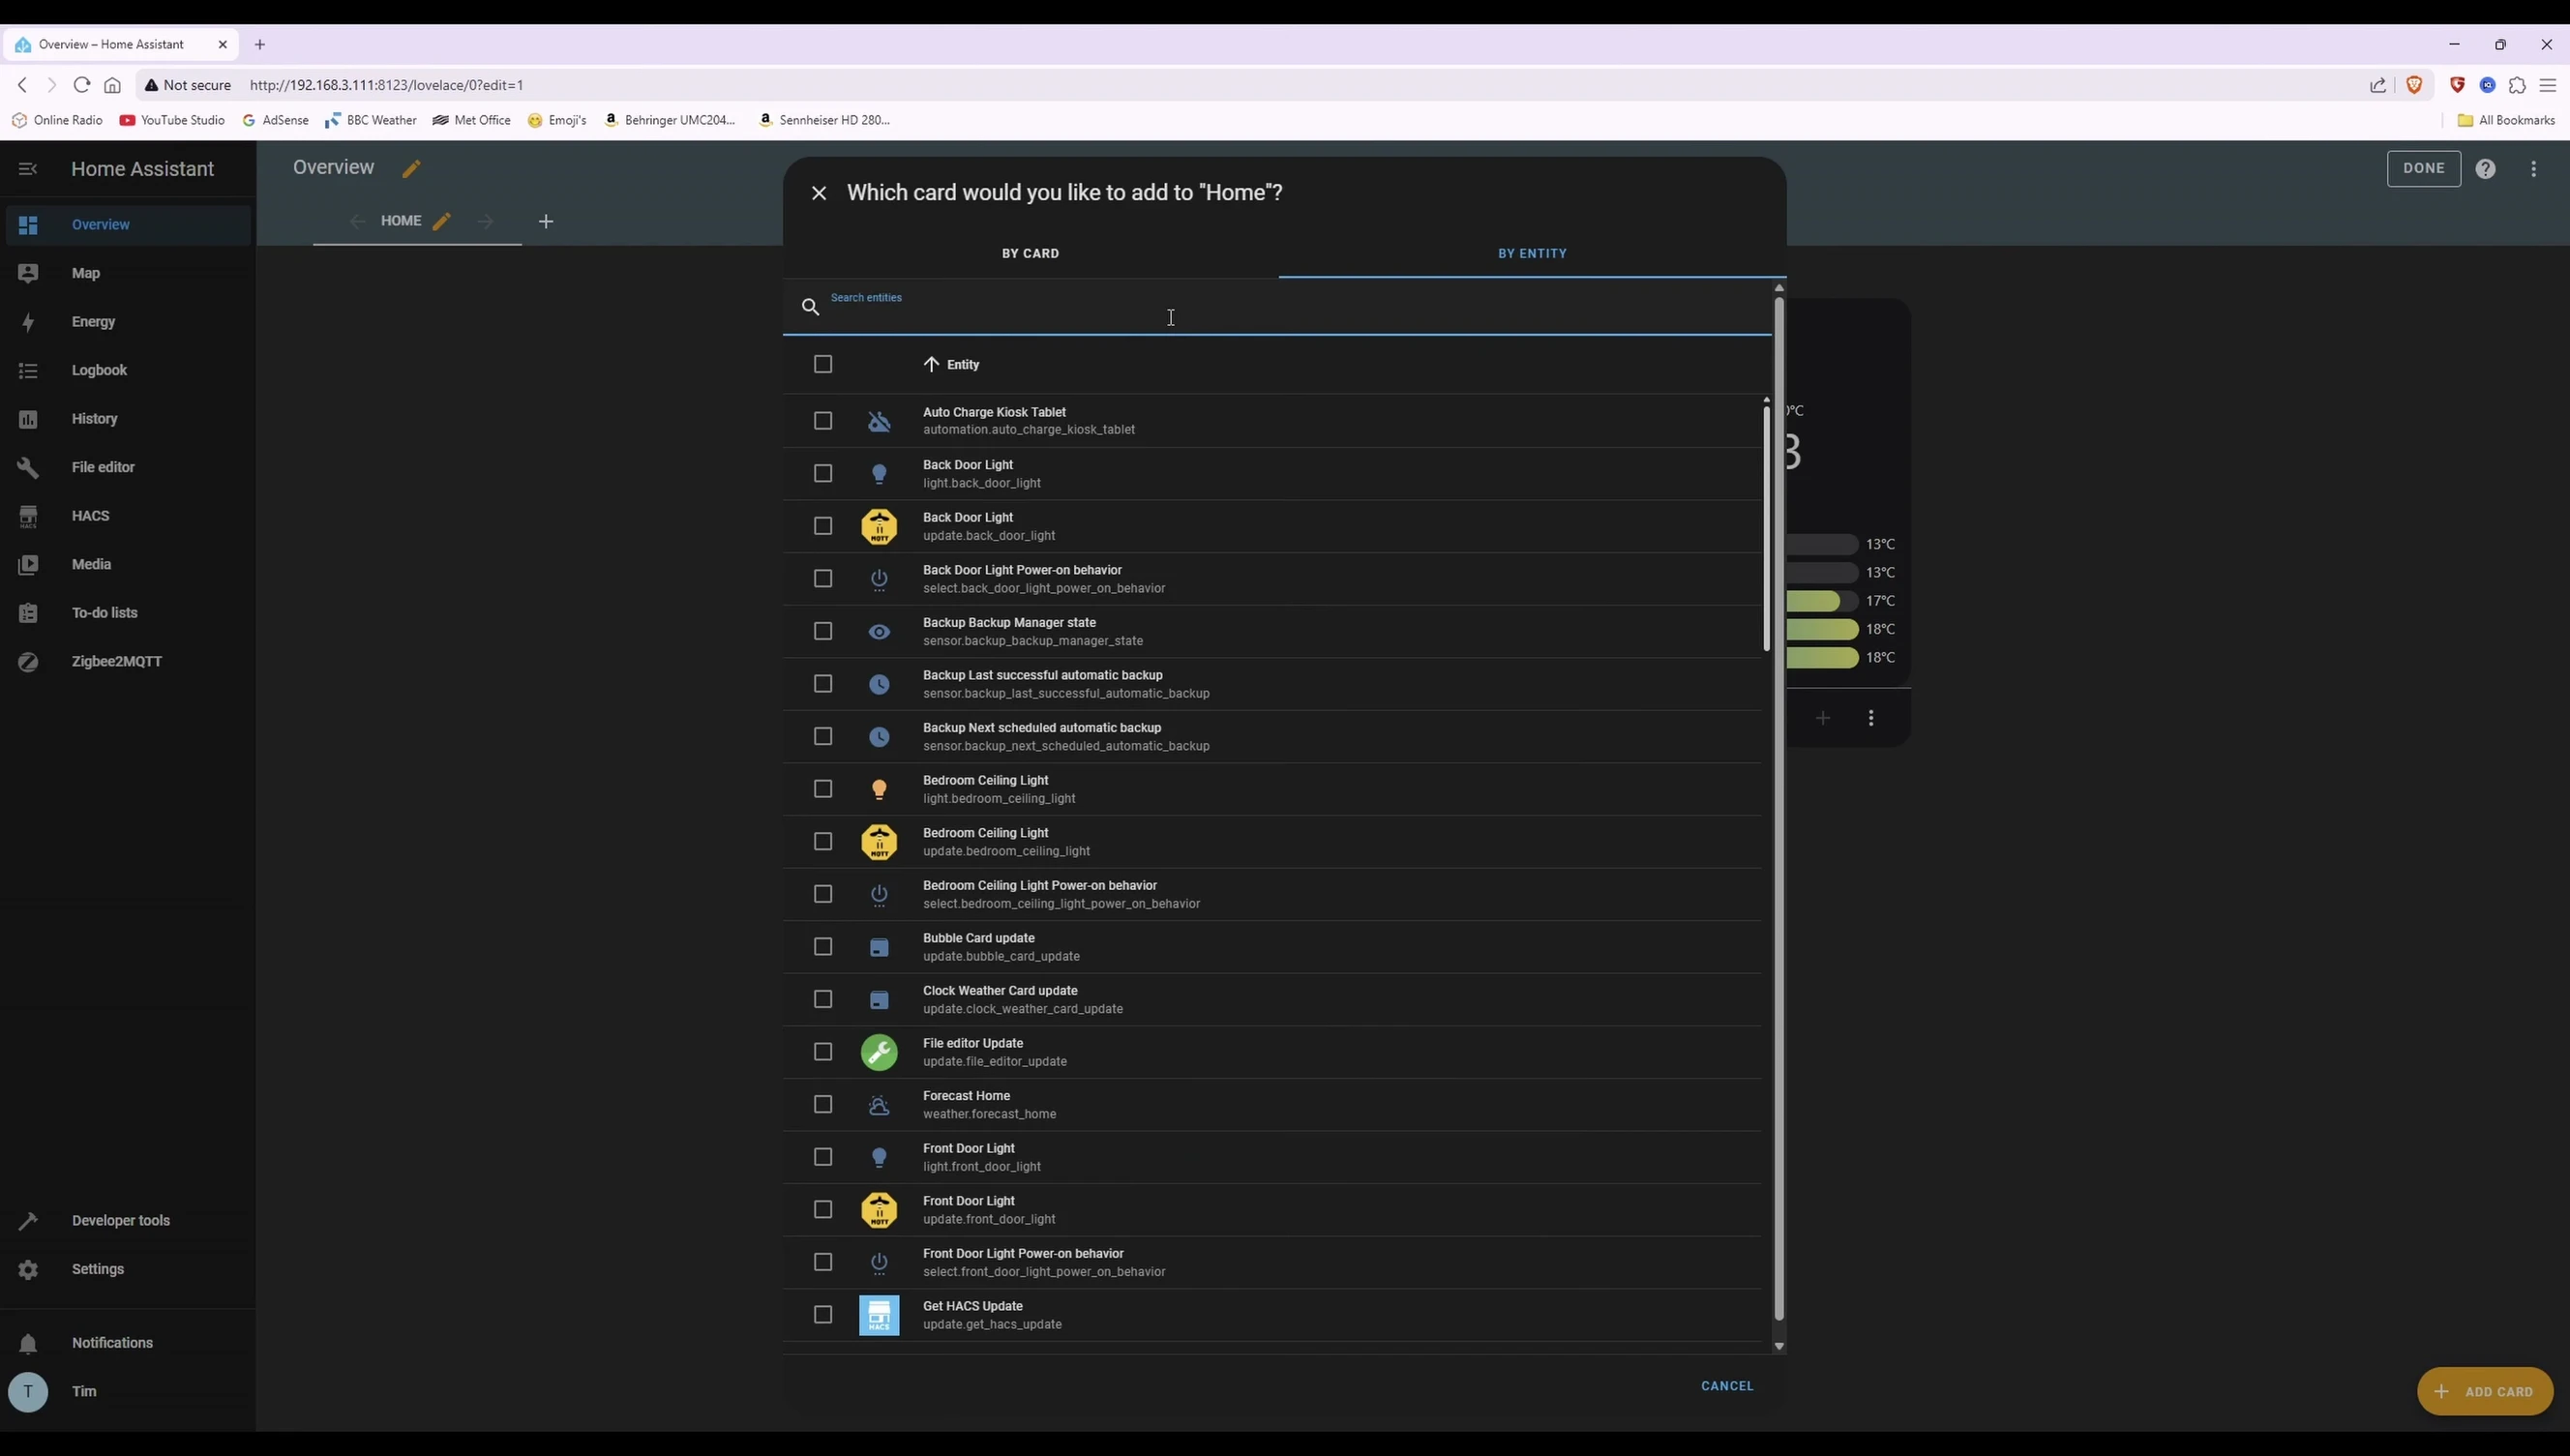
Plug the device you wish to monitor into the INNR smart plug. Go to the Home Assistant overview, then click 'Add Card'. Search for your smart plug using the entity search.
Select the smart plug and related entities (current, energy, power, voltage). Click 'Continue' and then 'Add to Dashboard'. You’ll now see a card displaying real-time power consumption data.

You can customize the card title and appearance. The data, including kilowatt-hours, updates approximately every 10 minutes (this can be adjusted).
Adjusting Reporting Interval and Calculating Energy Costs
To change the update frequency, navigate to Zigbee2MQTT in Home Assistant, select your smart plug, and then choose 'Reporting'. Here, you can adjust the minimum reporting interval for current, energy, and other parameters.
Remember to apply your changes. By monitoring the power usage, you can easily estimate the electricity cost of running your connected device. Use online energy consumption calculators with your kilowatt-hour rate to determine the cost.

This will provide a detailed analysis of your device's energy consumption over time.

Conclusion
The INNR SP242 smart plug offers a reliable and user-friendly solution for power monitoring within Home Assistant. The setup process is straightforward, with clear instructions on adding and configuring the device. The real-time data updates and customizable reporting intervals are valuable features for energy management.
While the initial firmware update takes time, it's crucial for accurate data. The ability to track energy consumption, down to kilowatt-hours, helps you budget your electricity costs effectively. This makes the INNR SP242 a worthwhile investment for anyone interested in home energy monitoring.