This article demonstrates a streamlined method for integrating a calendar into your Power Apps application, leveraging existing SharePoint data. Unlike building a calendar from scratch, a time-consuming and complex process involving intricate date logic and multiple galleries, this tutorial guides you through a simpler, more efficient approach. We'll show you how to harness the power of Power Apps' built-in calendar template to quickly create a visually engaging and functional calendar.This approach eliminates the need for extensive coding, focusing instead on seamless integration with your SharePoint lists. Learn how to connect the calendar to your data source, dynamically display events, and enable users to create, update, and delete appointments directly within the application. We’ll cover the key steps, including form integration for data persistence, conditional formatting for enhanced visual appeal, and best practices for a smooth user experience. This efficient methodology will save you significant development time and create a powerful, user-friendly calendar application.
Pros And Cons
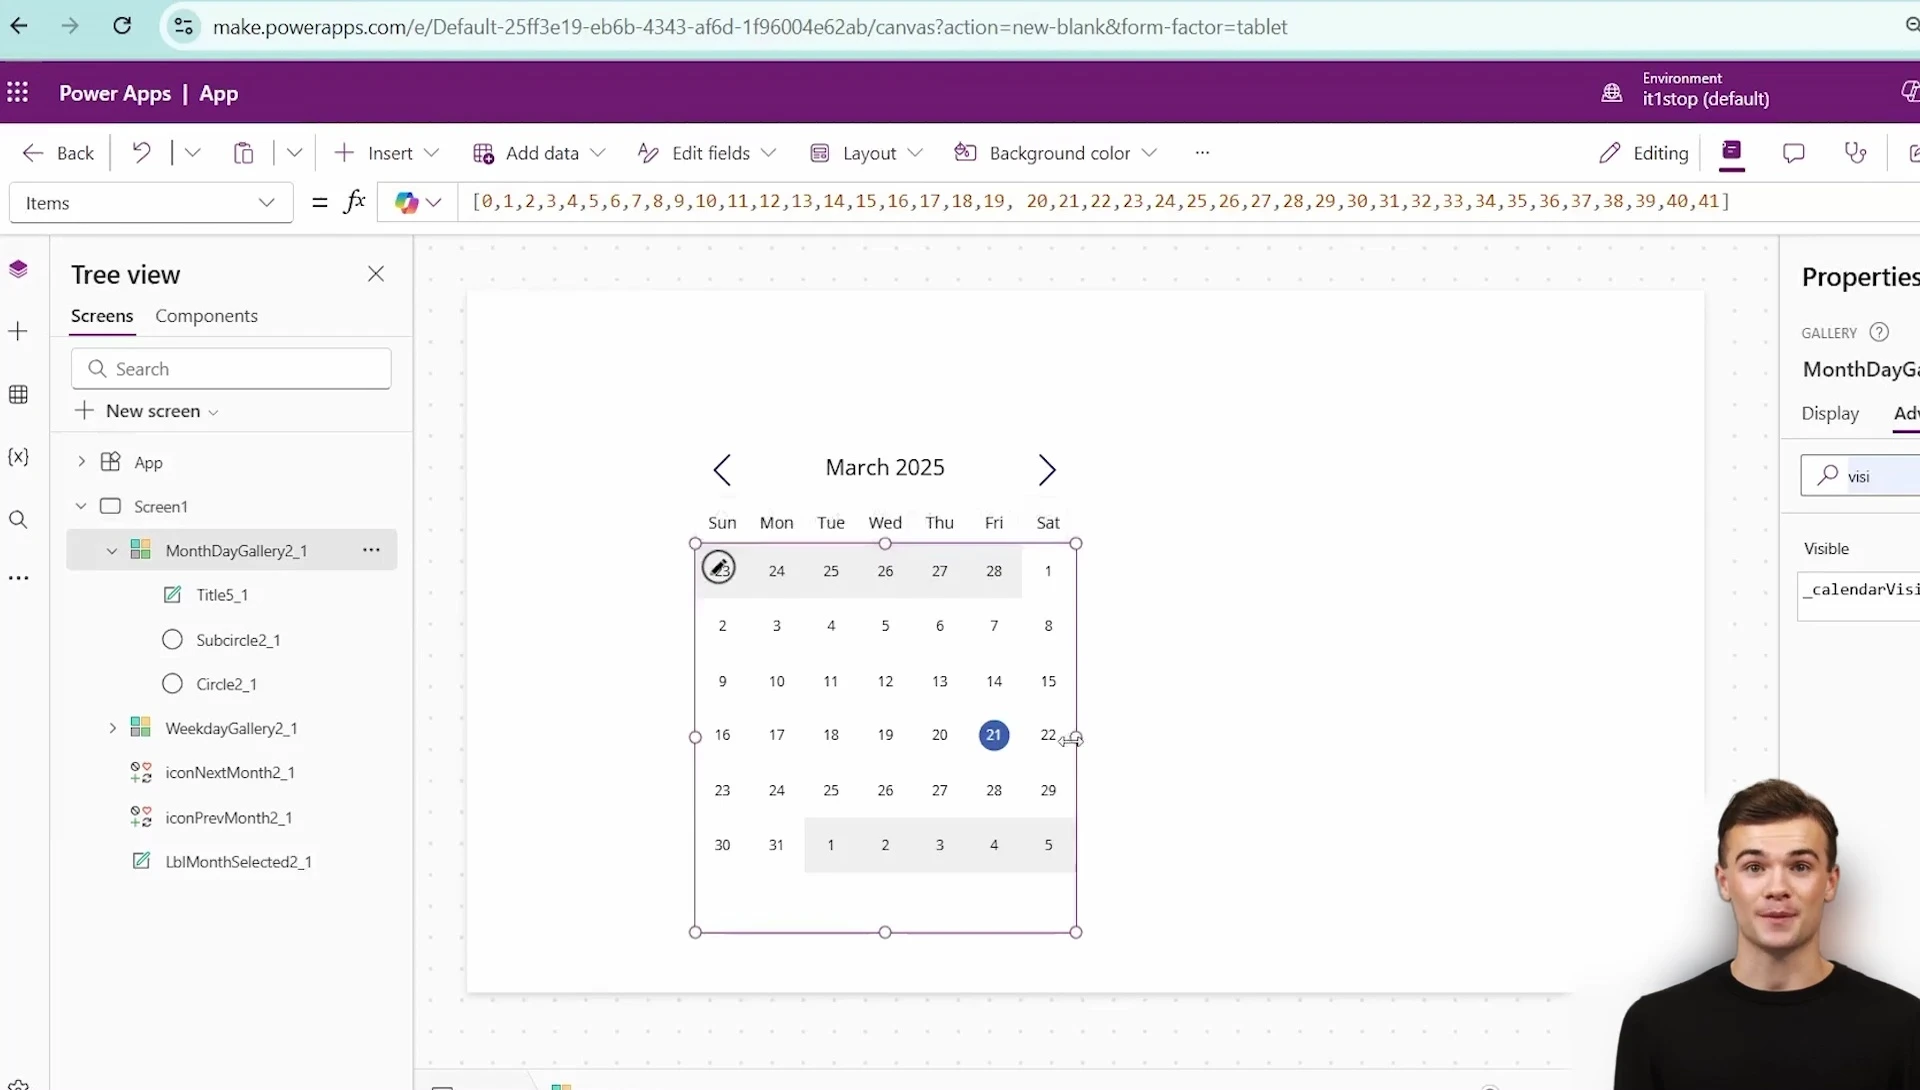
- Creates a calendar control in 5 seconds
- Responsive: adjusts size automatically
- Allows customization of font size
- Can be stored as a component and reused
- Can be bound to SharePoint lists to display and filter records
- Can be integrated with forms for data submission and updates
- Requires defining multiple galleries and setting logic if built from scratch
- Initially displays some errors that need fixing
Read more: AMI Meter Reading Guide: Understanding Your Smart Electricity Meter
Building a Calendar Control in Power Apps
Power Apps doesn't offer a built-in calendar control. Creating one from scratch involves defining multiple galleries and complex logic for handling dates, months, and navigation.
This requires defining logic for the first and last days of the month, as well as previous and next month functionality. Manually coding this is time-consuming and complex.
However, there is a simpler approach. Using the Calendar template within Power Apps provides a pre-built calendar control that can be quickly implemented.
Binding SharePoint List Data to the Calendar
Once the calendar control is in place, the next step is to connect it to your SharePoint list data. This allows the calendar to dynamically display events and appointments.
The process involves selecting a gallery, configuring its data source to point to your SharePoint list (e.g., 'Incidents'), and linking the calendar's visual elements (dates) to the relevant list items.
Importantly, ensure that the visible property of the calendar elements (circles) is tied to the presence of related data from your SharePoint list; display the circle only if an event is associated with the date.
Integrating a Form for Data Entry and Editing
To enable users to create and update events directly from the calendar, integrate a form. This form should be linked to your SharePoint list for data persistence.

Add a button to the calendar interface that opens the form for adding or modifying data. Configure form success handling for seamless navigation back to the calendar.
Consider adding conditional formatting to the form and/or calendar elements, such as color-coding events based on severity levels. Ensure the form correctly manages data submissions and updates.
Conclusion: A Powerful No-Code Solution
This approach avoids the complexity of building a calendar from scratch, offering a streamlined method for creating a visually appealing and functional calendar within Power Apps.
The integration with SharePoint lists makes it easy to manage data directly within the application; users can create, edit and delete events via the integrated form.
The dynamic nature of the solution, including responsive design and conditional formatting, makes it efficient and user-friendly. This enhances user experience and streamlines workflow.