This article details a DIY home automation project focusing on remotely controlling a smart plug using Python. The project highlights the importance of selecting appropriate hardware, specifically high-amperage smart plugs capable of handling significant power loads, crucial for applications beyond standard household appliances. This was particularly relevant for the author's homebrewing setup, requiring a plug rated for 16 amps and 3680 watts. The project then walks through the necessary setup steps, from configuring the smart plug via its dedicated mobile application and creating an account, to utilizing a Python library for seamless control.The core of the project involves utilizing a Python library to interact directly with the smart plug. This includes discovering the plug's IP address, and implementing functions to remotely switch it on and off. The author addresses and resolves challenges encountered during the development process, such as managing open network channels. Finally, the article showcases successful testing results, demonstrating the fast and reliable response of the smart plug to Python commands, and validating the entire home automation system's functionality and ease of use. The project's potential for broader applications in home automation is also discussed.
Pros And Cons
- Rated for 16 amps and up to 3680 watts
- Easy setup using mobile app and QR code
- Quick connection to Wi-Fi network
- Fast boot time (3-4 seconds)
- Easy to control via Python script using the Kasa library
- Kasa library requires many dependencies
- May require more testing to ensure long-term stability
Read more: AMI Meter Reading Guide: Understanding Your Smart Electricity Meter
Choosing the Right Smart Plug
The foundation of any successful home automation project lies in selecting the appropriate hardware. For my project, high amperage was crucial. Standard smart plugs often max out at 10 amps, insufficient for powering my homebrewing equipment. I needed a plug capable of handling significantly higher loads, hence my choice of smart plugs rated for 16 amps and up to 3680 watts.

These higher-rated smart plugs provided the necessary power handling capacity to safely operate my brewing system. The increased wattage rating ensured compatibility with my equipment without compromising safety. This careful selection of hardware prevented potential damage to the smart plug and my homebrewing setup.
Initial Setup and App Integration
Before diving into code, the smart plug requires initial configuration using its dedicated mobile application. This involved scanning a QR code on the plug's packaging, downloading the app, and setting up an account. The app allows you to connect the plug to your Wi-Fi network, ensuring remote access and control.
During the setup process, I created a TP-Link account. The same username and password used for the app were subsequently employed for controlling the plug through the Python script. This streamlined the process and avoided the need for multiple login credentials.
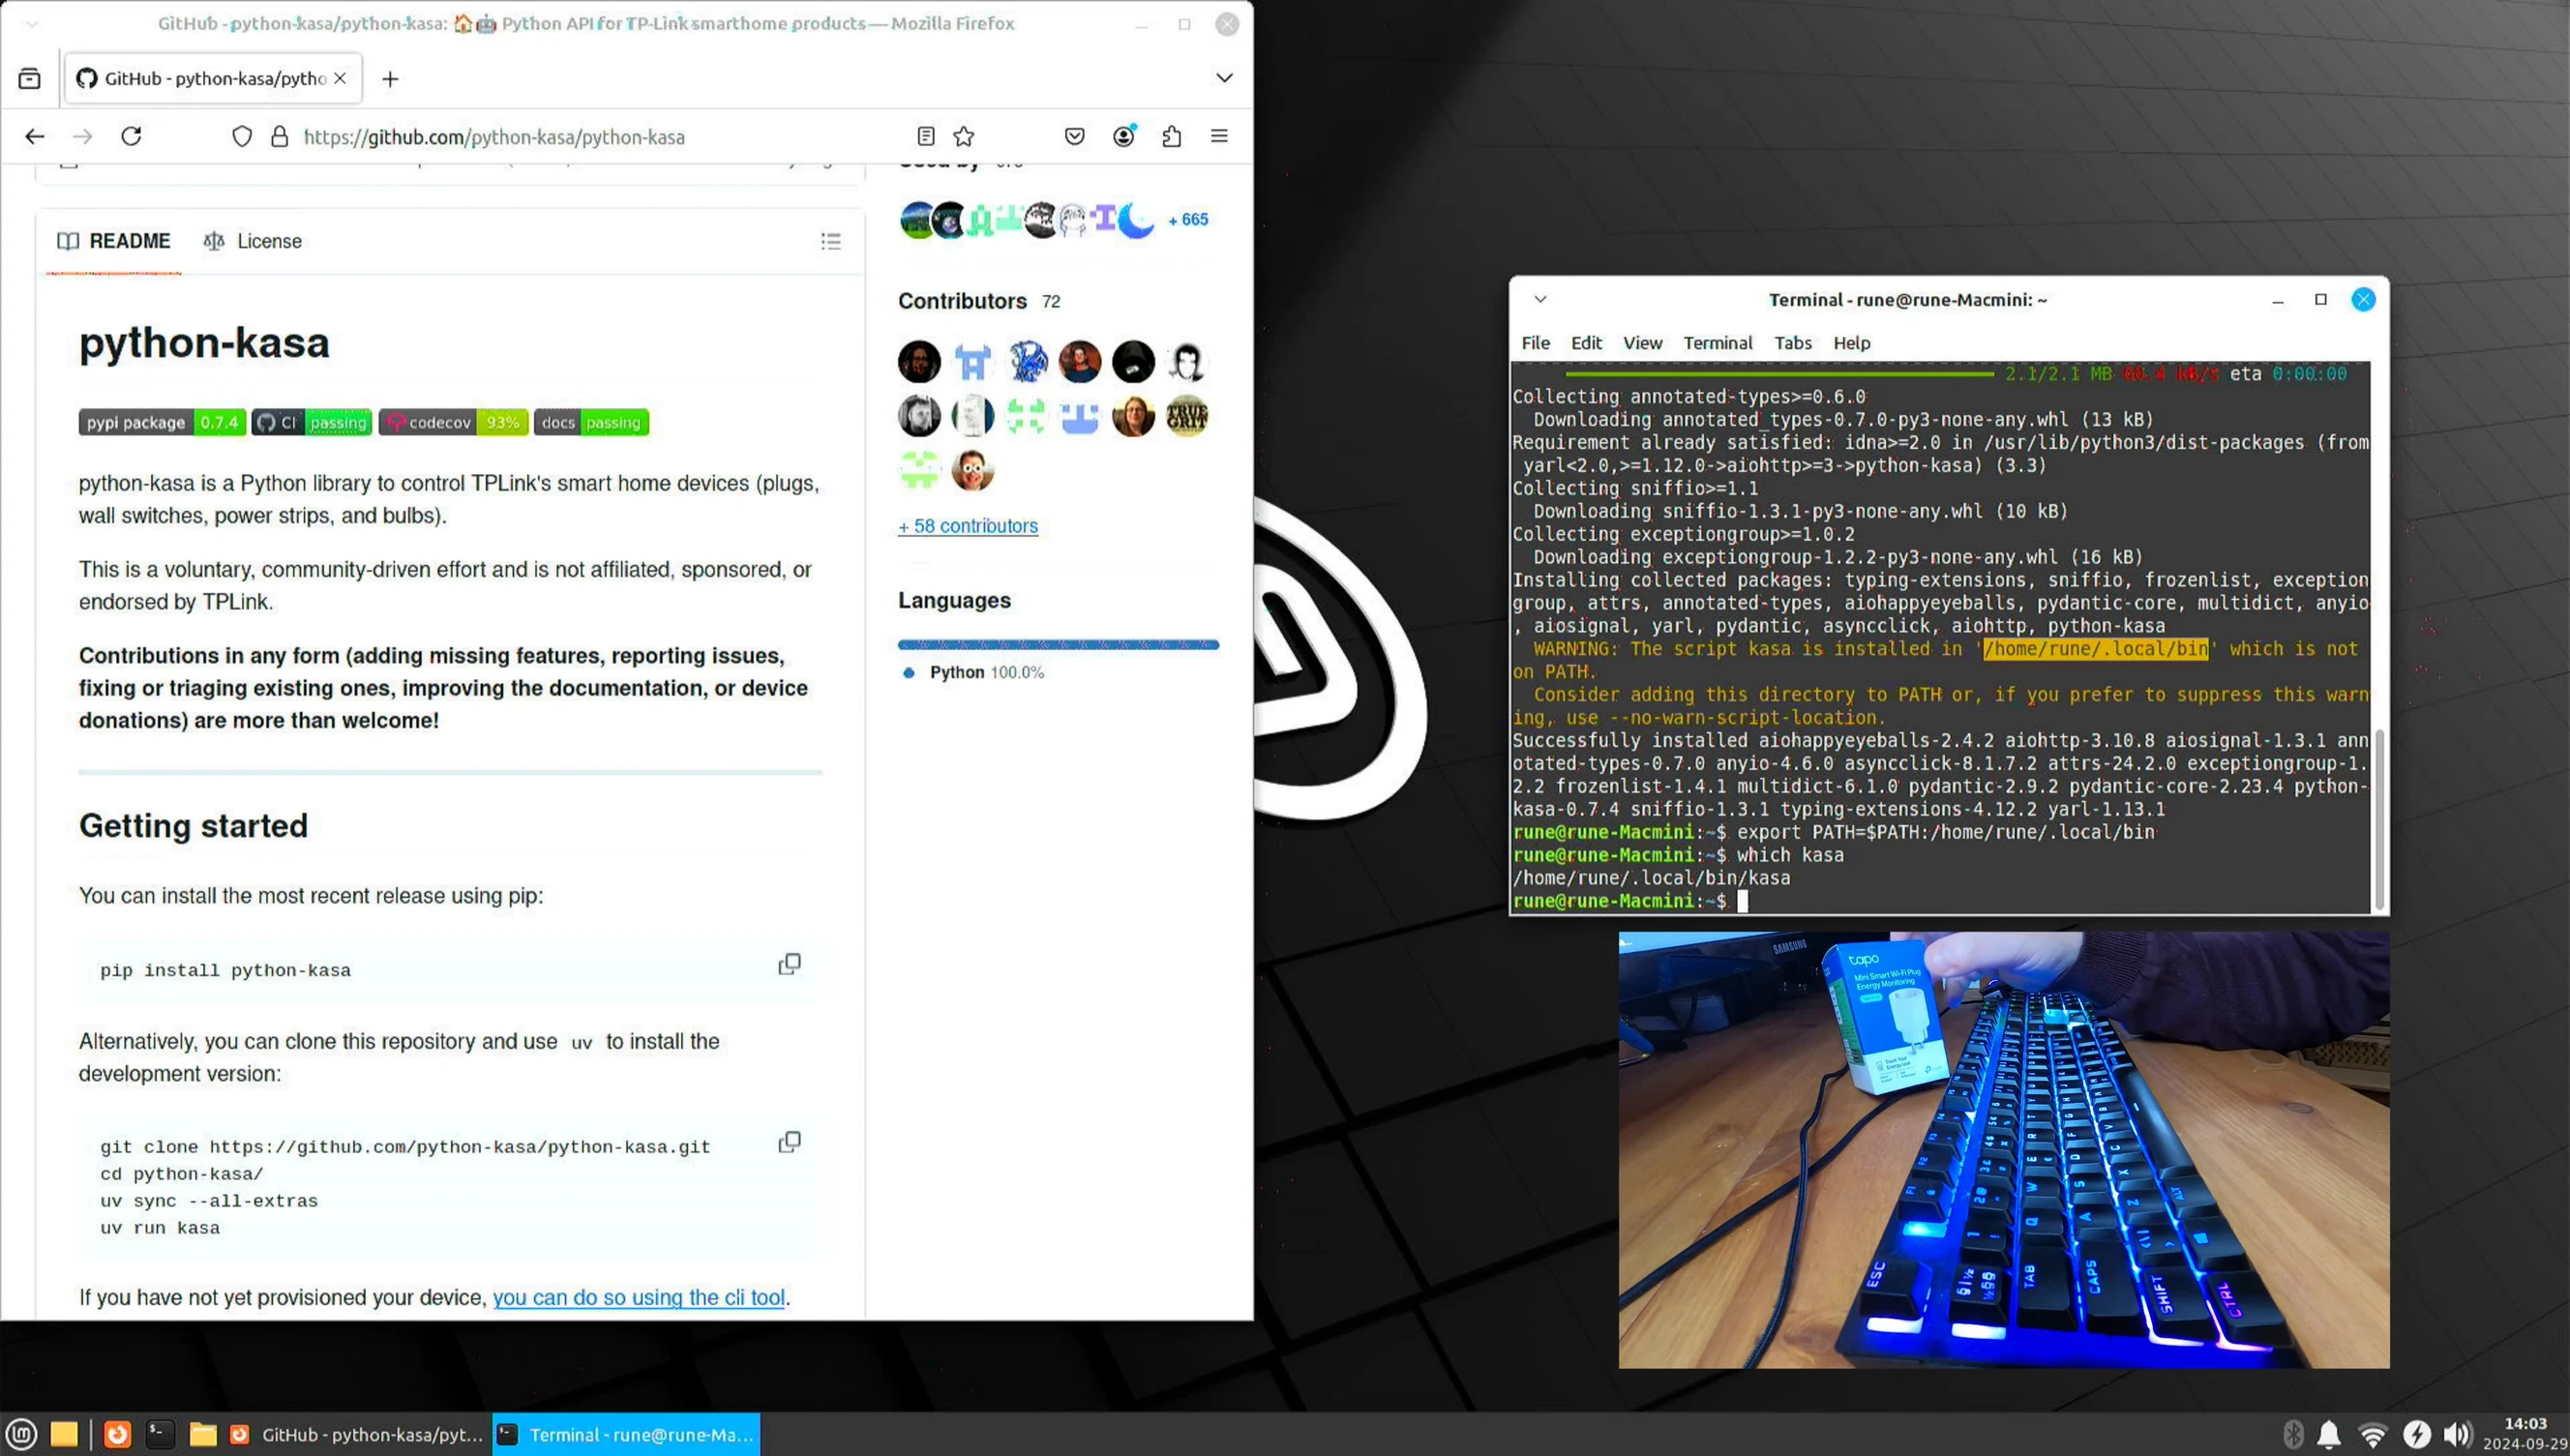
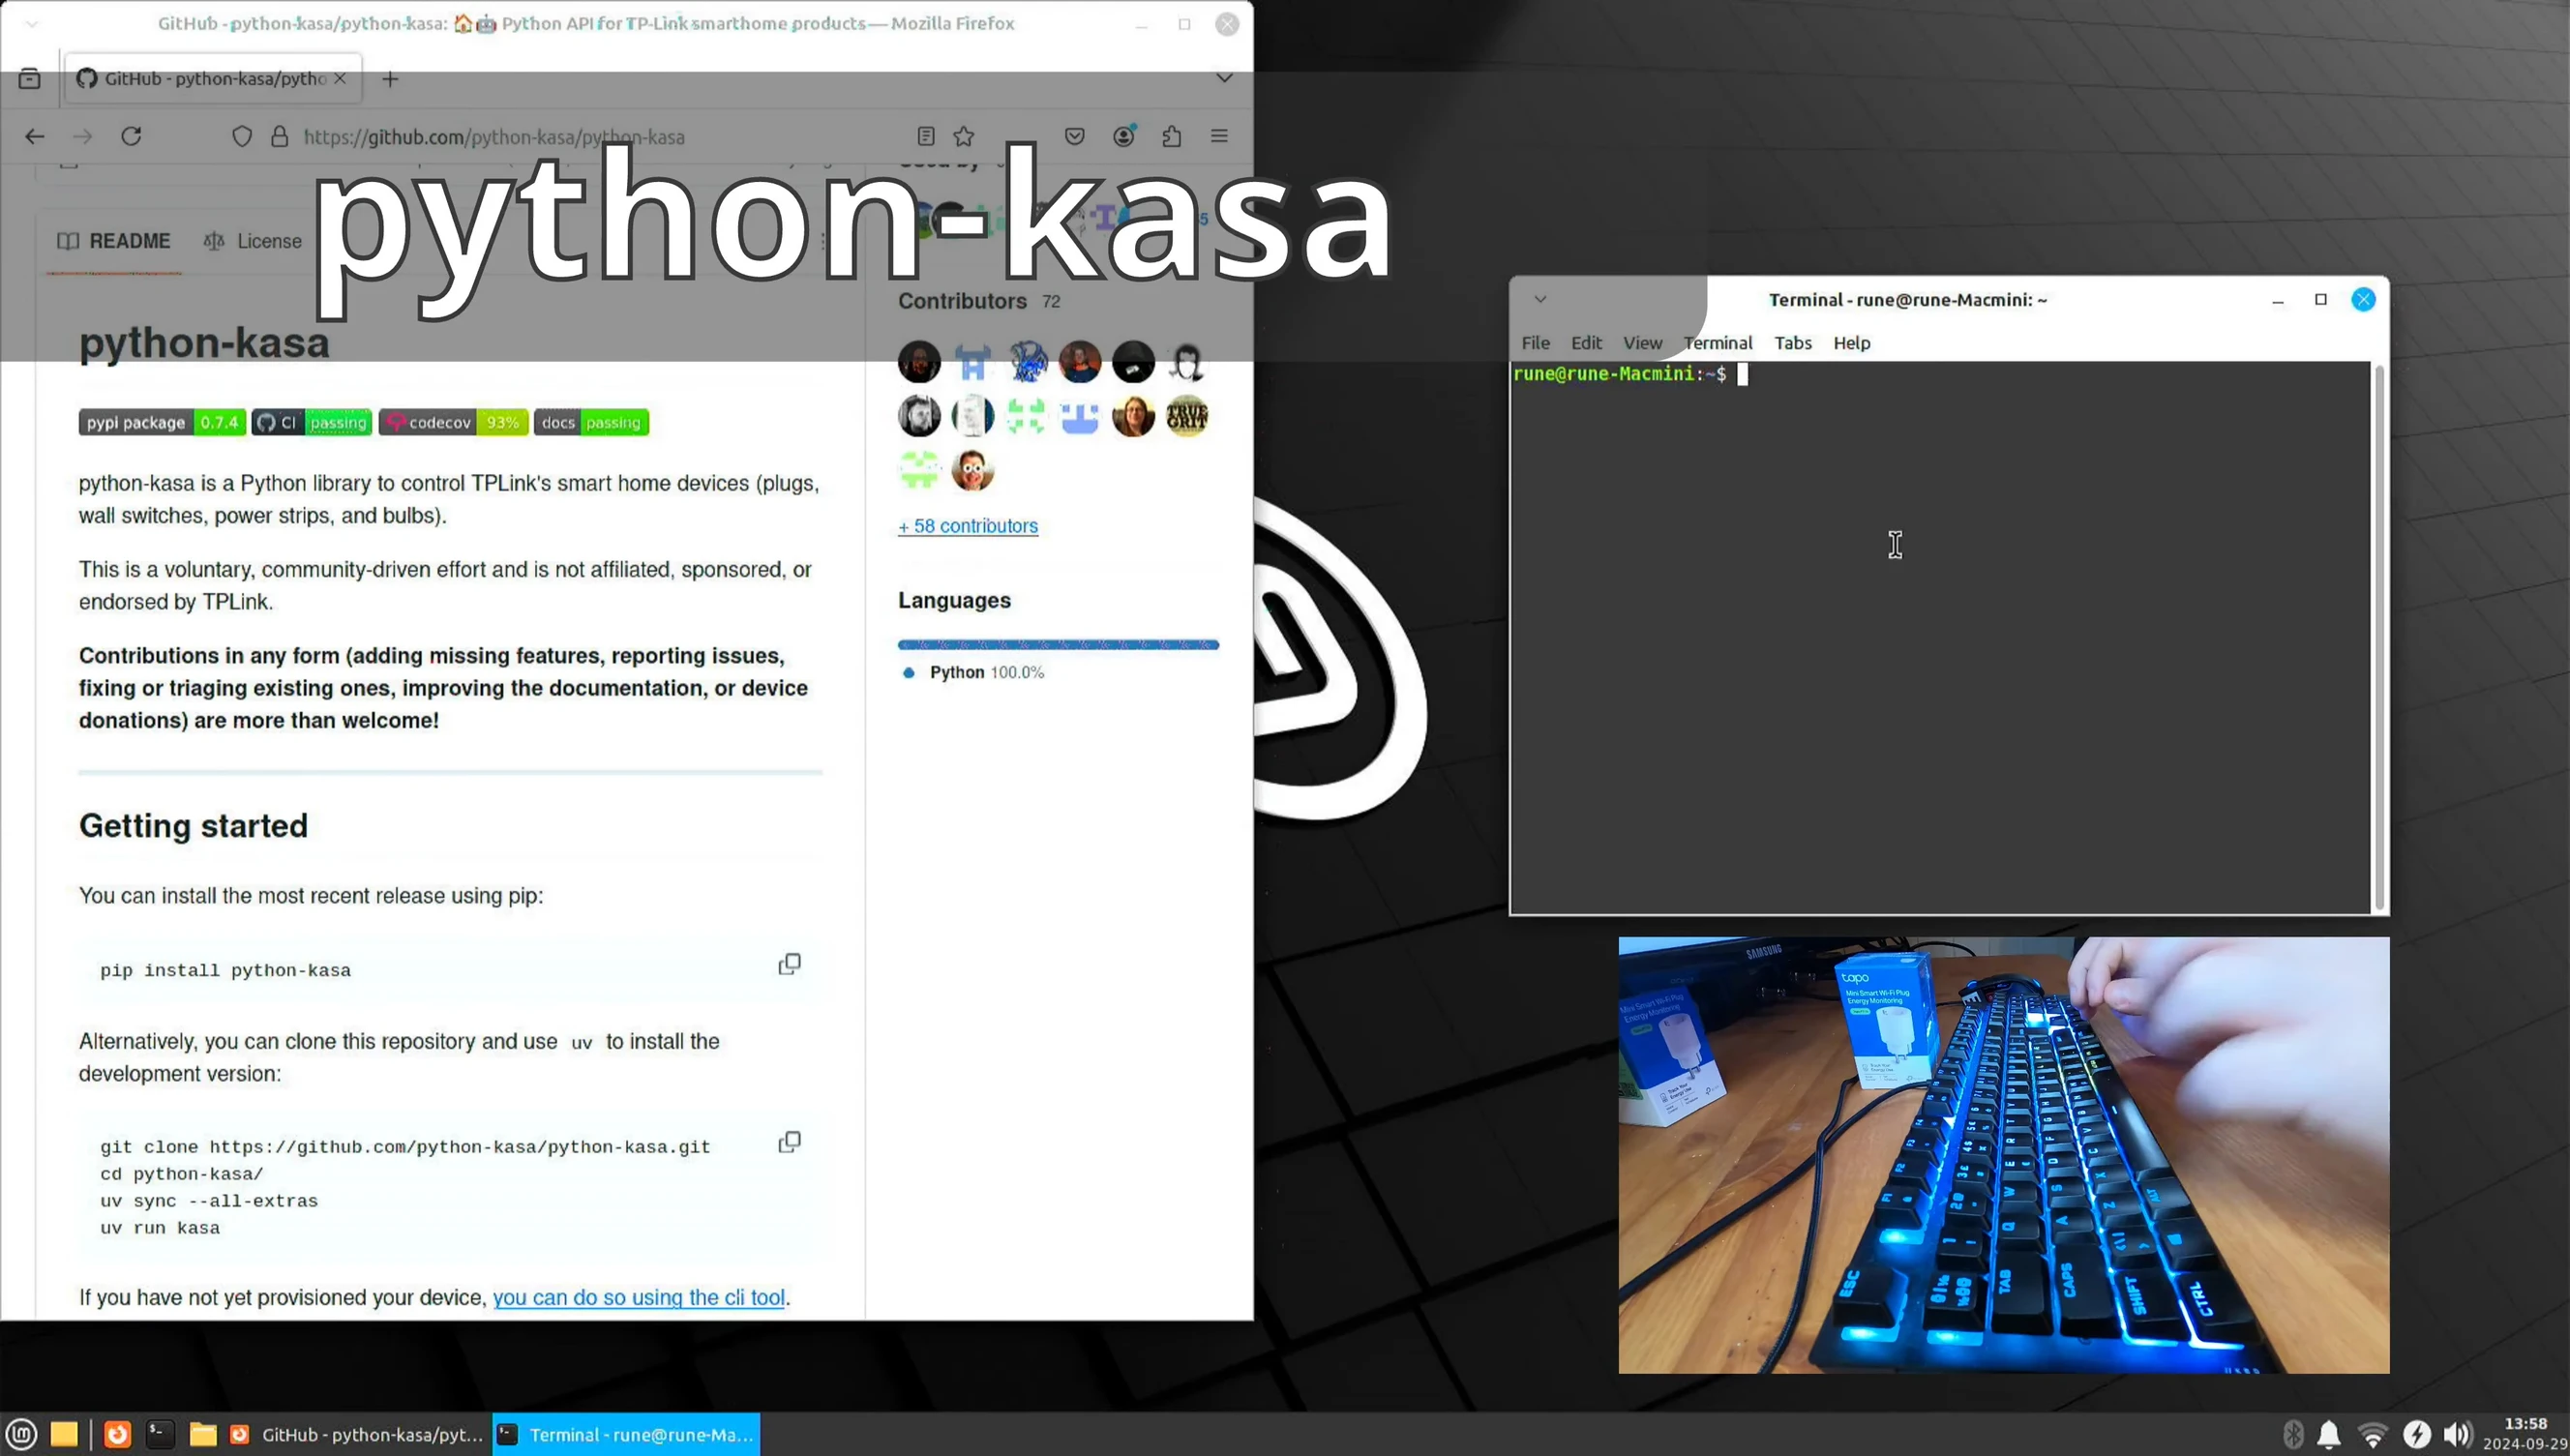
Python Library and Code Implementation
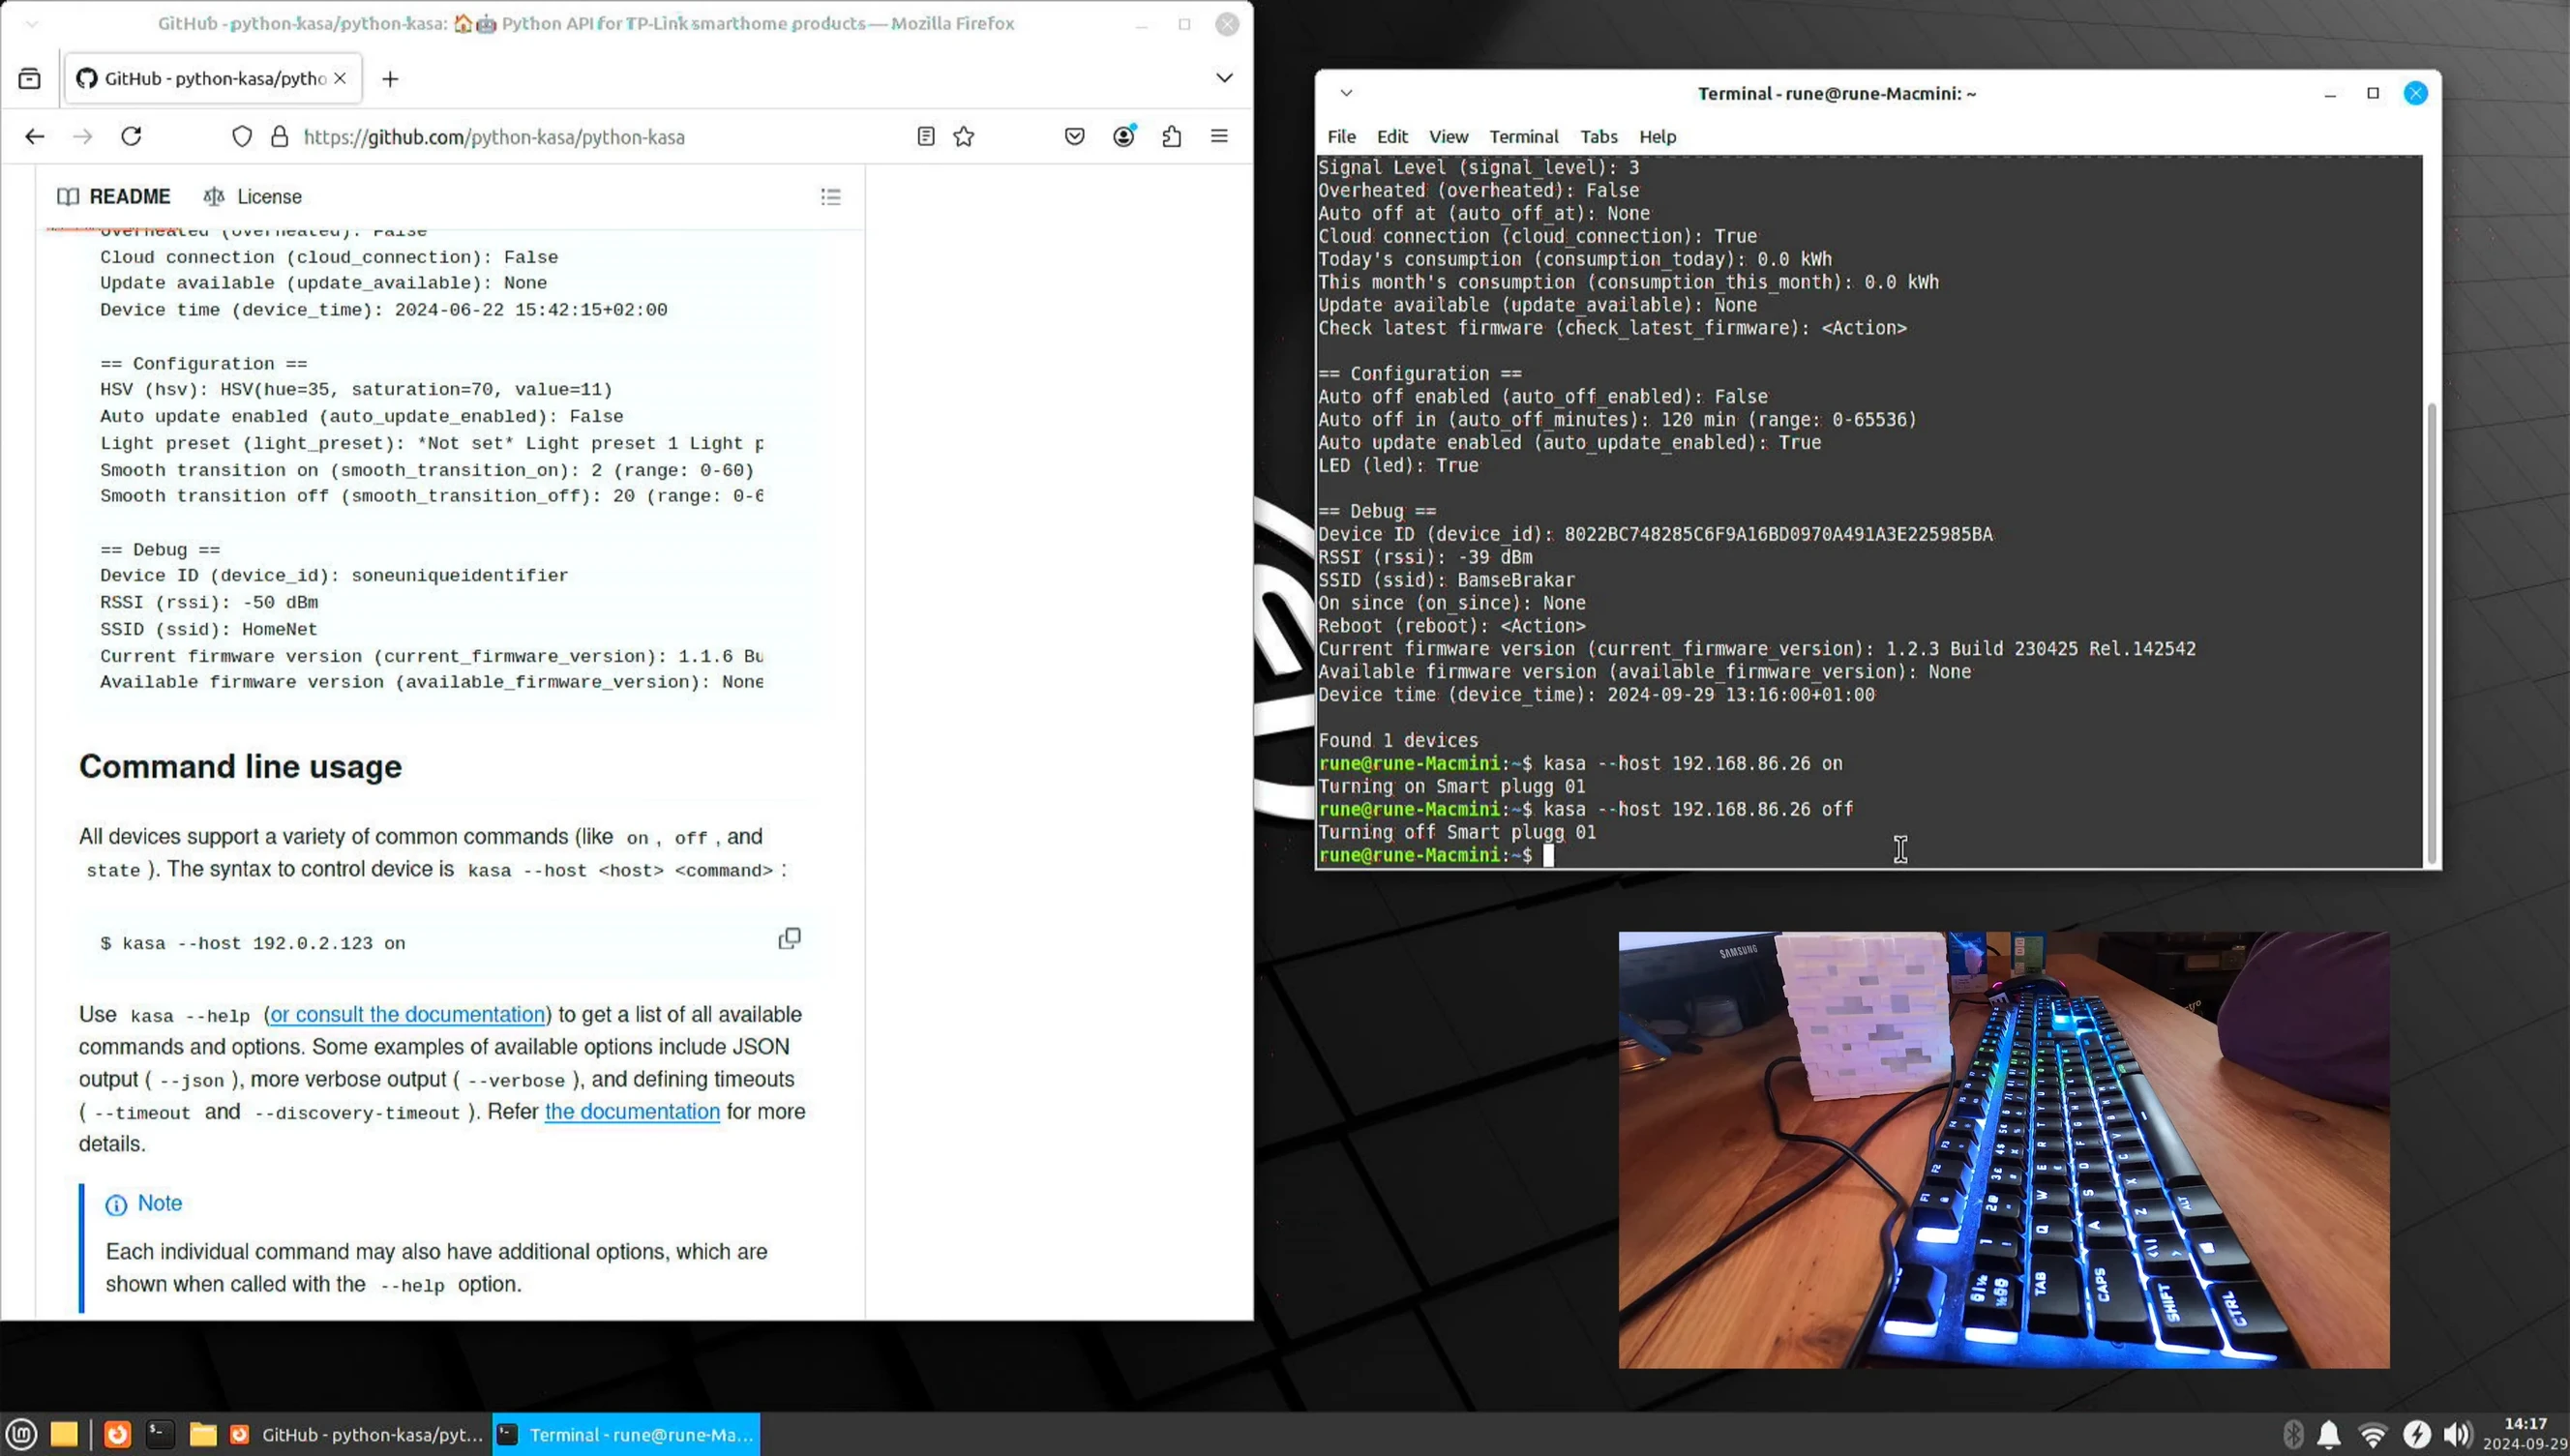
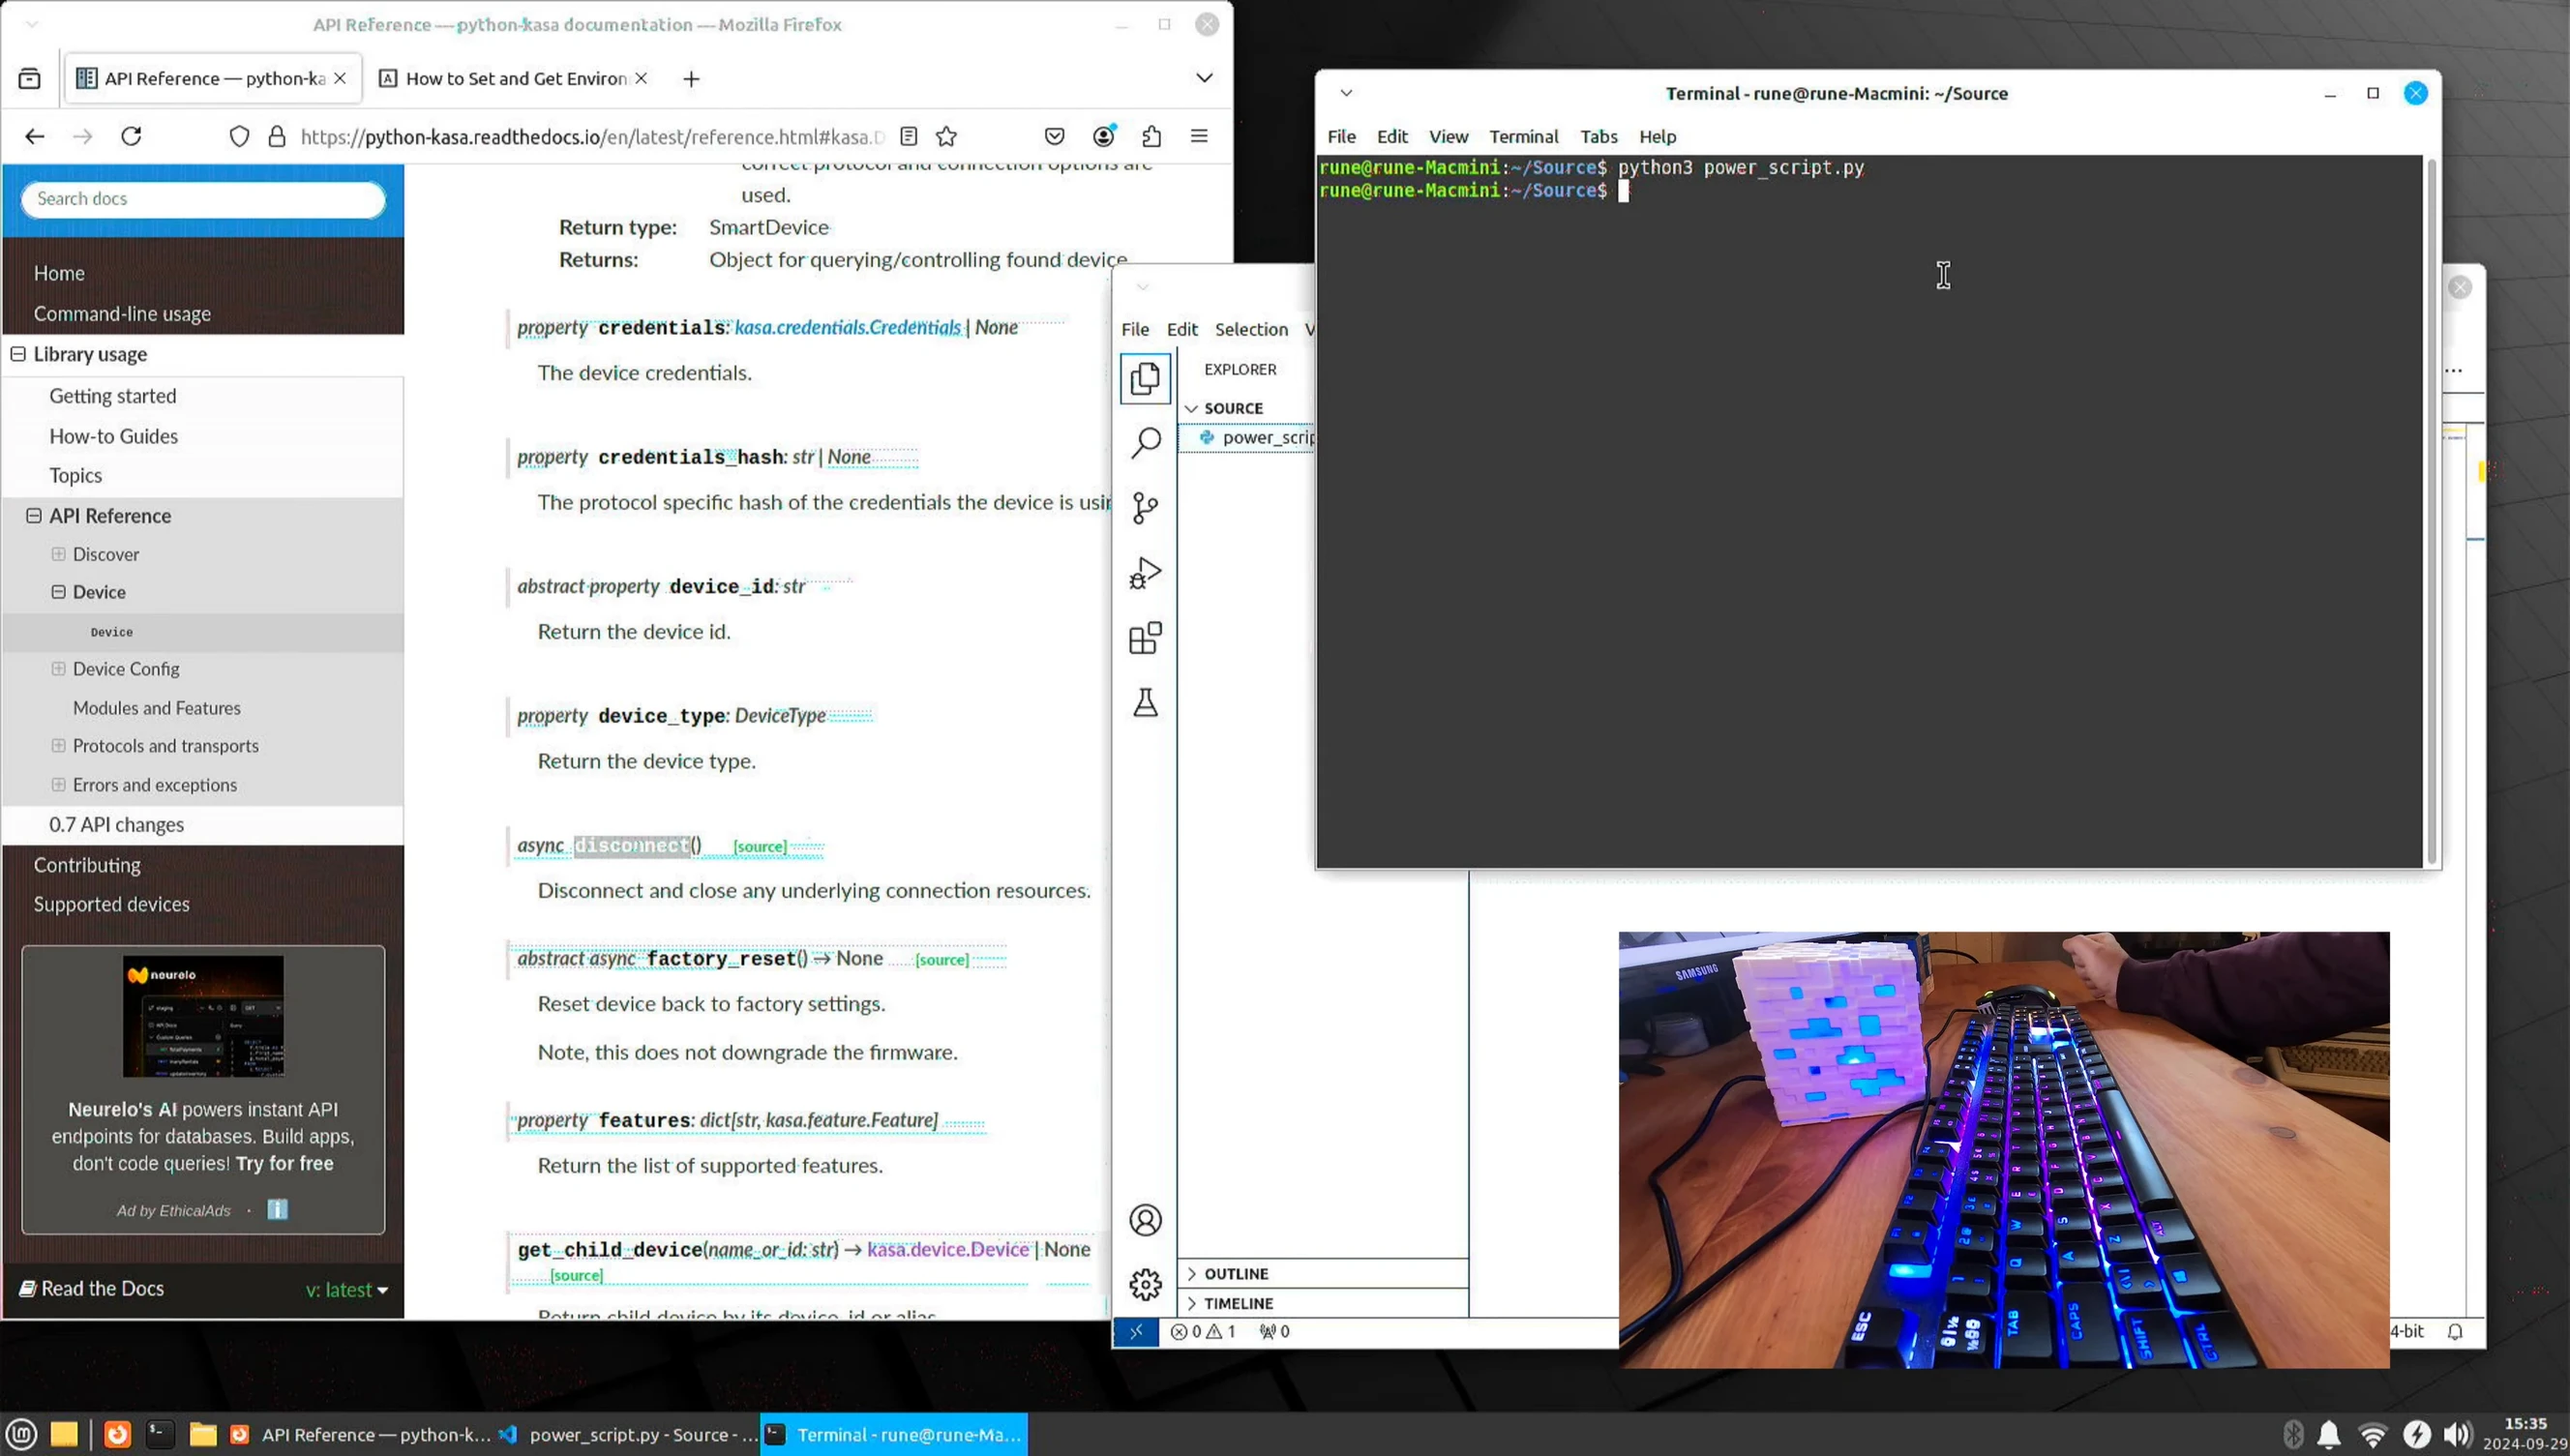
The core of my project involved leveraging a Python library to interact with the smart plug. After installation, I utilized the library's functions to discover and control the plug's state. The library simplified the process, abstracting away much of the low-level network communication.
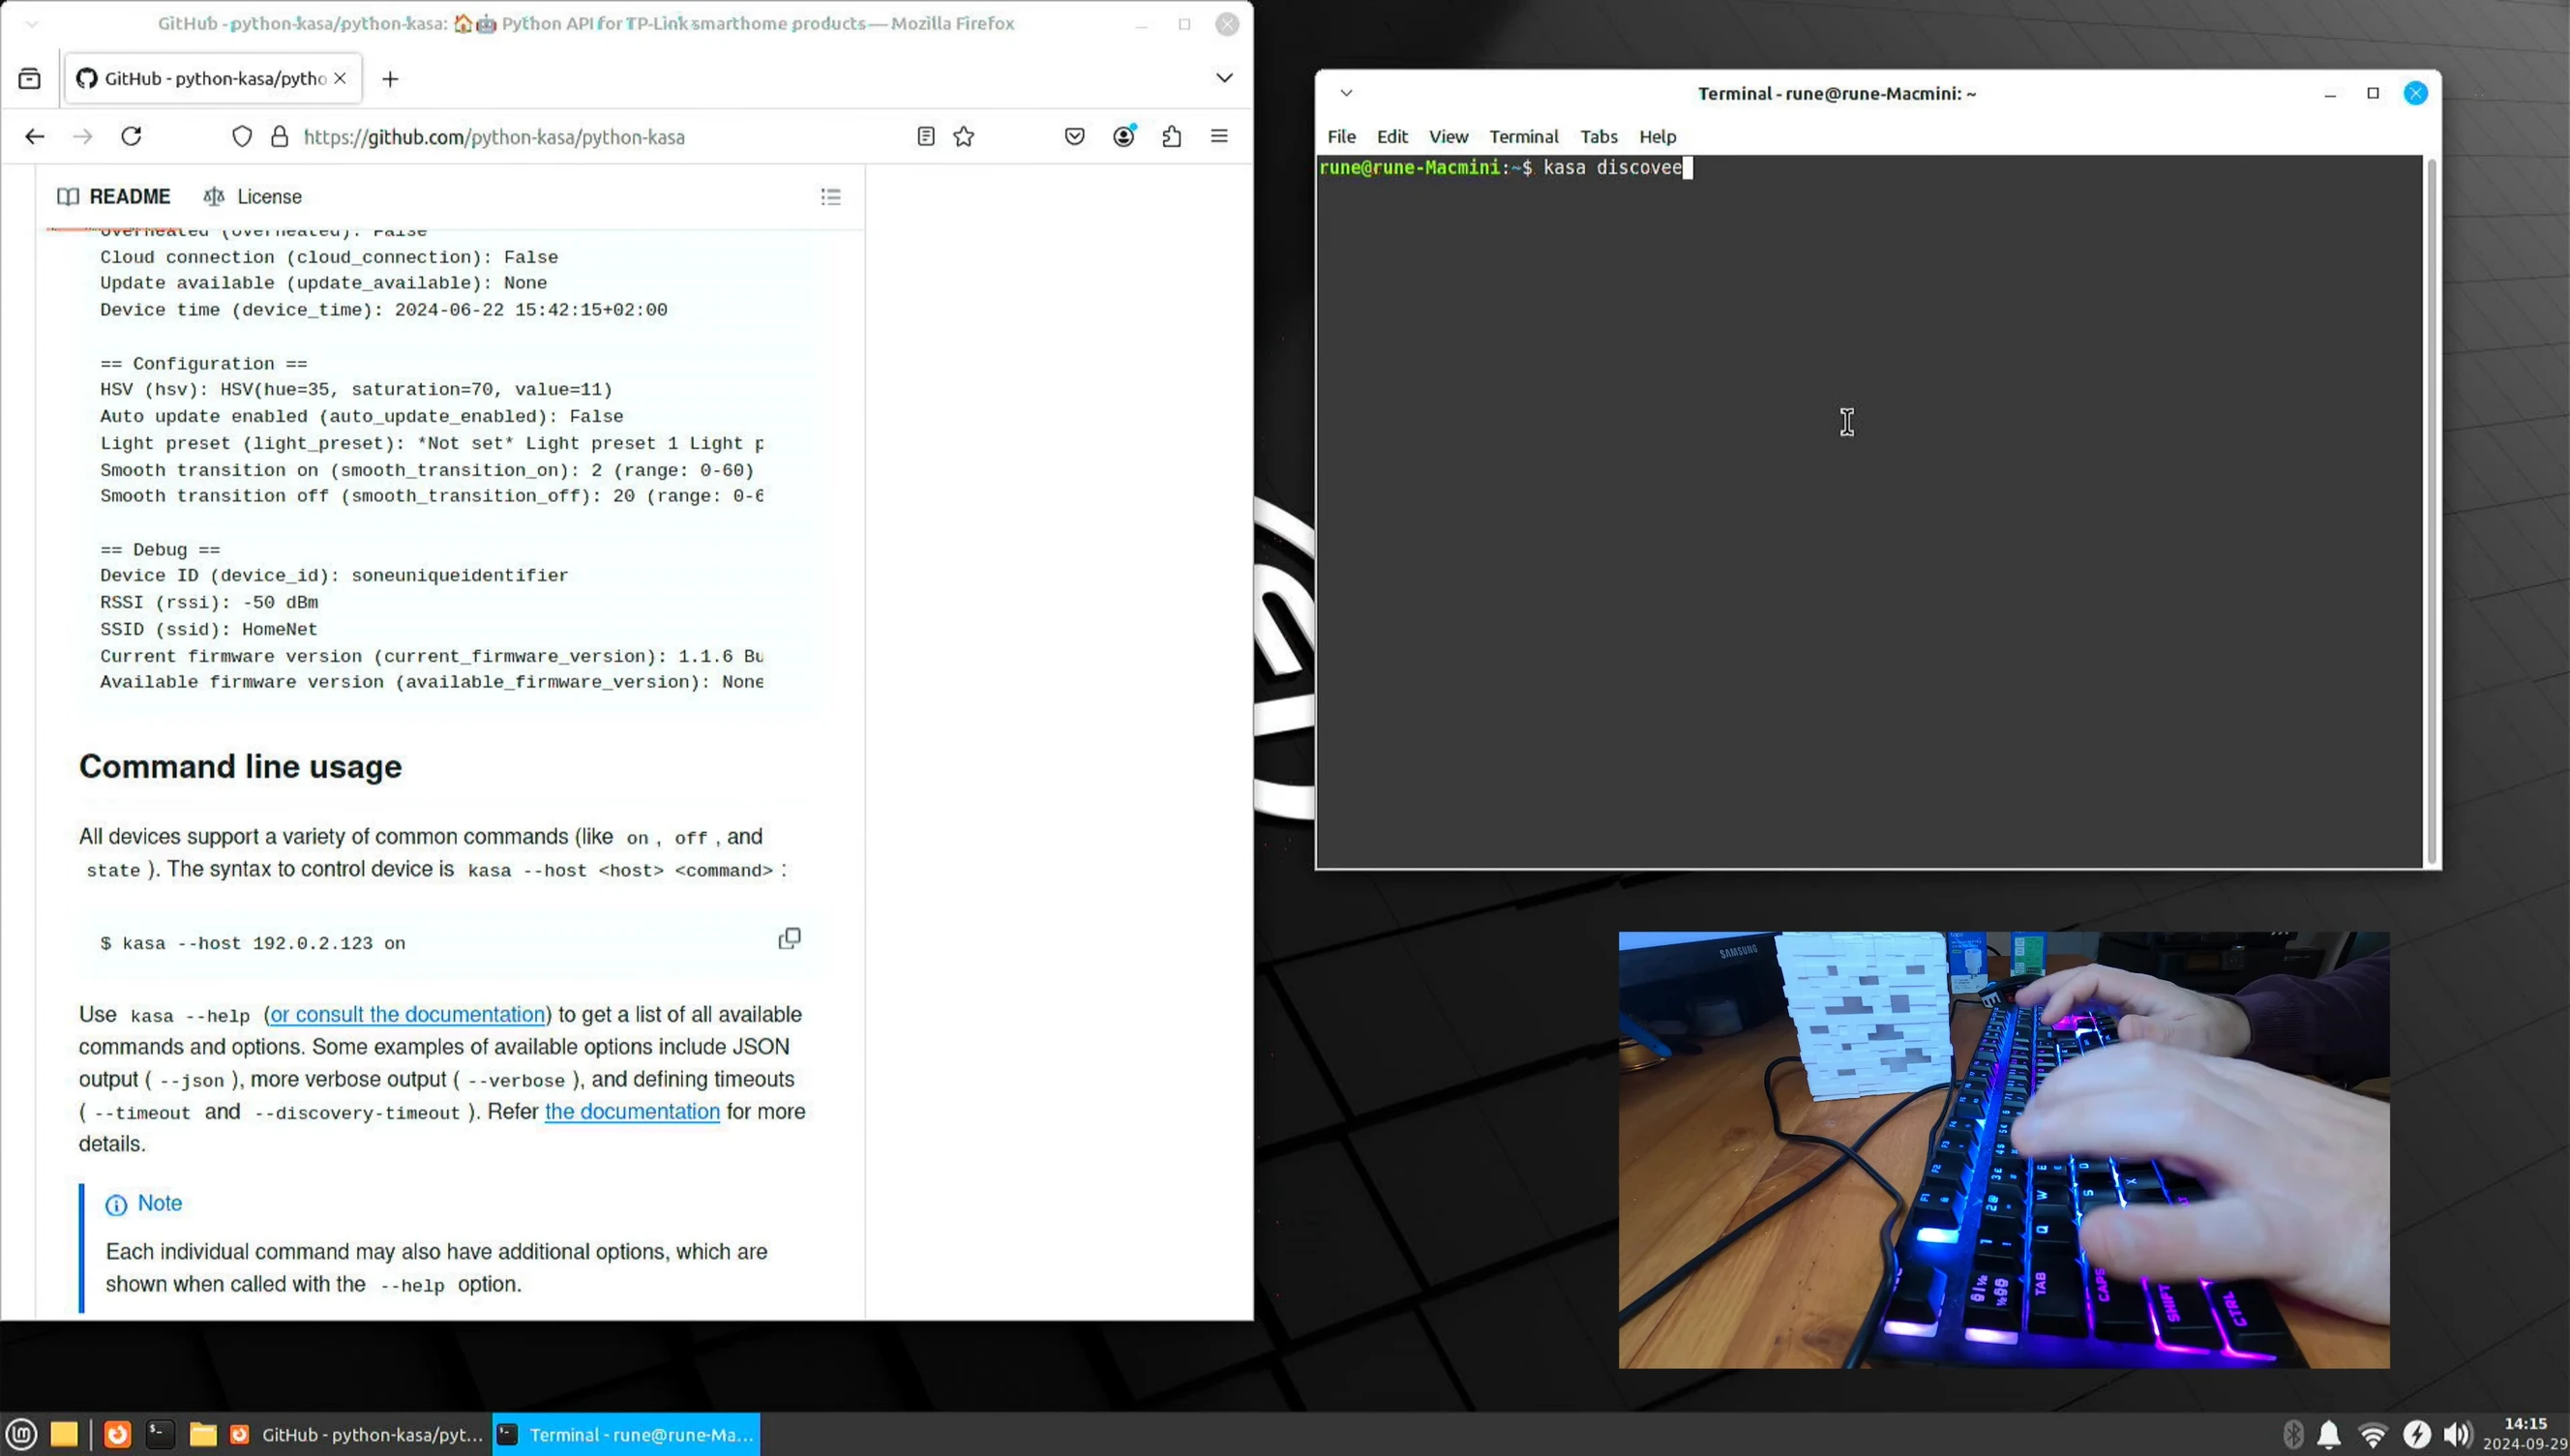
The script fetched the plug's host address via a discovery function. Using this address, I then implemented functions to turn the plug on and off remotely. While initially encountering issues with open channels, these were resolved by incorporating a disconnect function to ensure proper closing of connections.
Testing and Results
To test the functionality, I used a small lamp as a load. The Python script successfully turned the lamp on and off remotely via the smart plug. The response time was impressively fast, with the plug reacting almost instantaneously to the commands.
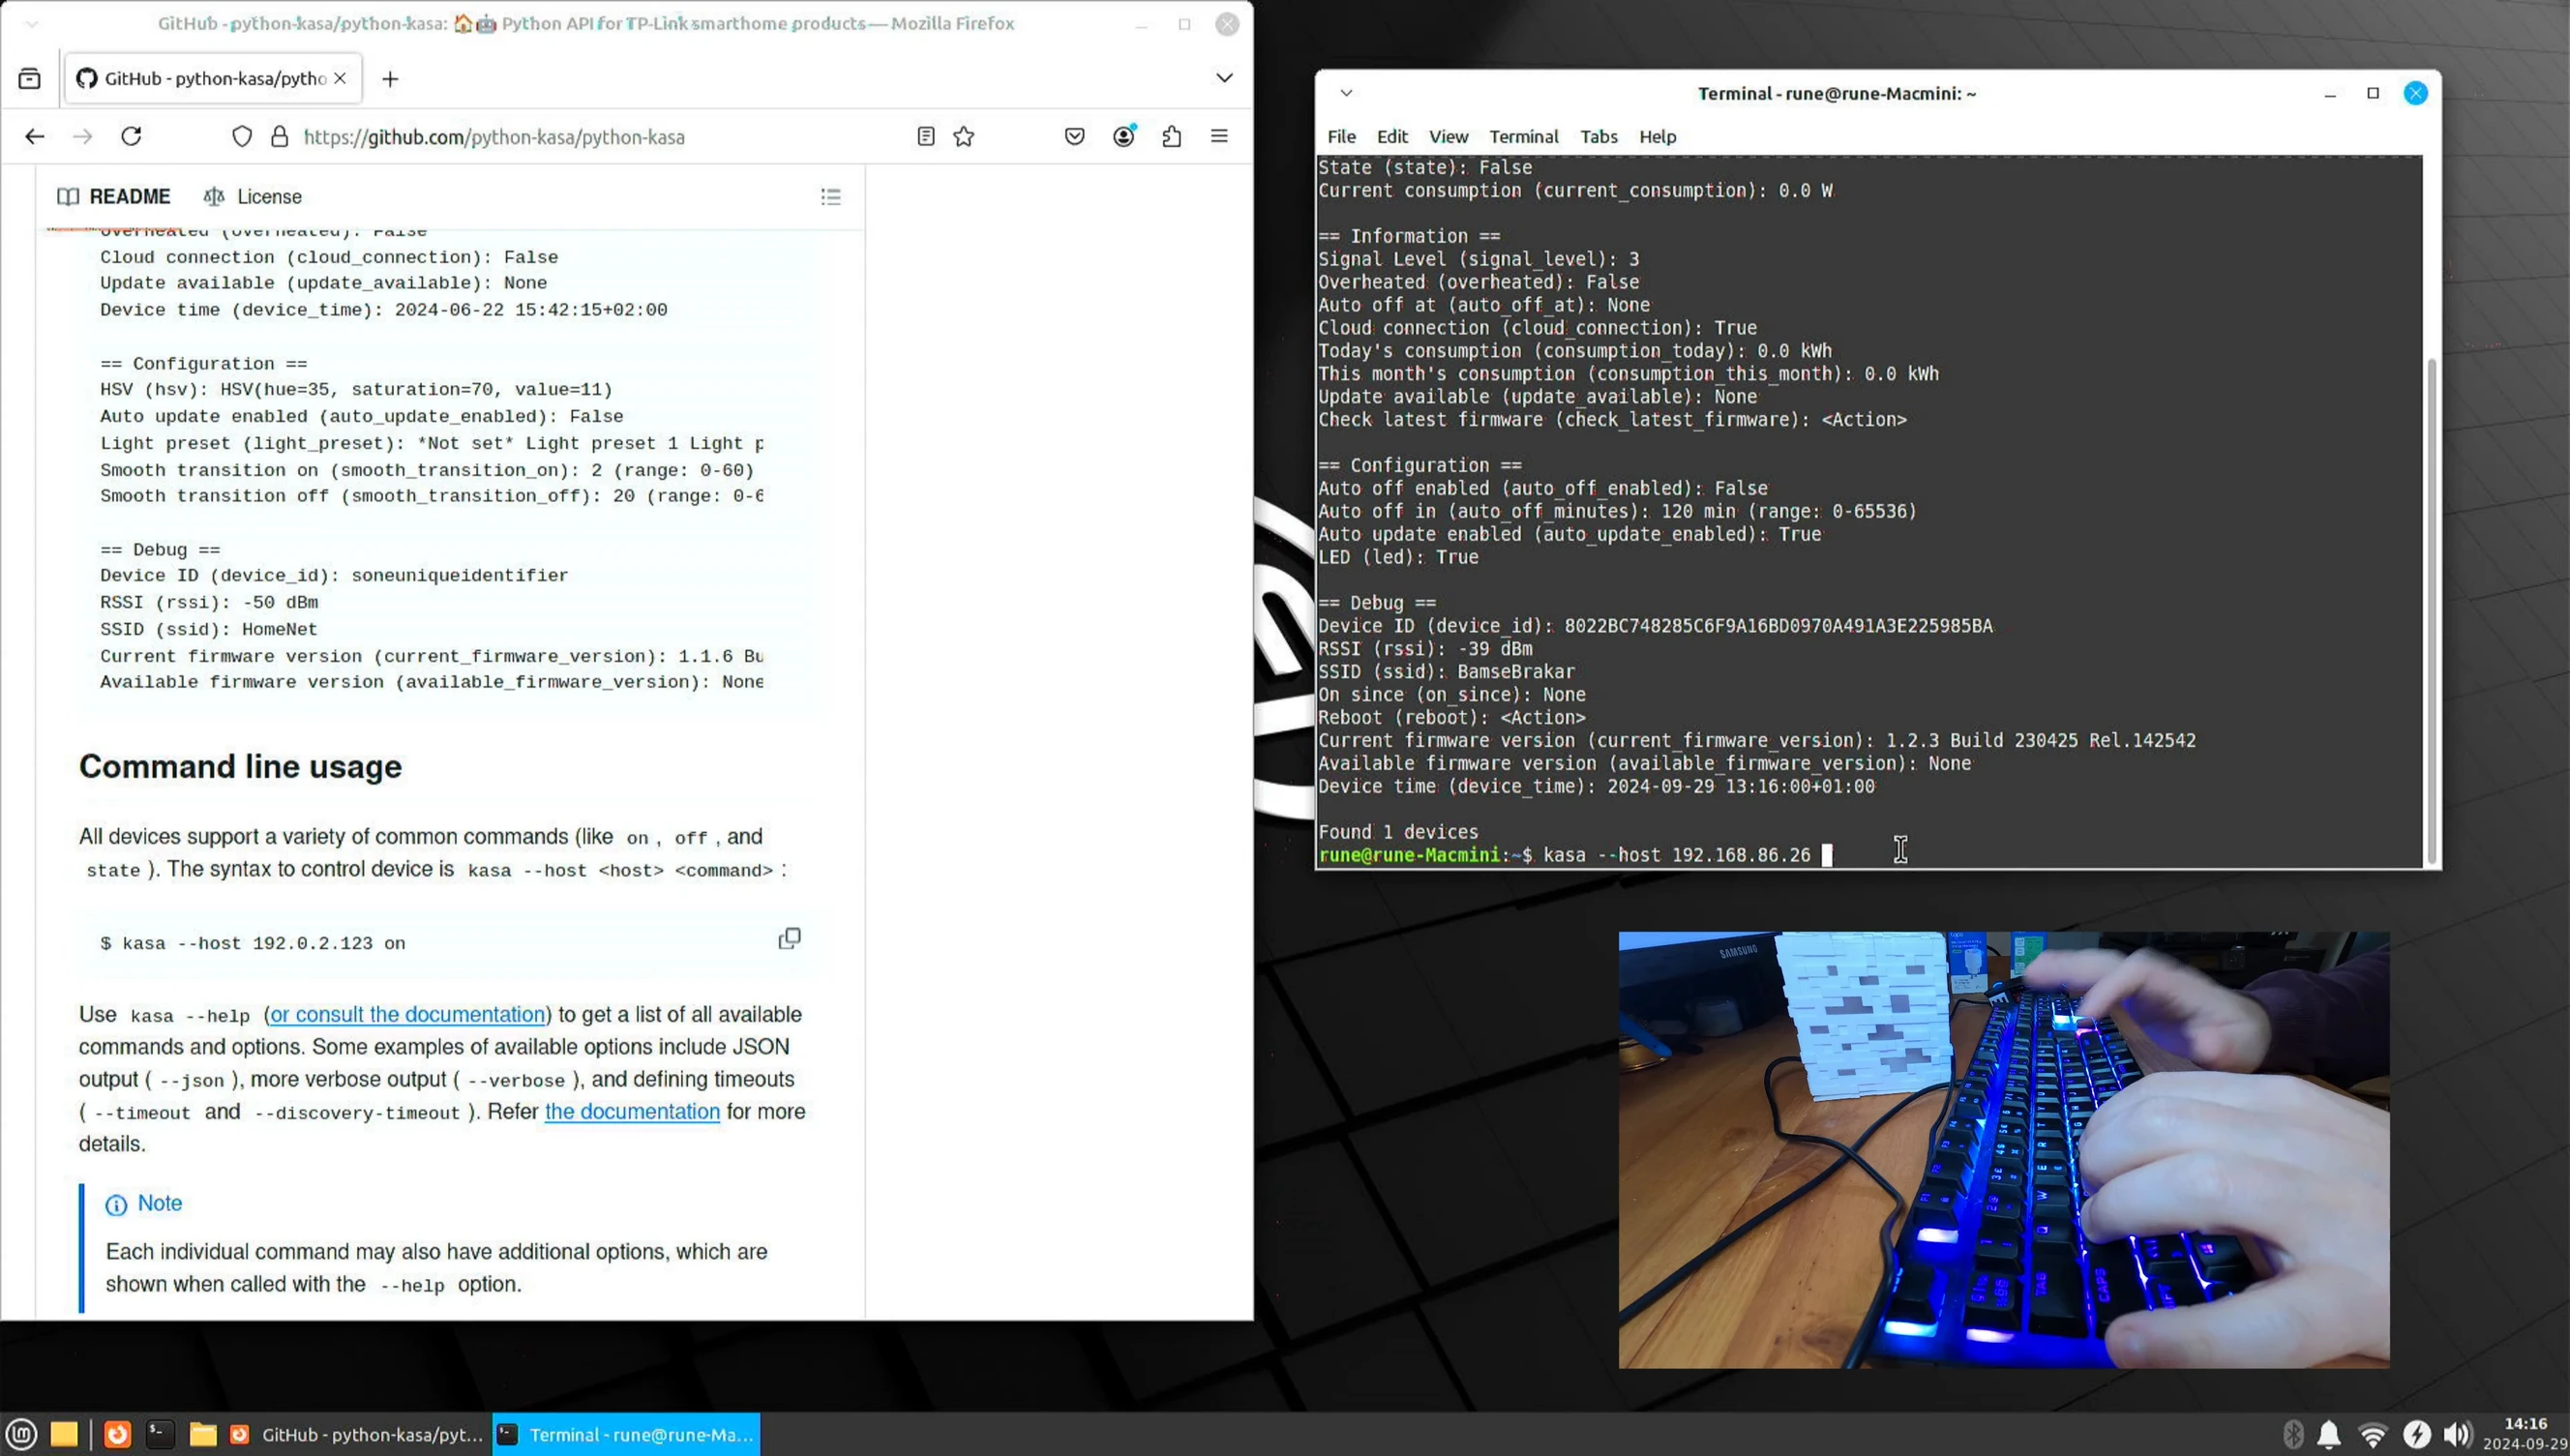
Real-time monitoring of power consumption through the app confirmed the plug's on/off state. These tests validated the seamless integration of the Python script with the smart plug, demonstrating its reliability and ease of use.
Conclusion: A Feasible and Efficient Solution
Overall, controlling the smart plug with Python proved remarkably simple and effective. The Python library provided a user-friendly interface for interacting with the plug, and the integration was straightforward. The plug responded quickly and reliably to commands, offering a robust solution for home automation tasks.
While further testing is needed to ascertain long-term stability, initial results were highly encouraging. The ability to remotely control high-wattage appliances opens up numerous possibilities for automating home appliances, improving efficiency and convenience.