This comprehensive guide details the installation of a smart home lighting system, seamlessly blending modern aesthetics with advanced automation. We walk you through the process of installing panel lights controlled by both a light sensor and a convenient switch button, ensuring a flexible and user-friendly experience. The project emphasizes meticulous wiring and cable management for both safety and a professional finish, showcasing best practices for a successful smart home lighting upgrade. We cover everything from preparing existing power supplies to the precise connection of DC and AC currents, ensuring a reliable and efficient system.Beyond the panel lights, this guide also includes the installation of a stylish two-piece wall light, contributing to the overall ambiance of the room. The detailed steps include careful attention to cable management techniques, such as 8-inch cheek cutting, for a neat and organized installation. We highlight the importance of understanding different current types and proper electrical connections, while emphasizing the use of a touch panel for intuitive dimming and on/off control. The final result is a sophisticated smart lighting solution that combines automated control with the reliability of manual overrides.
Pros And Cons
- 5 meters long
- 220 LED
- Operated by light sensor and switch button
- Dimmable
- Full color
- Two-in-one switch option
- Multiple models available (4, 6, 12 models)
- Includes switches, sockets, and regulator
Read more: AMI Meter Reading Guide: Understanding Your Smart Electricity Meter
Panel Light Installation and Wiring
This project focuses on installing panel lights controlled by both a light sensor and a switch button. The initial wiring was completed in a previous step. The panel lights offer a modern, sleek aesthetic for any room.
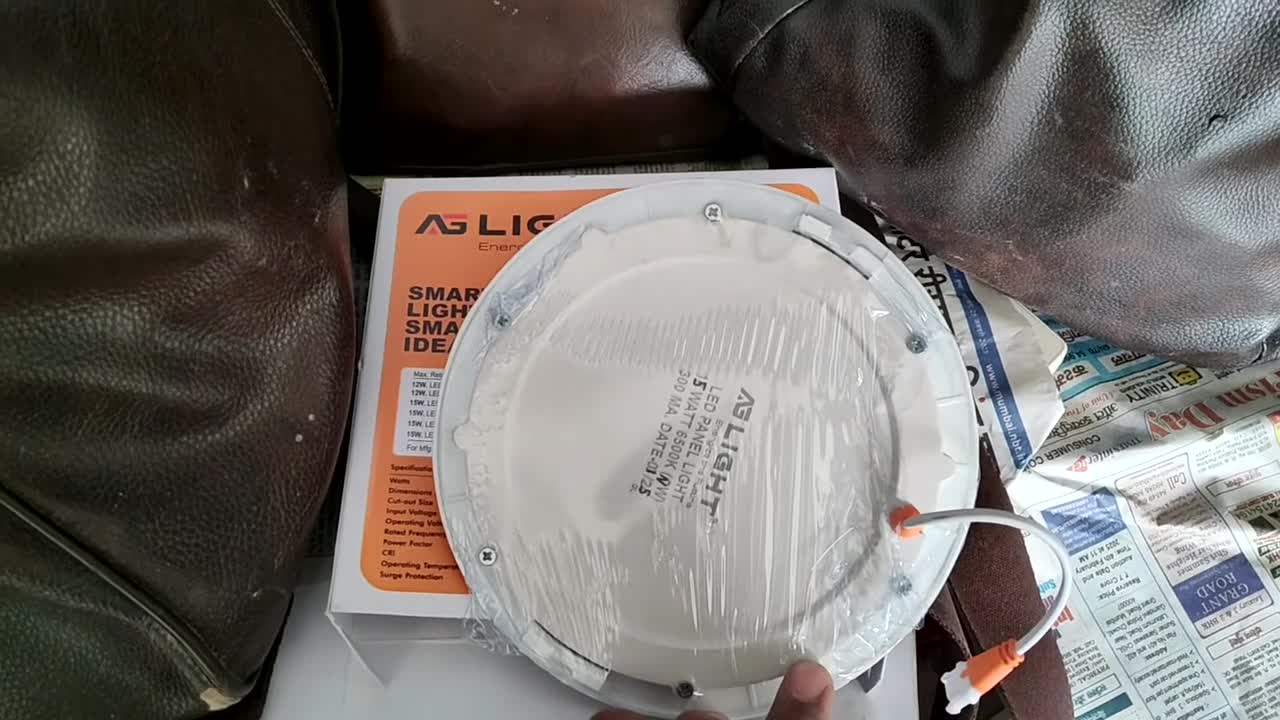
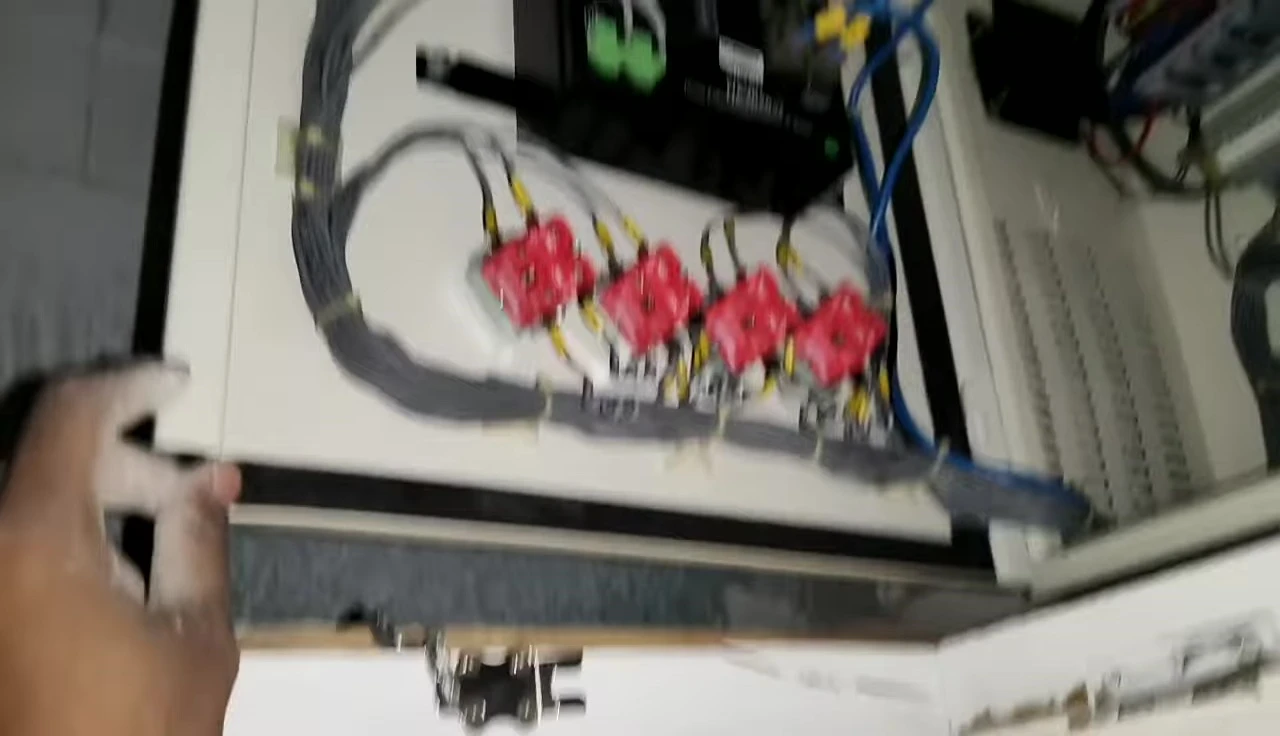
The installation process involved carefully connecting the wires to ensure proper functionality of the sensor and switch. Clean and organized wiring is essential for both safety and performance. The process detailed the steps for ensuring a reliable setup.
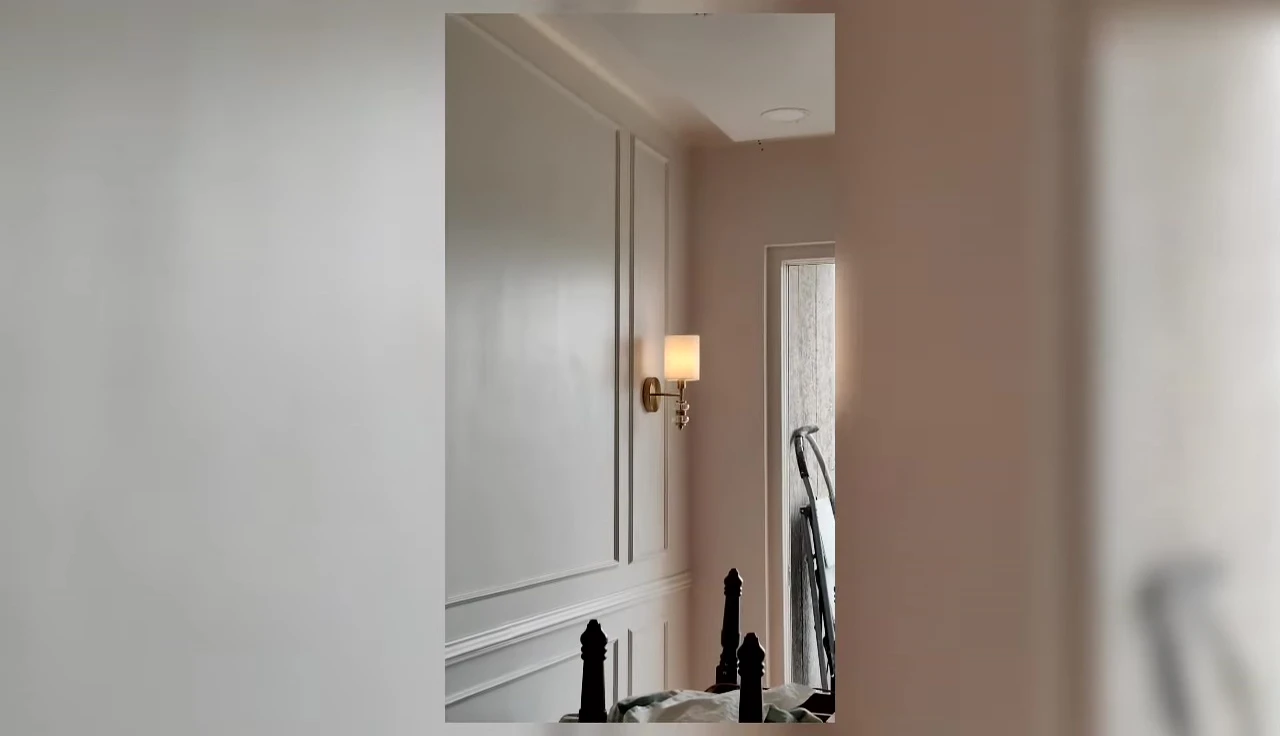
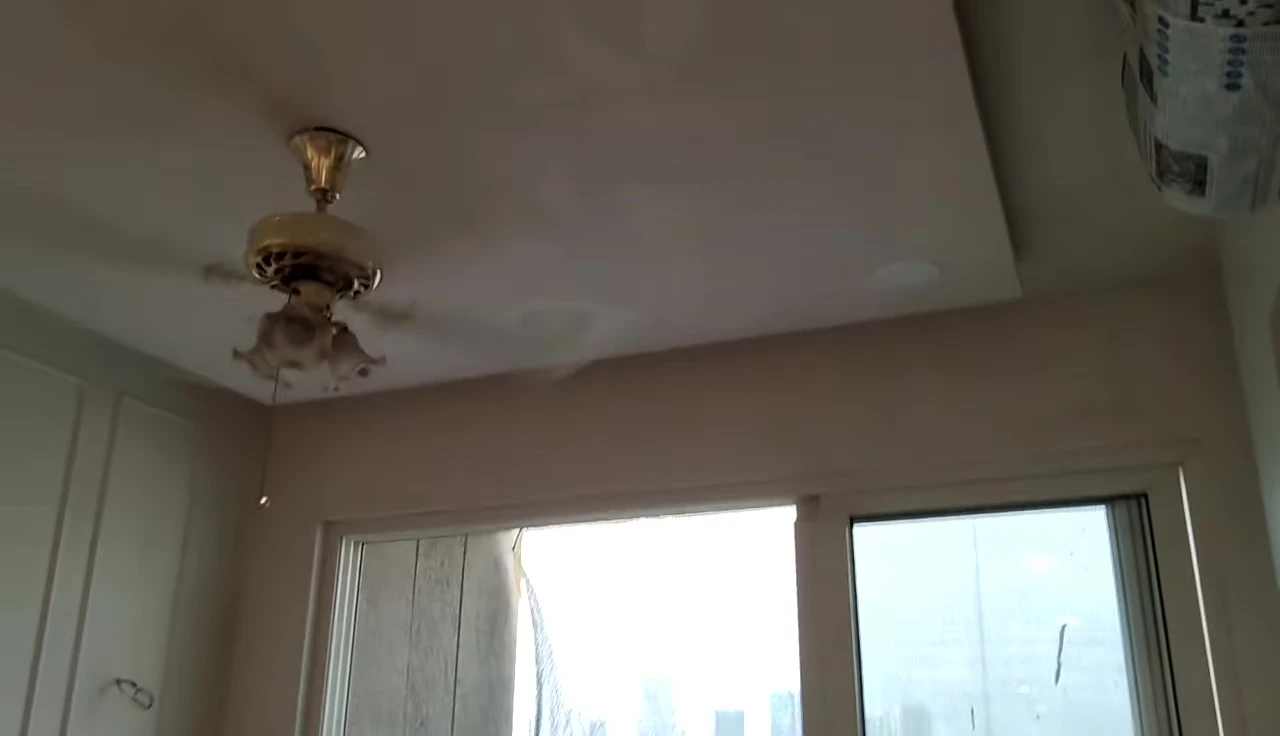
Wall Light Installation and Paint Considerations
A two-piece wall light was also part of this project, enhancing the room's ambiance. However, installation was delayed to allow for a coat of paint to be applied to the walls first, ensuring a seamless and professional finish.

The wiring for the wall lights was prepped in advance. The installation itself will be straightforward once the painting is complete, allowing for a cohesive and aesthetically pleasing result. Patience ensured the best possible aesthetic outcome.

8-Inch Cheek Cutting and Light Cable Management
The project involved careful cable management, including 8-inch cheek cutting for neatness. All light cables were cut and prepared for the new lighting fixtures. The precision and meticulousness ensured a clean and professional installation.
The existing power supply and connections were examined and updated to accommodate the new lighting system. The existing infrastructure and power supply are carefully considered before installation of new lighting. This ensures a smooth and safe transition.
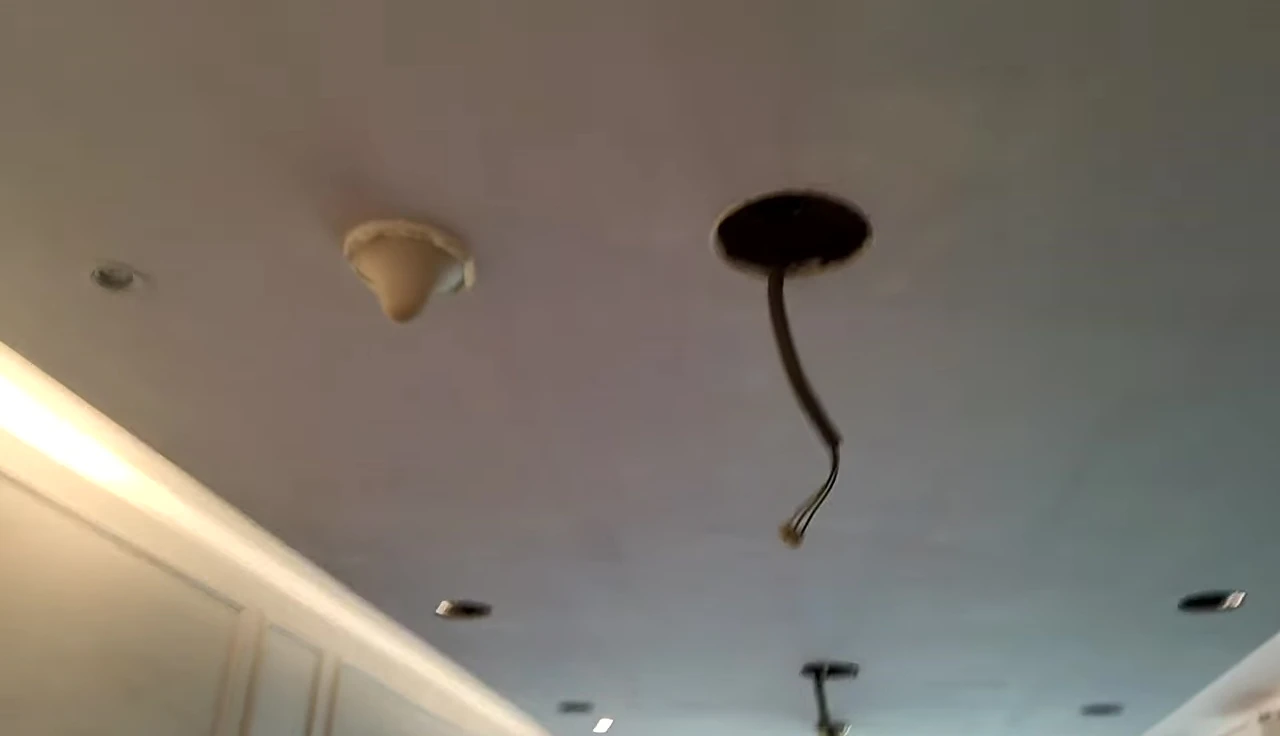
Connecting the Panel Lights: DC and AC Current
The video demonstrates the connection process for the panel lights, distinguishing between DC and AC current. Neutral, phase, and earthing connections were made separately, highlighting the careful attention to electrical safety and proper wiring techniques.
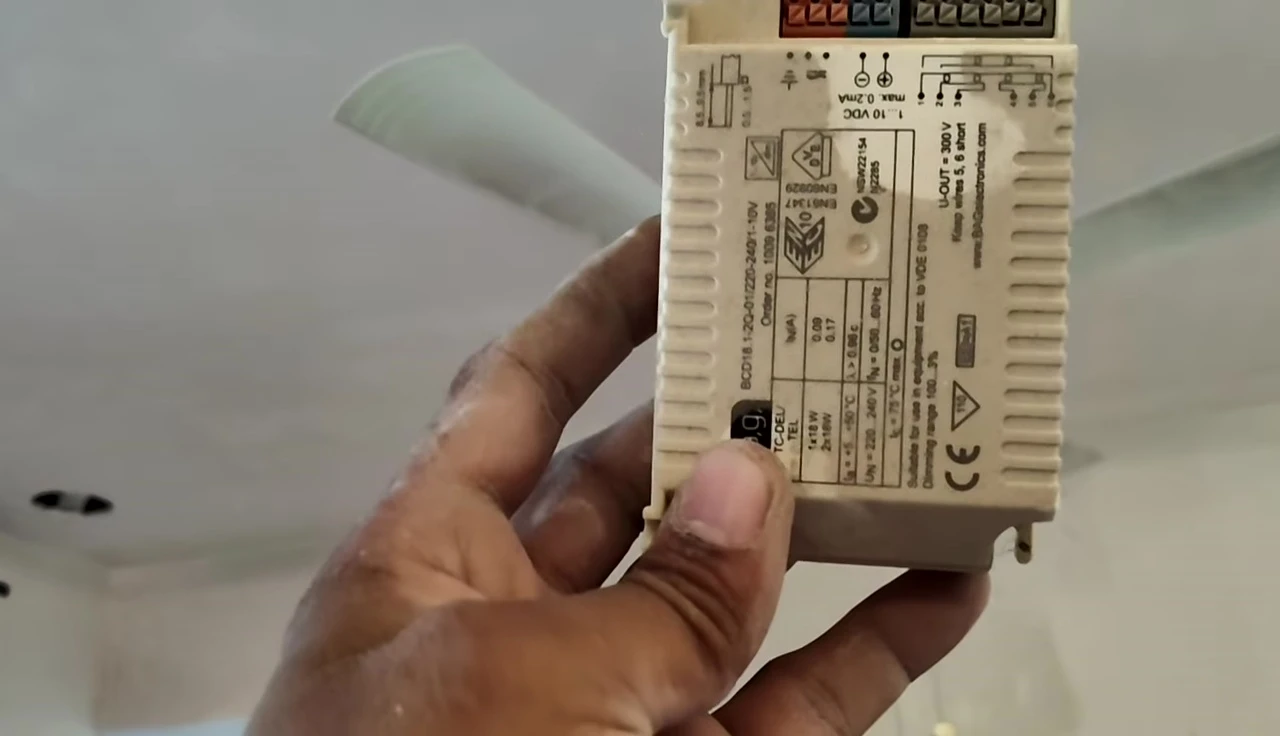
The use of a touch panel for control adds a layer of modern convenience to the system. Detailed visuals show the specific connections for both DC and AC components, ensuring safety and functionality. The connection procedure is clear and easy to follow.
Final Installation and Control System Overview
The installation of the panel lights was completed, with a focus on the touch panel control system. The touch panel allows for dimming and on/off control of the lights, showcasing the modern smart home capabilities.
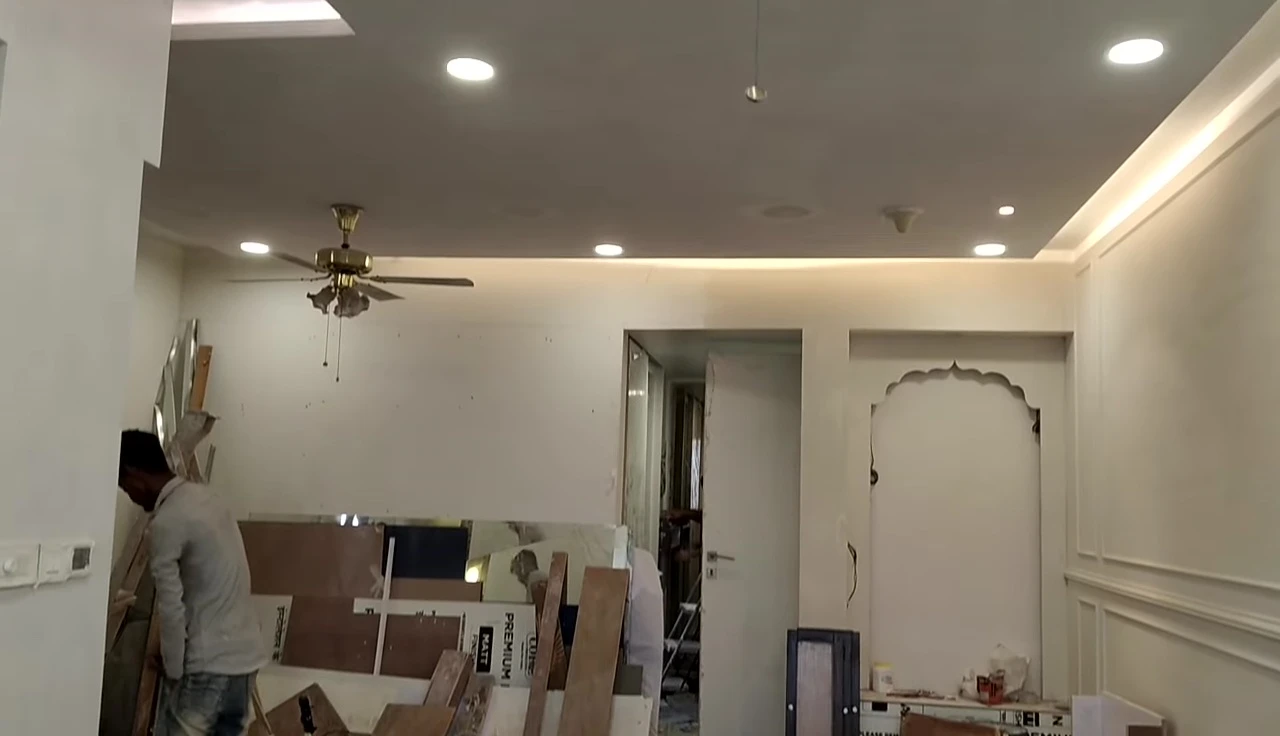
The system also includes manual switch control as a backup. This hybrid approach combines both convenience and reliability, which is essential for a user-friendly experience. The final product is a seamless blend of technology and convenience.
Conclusion: A Seamless Smart Home Lighting Solution
This project successfully integrated a smart lighting system into a home environment. The system offers the benefits of both automated control and manual override, giving users flexibility in how they manage their lighting.
The use of touch panels, light sensors, and traditional switches showcases a sophisticated approach to home automation. The final result is a modern, functional, and aesthetically pleasing lighting solution for the home.