This step-by-step guide provides a comprehensive walkthrough for setting up your TP-Link/Kasa smart plug. Whether you're a seasoned smart home enthusiast or a complete beginner, this tutorial will equip you with the knowledge to effortlessly integrate your new smart plug into your home network. We'll cover everything from the initial plug-in and indicator light checks to connecting to your Wi-Fi network and assigning a custom name and location. By following our clear instructions and accompanying screenshots, you'll be controlling your appliances remotely in minutes.This guide ensures a smooth and efficient setup process, minimizing any potential frustration. We'll address common issues and provide helpful tips to troubleshoot any problems you might encounter along the way. By the end of this guide, you'll not only have a successfully configured smart plug but also a better understanding of the Kasa Smart app and its capabilities. Get ready to experience the convenience and control offered by TP-Link/Kasa smart plugs – your gateway to a smarter home.
Read more: AMI Meter Reading Guide: Understanding Your Smart Electricity Meter
Plugging In and Initial Setup
Begin by plugging your TP-Link/Kasa smart plug into a power outlet. This might seem obvious, but it's the crucial first step. Once plugged in, wait for the indicator light on the plug to start blinking. This usually involves a sequence of blue and red lights, signaling that the plug is ready to be connected to your Wi-Fi network. Make sure you are using the official TP-Link app, usually called 'Kasa Smart' for optimal results.
The blinking light confirms that the plug is in pairing mode. Note the color pattern as this might slightly vary across the different Kasa smart plug models. Ensure your mobile device has a stable internet connection to ensure a smooth setup process. This ensures the app can communicate effectively with your smart plug.
Connecting Through the Kasa Smart App
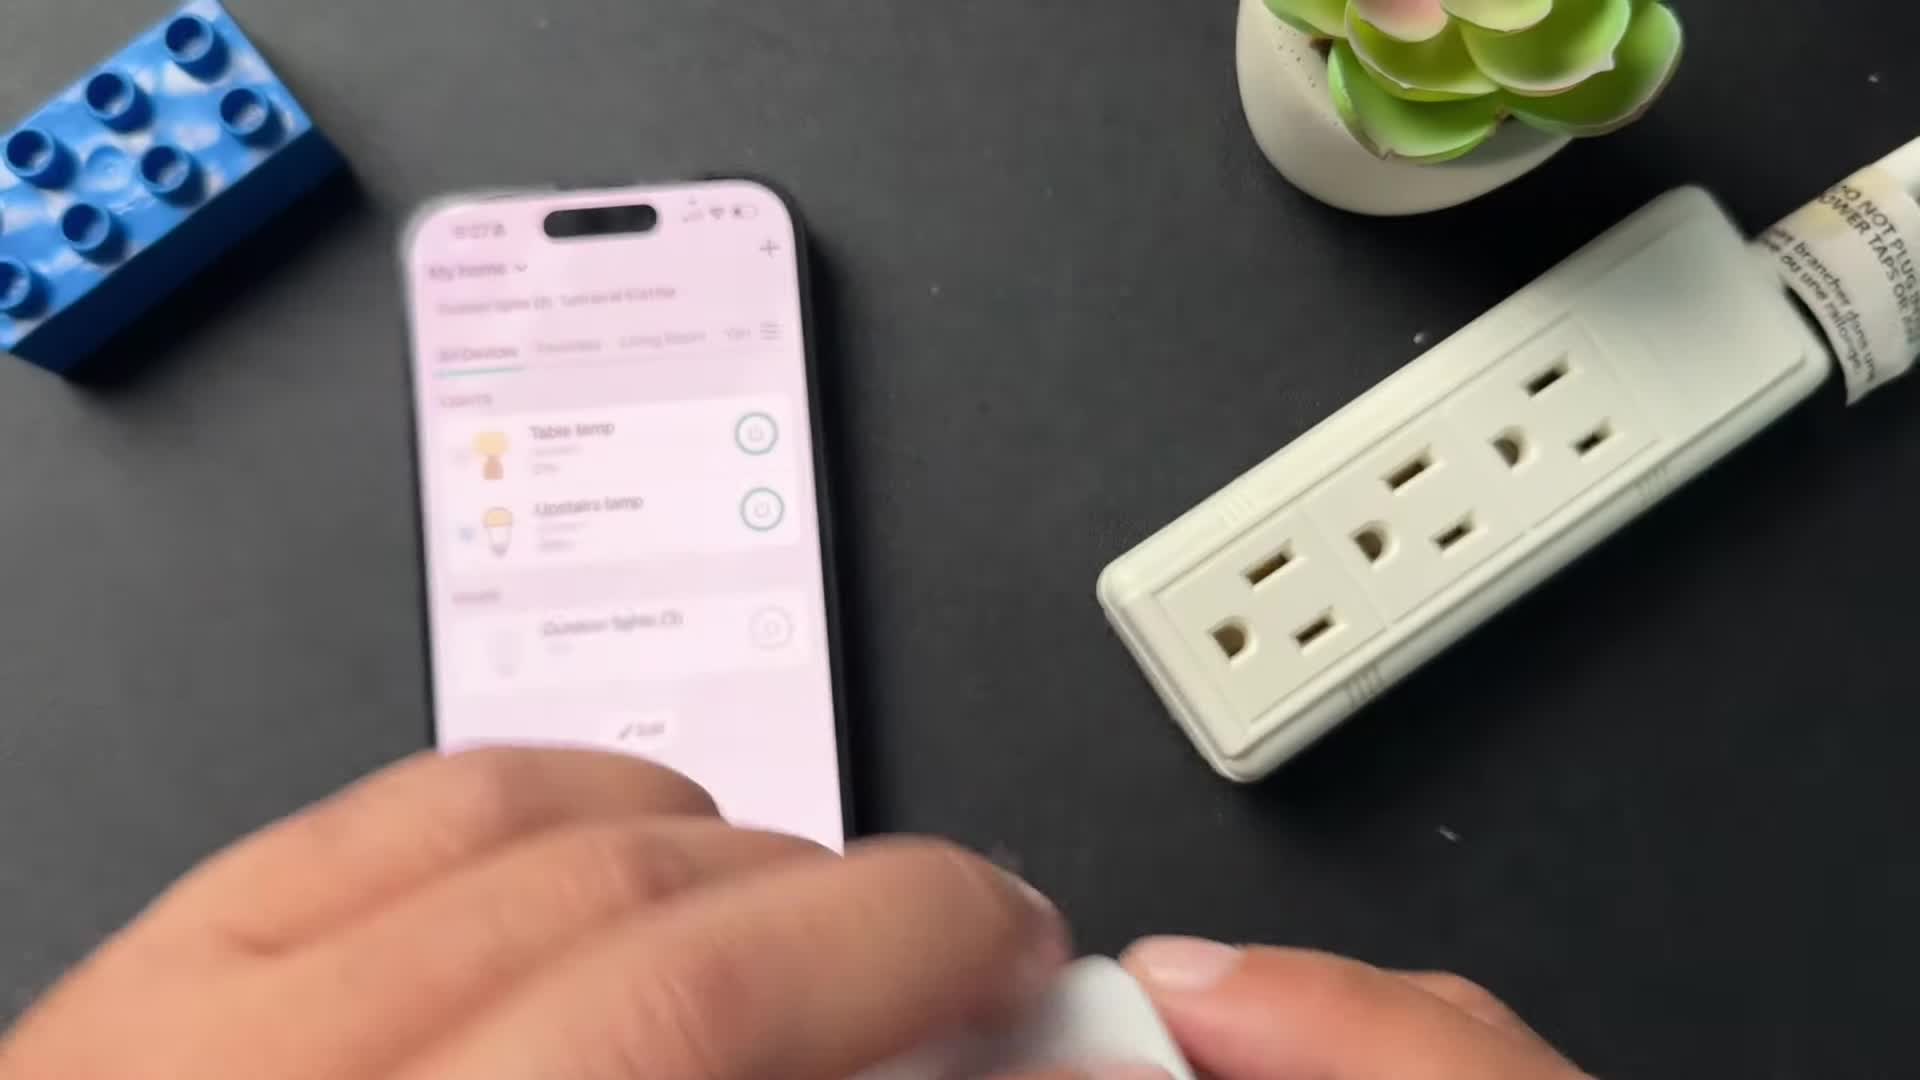
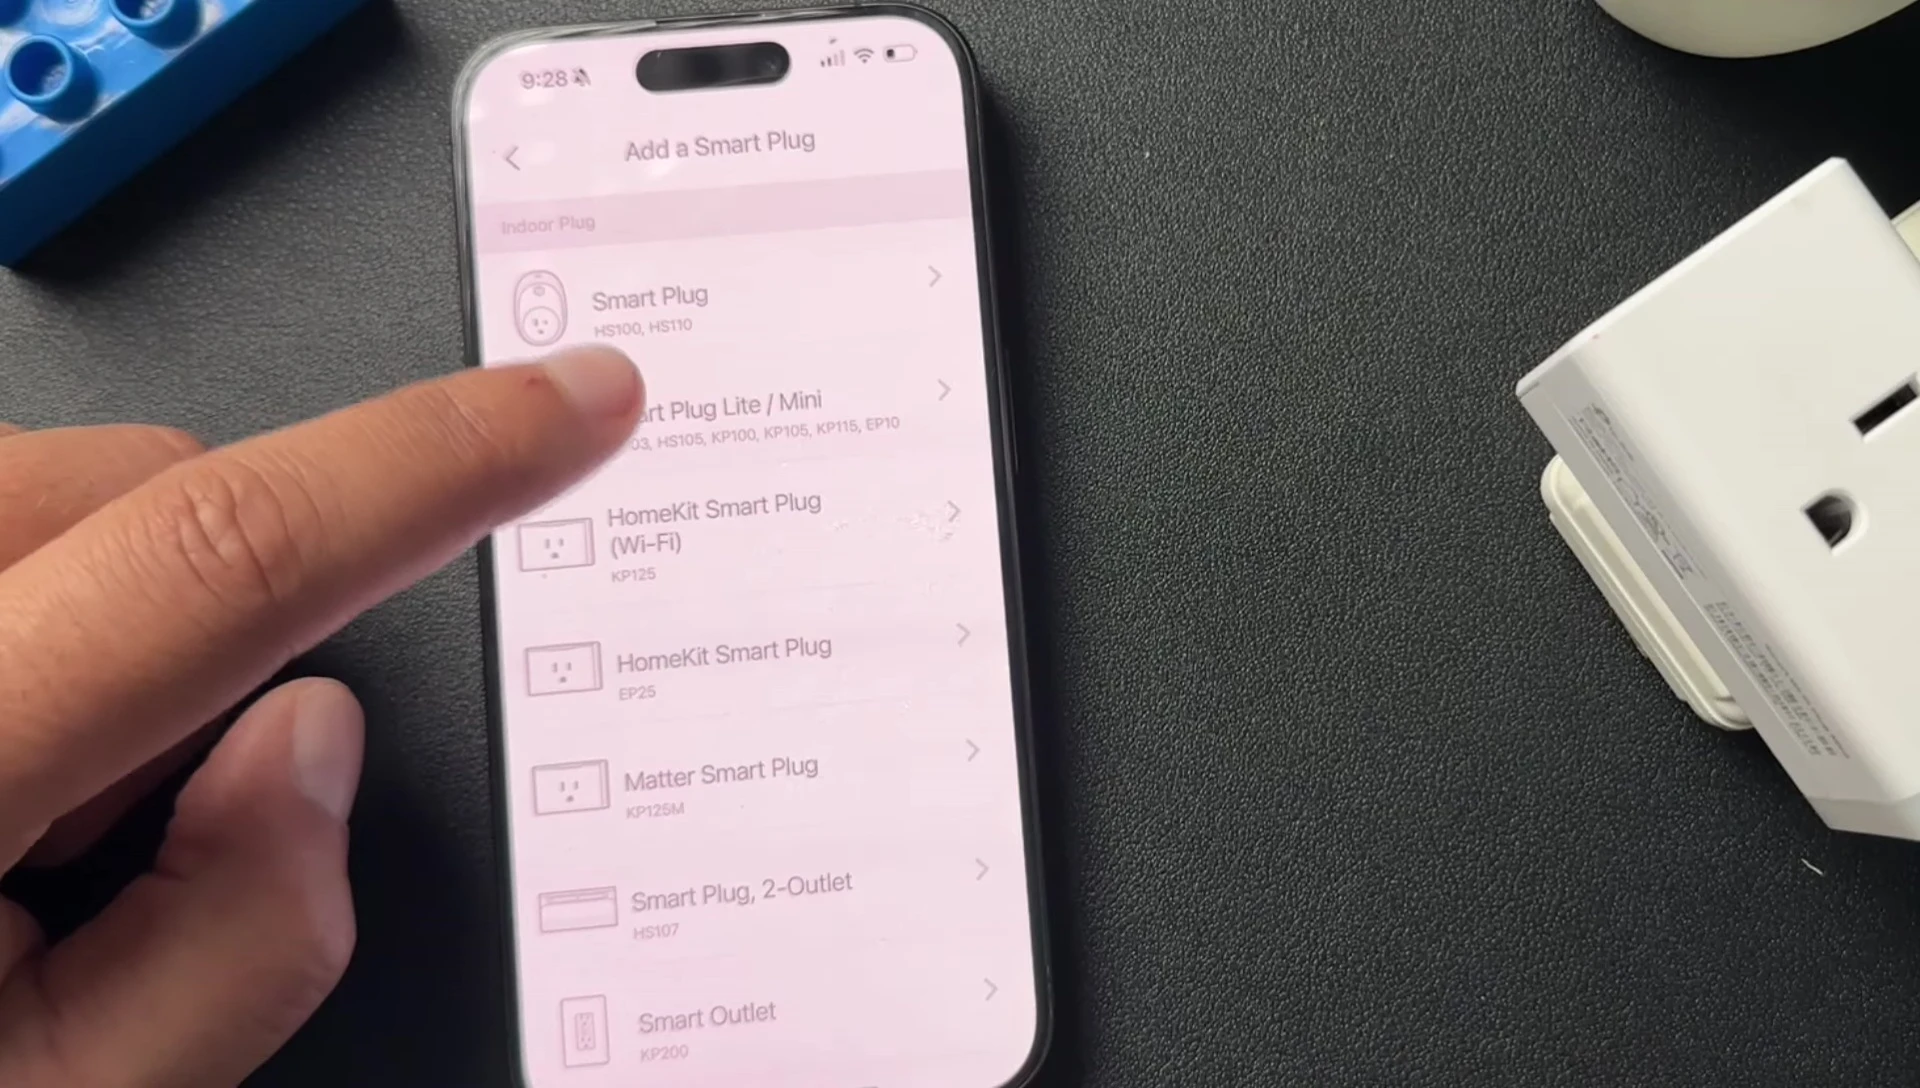
Open the Kasa Smart app on your smartphone. Navigate to the homepage and tap the plus sign (+) icon usually located in the upper right-hand corner. Select 'Add Device' and then choose 'Smart Plugs'. The app should now guide you through the next steps. It is important to select the correct model of your Kasa smart plug to avoid any compatibility issues.
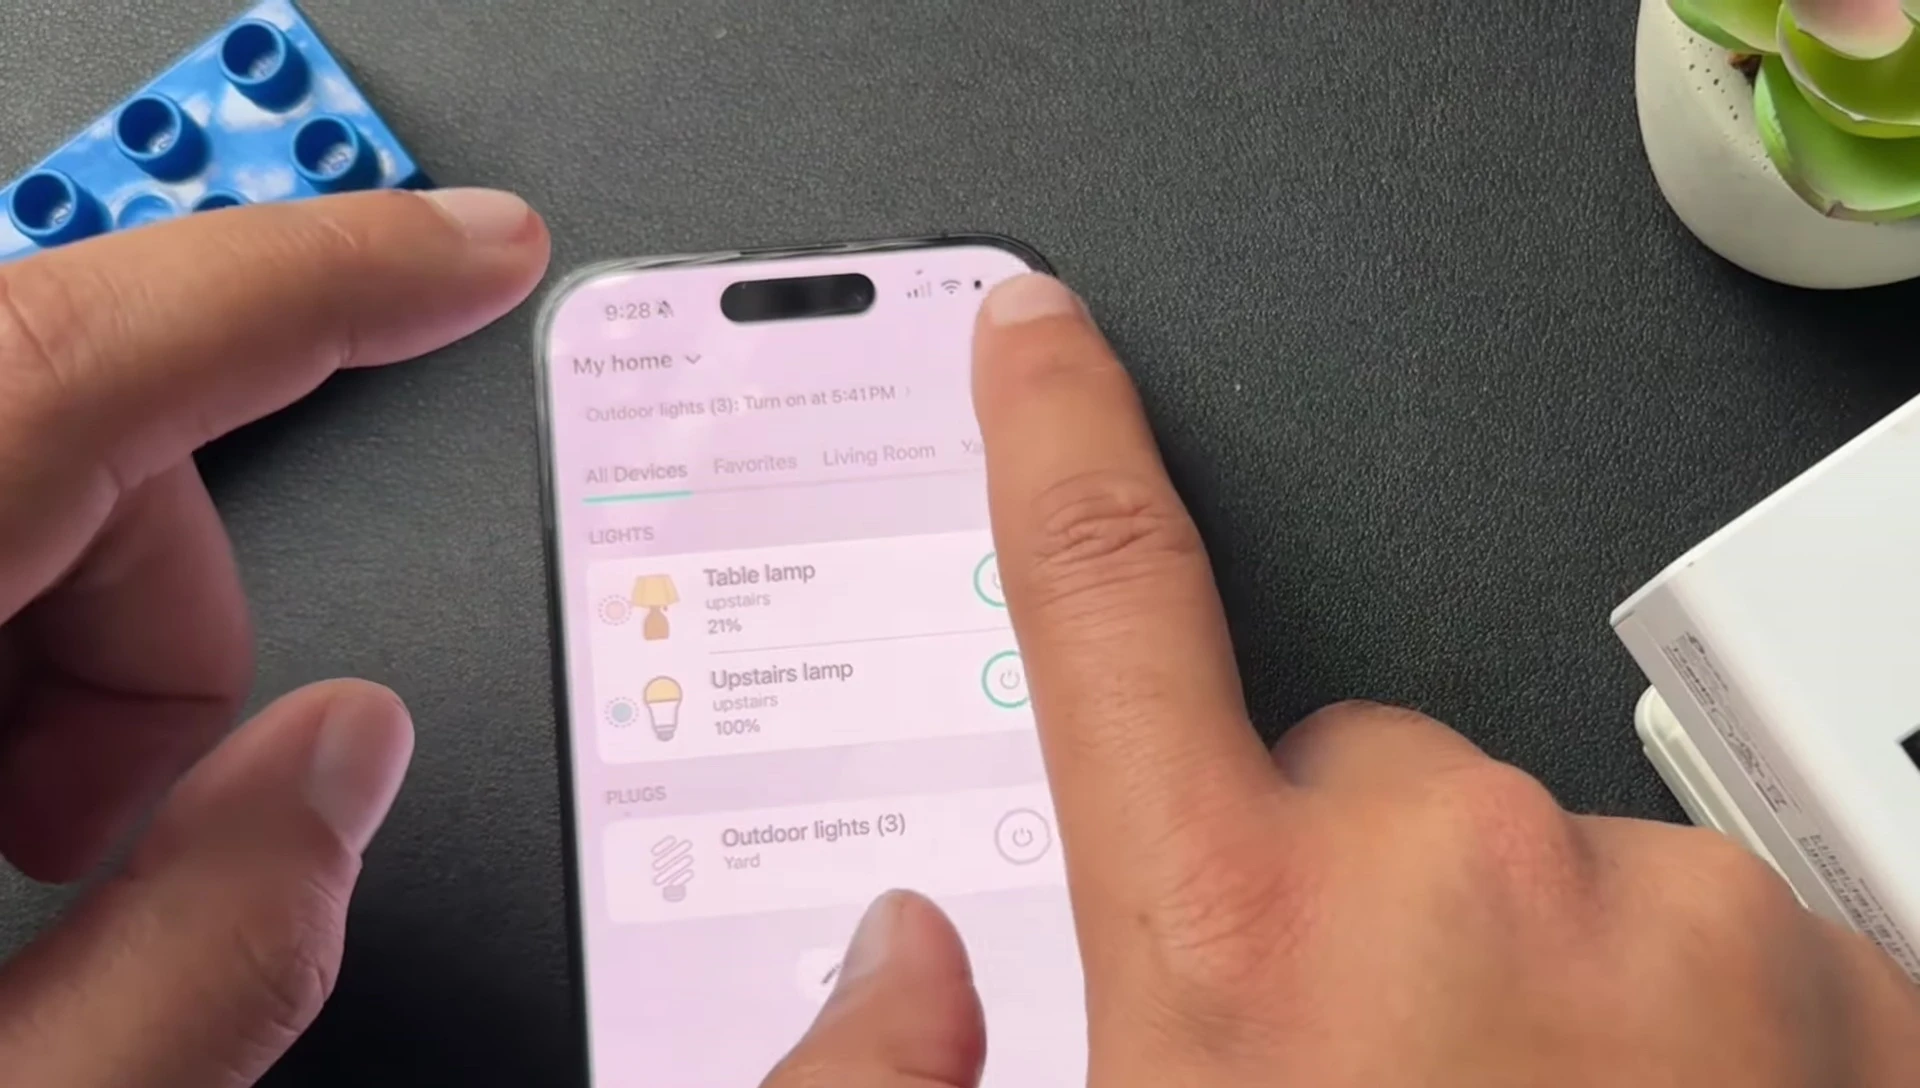
The app will likely prompt you to confirm that the plug is plugged in and that the indicator light is blinking. Once confirmed, tap 'Next'. This process ensures that the app is communicating correctly with the device before proceeding.
Wi-Fi Connection and Network Selection
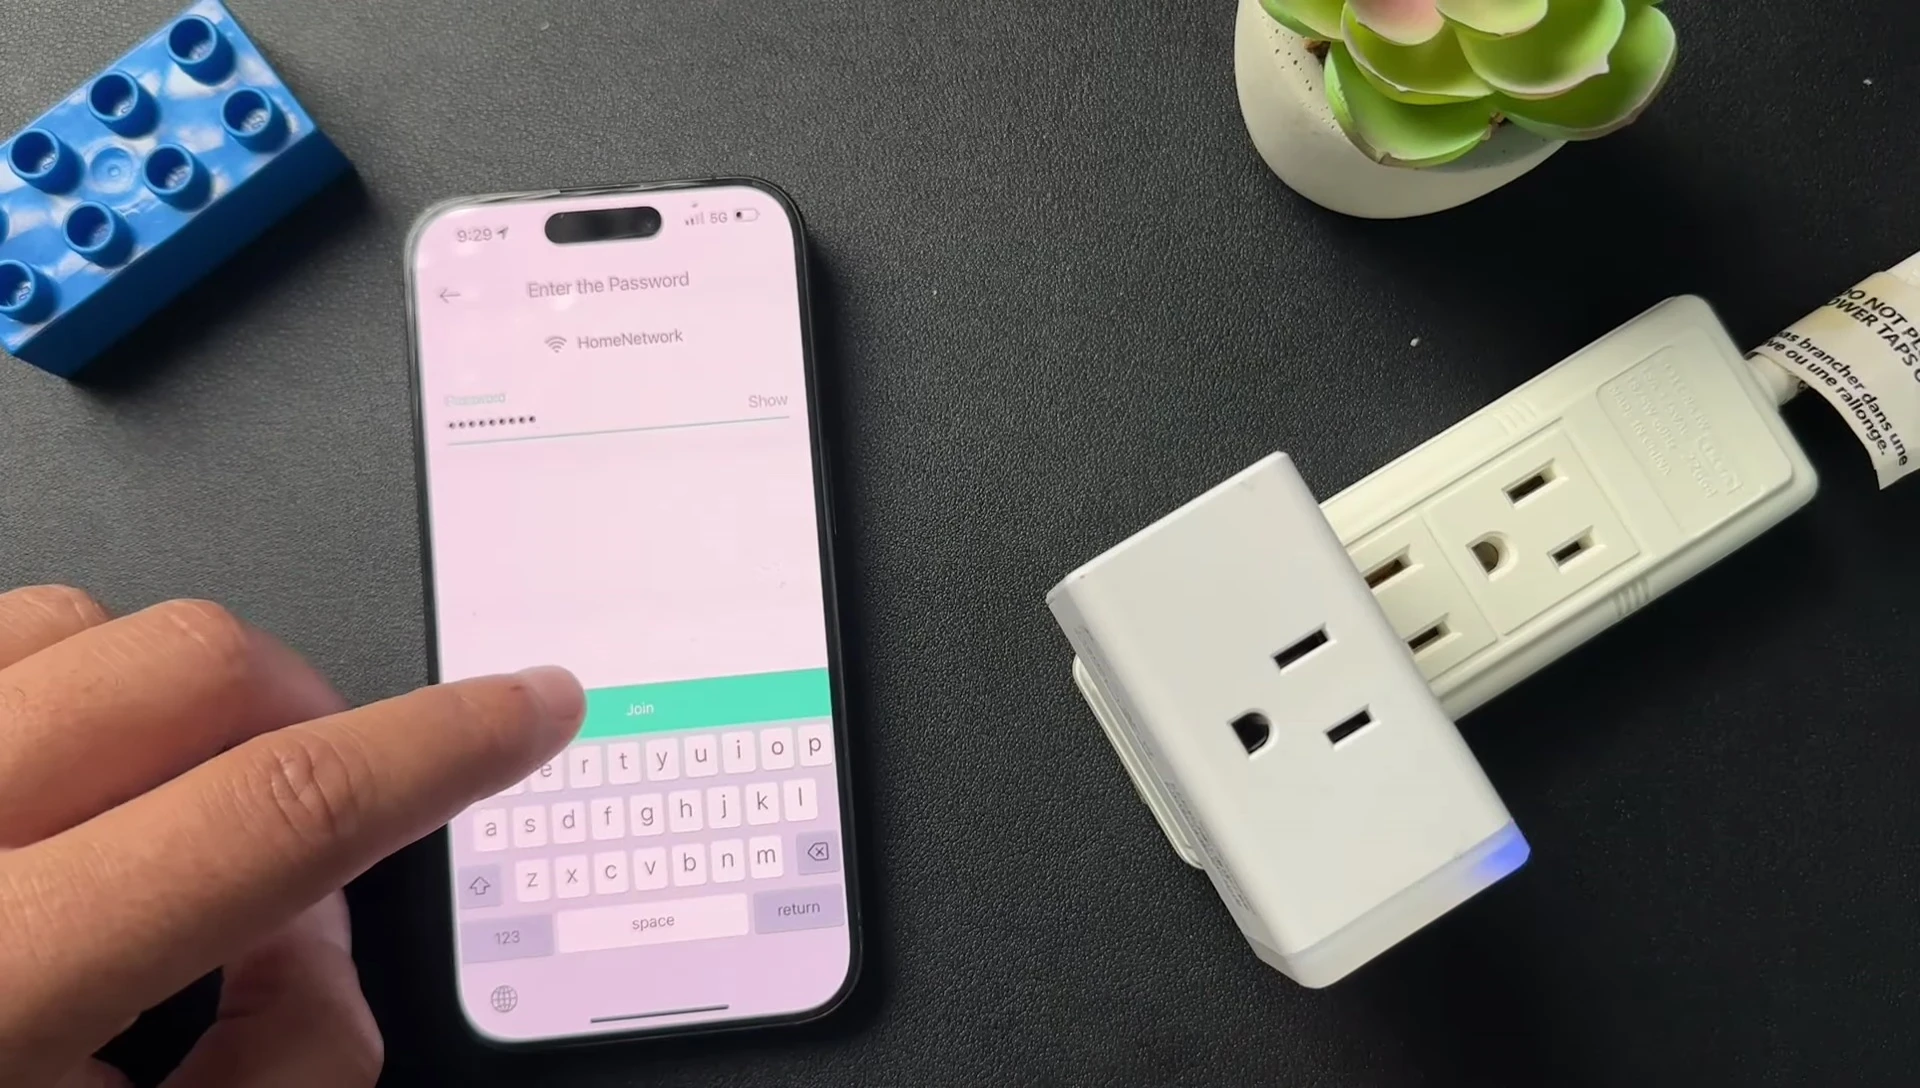
Now, you need to connect the smart plug to your home Wi-Fi network. The exact method for this might vary slightly based on your smartphone's operating system (iOS or Android). For iOS, access your Wi-Fi settings typically by swiping down from the top right corner and selecting the Wi-Fi icon, the exact method will depend on your iOS version.
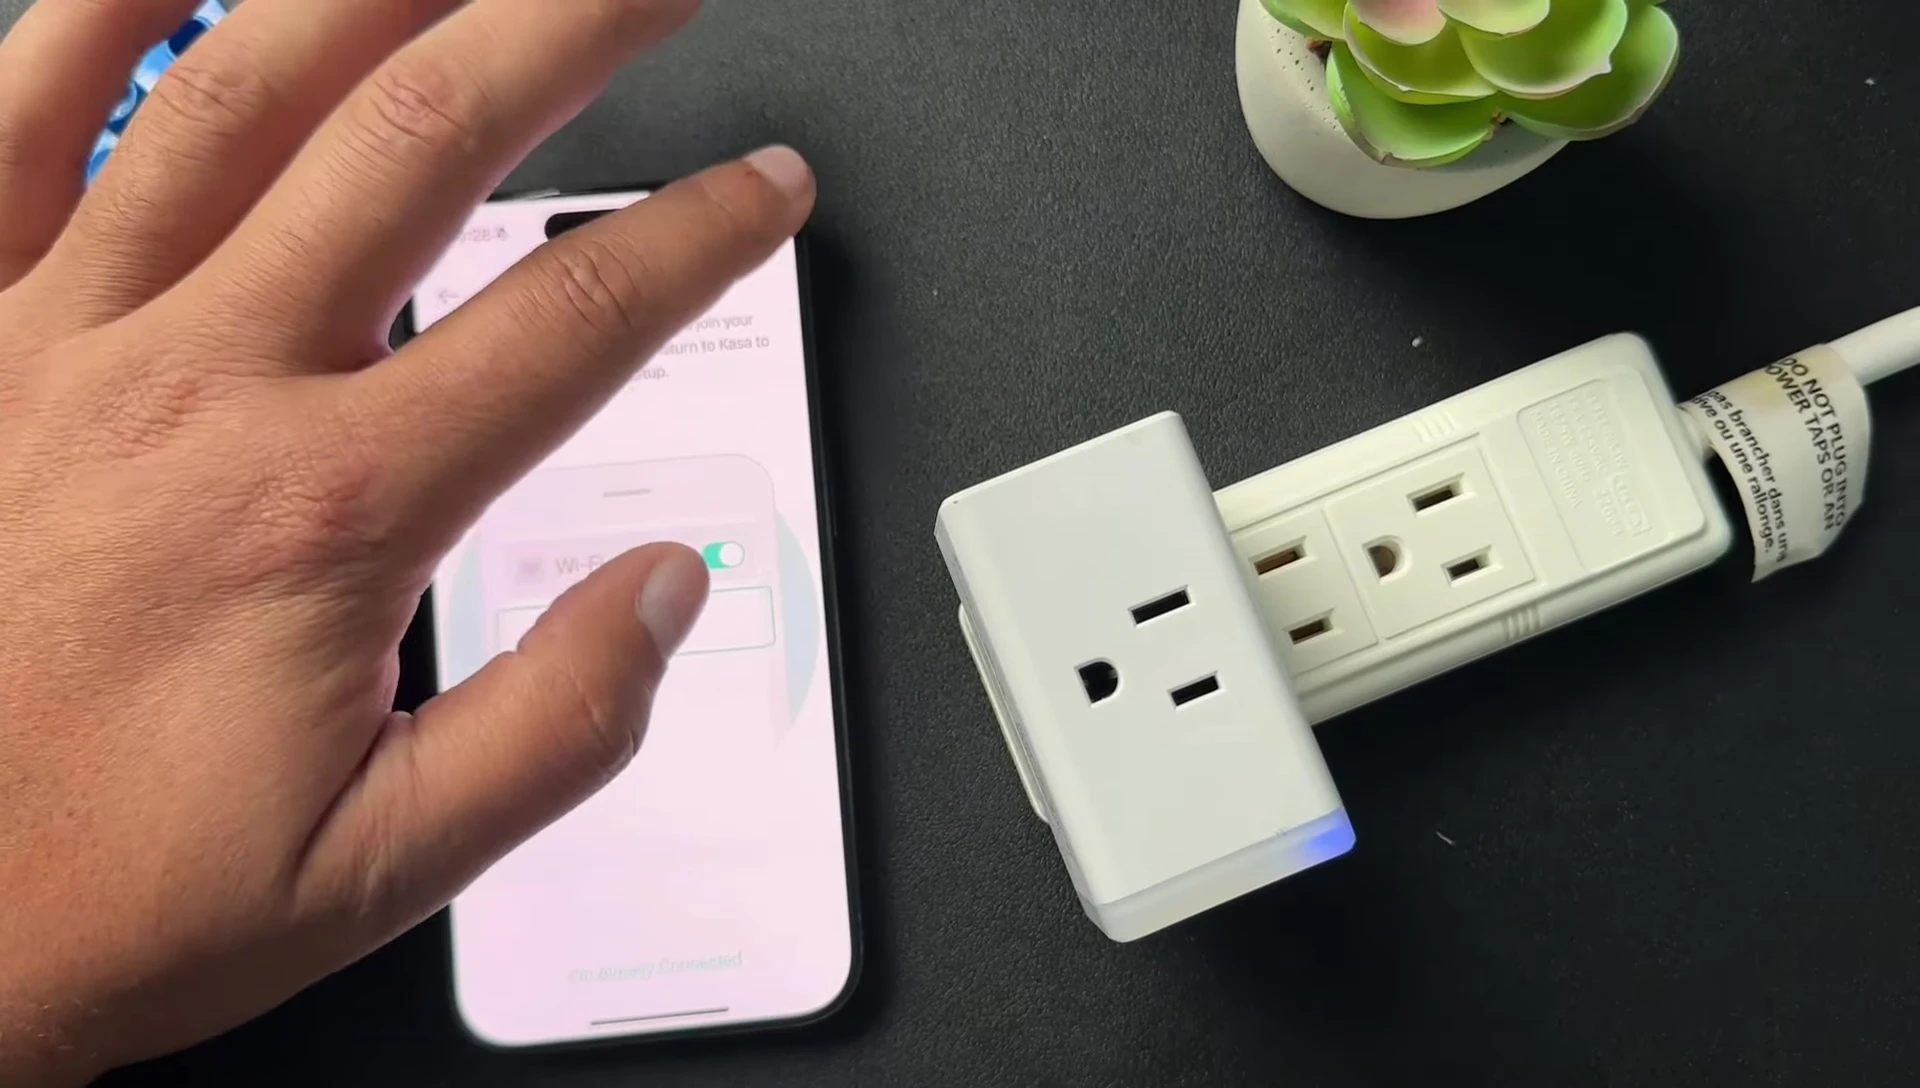
Once your Wi-Fi settings are open, locate the network name associated with your TP-Link/Kasa smart plug (it will often have a unique name). Select this network and enter your Wi-Fi password. The app should automatically detect the device after successfully connecting to its network.
Finalizing Setup and Testing
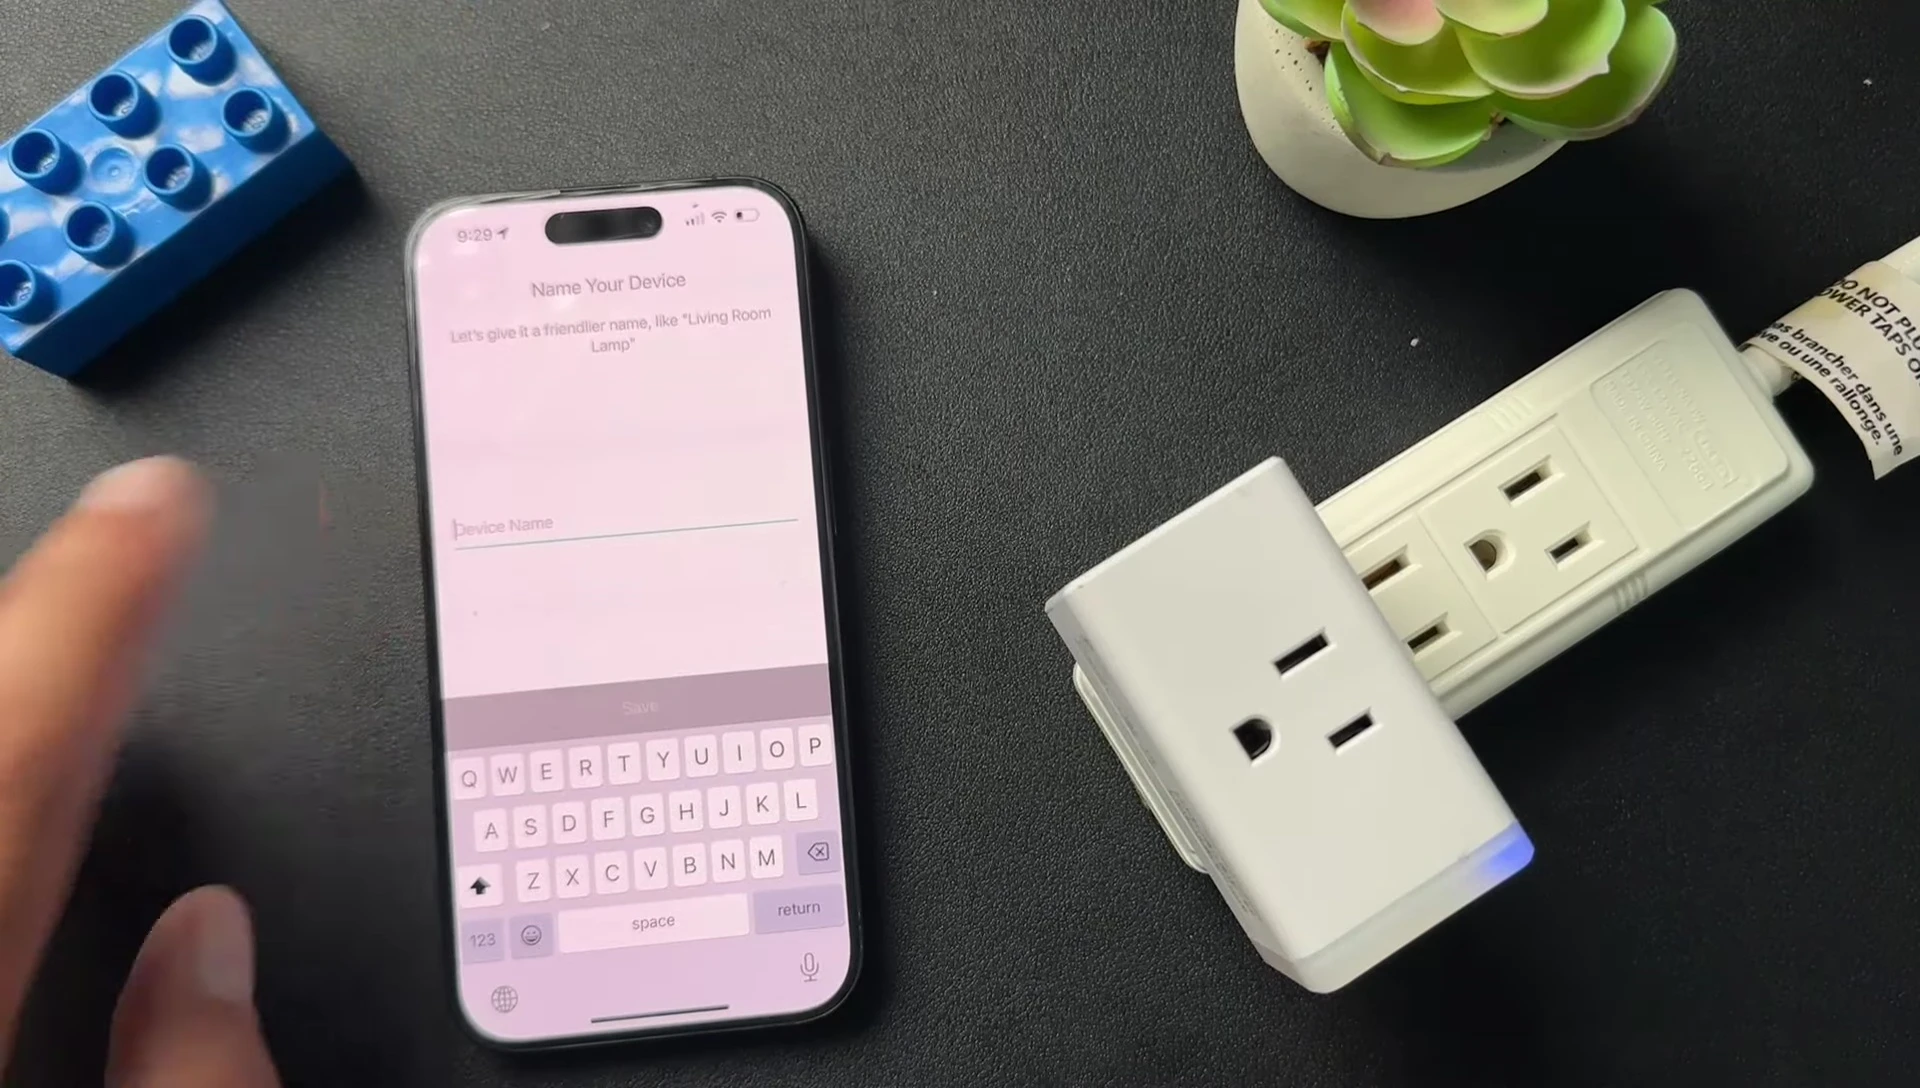
After successfully connecting to your Wi-Fi, the app will ask you to name your smart plug. Choose a descriptive name for easy identification and management. You might also have the option to assign an icon for better visual organization within the app. Confirm your plug's location as requested.
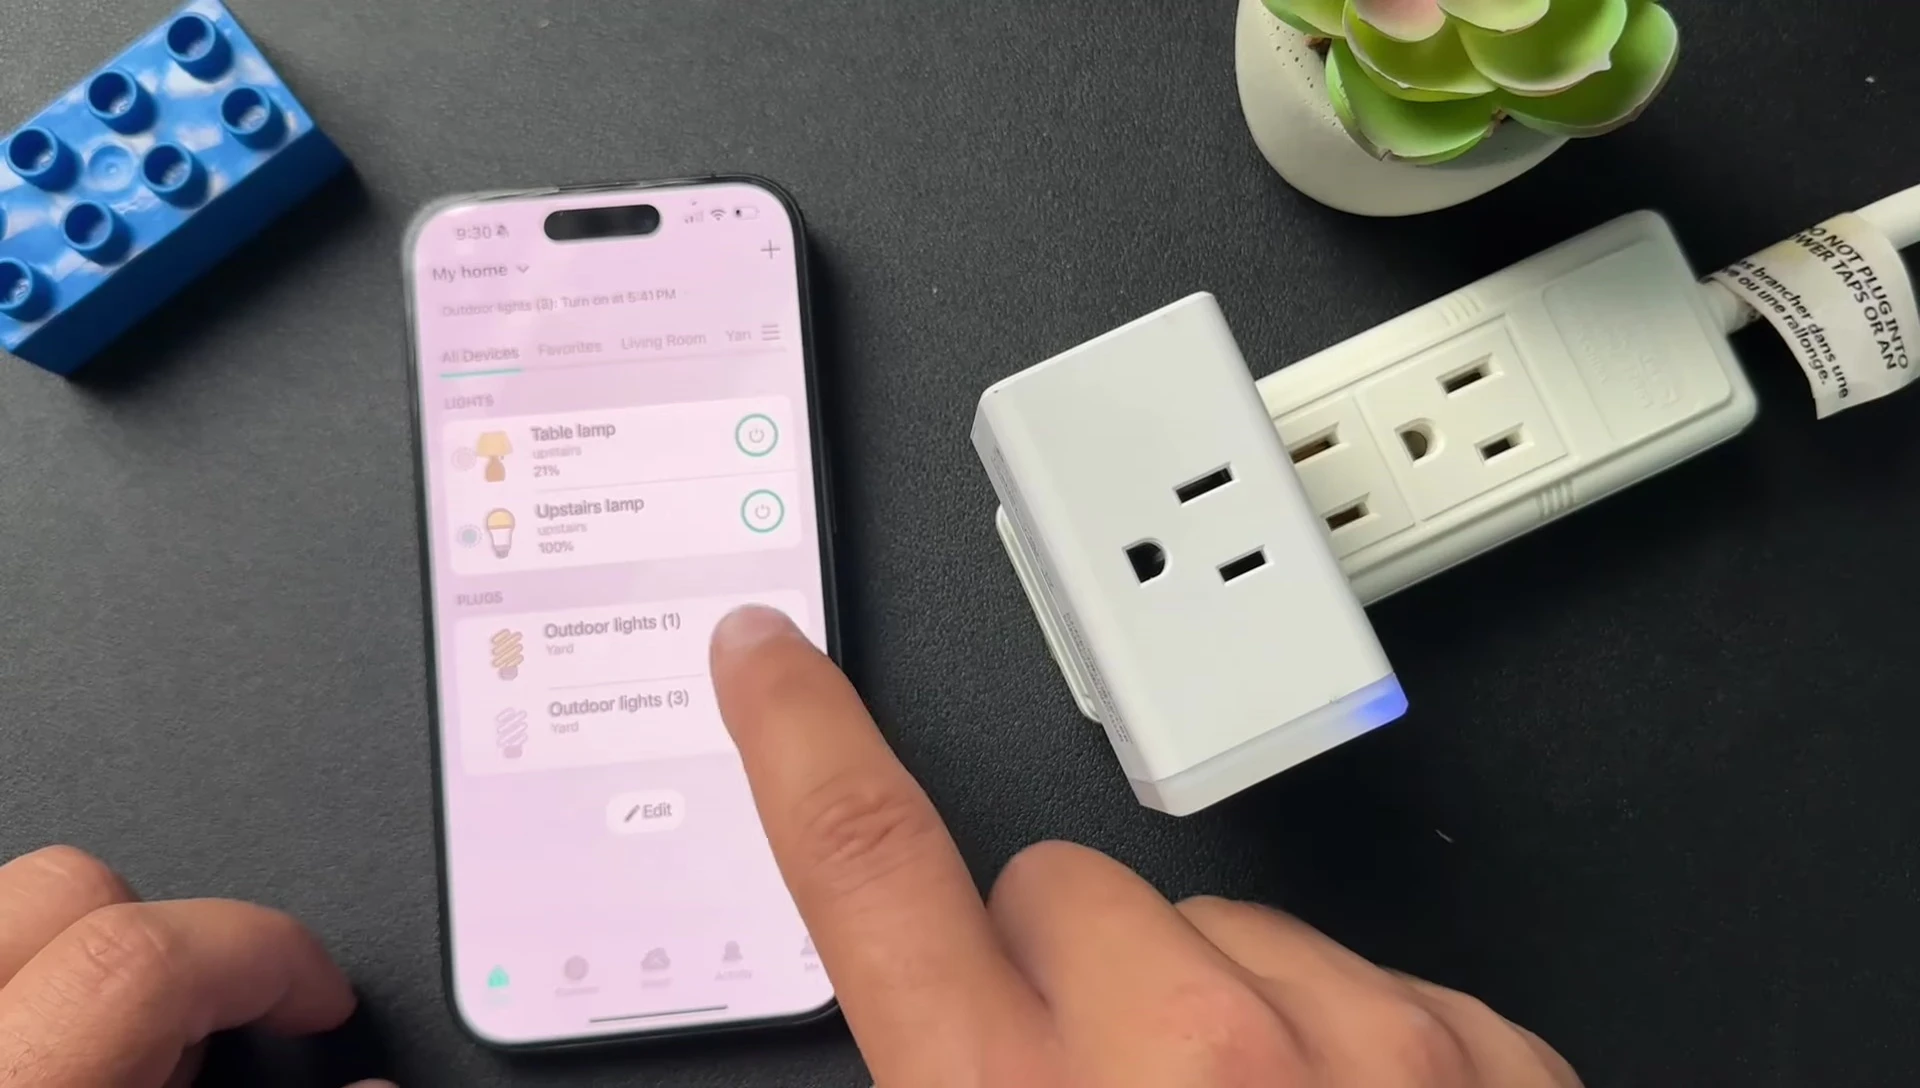
Once you've completed the naming and location setup, the final step is to test the plug. Turn it on and off through the app to verify its functionality and its successful integration with your smart home ecosystem.
Conclusion
Setting up a TP-Link/Kasa smart plug is a straightforward process. The key is to follow the app's instructions carefully and ensure your device is properly plugged in and your Wi-Fi network is stable. The whole process typically takes only a few minutes.
TP-Link/Kasa smart plugs offer a budget-friendly and reliable way to automate your home appliances. Their ease of use and broad compatibility make them a great choice for both beginners and experienced smart home users. The ability to control devices remotely is a significant advantage. They are a worthwhile addition to any smart home setup.