This comprehensive guide provides a step-by-step tutorial for installing the Verdant VX4 Wireless Smart Thermostat. We'll walk you through every stage of the process, from unpacking the components and setting up the online connection kit to mounting the thermostat and configuring its advanced settings. Whether you're a seasoned DIY enthusiast or a novice, this guide will equip you with the knowledge and instructions to successfully install your Verdant VX4 and begin enjoying its energy-saving features and convenient smart home integration. We'll cover essential aspects like wiring your HVAC system, pairing the thermostat with the control card, and utilizing optional accessories such as the occupancy sensor.This guide aims to simplify the installation process, minimizing potential challenges. We’ll address crucial aspects like understanding the different ports on the HVAC controller, choosing the optimal location for your thermostat, and troubleshooting common issues. Detailed instructions and visual aids, where applicable, will ensure a smooth and efficient installation. Remember to consult your HVAC system’s documentation and always prioritize safety by turning off power before beginning any wiring. With this guide, you'll be well-prepared to transform your home's climate control with the Verdant VX4.
Pros And Cons
- Seamless wireless thermostat control for most HVAC units
- Features J6 0 to 10 VDC and J4 RS485 ports for analog and digital control
- Relay J3 24 VAC outputs ensure compatibility with virtually any HVAC system
- Antenna module must be installed within 100 ft of the first few thermostats and must not be installed near large metal structures or surfaces
- Avoid placing near large metal structures, windows, door vents, exterior walls, or above/below supply vents
Read more: AMI Meter Reading Guide: Understanding Your Smart Electricity Meter
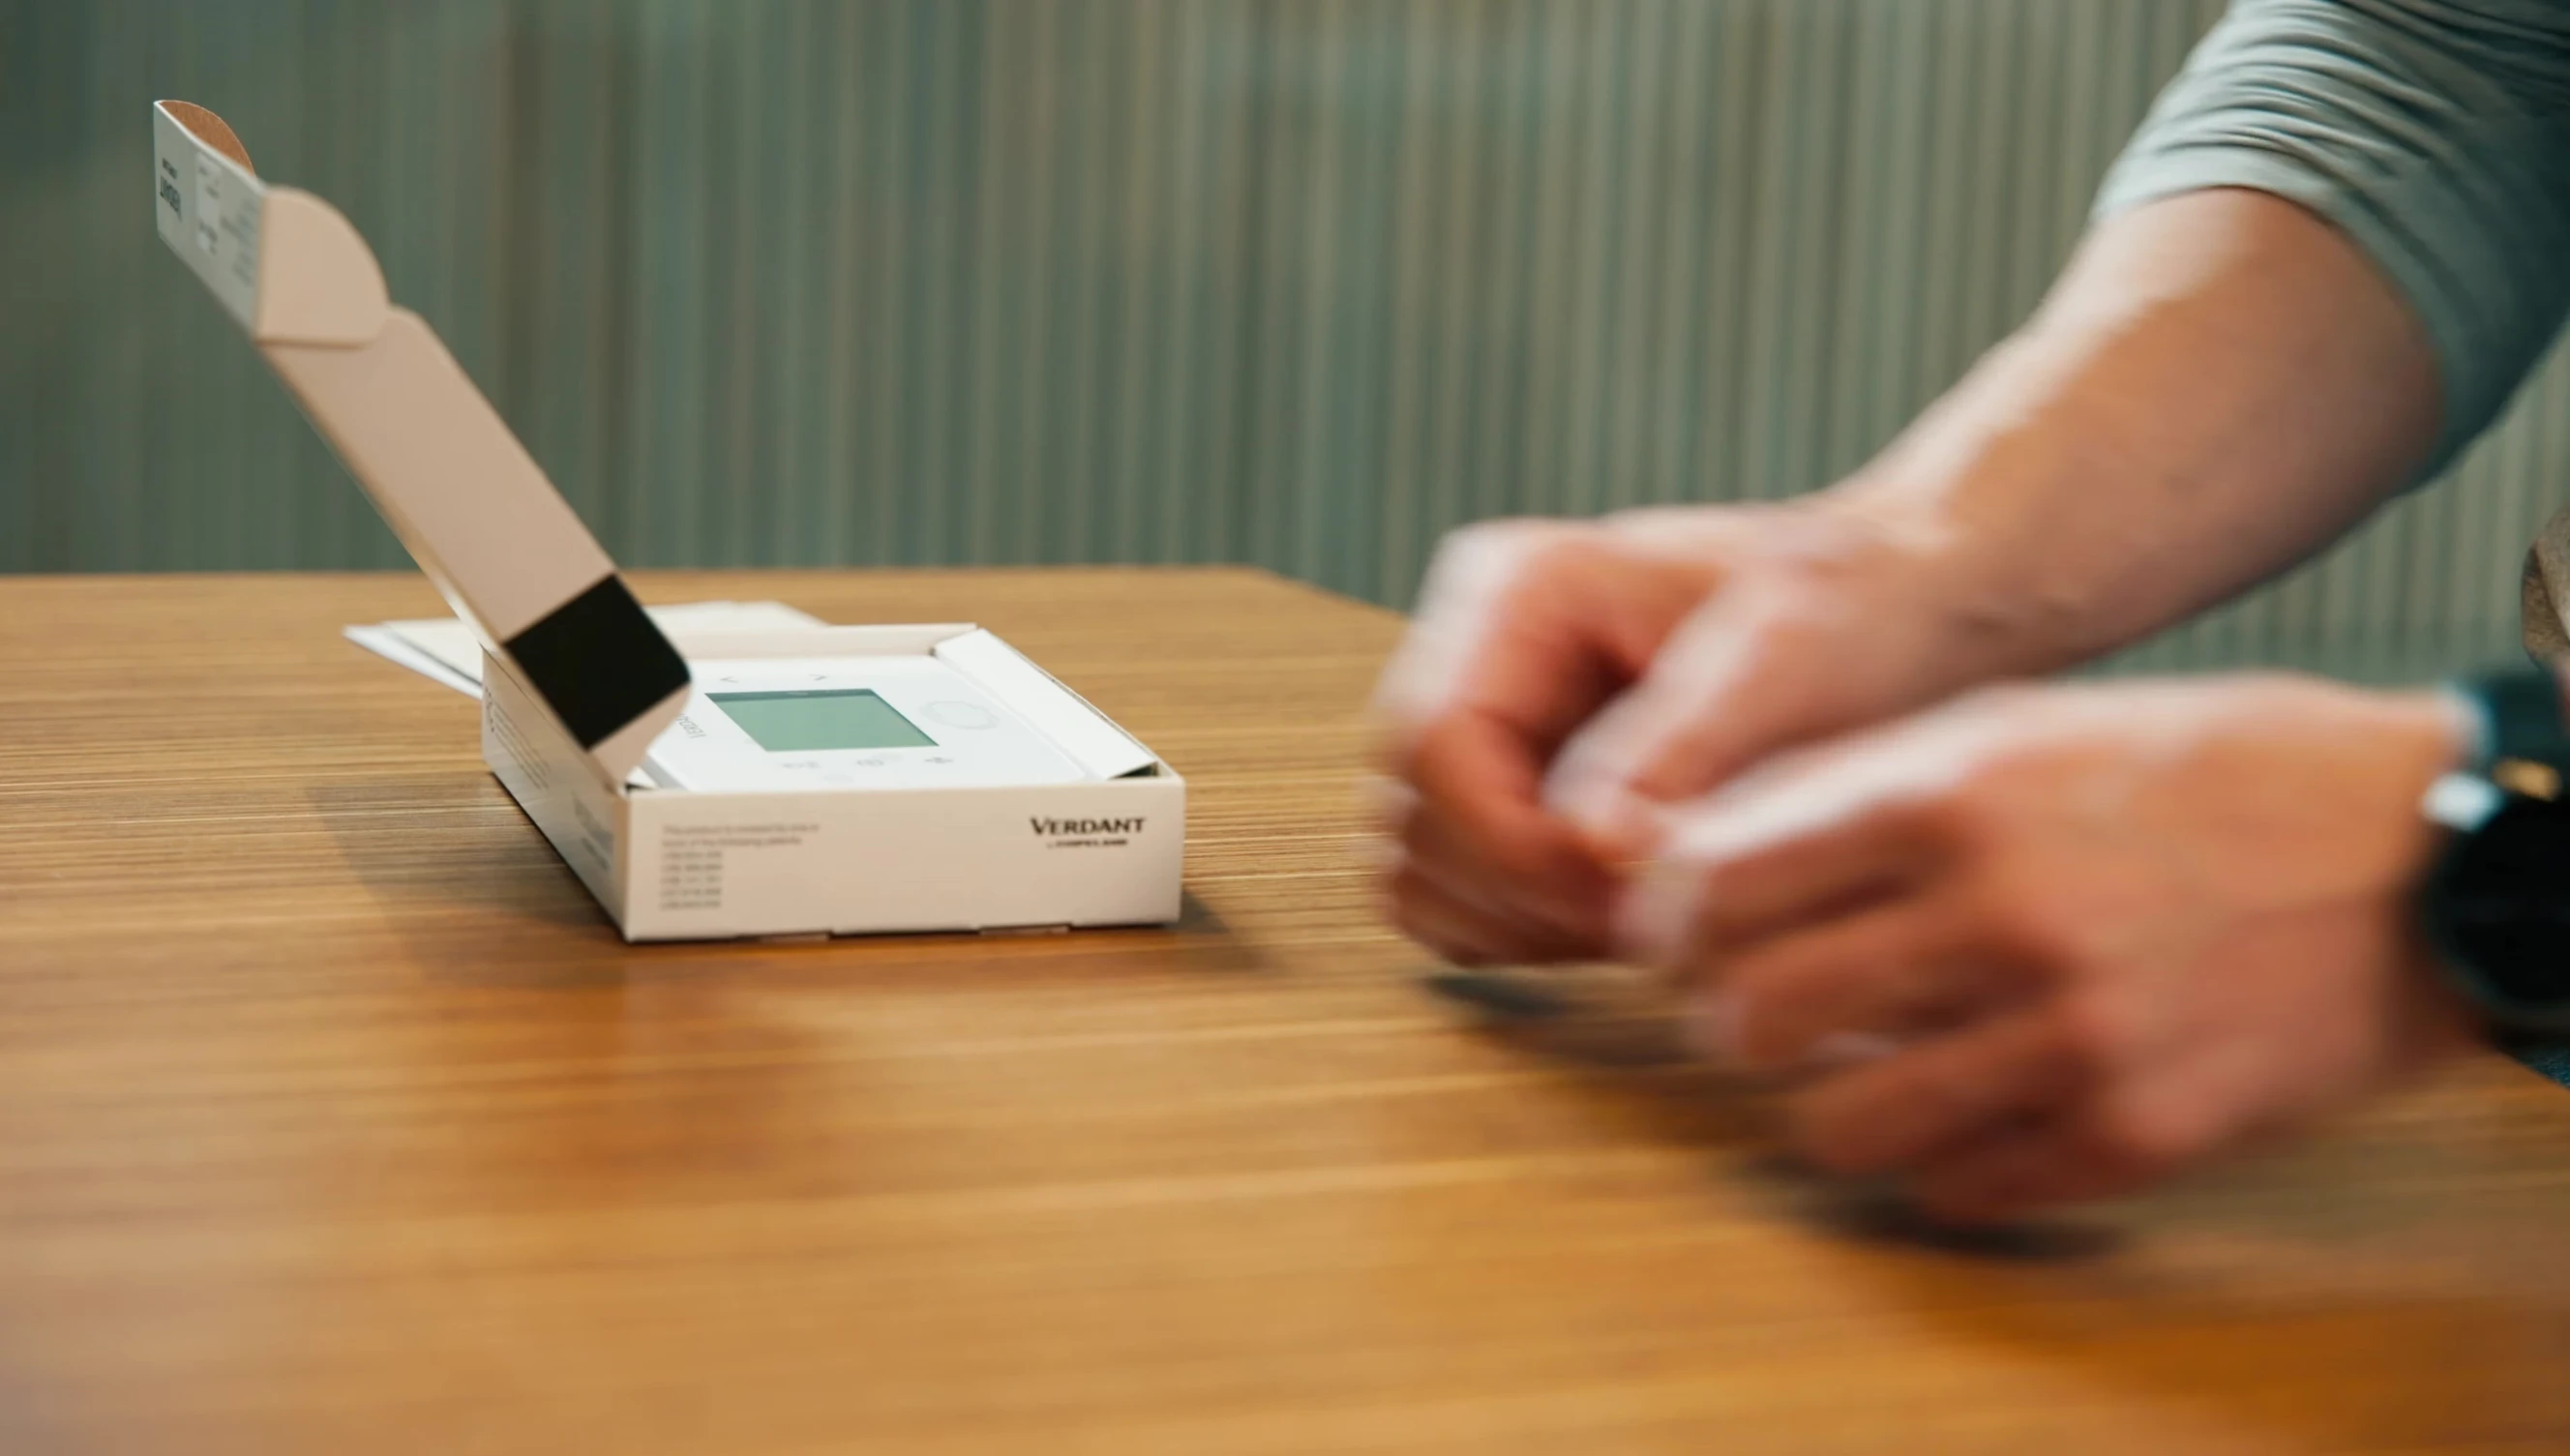
Unboxing and Component Identification
Before beginning the installation, carefully unpack your Verdant VX4 Smart Thermostat and identify all included components. This includes the thermostat itself, the central control card, and the online connection kit which is crucial for networking.
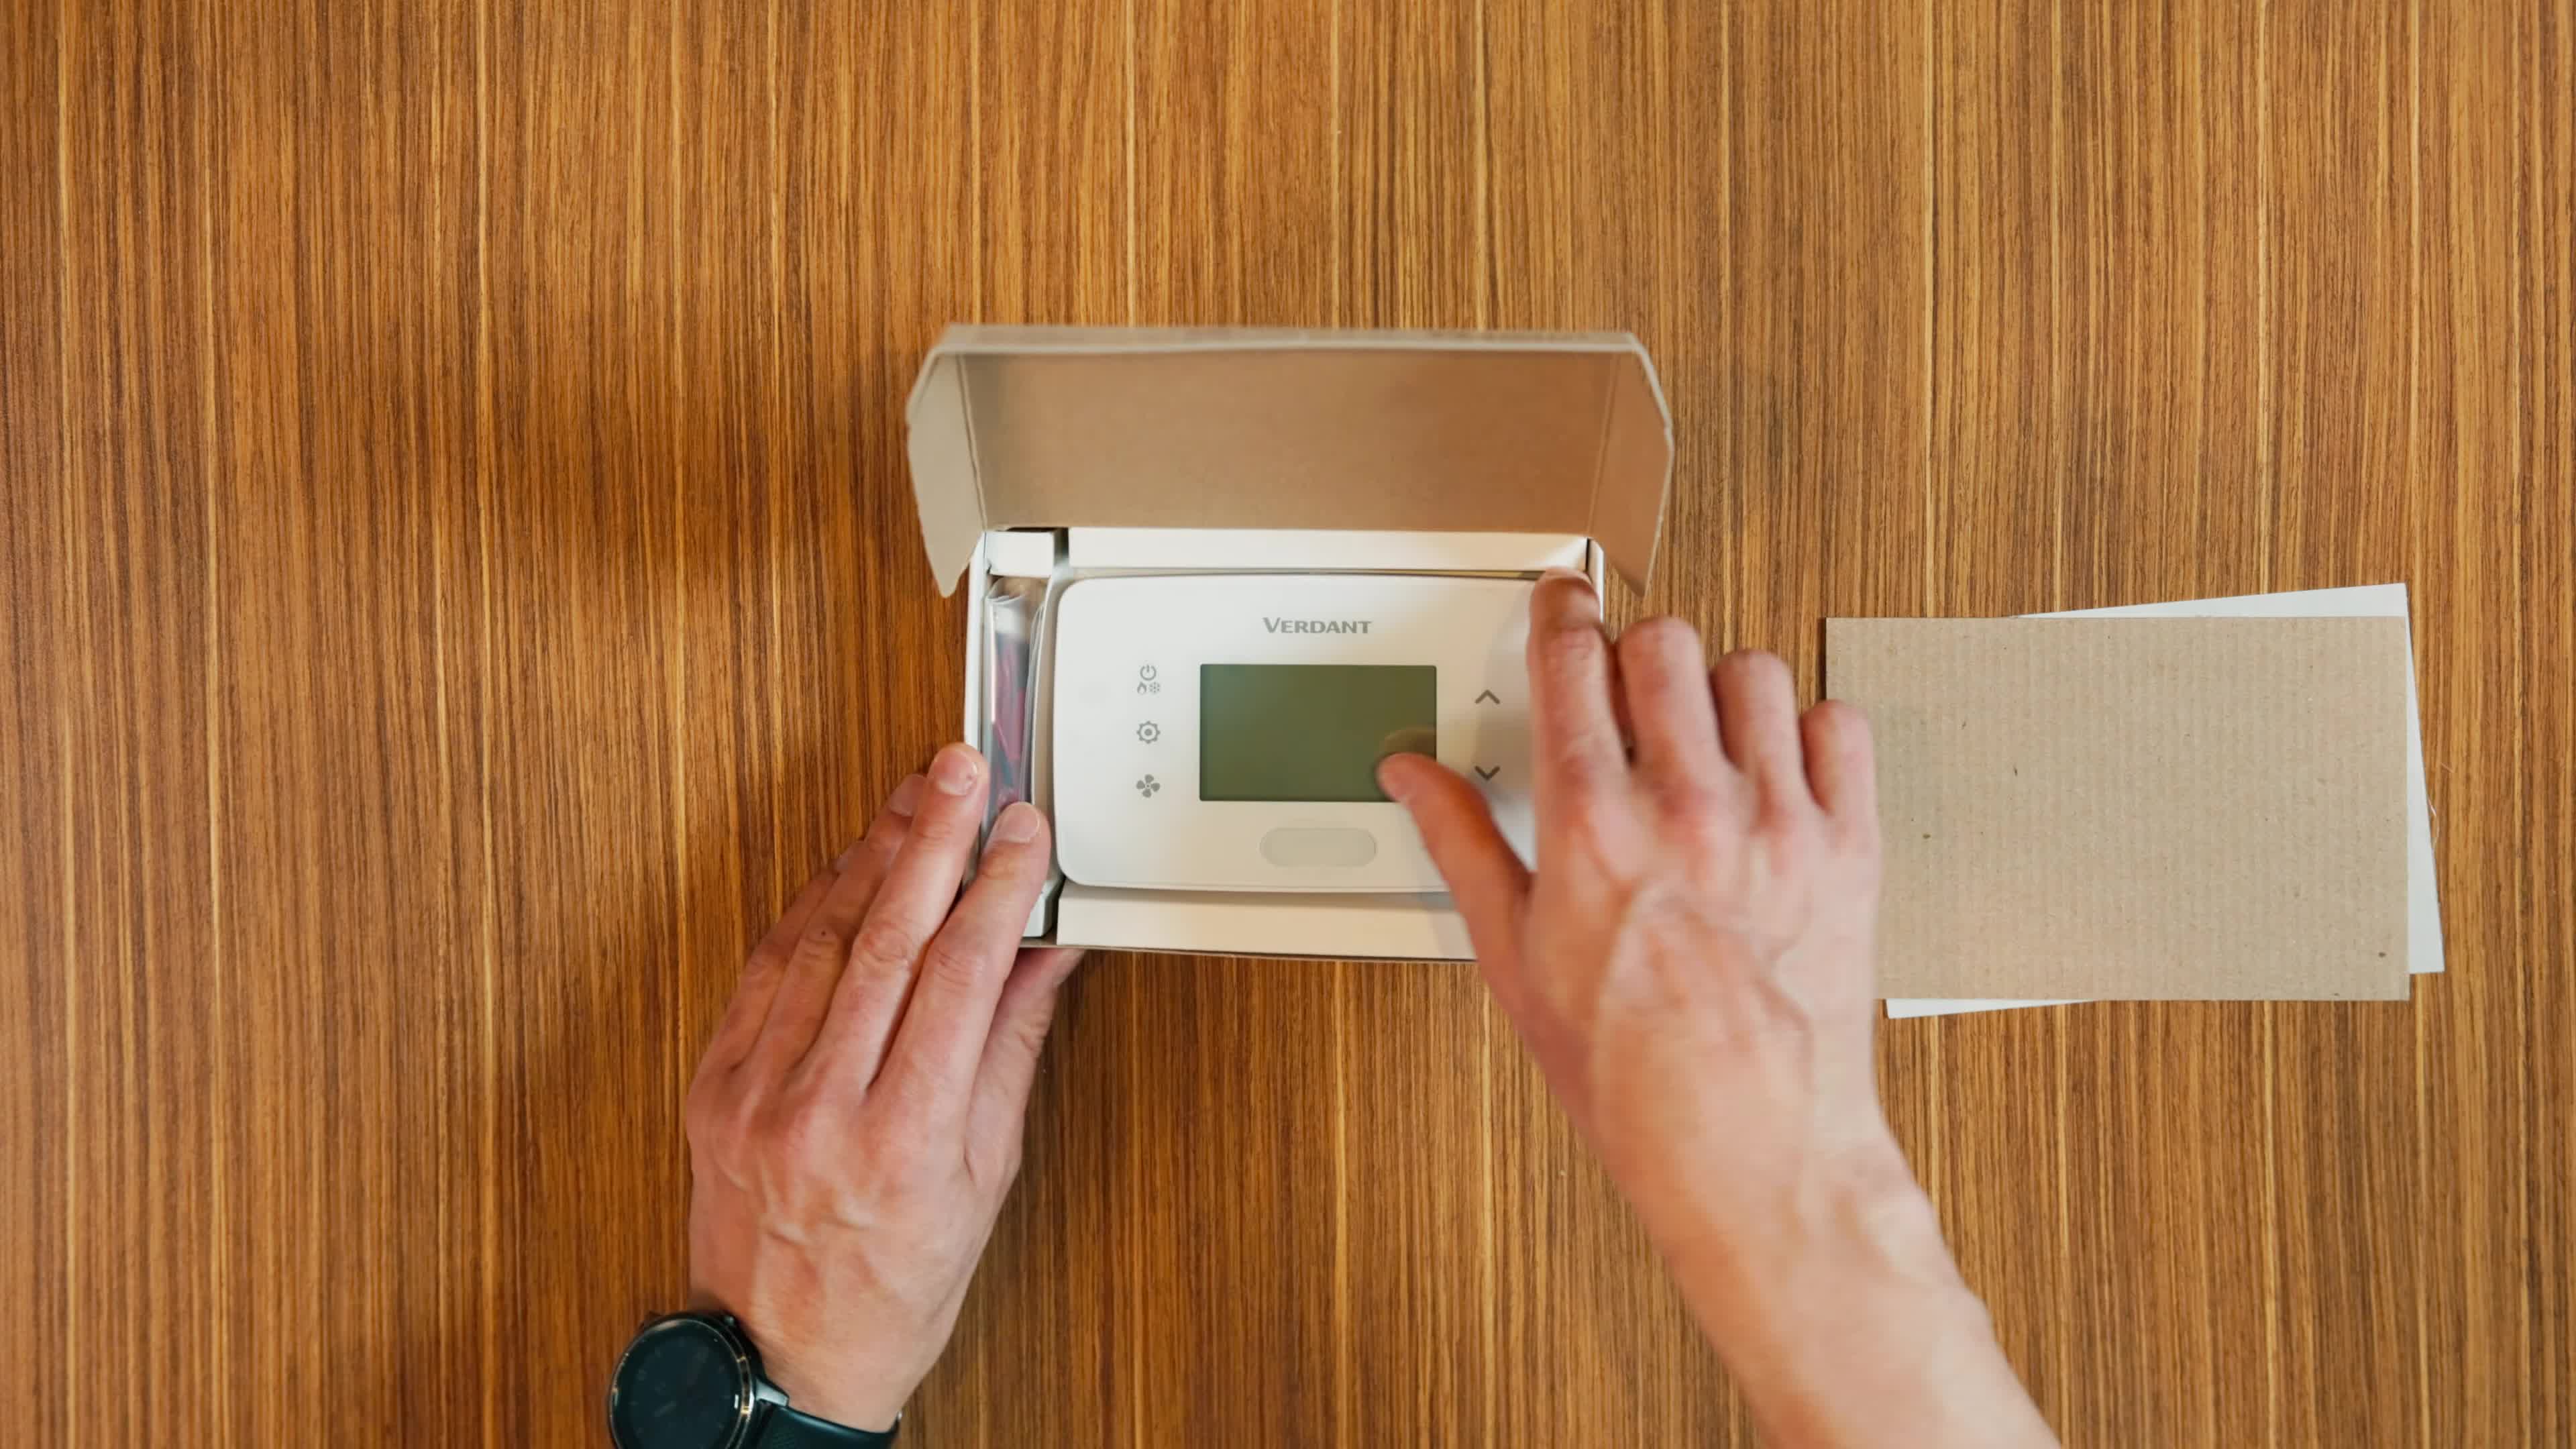
Also check for optional accessories such as the occupancy sensor, a wall plate, door/window sensors, and VRF adapters (if applicable to your system). Familiarize yourself with each component before proceeding to ensure you have everything needed.
The high-voltage control card (ZXHV) is important for managing high voltage connections in your HVAC system. Understanding these components will streamline the installation process.
Installing the Online Connection Kit
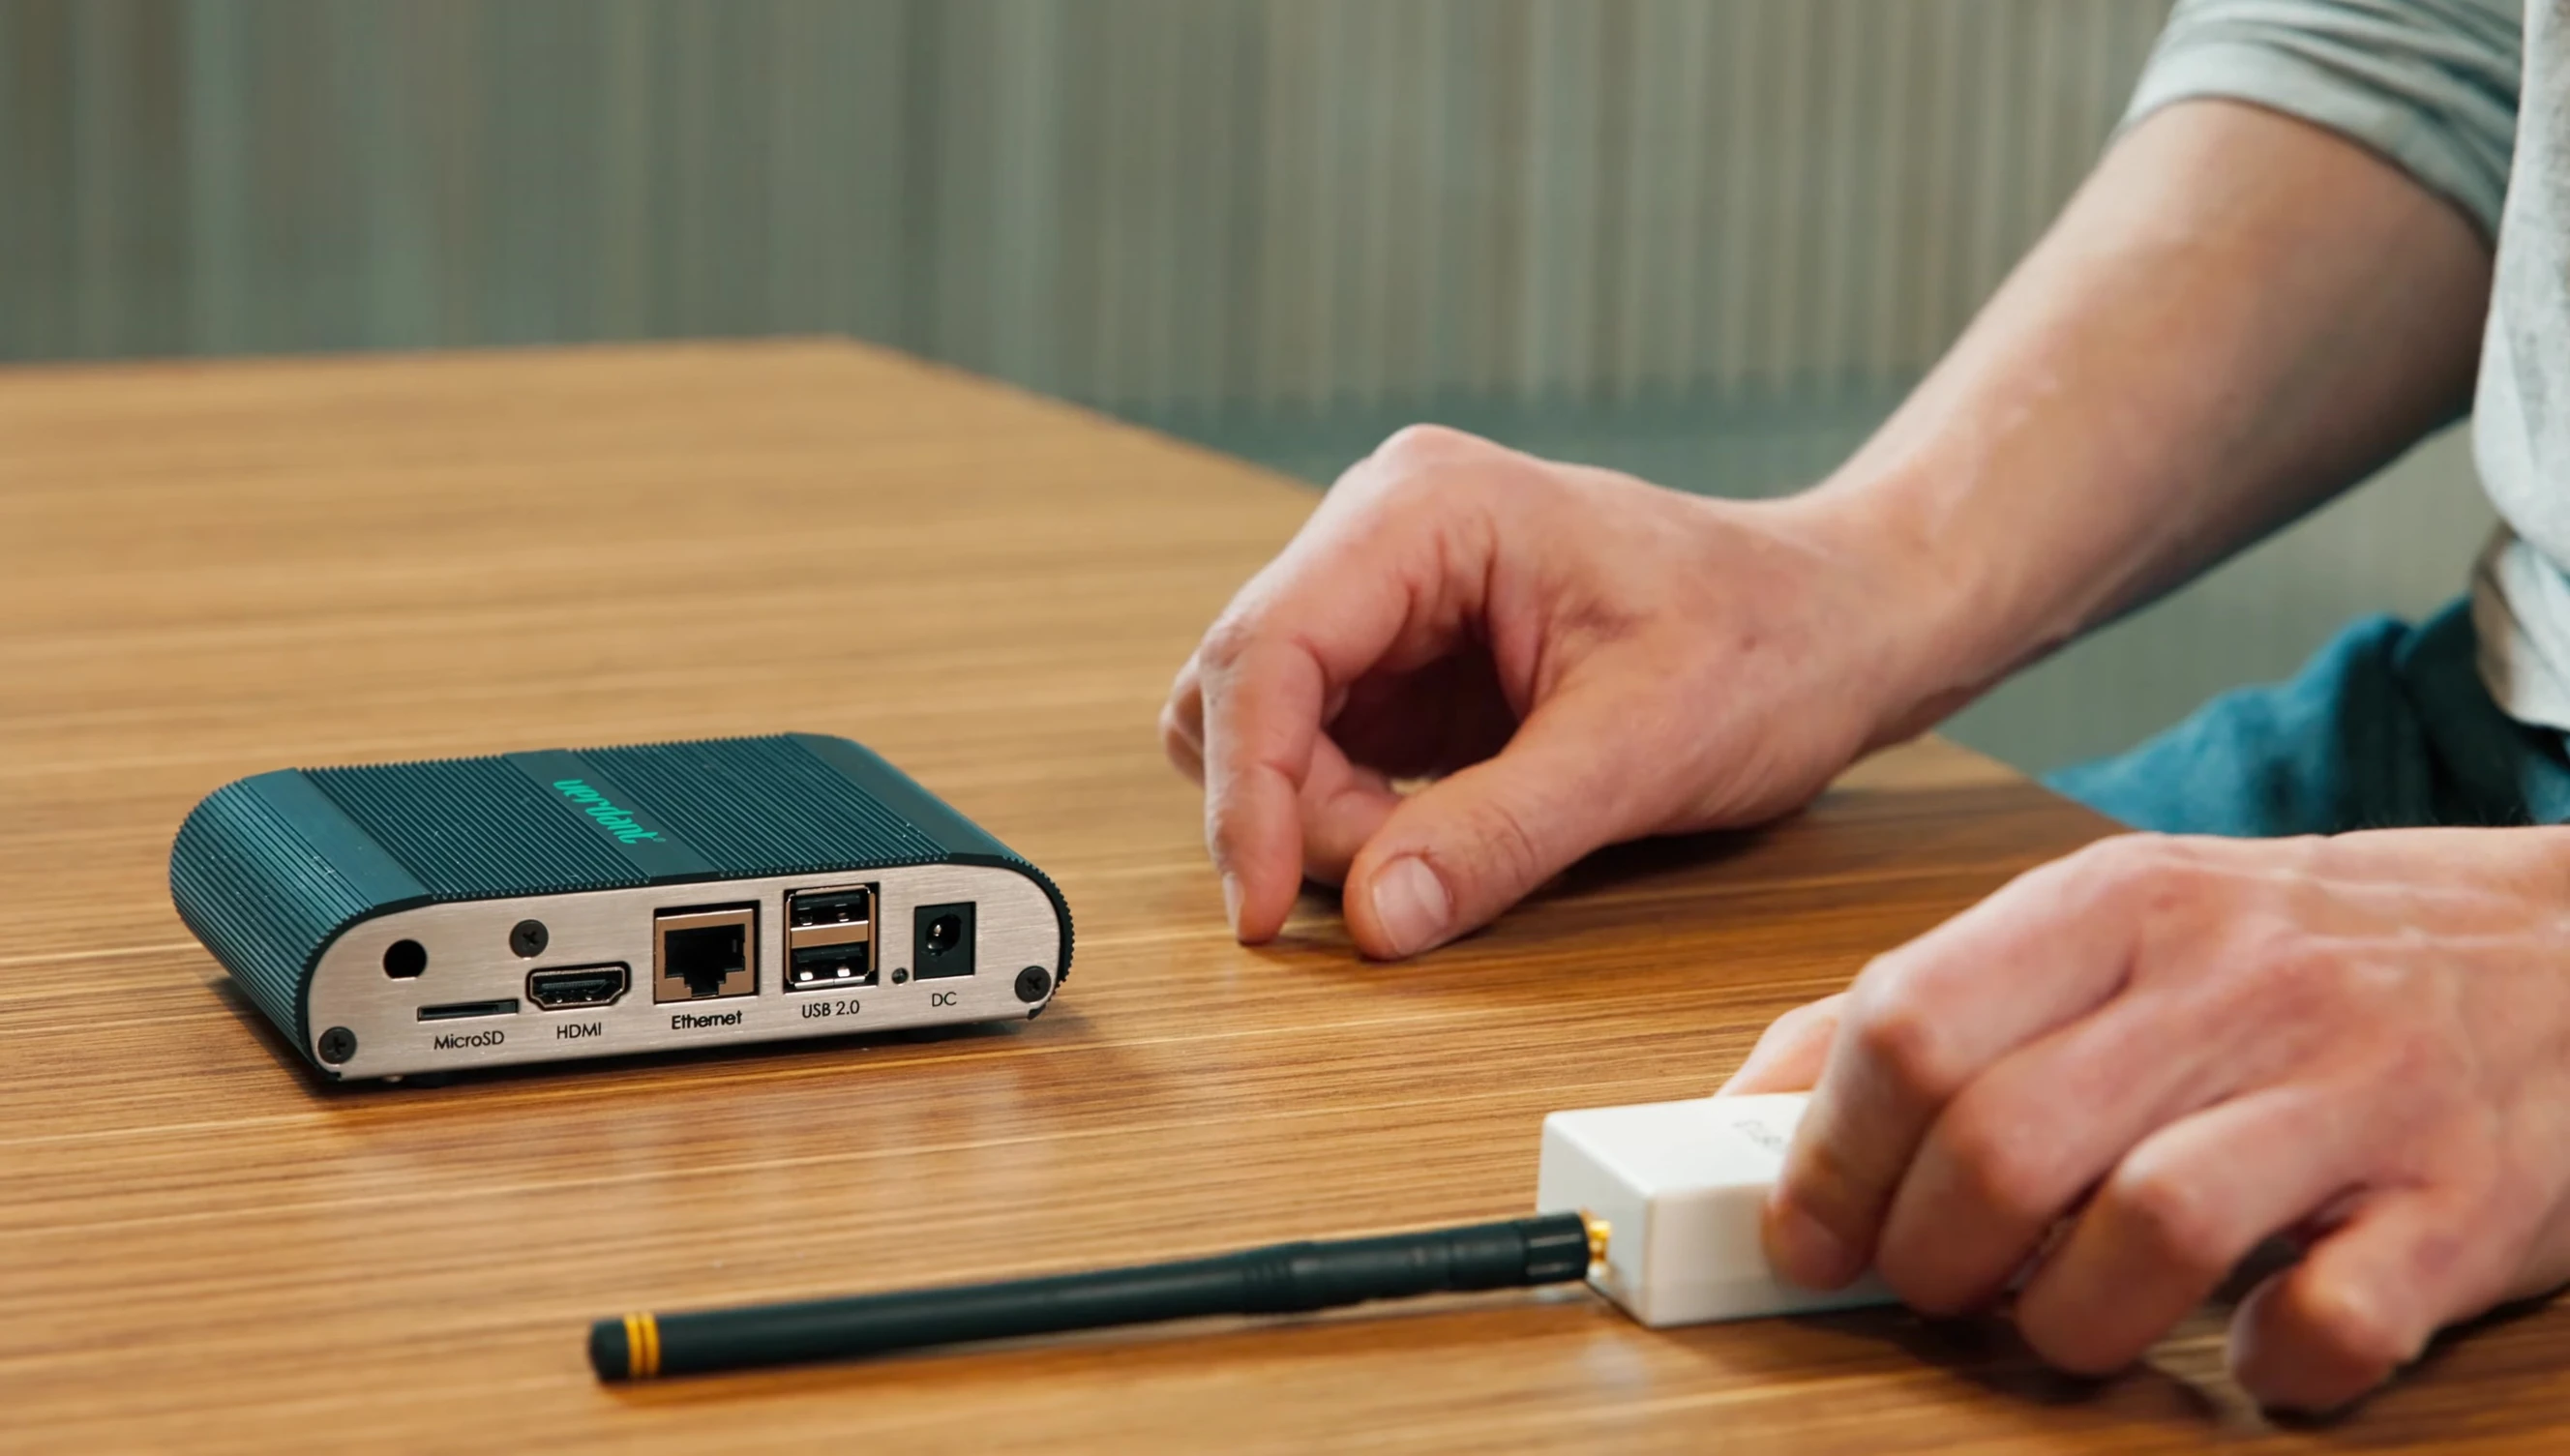
Prior to installing the thermostat, set up the online connection kit. This kit provides the necessary networking capabilities for your thermostat. Ensure all parts are present: RJ45 cable, Verdant gateway, USB cable, power supply, and antenna.
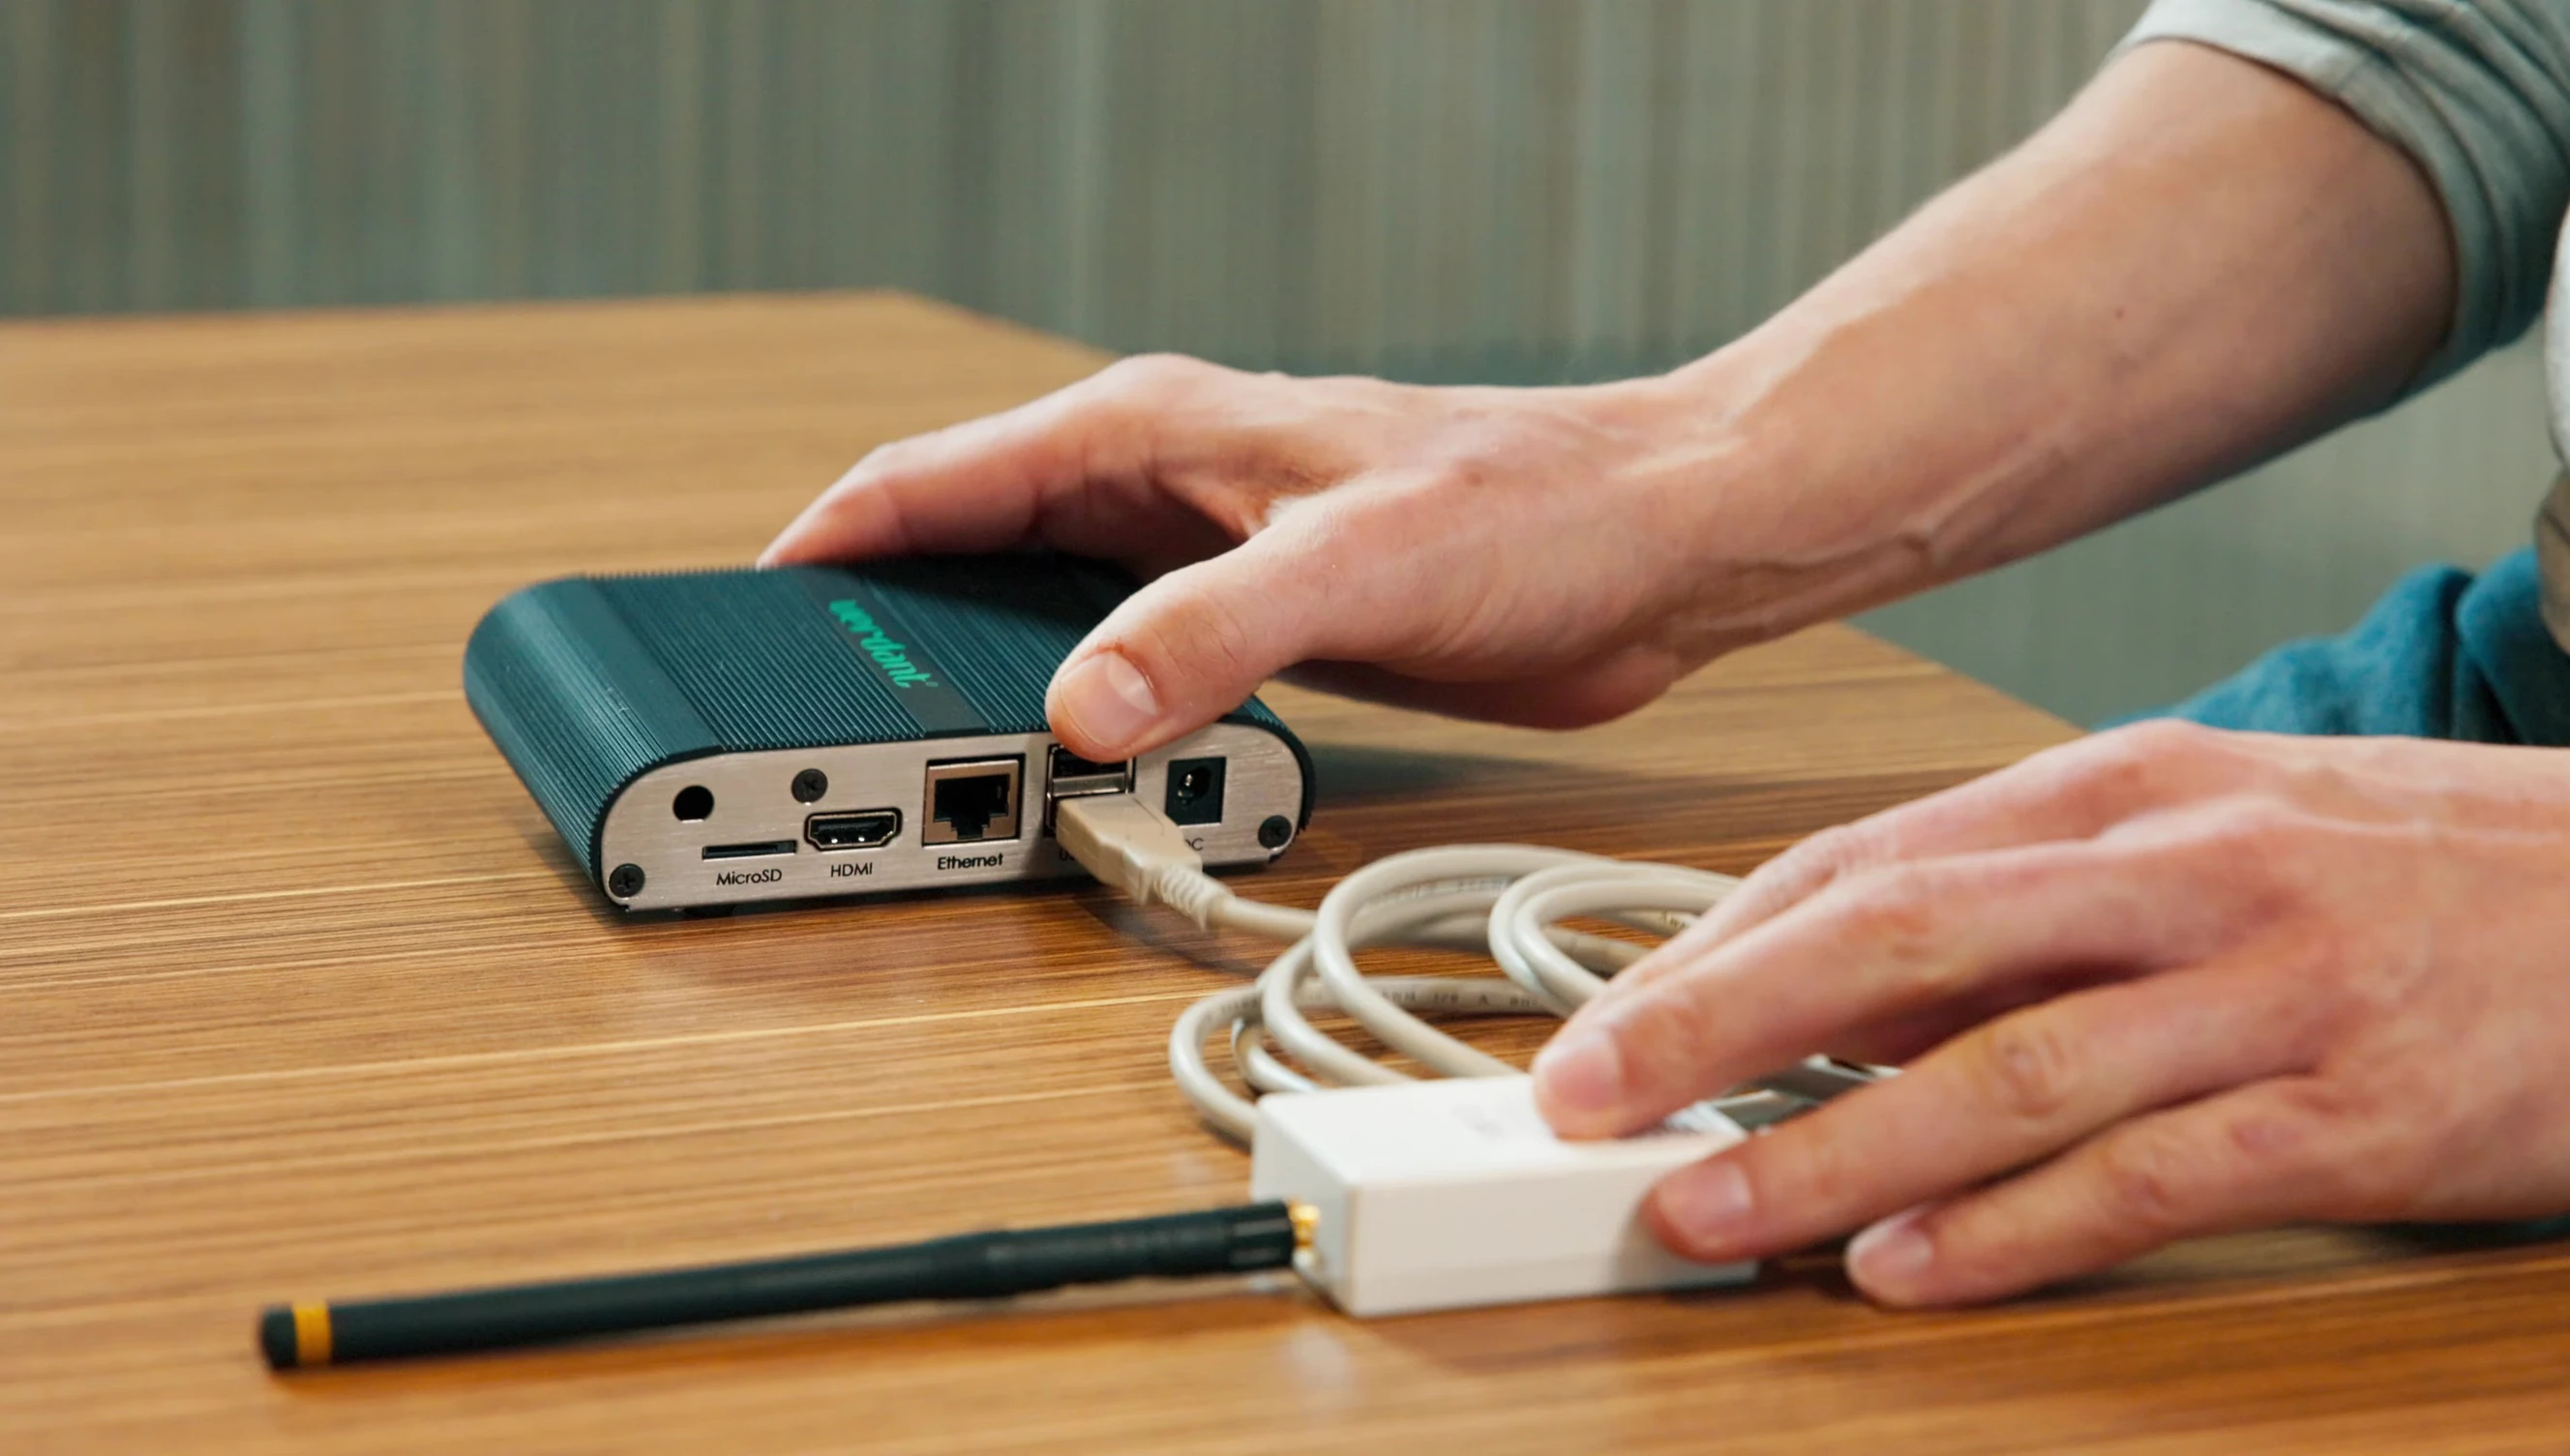
The Verdant gateway is essential for internet connectivity. Connect the antenna to the receiver, then connect the receiver to the gateway using the USB cable. Securely affix the receiver to the wall using double-sided tape and point the antenna upwards.
Connect the gateway to your LAN port with the RJ45 cable and plug it into a power outlet. Verify the online connection kit is communicating with the cloud service by contacting technical support if needed.
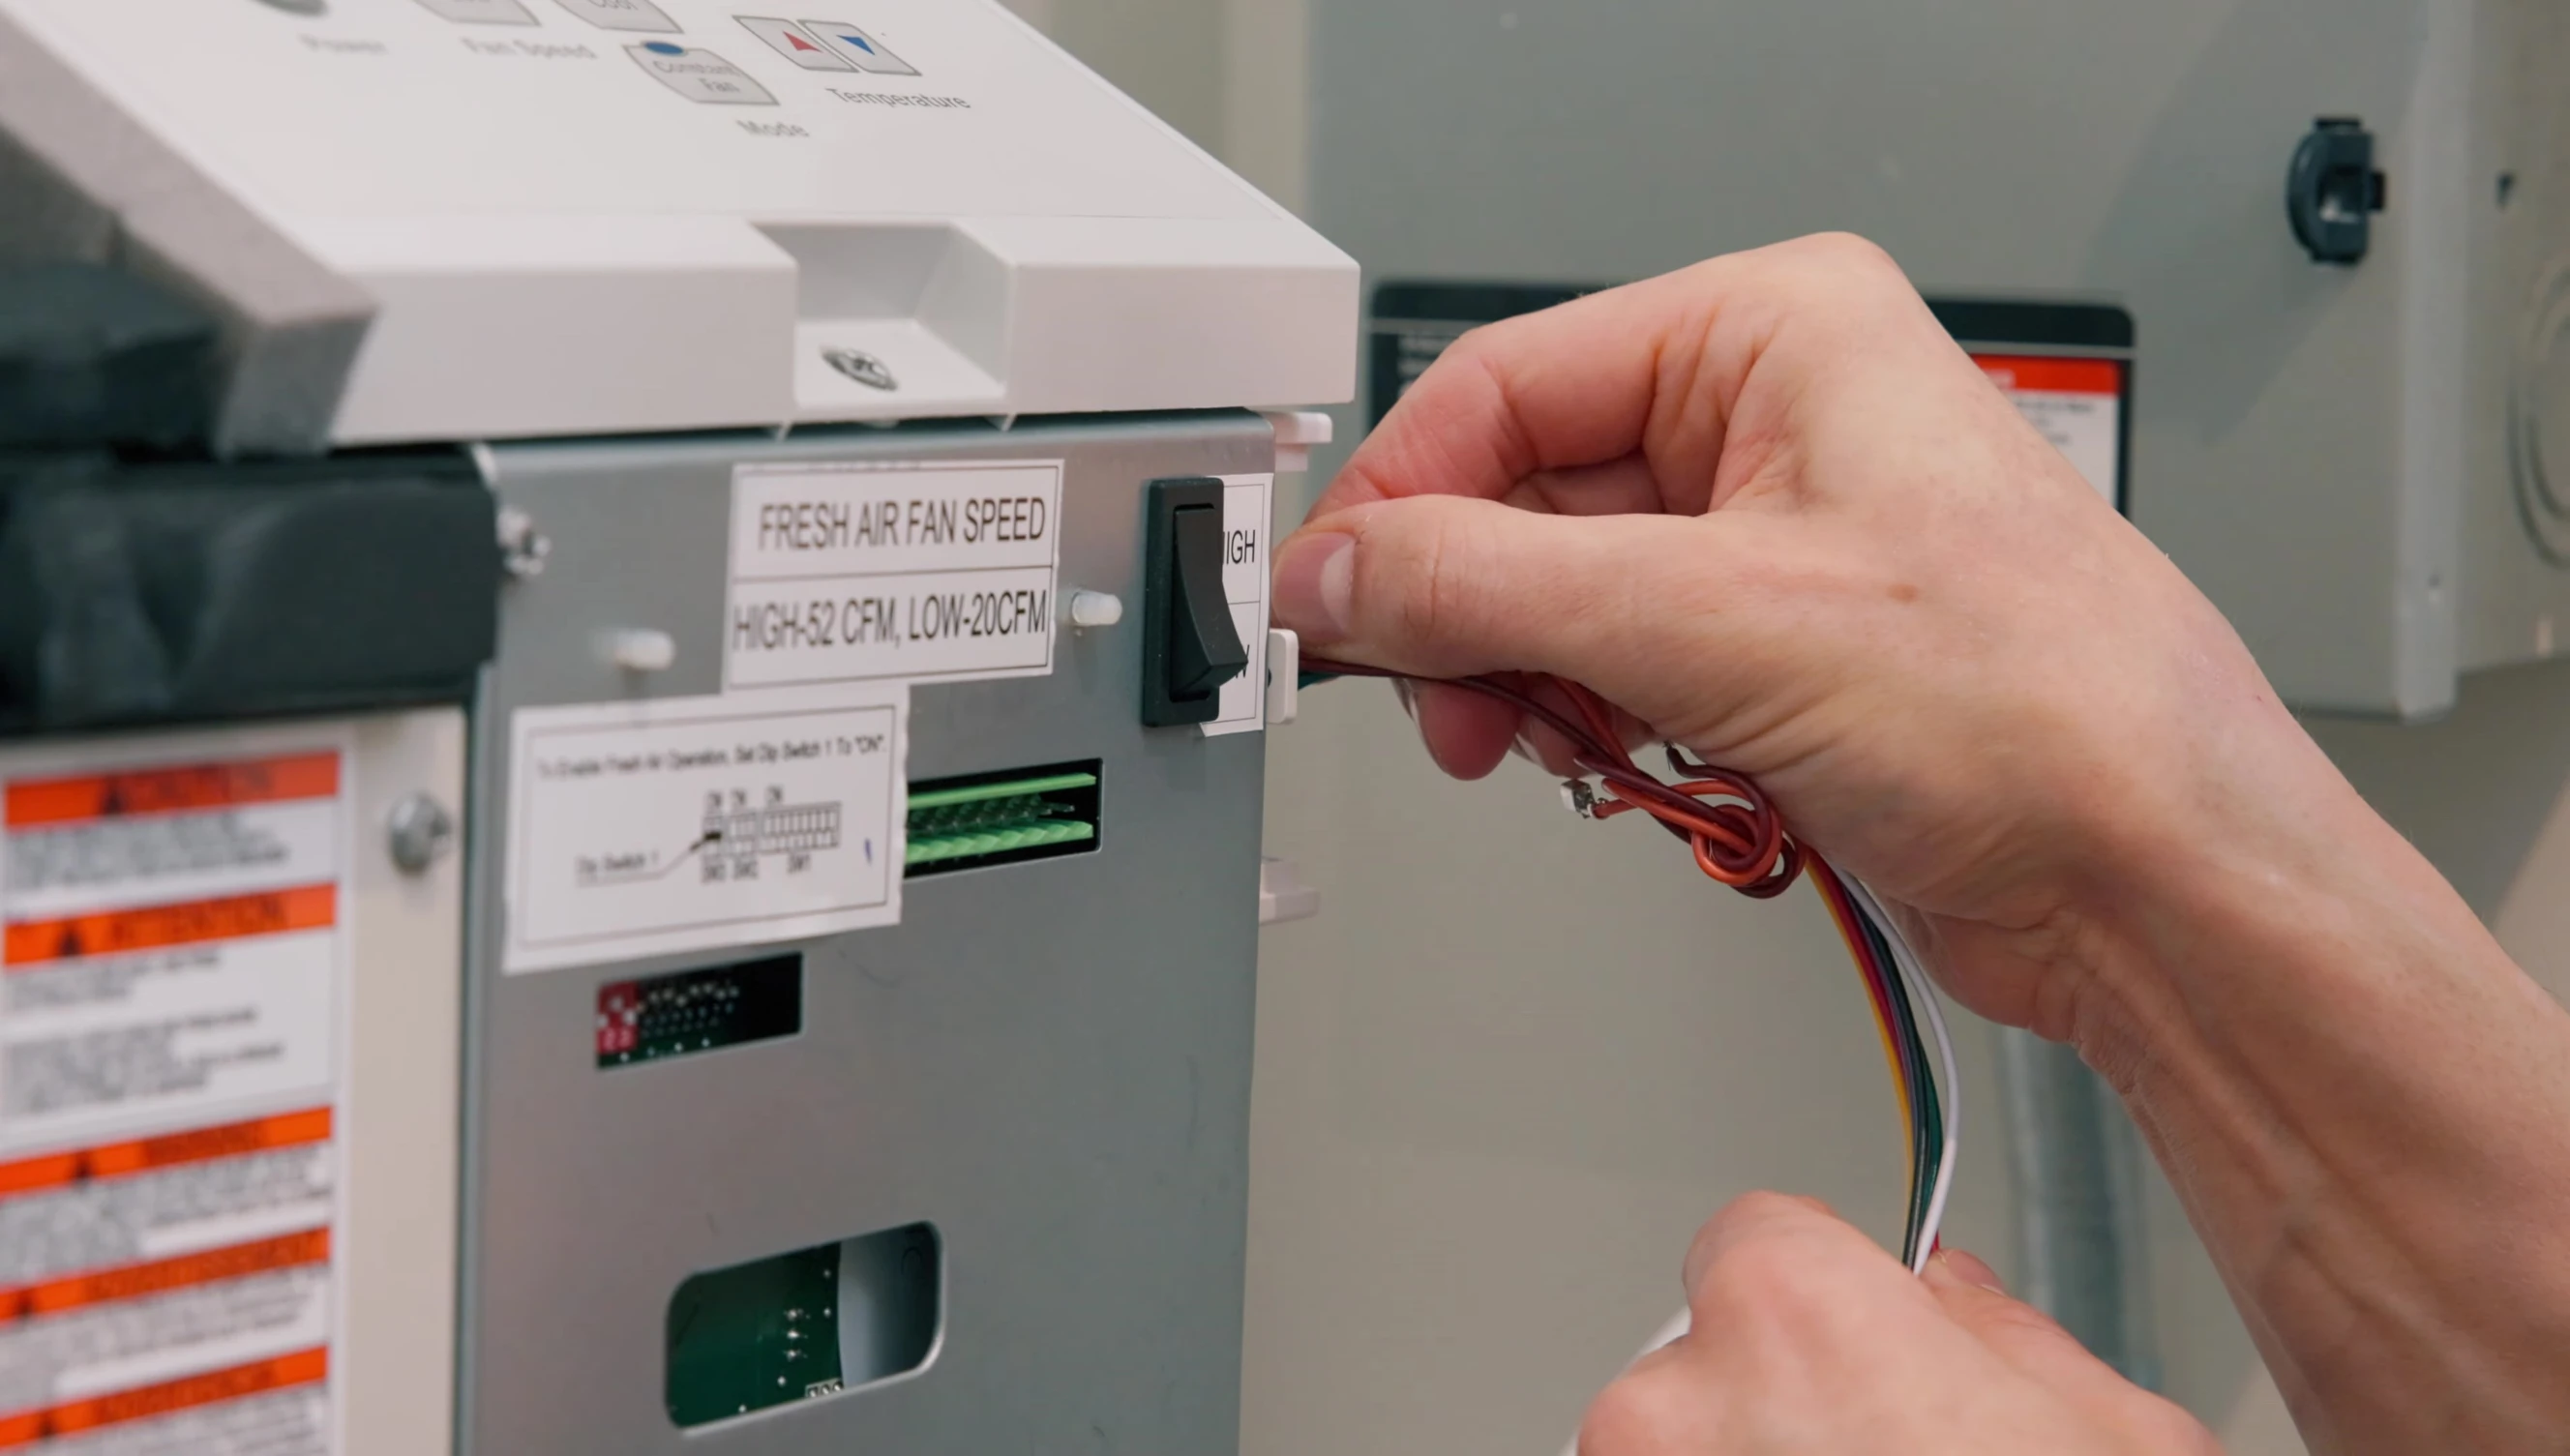
Installing the HVAC Controller
Power off your HVAC unit before starting. Mount the HVAC controller inside the unit and connect it using the provided wire harness. Ensure to consult your HVAC unit’s documentation to confirm proper wiring and settings.
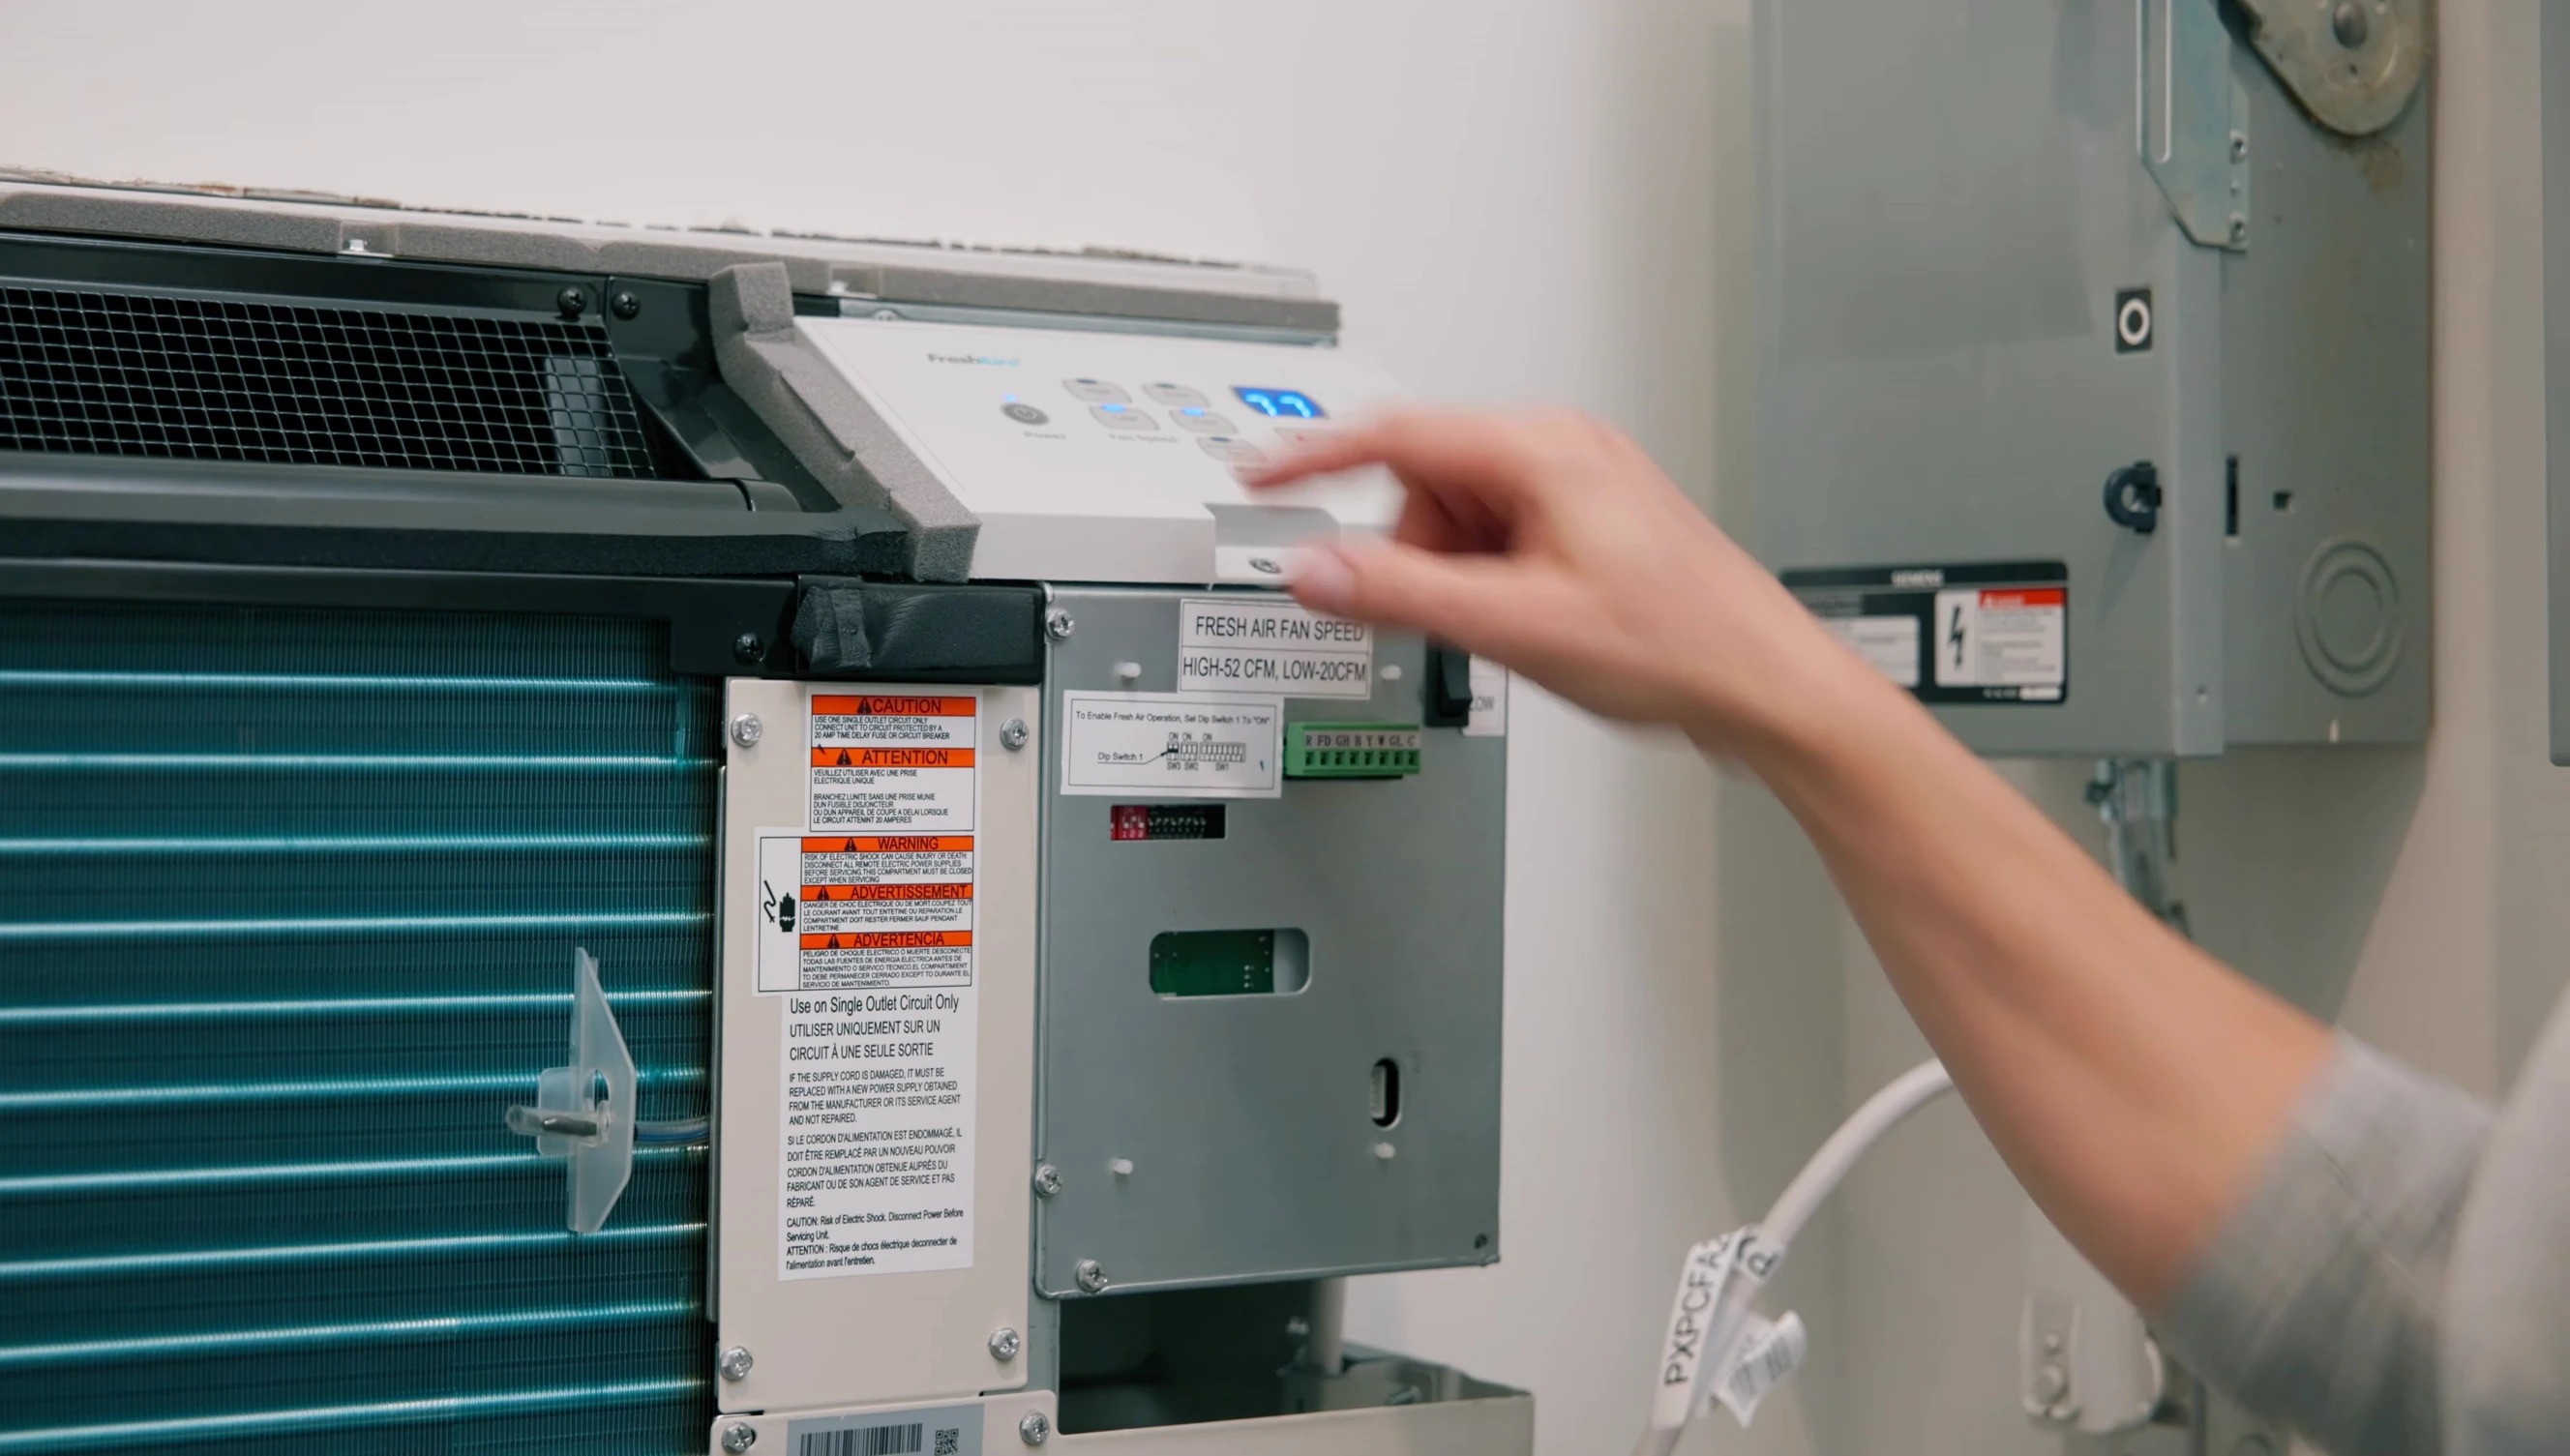
The controller features various ports (J6, J4, J3, J11, J9, J10) for analog, digital, and relay control. Understand the functions of each port before connecting. Refer to the manual for specific wiring instructions related to your HVAC system and its unique configuration.
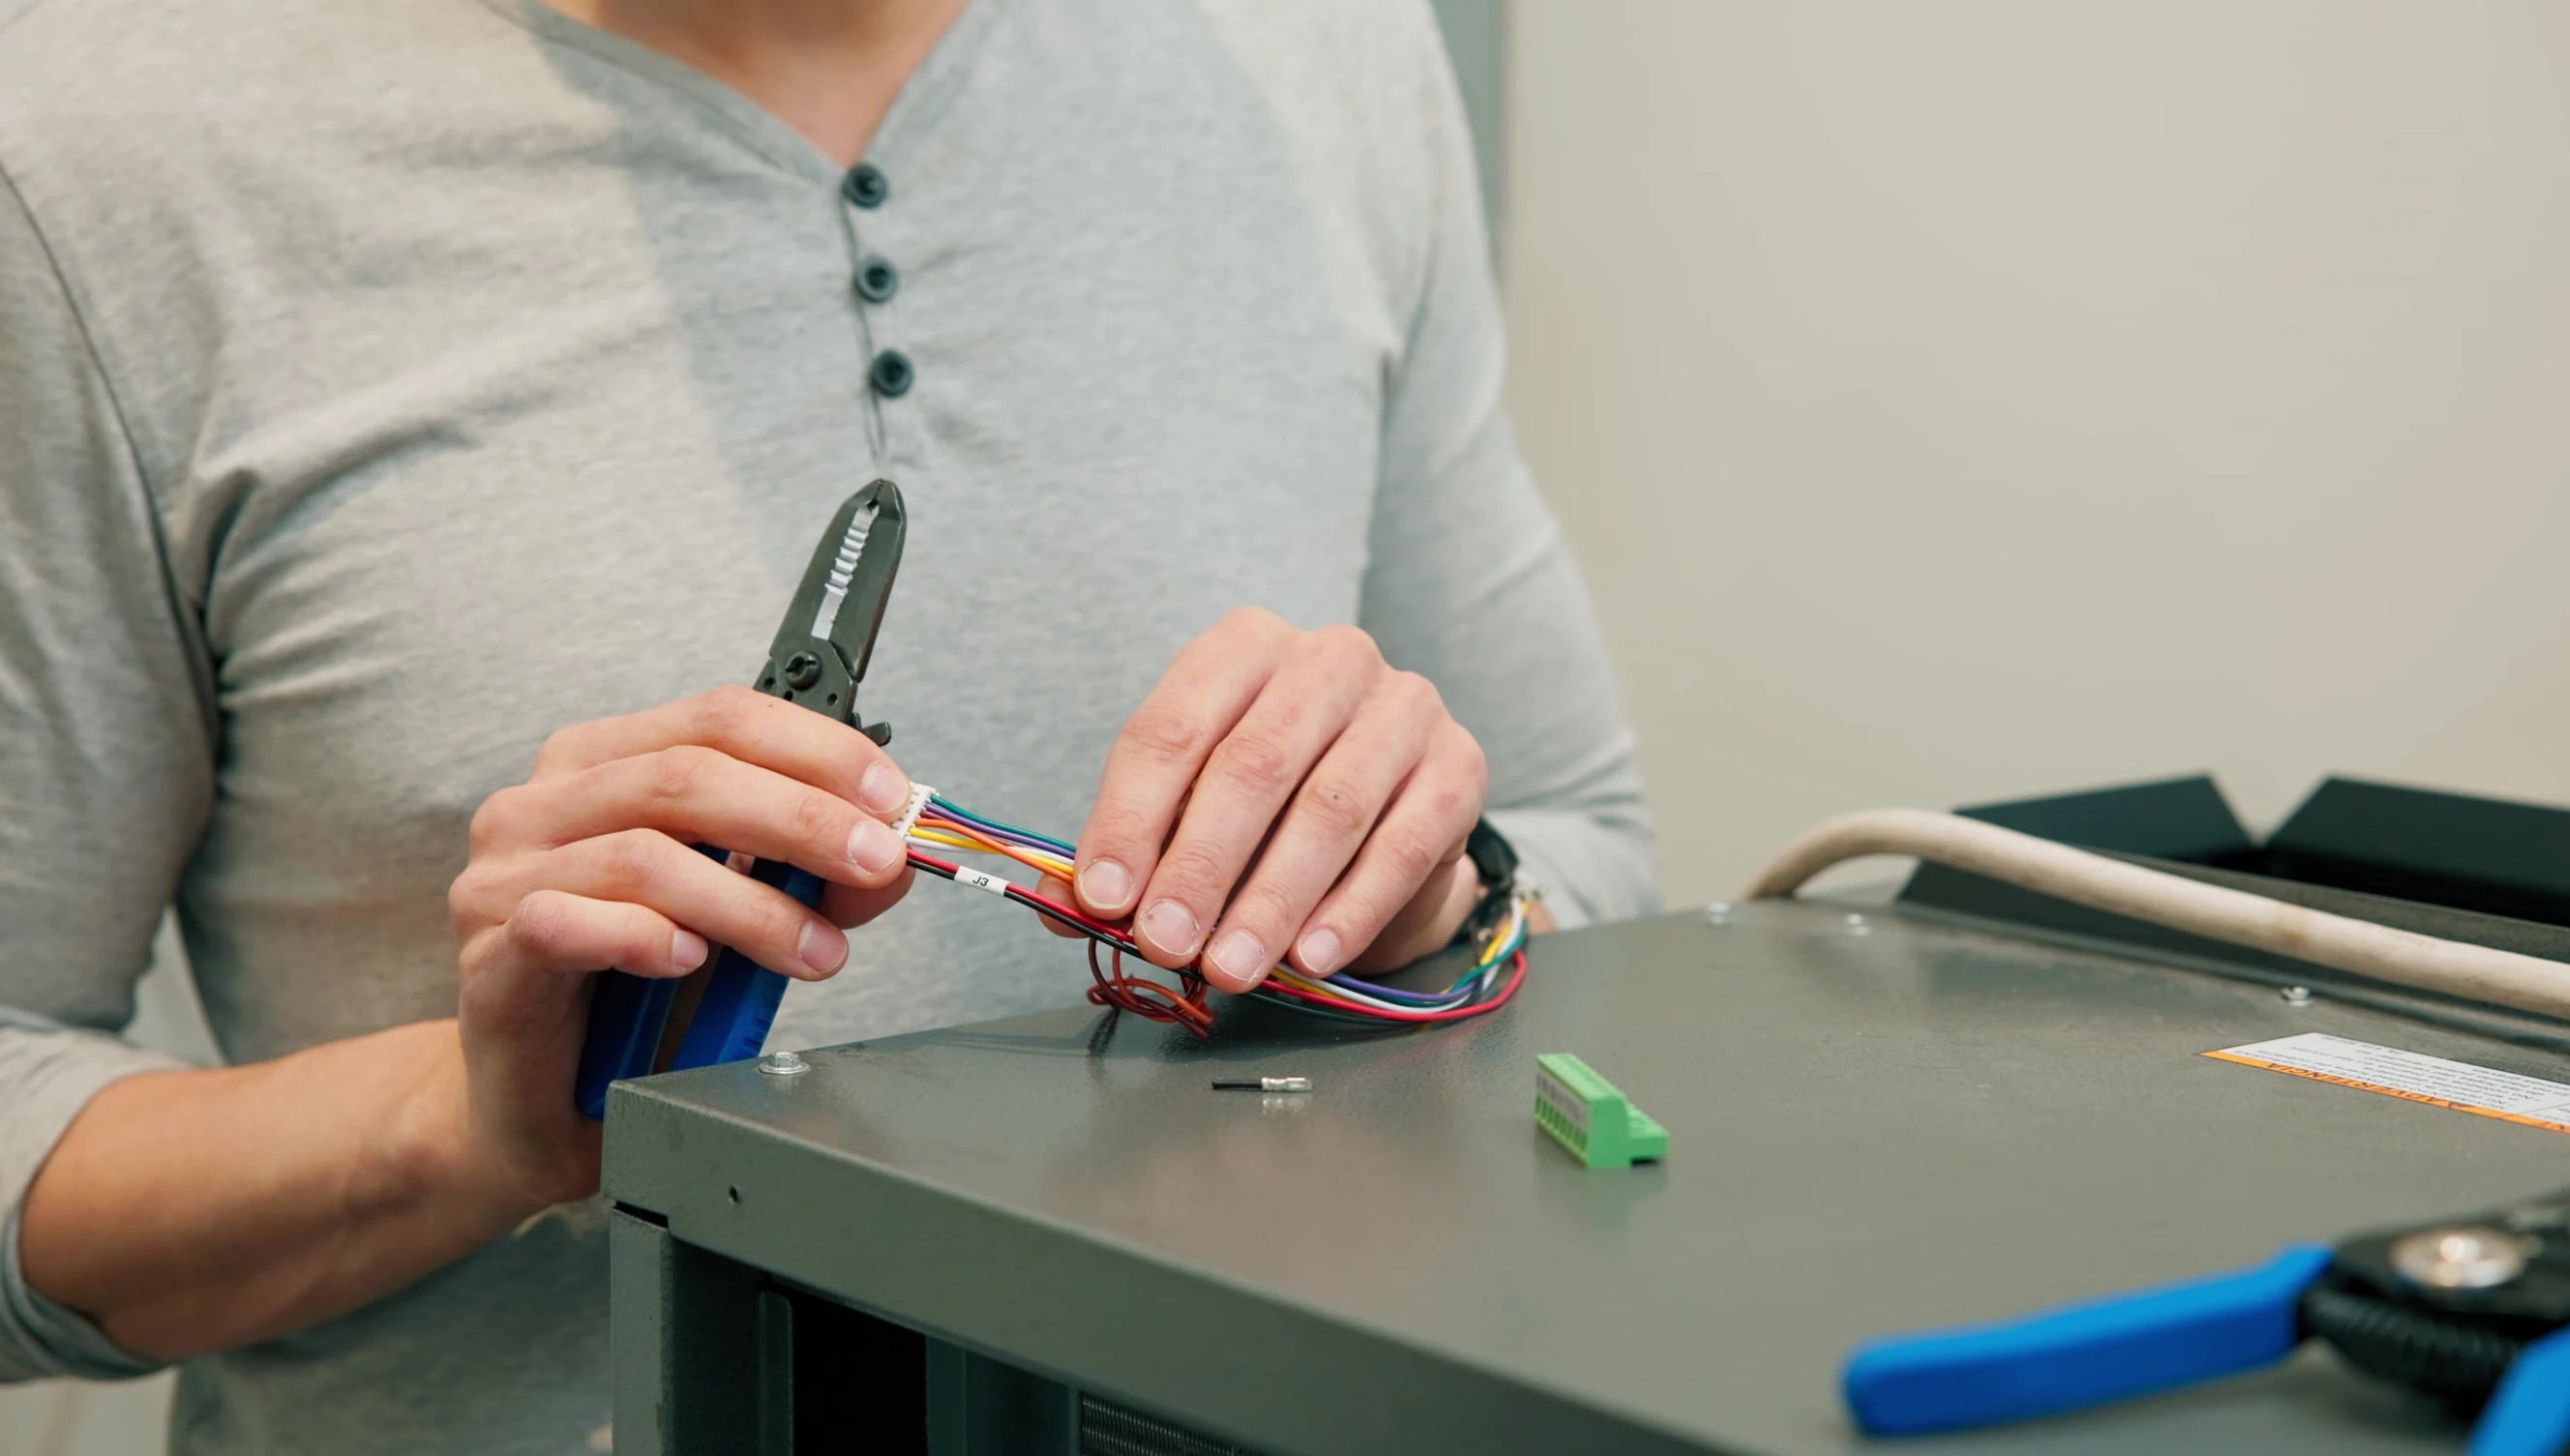
Pay close attention to the J3 harness wiring details (C, R, W, Y, OB, OUX2, GL, GH, OX1), understanding their default functions and potential reconfigurations for different applications. Ensure proper antenna placement and mounting to avoid issues.
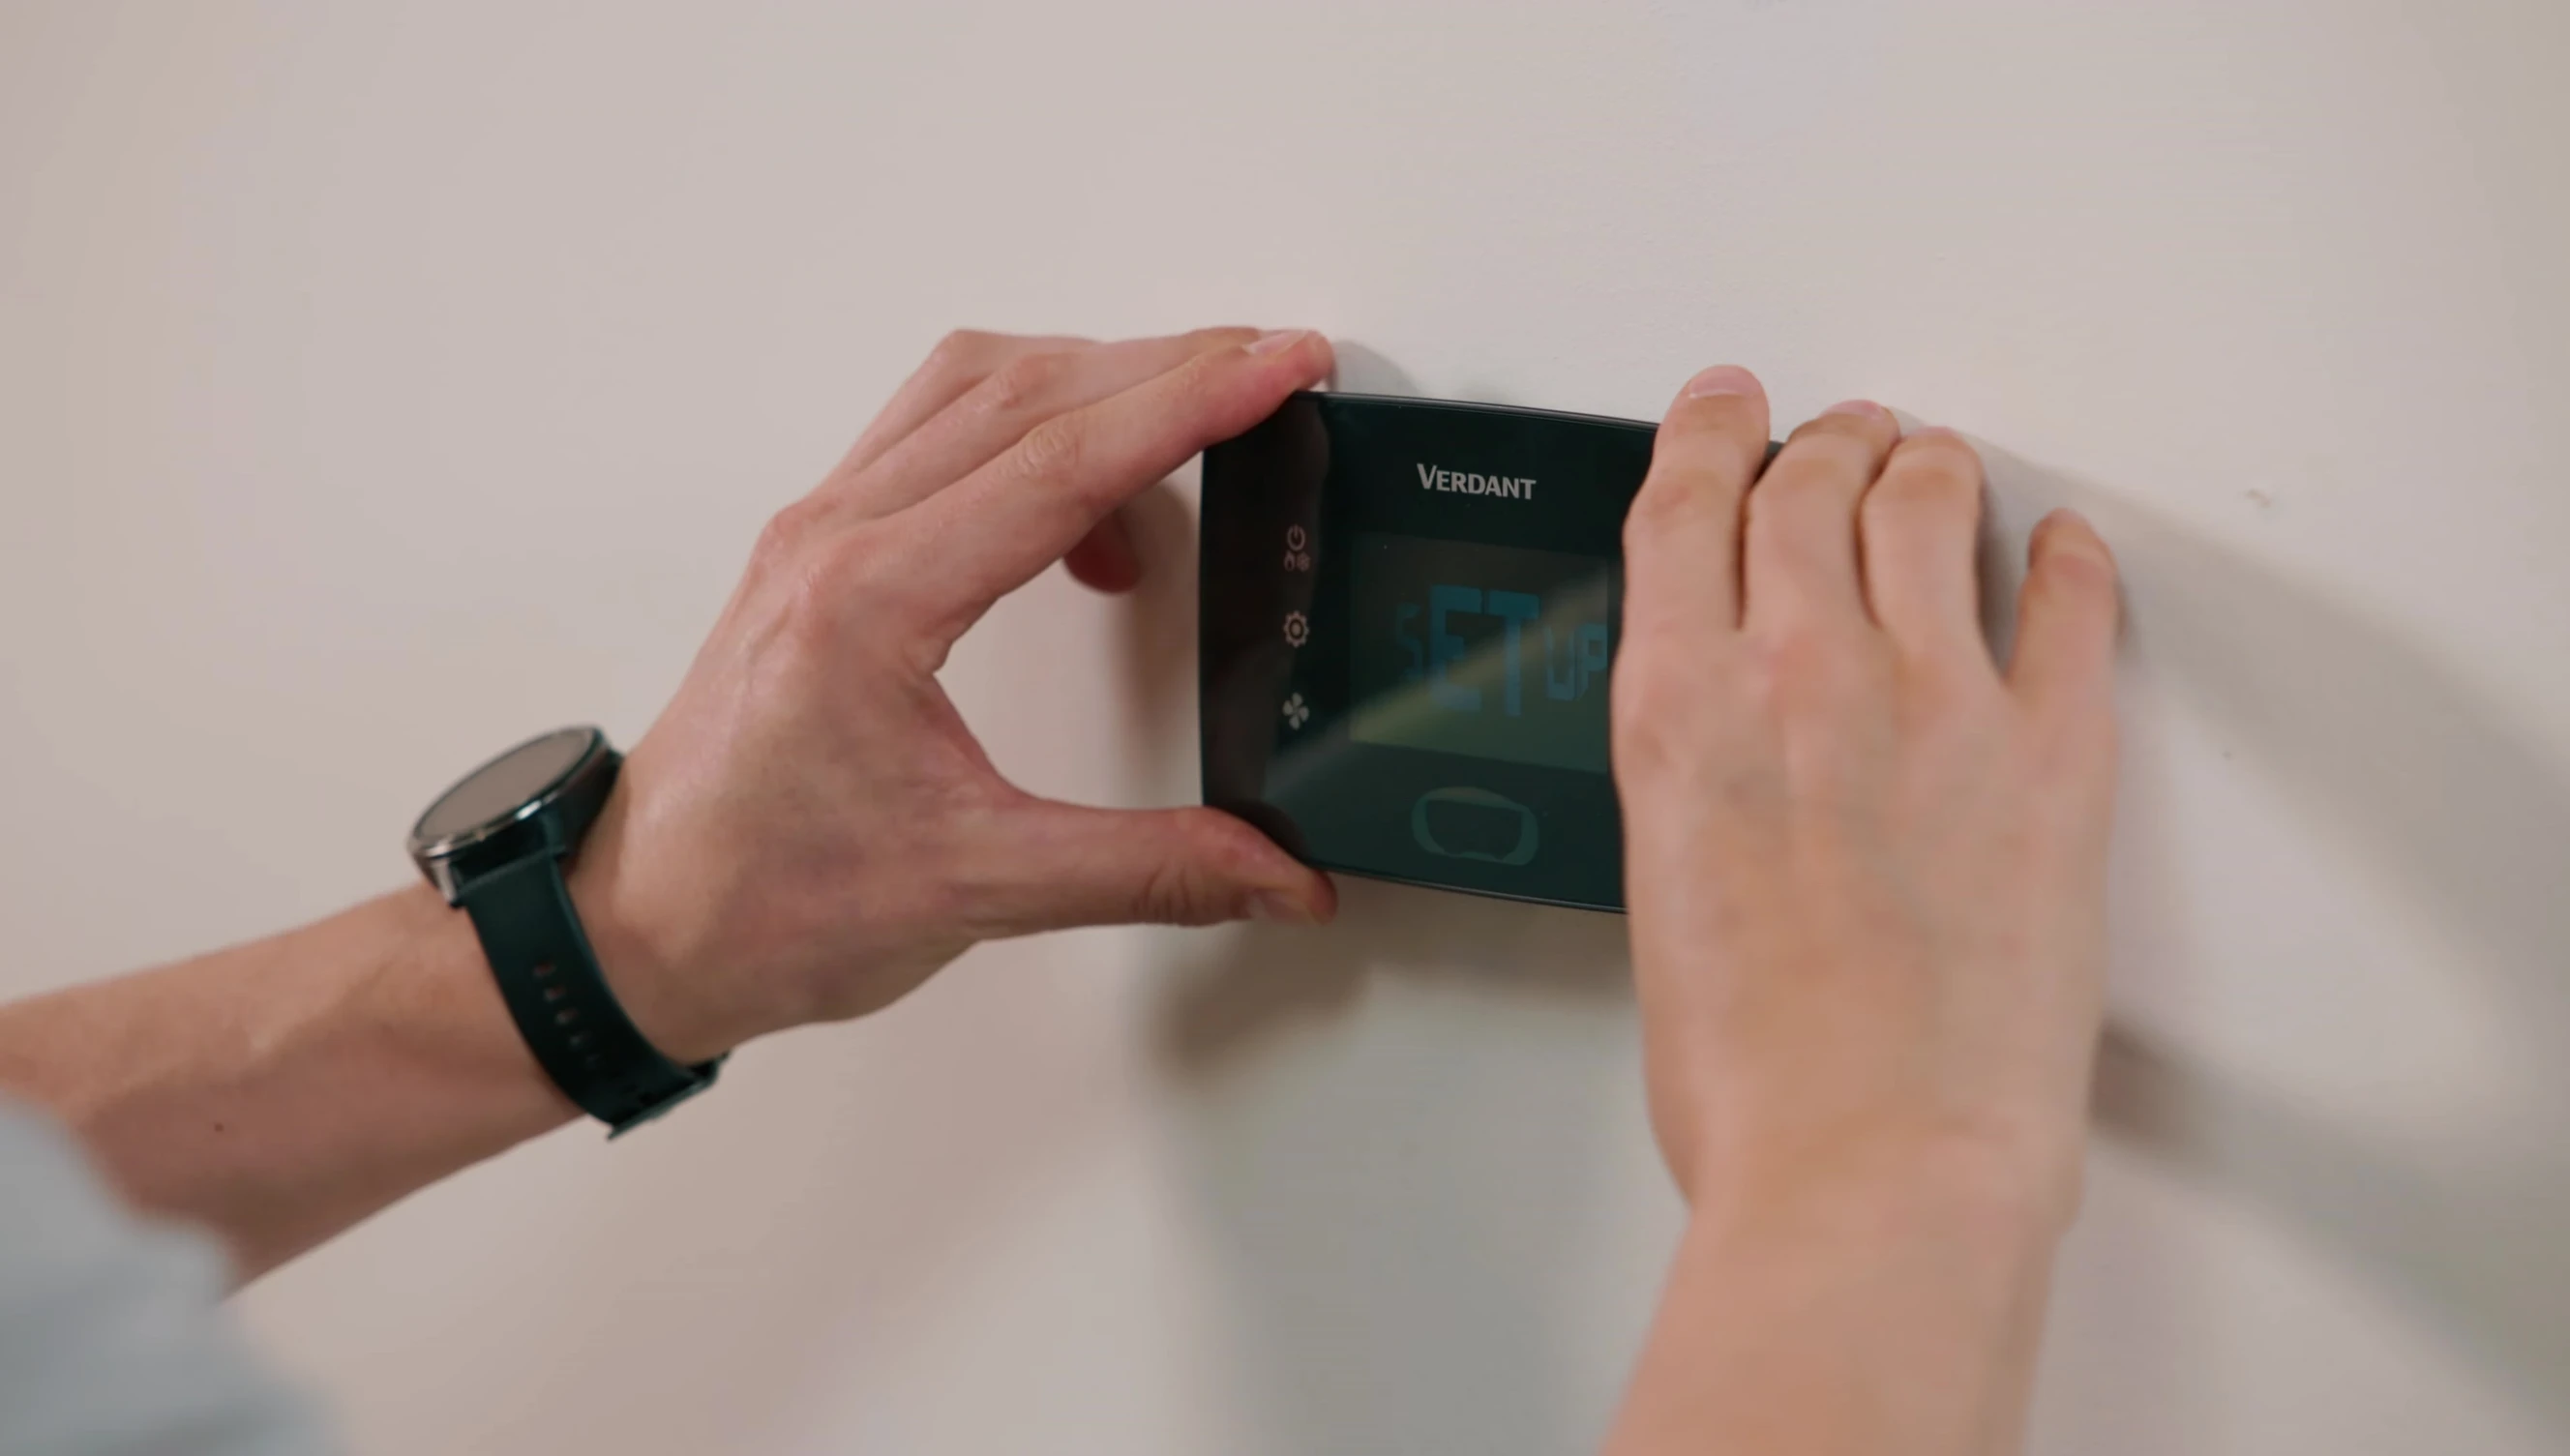
Installing the Verdant VX4 Thermostat
Choose a suitable location for your thermostat, avoiding direct sunlight, drafts, and proximity to metal objects that could interfere with wireless signals. Consider using a wall plate for a cleaner installation and ensure proper alignment of the occupancy sensor.

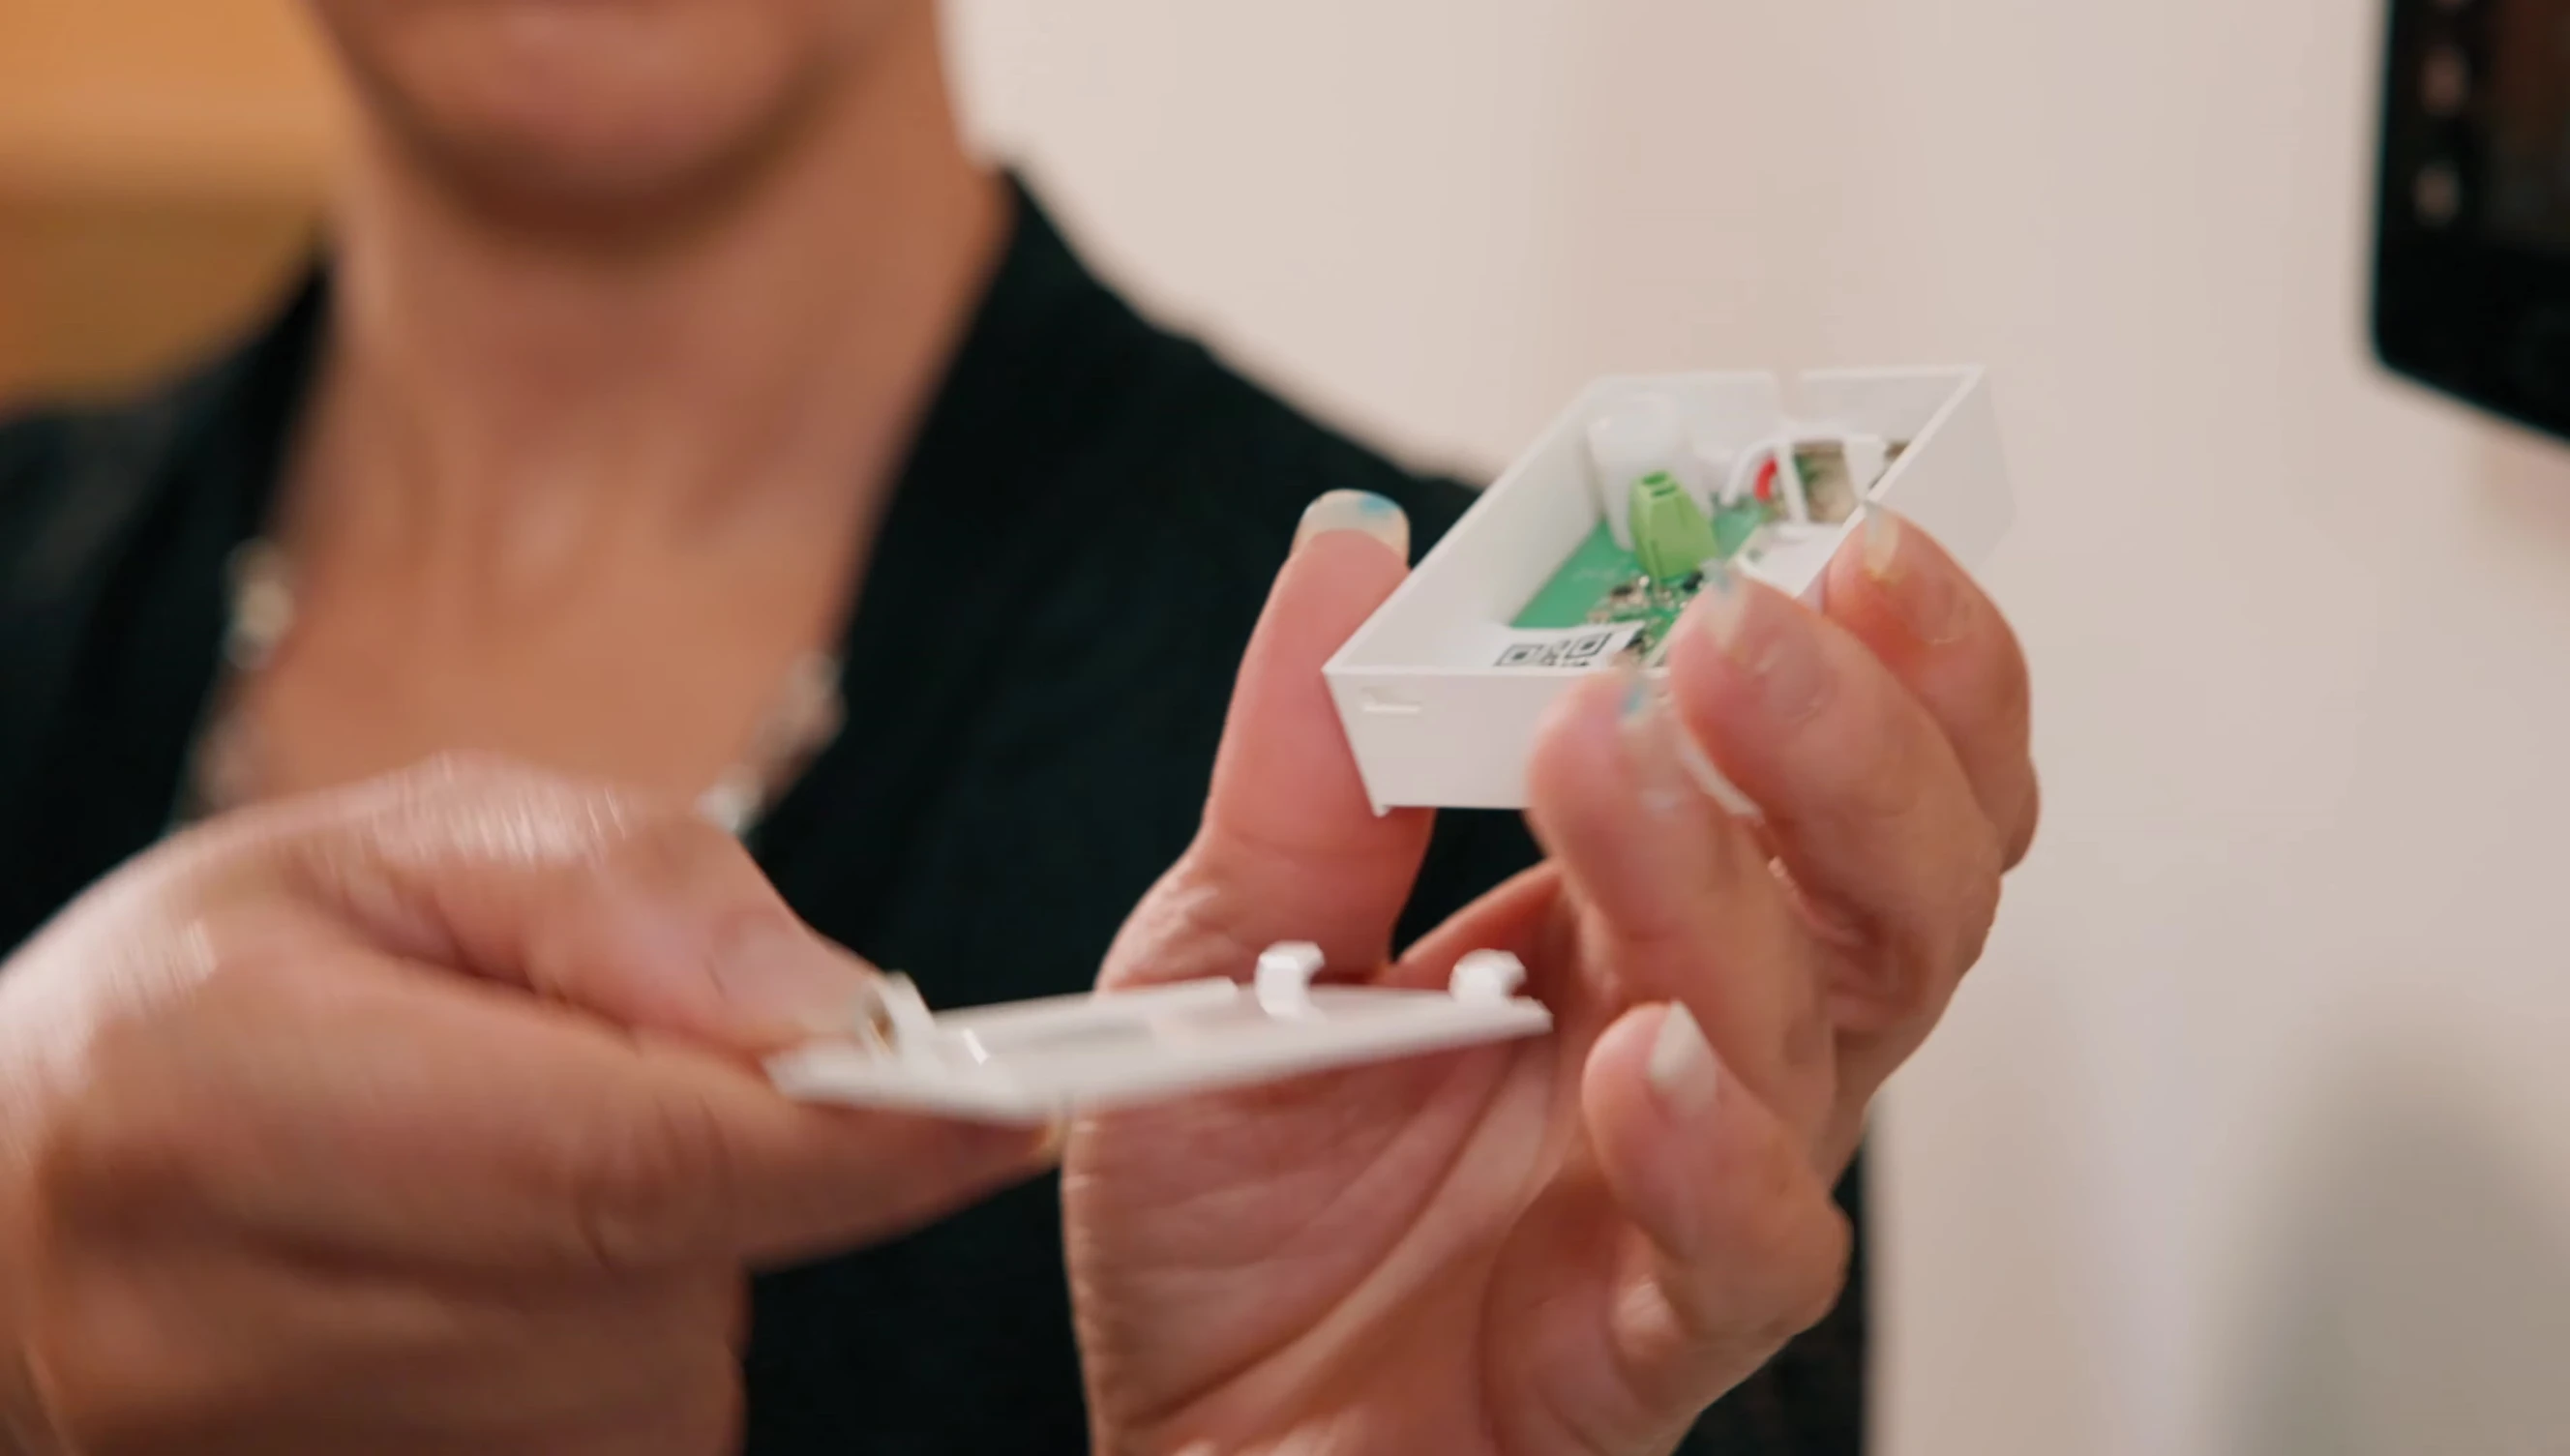
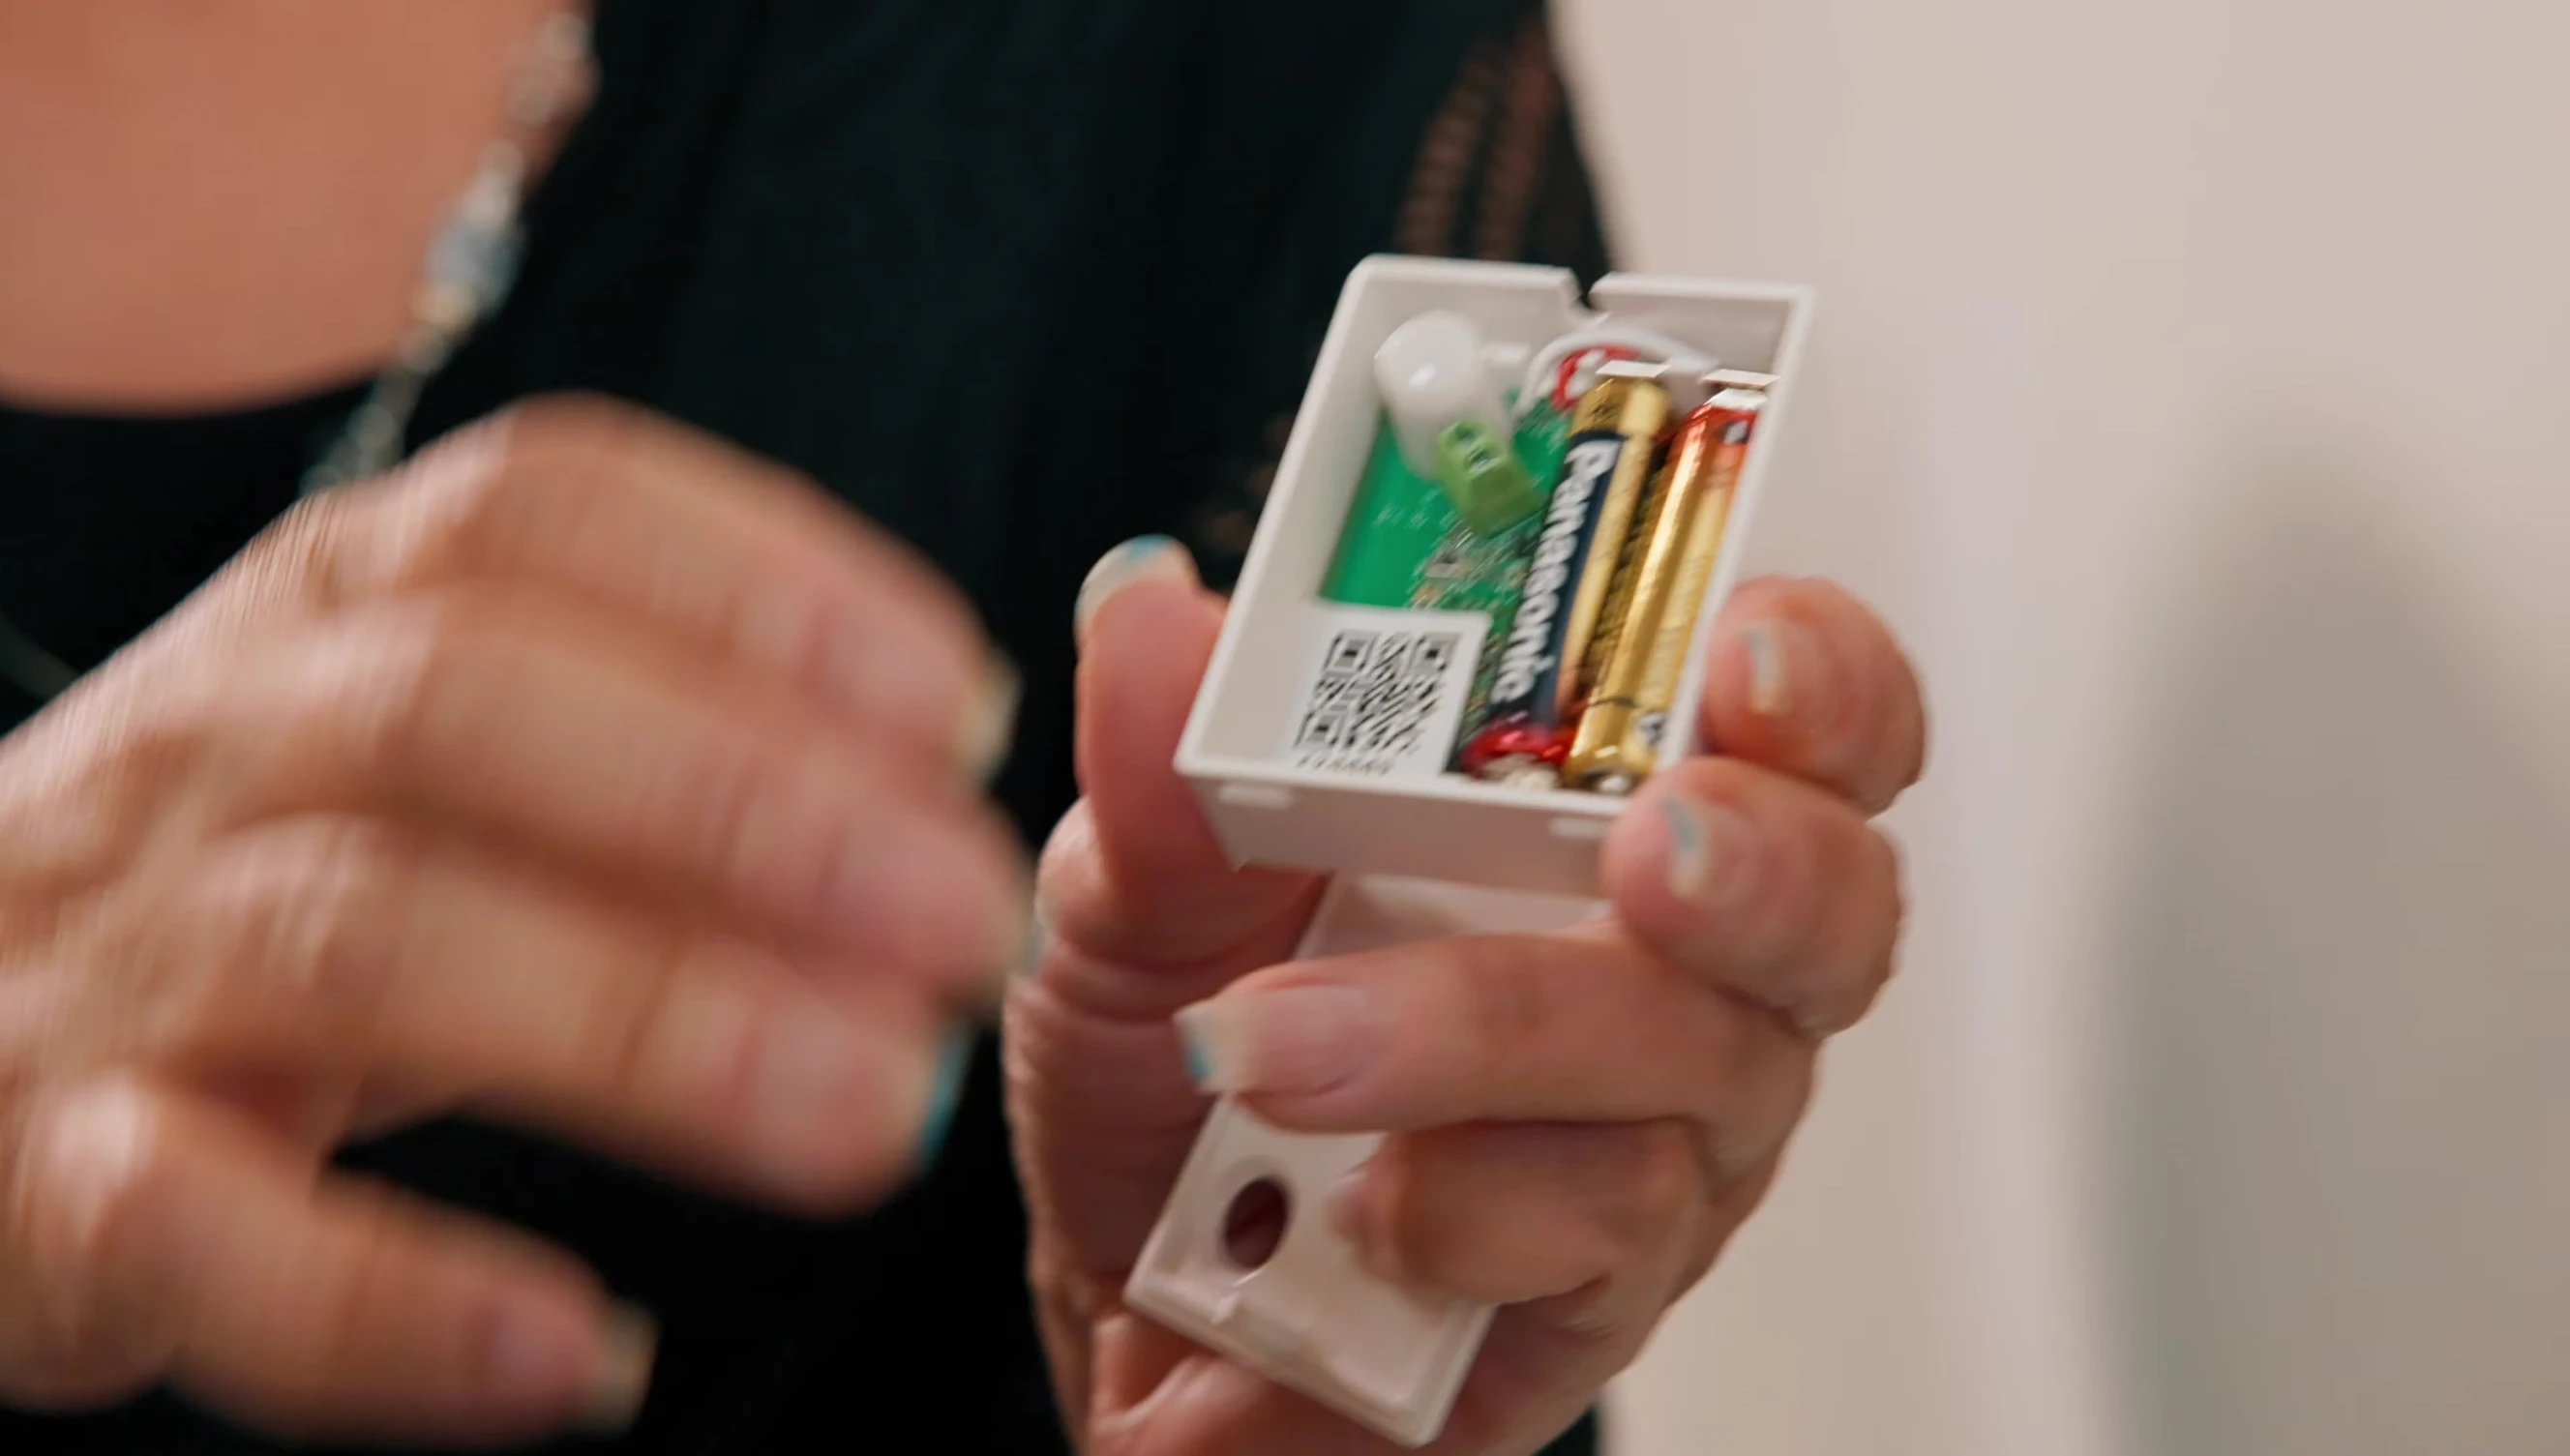
Drill holes for mounting screws and securely attach the thermostat to the wall. Insert the batteries (AA alkaline, 12VDC, or 24VAC). Pair the thermostat with the control card by following the on-screen pairing instructions.
Successful pairing will display the same QR code on both the thermostat and the control card. Once paired, proceed to configure the thermostat settings.
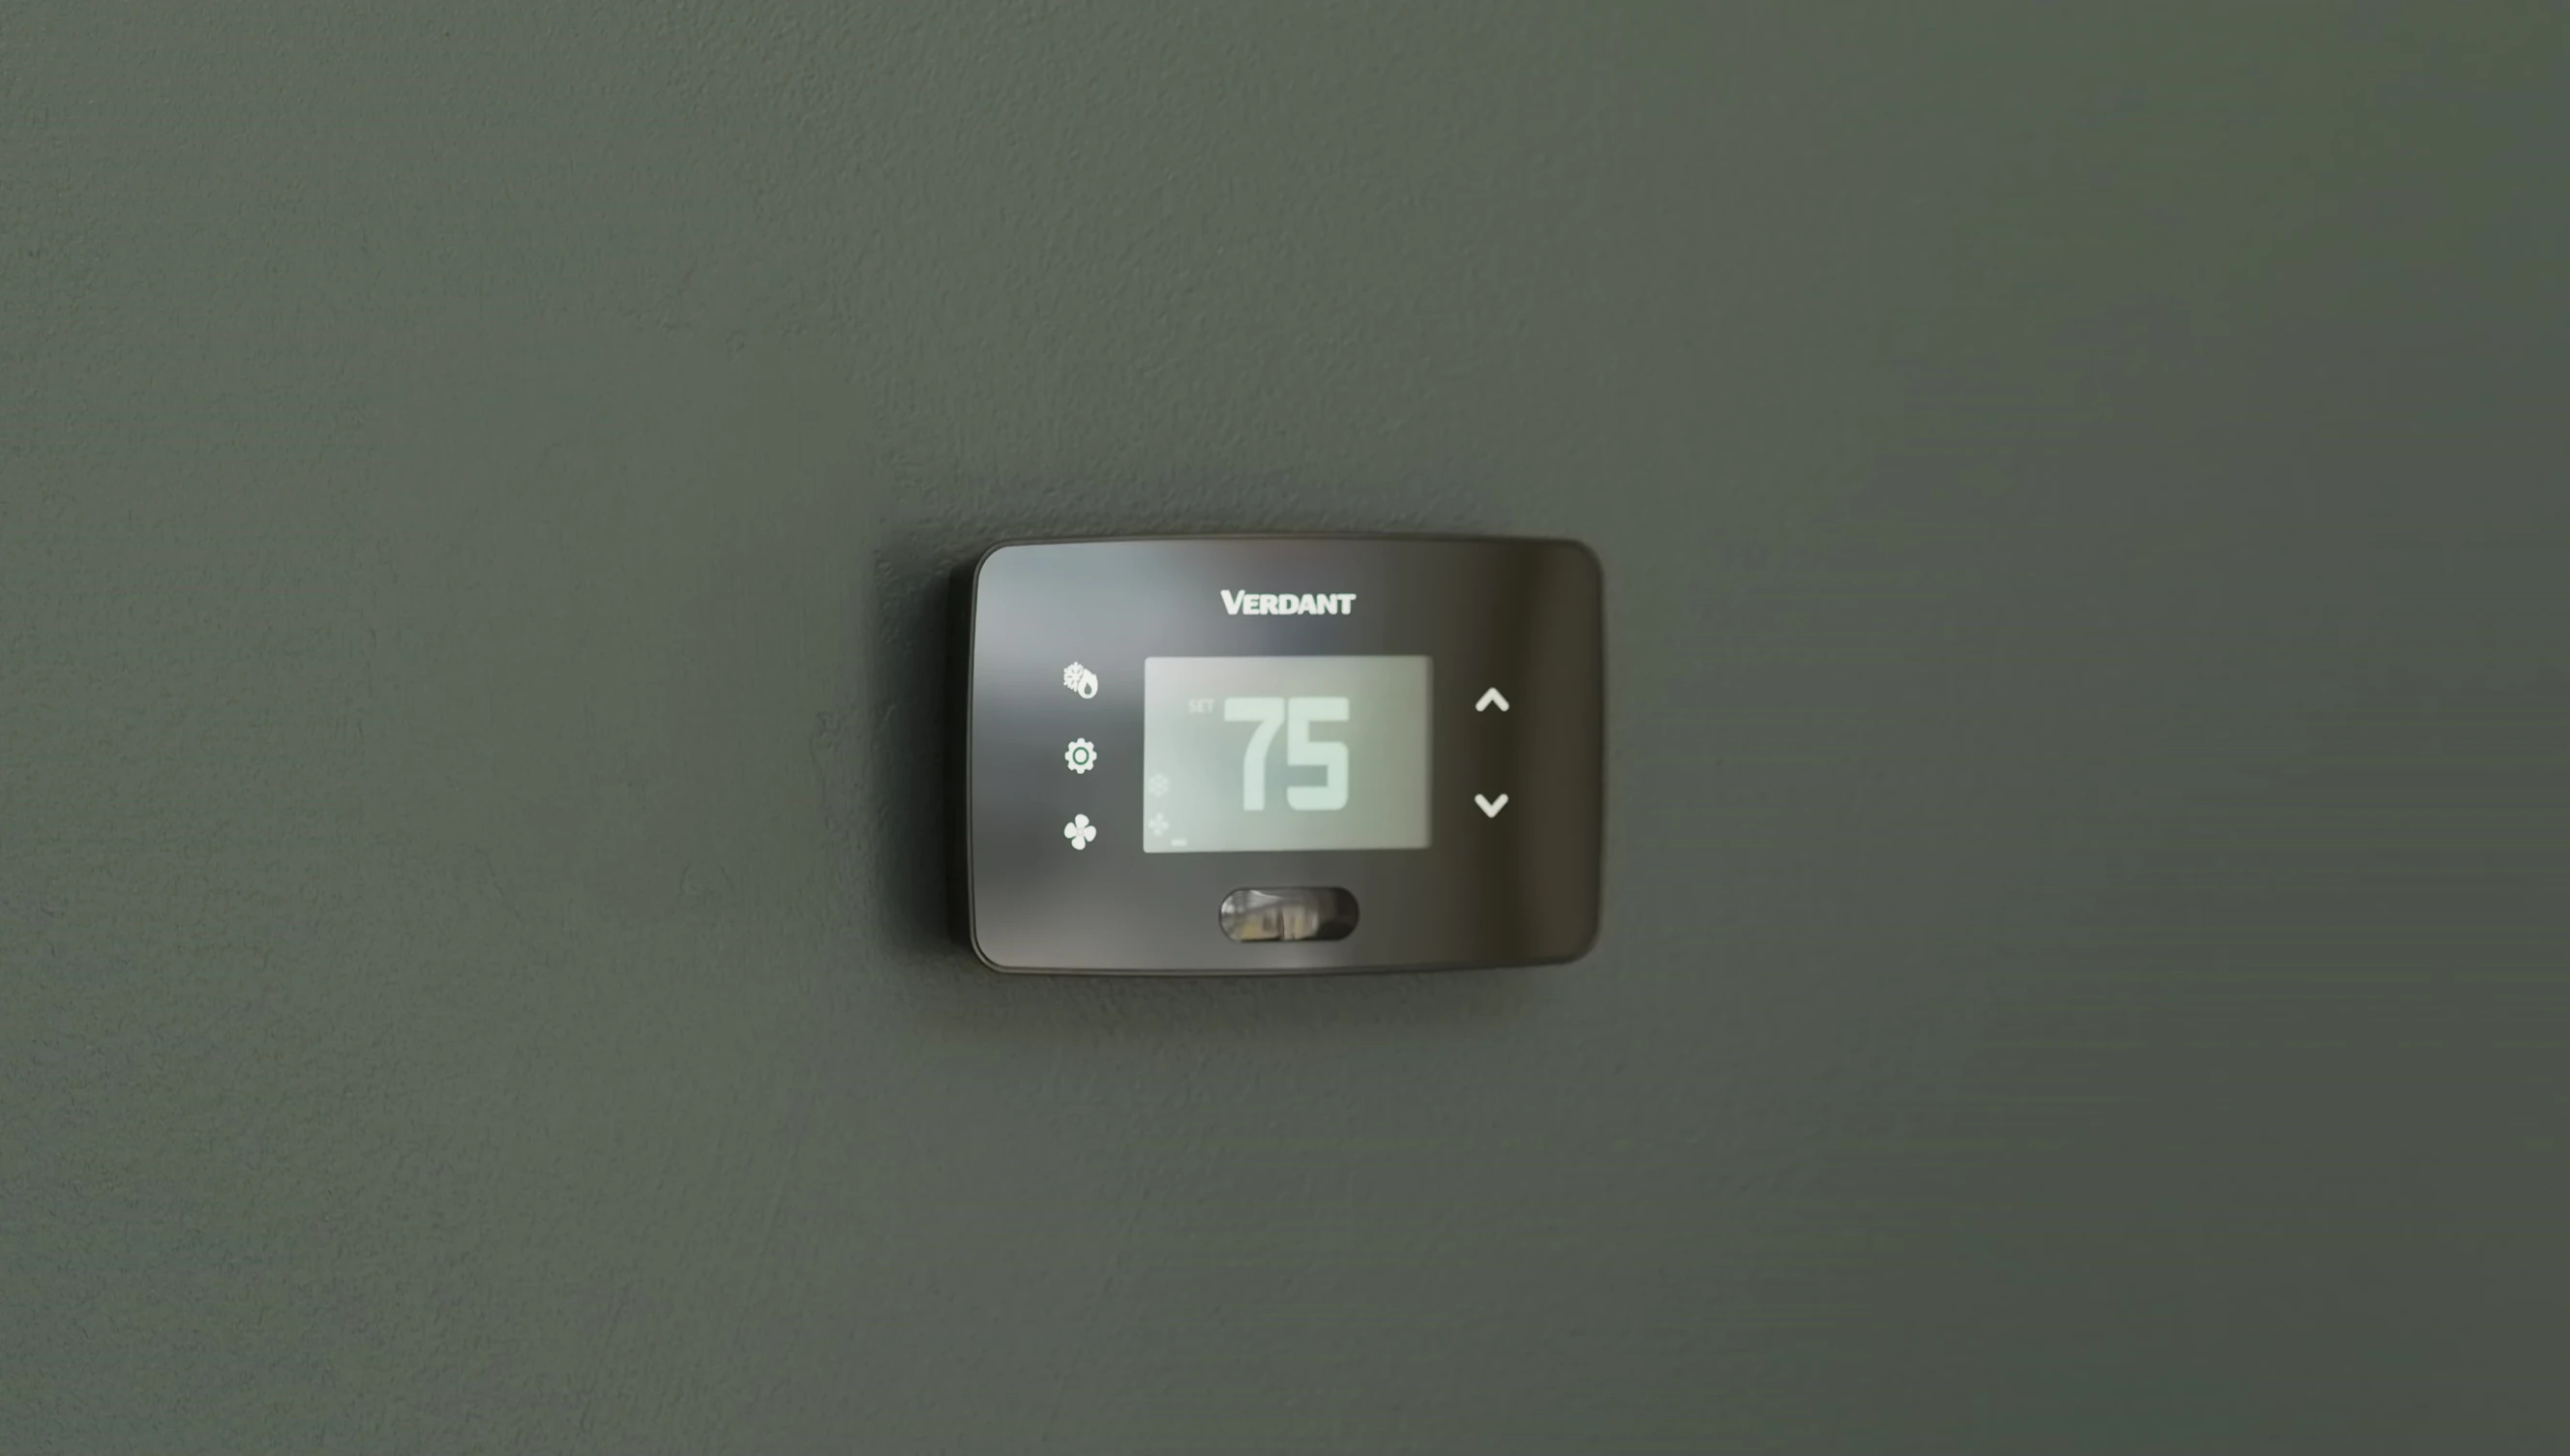
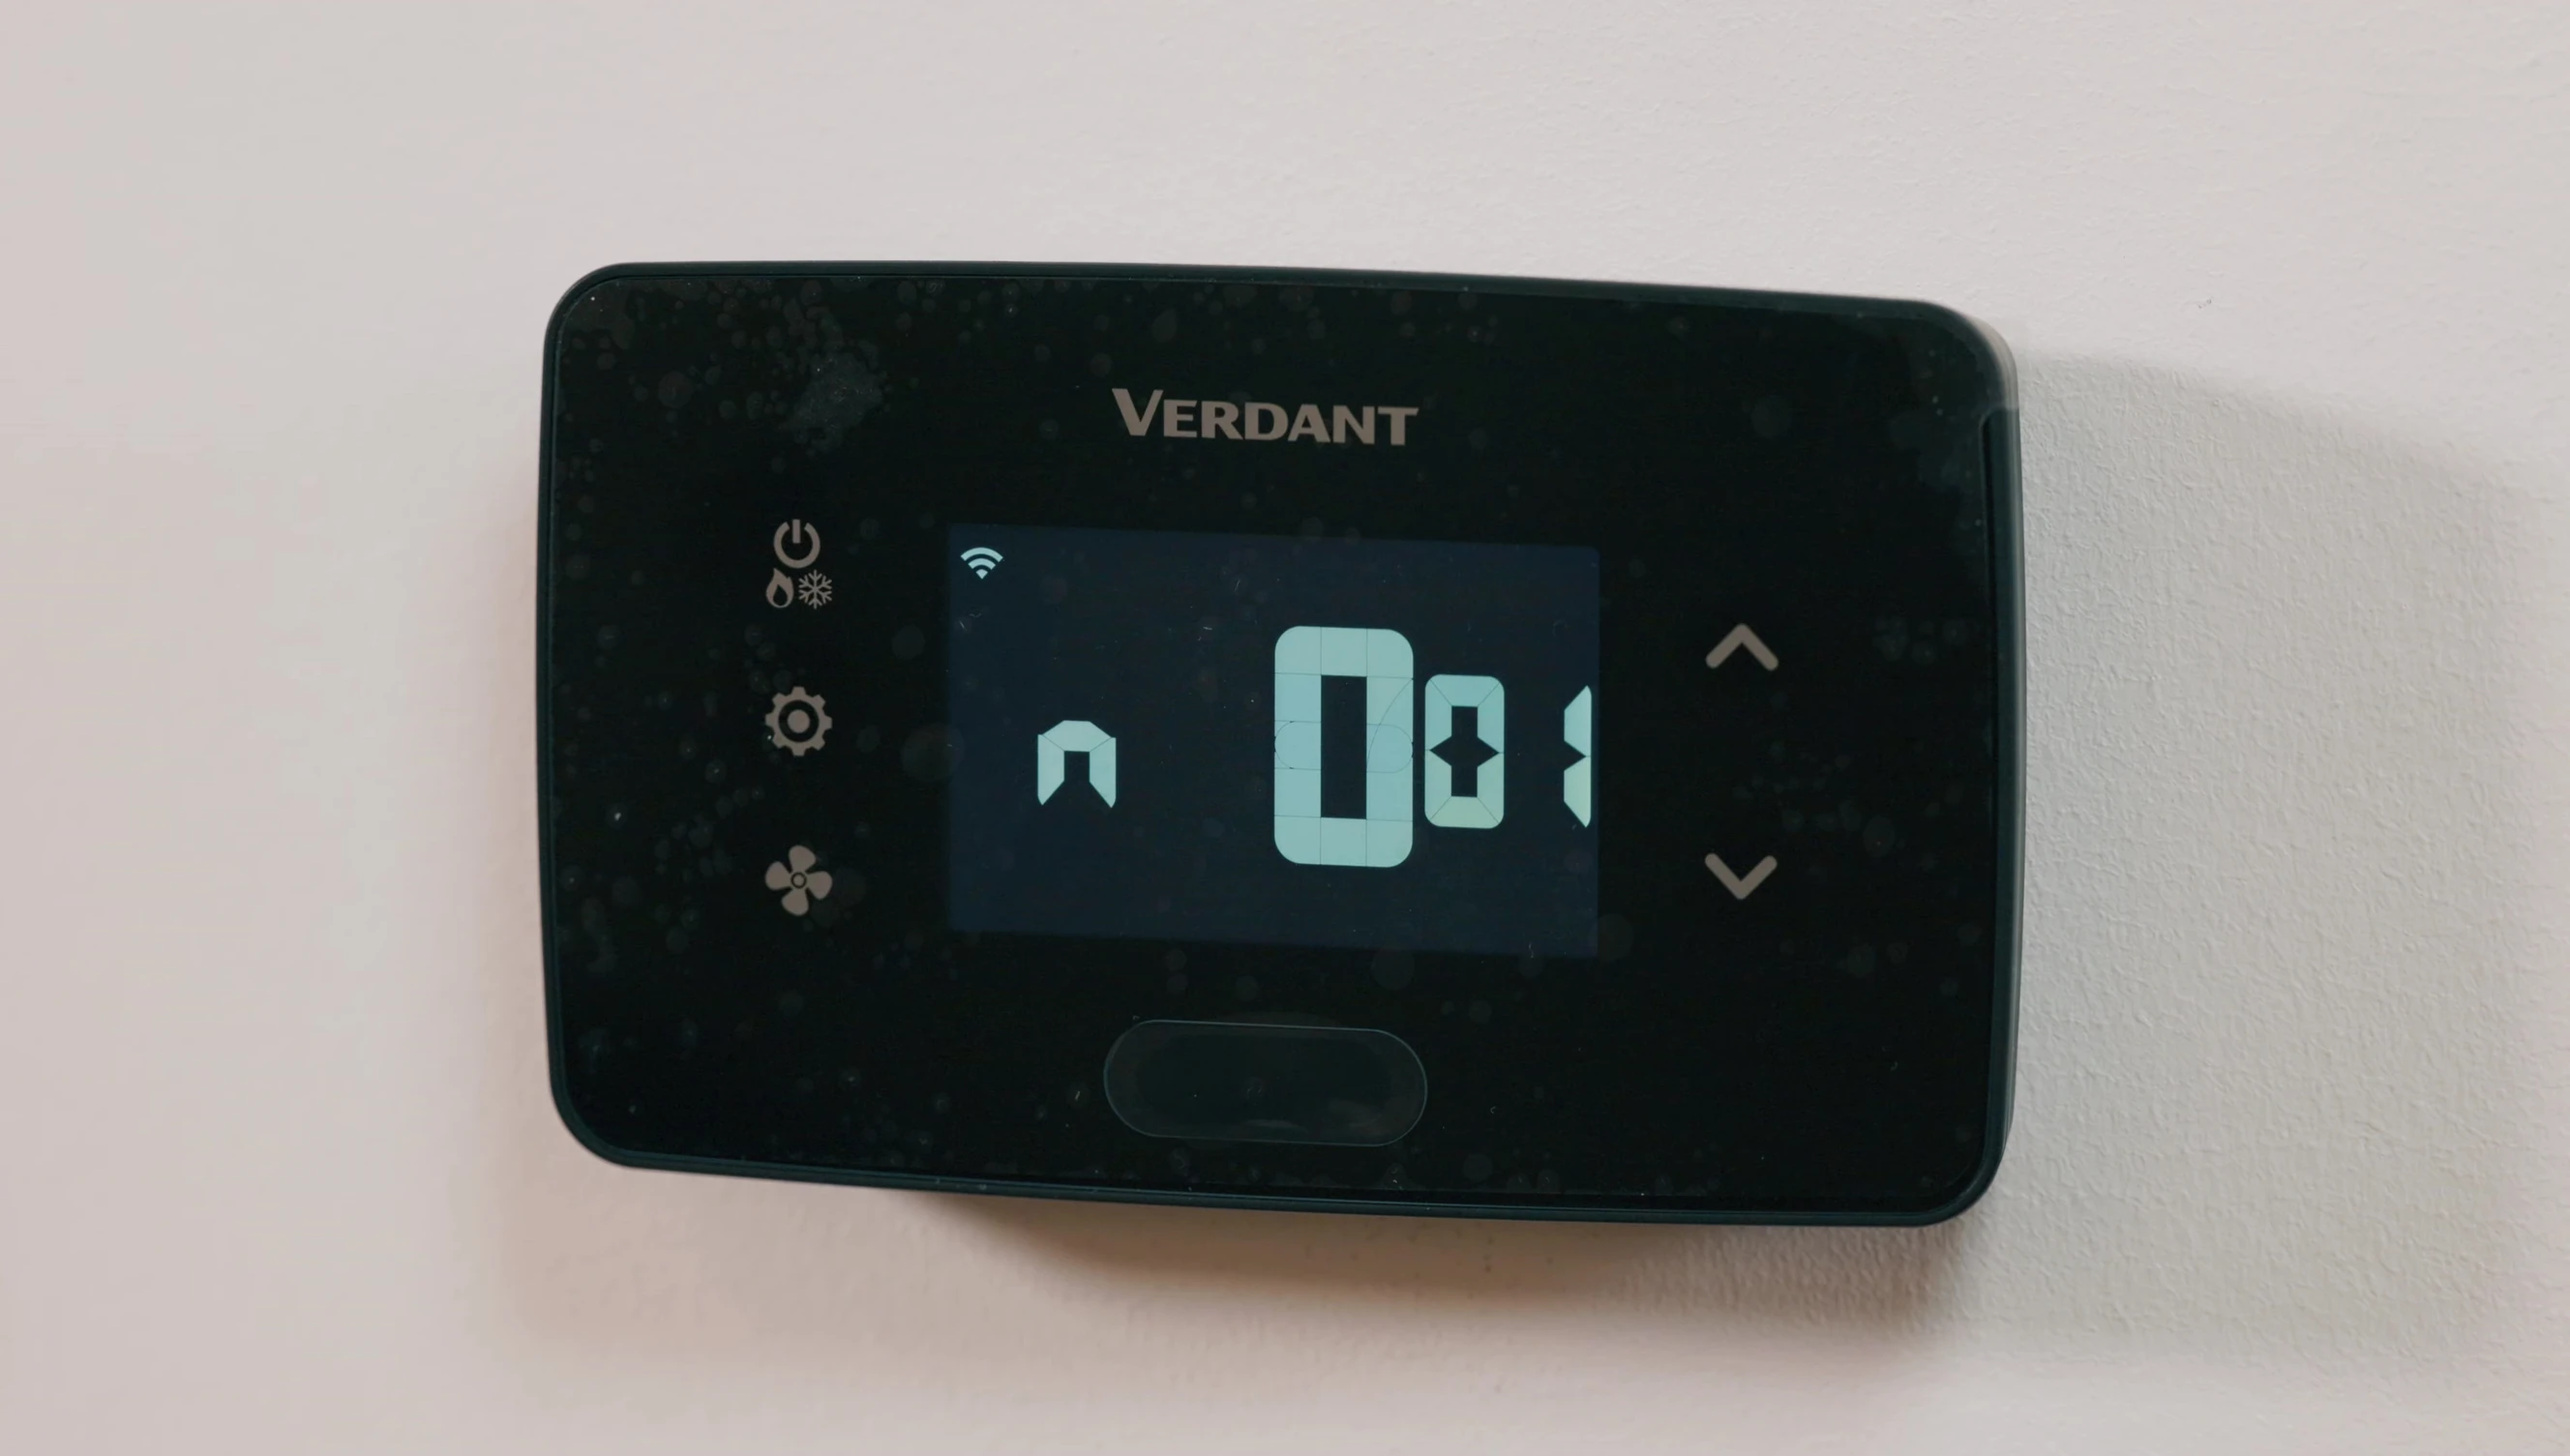
Configuring Thermostat Settings
Navigate through the thermostat’s menu to adjust settings. This includes mesh ID (O1 for single connection kit), room number (customize for identification), and equipment code (refer to your manual for your specific HVAC system).
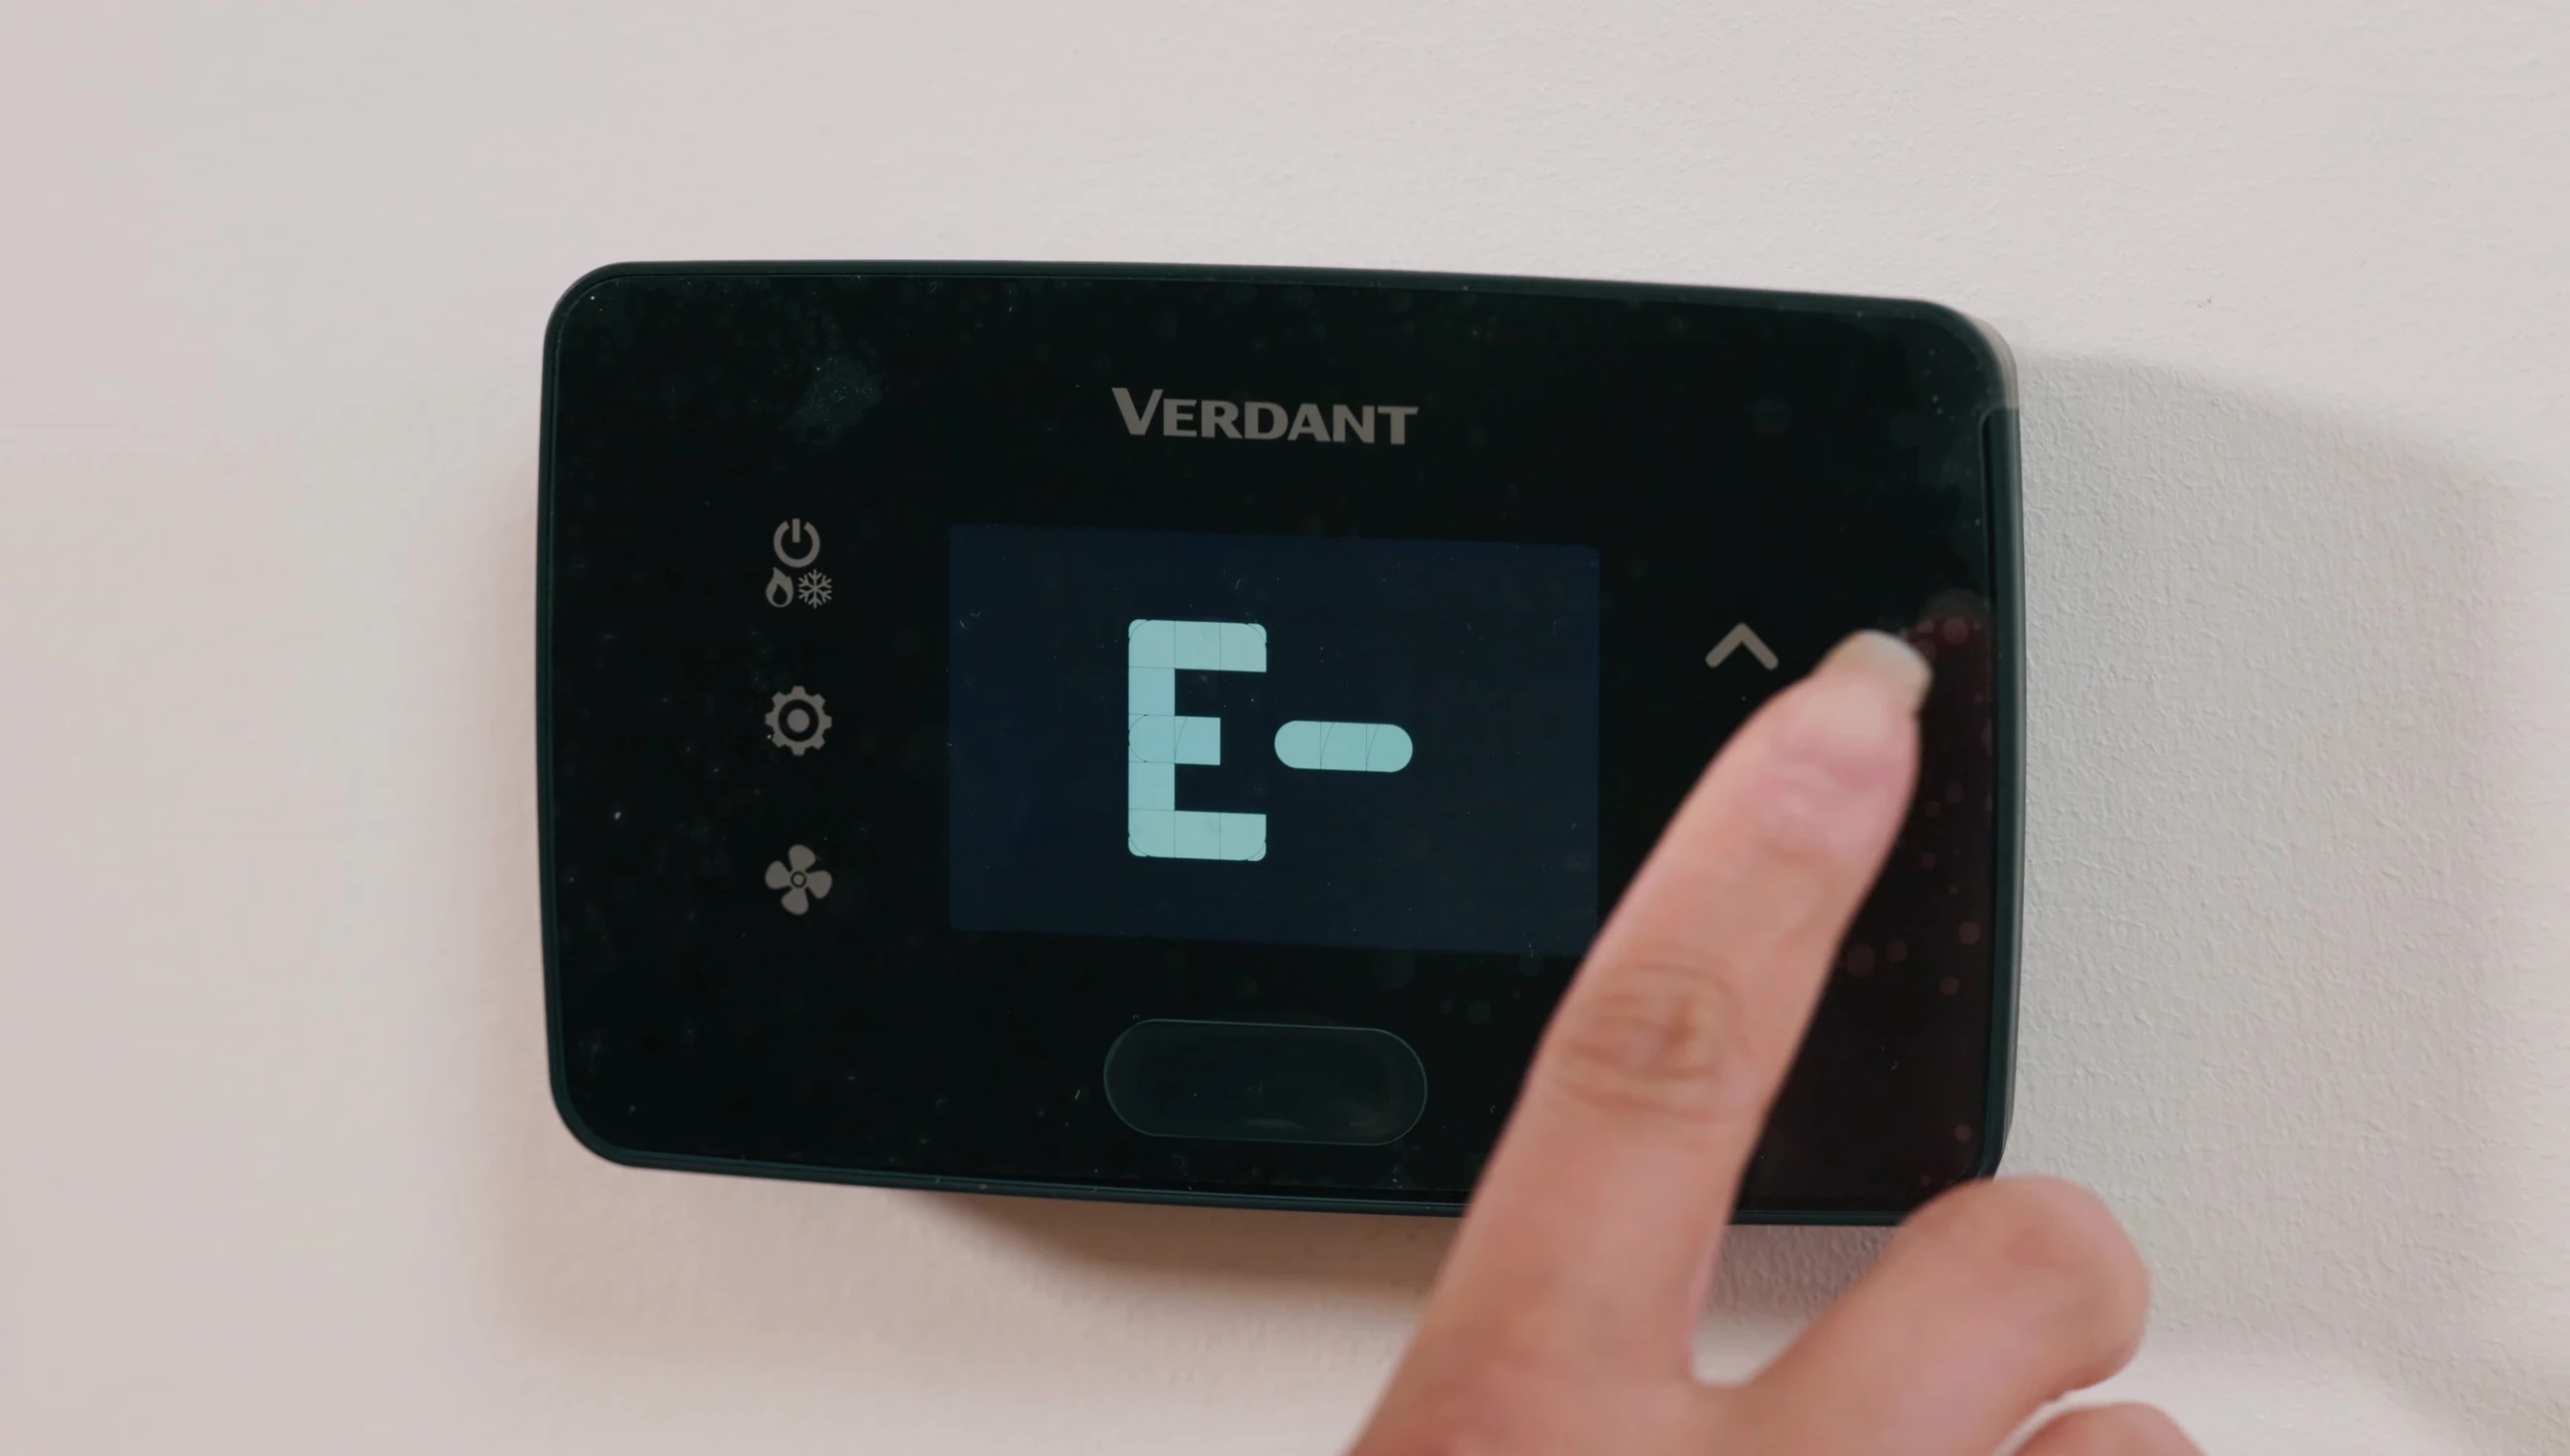
Set your preferred energy savings profile (E0-E5, with E0 being standard and E5 offering the most aggressive energy savings), adjust the time settings (24-hour clock), and configure the Theuler setting based on your preferences.
Change the temperature display between Fahrenheit and Celsius. Learn how to perform a factory reset (press and hold fan and power buttons until RST appears). Contact Verdant support if you encounter issues.

Connecting and Configuring an Occupancy Sensor (Optional)
The optional occupancy sensor enhances the system's efficiency. Insert batteries, press the internal button to make it discoverable, and follow the thermostat's menu for pairing instructions. The sensor remains discoverable for 5 minutes.
Monitor the sensor status within the thermostat menu to detect any disconnections. The sensor's data improves the thermostat's ability to adjust temperature based on occupancy, leading to greater energy efficiency and comfort.
Regularly check the sensor’s connection and battery levels for optimal performance.
Battery Replacement
Replace the thermostat's AA batteries every 16 months for consistent operation. Remove the cover, insert new batteries, reattach the cover, and press the system mode button to restart. Replacing the batteries at regular intervals maintains reliable functionality.
This simple maintenance step prevents unexpected shutdowns and keeps your smart thermostat performing optimally. Remember to dispose of old batteries responsibly.
Conclusion
The Verdant VX4 Wireless Smart Thermostat offers seamless integration and control over your HVAC system through its intuitive user interface and straightforward installation process. With its energy-saving features and optional sensors, the system contributes to improved energy efficiency and comfort.
The step-by-step guidance and readily available technical support minimize installation challenges, ensuring a smooth setup experience. The system’s versatility and adaptability to different HVAC configurations make it a viable solution for various needs.
If you encounter any problems during the installation, reach out to Verdant's excellent technical support team for immediate assistance. Overall, the Verdant VX4 provides a compelling combination of smart home technology and enhanced energy management capabilities.